 by
by Hello, fellow yarn lovers!
Today, we’re diving into a true cornerstone of crochet: the Granny Square! This iconic motif is not just a timeless classic, but also an incredibly versatile building block for countless projects. From blankets and scarves to bags, garments, and home decor, once you master the Granny Square, a world of creative possibilities opens up.
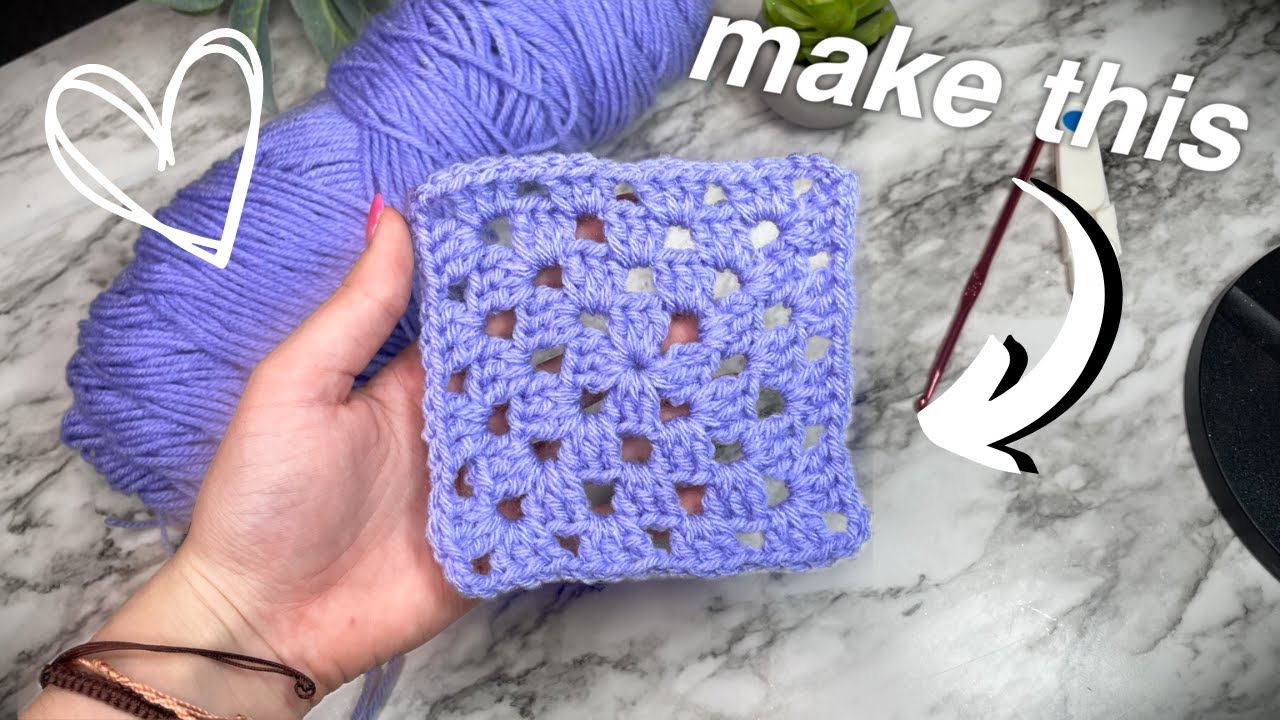
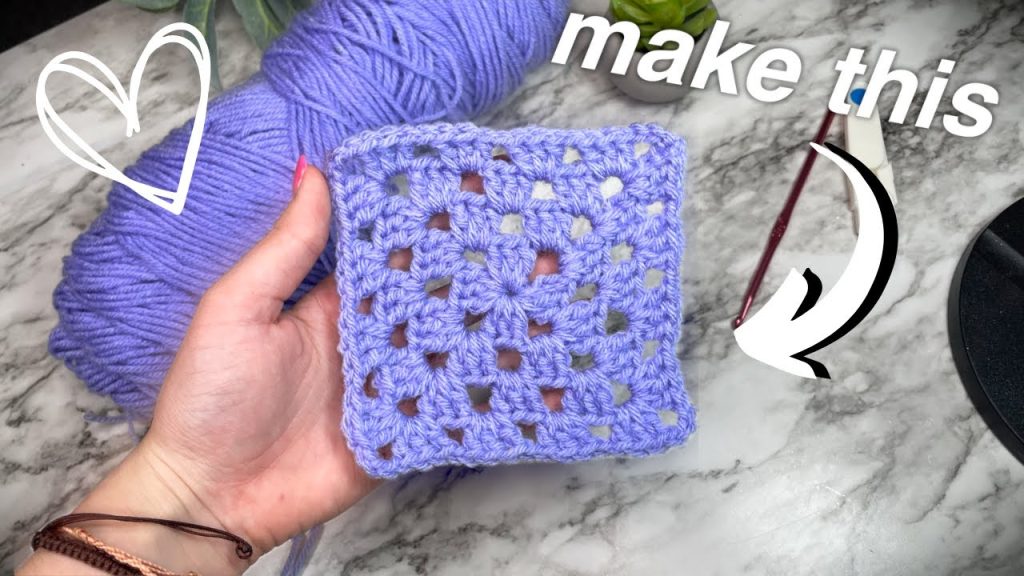
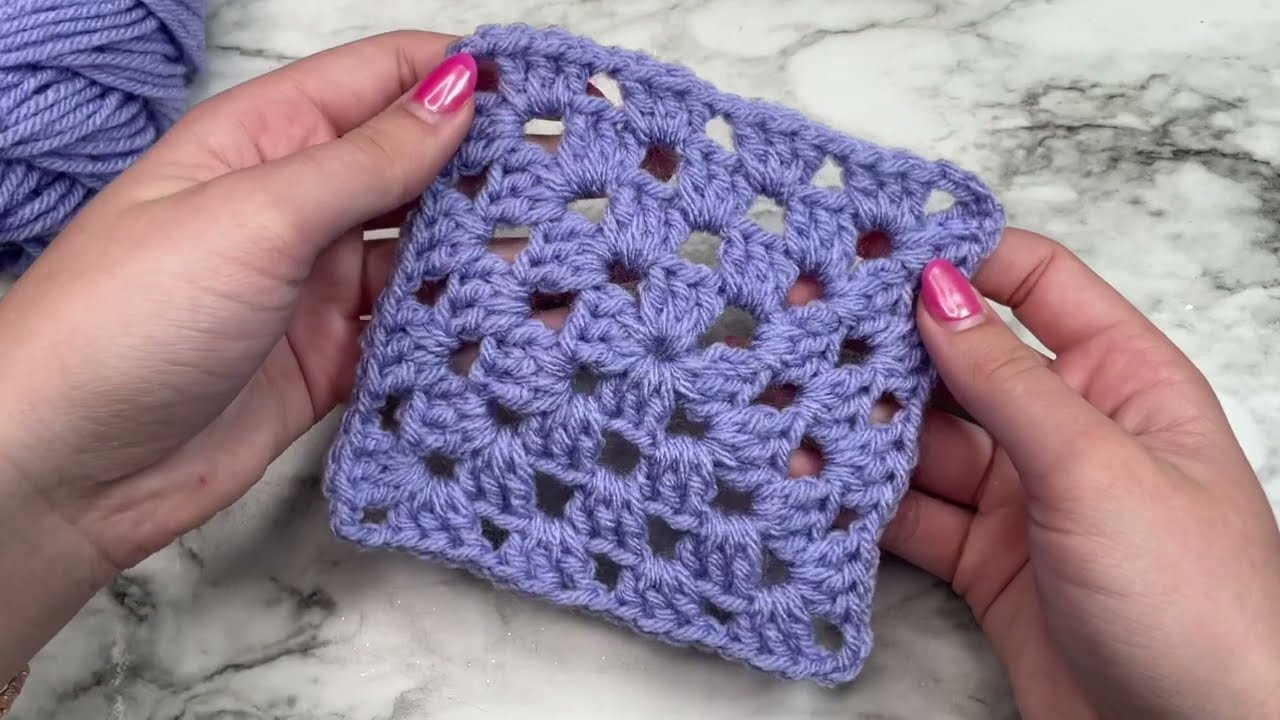
The beauty of the Granny Square lies in its simplicity and the rhythmic repetition of stitches. It’s often one of the first patterns new crocheters learn, and for good reason! It teaches you essential skills while creating a satisfying fabric. The square in the image is a perfect example of a classic Granny Square in a lovely solid color.

Ready to unlock a fundamental crochet skill? Let’s get our hooks ready and make some squares!
What you’ll need:
- Yarn: Any weight yarn will work for a Granny Square, from delicate lace to chunky roving. The square in the image looks like it’s made with a worsted weight (Aran/10-ply) yarn. A solid color is perfect for learning and highlighting the stitch structure.
- Crochet Hook: Choose a hook size appropriate for your chosen yarn. For worsted weight yarn, a 5.0mm (H/8) or 5.5mm (I/9) hook would be suitable. (The hook in the image appears to be around a 5.0mm or 5.5mm).
- Scissors
- Tapestry Needle (for weaving in ends)
Abbreviations (US Terms):
- ch: chain
- st(s): stitch(es)
- sl st: slip stitch
- dc: double crochet
- ch-sp: chain space
- MR: Magic Ring (or Magic Circle) – Optional, you can also use a starting chain.
The Classic Granny Square Pattern
We’ll build this square from the center out, adding rounds of “granny clusters” (groups of 3 double crochets) separated by chain spaces.
Starting the Square (Choose one method):
Method A: Magic Ring (Recommended for a tighter center)
- Make a Magic Ring.
- Ch 2 (does not count as a stitch).
Method B: Chain Method (Traditional)
- Ch 4.
- Sl st into the first ch to form a ring.
- Ch 2 (does not count as a stitch).
Working the Rounds:
Round 1: Work 12 dc into the ring (from either Method A or B). Sl st to the top of the first dc to join. (12 dc) If using Magic Ring, gently pull the tail to close the center hole.

Round 2:
- Ch 2 (does not count as a stitch).
- Work 2 dc in the same st as the join.
- *Ch 3 (this creates your first corner space), sk next 2 sts, 3 dc in the next st*. Rep from * to * 2 more times.
- Ch 3, sl st to the top of the first dc to join. (4 groups of 3 dc, 4 ch-3 corners) You should now see the beginnings of your square shape forming.
Round 3:
- Sl st into the first ch-3 space (this moves your hook to the corner to start the new round).
- Ch 2 (does not count as a stitch). Work (3 dc, ch 3, 3 dc) in the same ch-3 space. This forms your first corner.
- *Ch 1, (3 dc, ch 3, 3 dc) in the next ch-3 space*. Rep from * to * 2 more times.
- Ch 1, sl st to the top of the first dc to join. (4 corners, each with (3dc, ch3, 3dc); 4 side ch-1 spaces) Your square is clearly defined now! Notice how the sides between the corners have a single ch-1 space.
Round 4:
- Sl st into the first ch-3 space (corner).
- Ch 2 (does not count as a stitch). Work (3 dc, ch 3, 3 dc) in the same ch-3 space (your first corner).
- *Ch 1, 3 dc in the next ch-1 space (this is a side space).
- Ch 1, (3 dc, ch 3, 3 dc) in the next ch-3 space (your next corner)*. Rep from * to * 2 more times.
- Ch 1, 3 dc in the next ch-1 space.
- Ch 1, sl st to the top of the first dc to join. (4 corners, 8 side clusters)

Continuing for a Larger Square: To make your Granny Square larger, simply continue repeating the pattern from Round 4.
- Corners: Always work (3 dc, ch 3, 3 dc) into the ch-3 space of the previous round’s corner.
- Sides: Always work (Ch 1, 3 dc) into each ch-1 space along the sides of the previous round. Remember to add a Ch 1 before and after each 3-dc cluster on the sides.
Finishing: Once your square reaches the desired size, fasten off and weave in all loose ends securely using your tapestry needle.
Video tutorial
Tips for Granny Square Success:
- Count Your Chains! The corner chains (usually ch 3) and side chains (usually ch 1) are crucial for shaping. Double-check them, especially when starting out.
- Finding the Spaces: New crocheters sometimes get confused about where to put the clusters. Remember, you’re working into the chain spaces of the previous round, not into the tops of individual double crochet stitches (except for the very first round).
- Color Play: While a solid color is great for practice, Granny Squares truly shine with color changes! You can change colors at the beginning of each round, or every two rounds for a striped effect. Just fasten off the old color and join the new one with a slip stitch in the desired starting space.
- Uses, Uses, Uses!
- Blankets: Join many squares together for a traditional Granny Square blanket.
- Scarves: Make a long strip of joined squares.
- Bags: Join squares to form the sides and bottom of a tote.
- Garments: Sweaters, cardigans, and vests can be constructed from joined squares.
- Coasters & Hot Pads: Single squares make perfect small projects.
The Granny Square is more than just a pattern; it’s a foundation! Once you’ve mastered this, you’ll feel empowered to tackle more complex projects. So grab your yarn, put on some good music, and enjoy the meditative rhythm of making your own classic Granny Square!
Happy Crocheting!