by
by 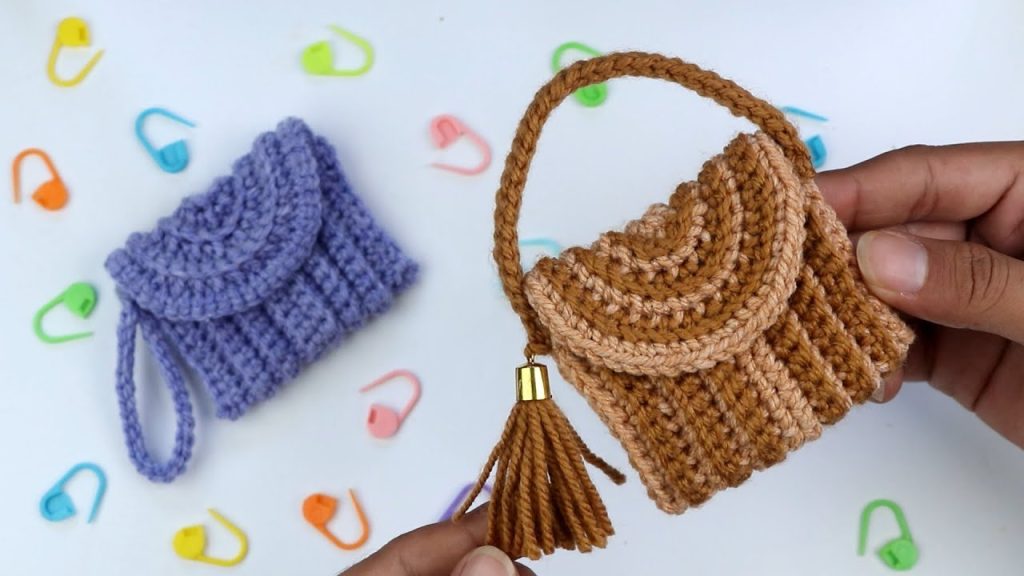
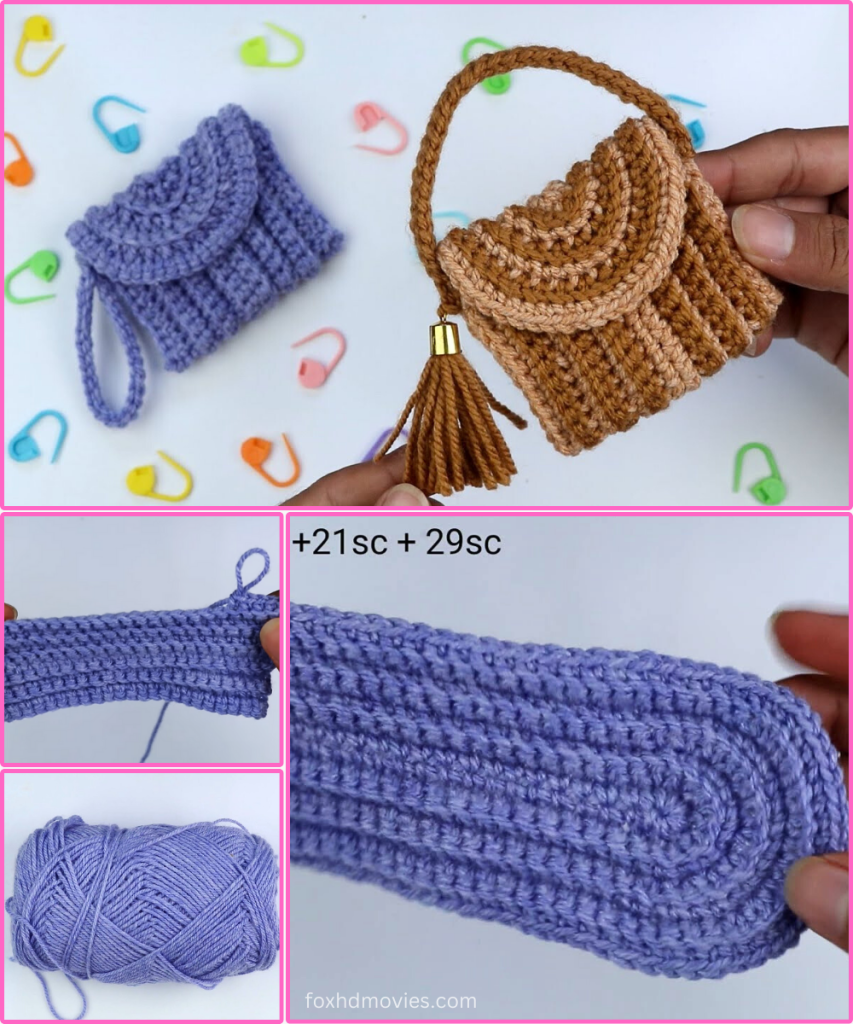
Looking for a quick, stylish, and super-handy little project? These adorable mini ribbed pouches with their neat flap closures are perfect for keeping your earbuds, coins, small trinkets, or even just as a decorative charm for a larger bag! The prominent ribbed texture, achieved with simple stitches, gives them a refined, sturdy feel, and the option of a delicate handle or a playful tassel adds a personalized touch.
What I love about this pattern is its clever one-piece construction – you crochet a single rectangle that transforms into the pouch and its flap with just a bit of folding and seaming. The rich texture makes it look more complex than it is, making it a satisfying project for advanced beginners and intermediate crocheters alike.
Ready to whip up some mini-marvels? Let’s grab our hooks and yarn!
Materials You’ll Need:
- DK Weight (Light Worsted / 8-ply) Yarn: Approximately 30-40 yards per pouch (e.g., Light Brown for the tassel version, or Lavender for the loop handle version).
- Tip: A yarn with good stitch definition, like cotton or a smooth acrylic, will best show off the ribbing.
- Crochet Hook: Size G/4.0mm (or size needed to obtain gauge).
- Yarn Needle: For weaving in ends and seaming.
- Scissors
- Optional: Small button (approx. 0.5 inch / 1.25 cm) for flap closure, or a small jump ring/keyring for the tassel.
Gauge (Important for Pouch Size!)
Getting the right gauge is important to ensure your pouch turns out the intended size. 16 half double crochet (hdc) stitches x 12 rows = 4 inches (10 cm) in hdc BLO.
Please make a small swatch before you begin. If your swatch is larger, try a smaller hook. If it’s smaller, go up a hook size.
Finished Pouch Size (Approximate):
Approximately 4 inches (10 cm) wide x 2.5 inches (6.5 cm) tall (when closed, excluding flap/handle).
Abbreviations (US Terms):
- ch: chain
- sl st: slip stitch
- sc: single crochet
- hdc: half double crochet
- hdc BLO: half double crochet in back loop only (creates the ribbed texture)
- fo: fasten off
- st(s): stitch(es)
Let’s Get Crocheting!
We’ll crochet the pouch body and flap as one long ribbed rectangle, then fold and seam it into shape.
Part 1: The Pouch Body and Flap (Flat Panel)
Using your chosen yarn color (e.g., Light Brown):
Ch 17. (This will be the height of your pouch + flap. Adjust for desired depth/flap length.)
Row 1: Hdc in 3rd ch from hook and in each ch across. Ch 2, turn. (15 hdc)
- The skipped 2 chains count as the first hdc of the row.
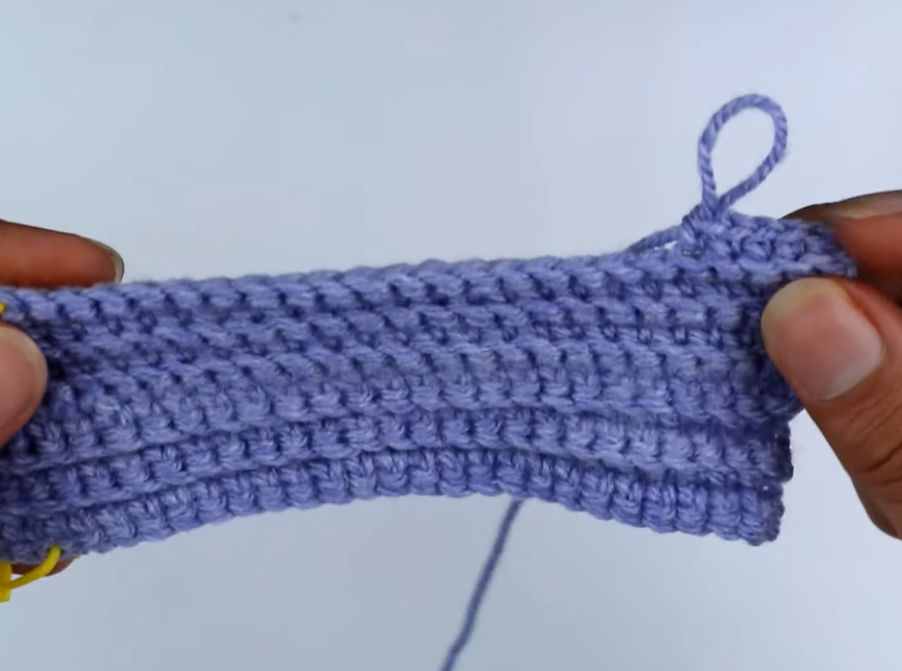
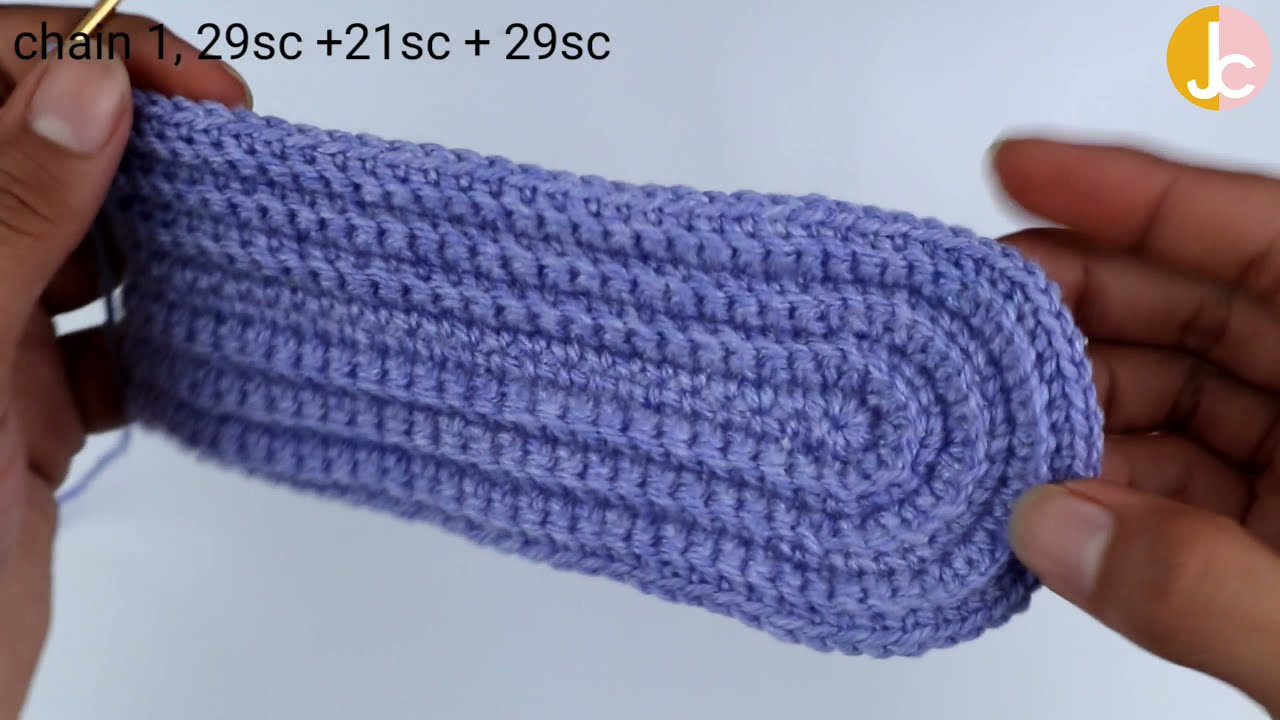
Row 2: Hdc BLO in each hdc across. Ch 2, turn. (15 hdc)
Repeat Row 2 until your panel measures approximately 9 inches (23 cm) in length. This should be about 27 rows in total.
- For a deeper pouch or longer flap, add more rows here. Ensure your total length is roughly three times the desired pouch height.
Fasten off, leaving a very long tail (at least 20-24 inches) for seaming.
Part 2: Assembling the Pouch
This is where your flat piece becomes a pouch!
- Fold the Body: Lay your crocheted panel flat. Fold one end up approximately 4 inches (10 cm) to form the main pouch body. This will be the bottom of your pouch.
- Form the Flap: The remaining 5 inches (13 cm) of the panel will naturally fold over to create the top flap.
- Seam the Sides: Using your yarn needle and the long tail you left, carefully seam up each side of the folded pouch. Stitch through both layers firmly from the bottom fold up to the opening of the pouch (the top edge of the 4-inch fold). Use a whip stitch or mattress stitch for a neat and sturdy seam.
- Secure and Weave: Once both sides are seamed, knot your yarn securely on the inside of the pouch. Weave in any remaining tails neatly.
Part 3: Adding the Handle or Tassel (Choose One!)
Option A: The Loop Handle (as seen on the purple pouch)
Using the same yarn:
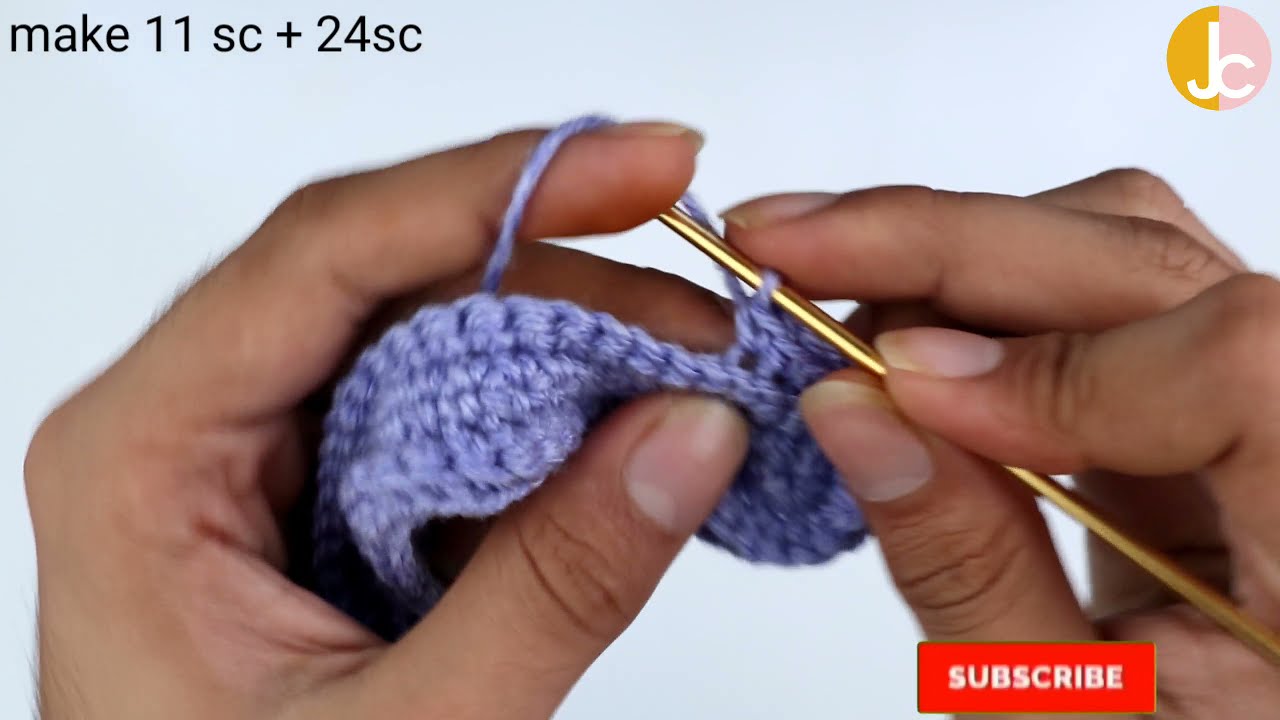
Ch 25. (Adjust chain length for desired handle size.)
Row 1: Sl st in 2nd ch from hook and in each ch across. (24 sl st)
Fasten off, leaving a tail for attaching.
Attach Handle: Form the chained strap into a loop. Using your yarn needle, securely stitch both ends of the strap to the top corner of the pouch, opposite the flap opening. Stitch through multiple times for security. Weave in ends.
Optional Button Closure: If adding a button, sew it onto the front of the pouch, centered under the flap. Then, create a small chain loop (ch 5-7) on the underside of the flap, centered, that will slip over the button to secure the closure. Stitch the chain loop securely to the flap.
Option B: The Tassel (as seen on the brown pouch)
- Cut Yarn: Wrap your yarn around a piece of cardboard (or your fingers) approximately 20-30 times. The height of the cardboard will determine the length of your tassel.
- Tie Top: Thread a 6-inch piece of yarn through the top loop of the wrapped yarn. Tie it tightly in a double knot. This will be used to attach the tassel.
- Gather Neck: Slide the wrapped yarn off the cardboard. Cut another 10-inch piece of yarn. Wrap this piece tightly around the tassel bundle, about 0.5 inch (1.25 cm) down from the top knot, several times. Tie securely and weave the ends into the tassel.
- Trim Bottom: Cut all the bottom loops of the tassel and trim evenly to your desired length.
- Attach Tassel: Use the top 6-inch yarn tail to attach the tassel to one side corner of the pouch flap (or to a small jump ring/keyring and then to the pouch). Stitch through multiple times to ensure it’s very secure. Weave in the tail.
Video tutorial
Your Mini Ribbed Flap Pouch is Complete!
Fill it with your tiny treasures and enjoy the cozy texture and delightful design! This pouch is not just functional; it’s a charming accessory that adds a personal touch to your day or makes a thoughtful small gift.
I hope you enjoyed creating this unique little pouch! If you make one, I would absolutely love to see your finished projects. Share your photos on social media and tag me (if you have an associated platform)!
Happy hooking!