 by
by Hello, bloom-loving crocheters!

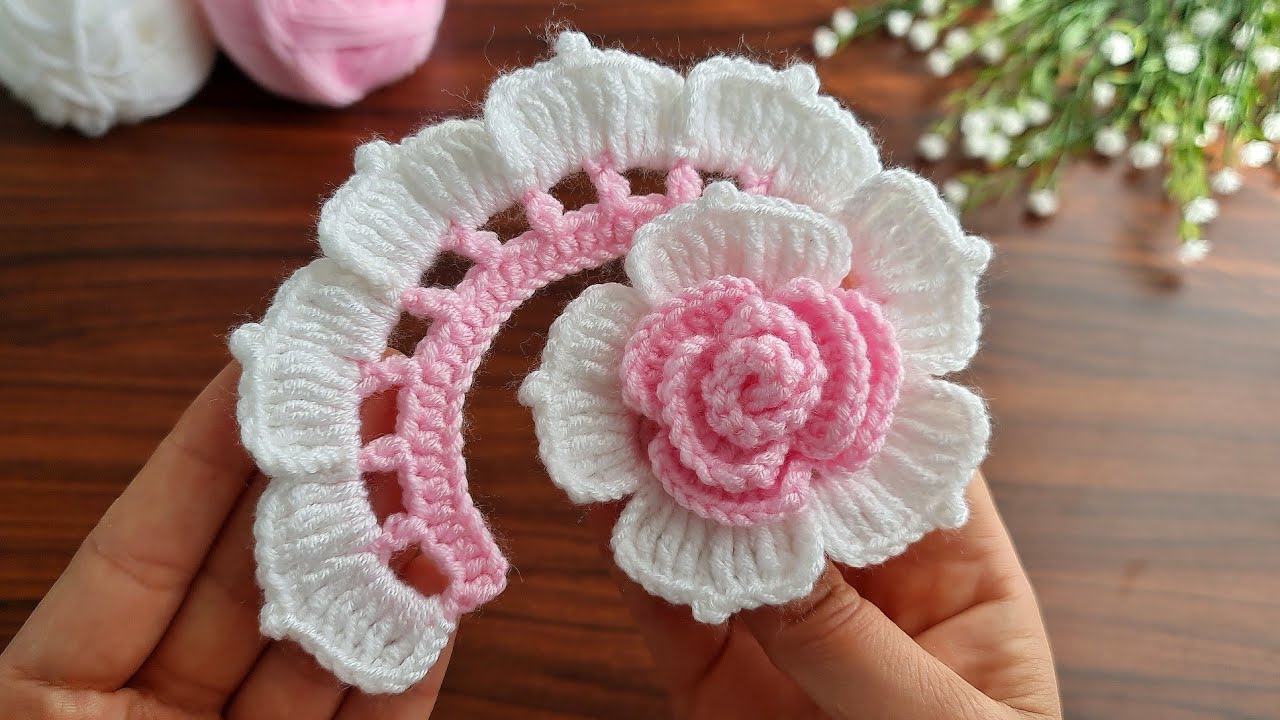
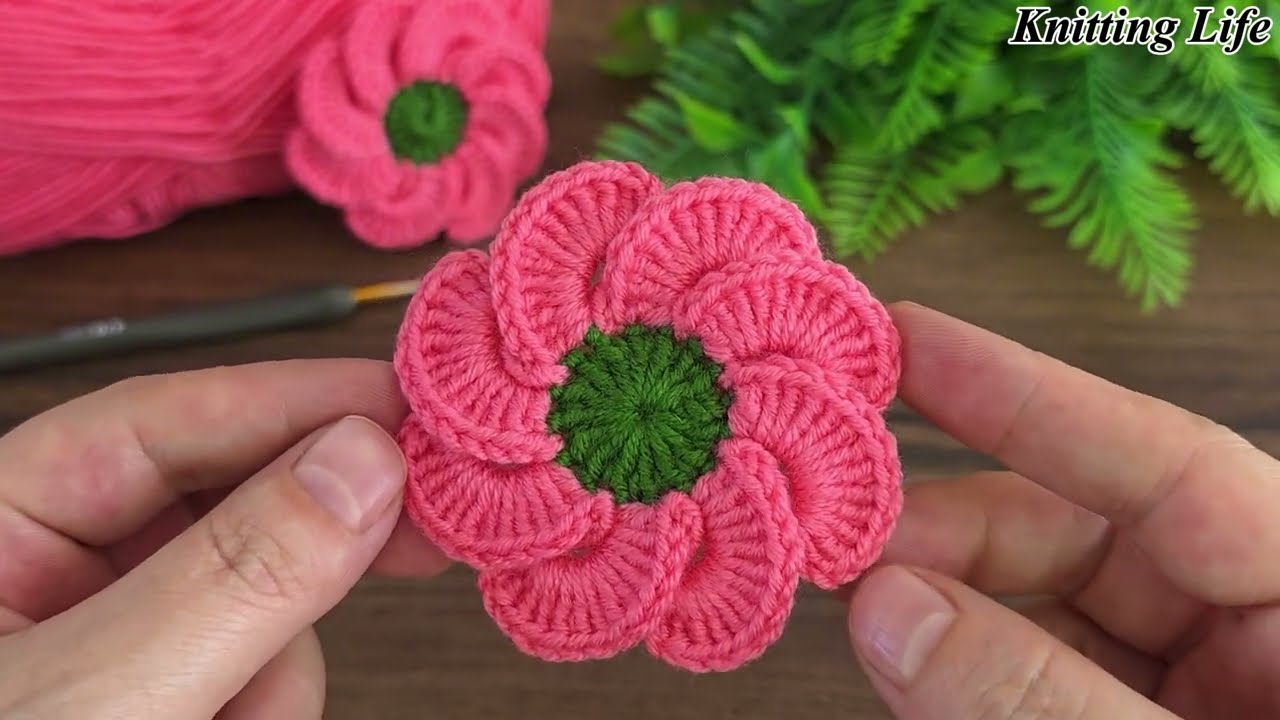
Get ready to create a truly mesmerizing crochet piece today: the Spiraling Petal Flower! This delightful motif, with its distinctive layered petals that seem to gracefully spiral outwards from the center, is a real showstopper. It reminds me of a cheerful poppy or a fantasy bloom unfolding.
What makes this flower so unique is how the petals are worked into a single continuous round, creating that beautiful, overlapping dimension without needing to stitch on individual layers. It’s surprisingly simple once you grasp the rhythm, and the result is incredibly rewarding. Perfect for embellishing hats, bags, headbands, or even joining a few to create a unique piece of jewelry!
Ready to add a touch of whimsy and elegance to your crafting? Let’s dive in!
What you’ll need:
- Yarn:
- Color A: (Green in the example image) A small amount for the center. Worsted weight or DK (light worsted) acrylic or cotton yarn works beautifully for stitch definition.
- Color B: (Pink in the example image) For the petals. Use the same weight as Color A.
- Crochet Hook: A hook size appropriate for your chosen yarn. For worsted weight, a 4.0mm (G/6) or 4.5mm (7) hook would be ideal. For DK, a 3.5mm (E/4) or 4.0mm (G/6) hook. (The hook in the image looks like it could be a 4.0mm or 4.5mm).
- Scissors
- Tapestry Needle (for weaving in ends)
Abbreviations (US Terms):
- ch: chain
- st(s): stitch(es)
- sl st: slip stitch
- sc: single crochet
- hdc: half double crochet
- dc: double crochet
- tr: treble crochet (also known as triple crochet) – (yo twice, insert hook into st, yo and pull up a loop, [yo and draw through 2 loops on hook] 3 times)
- sk: skip
- MR: Magic Ring (or Magic Circle)
The Spiraling Petal Flower Pattern
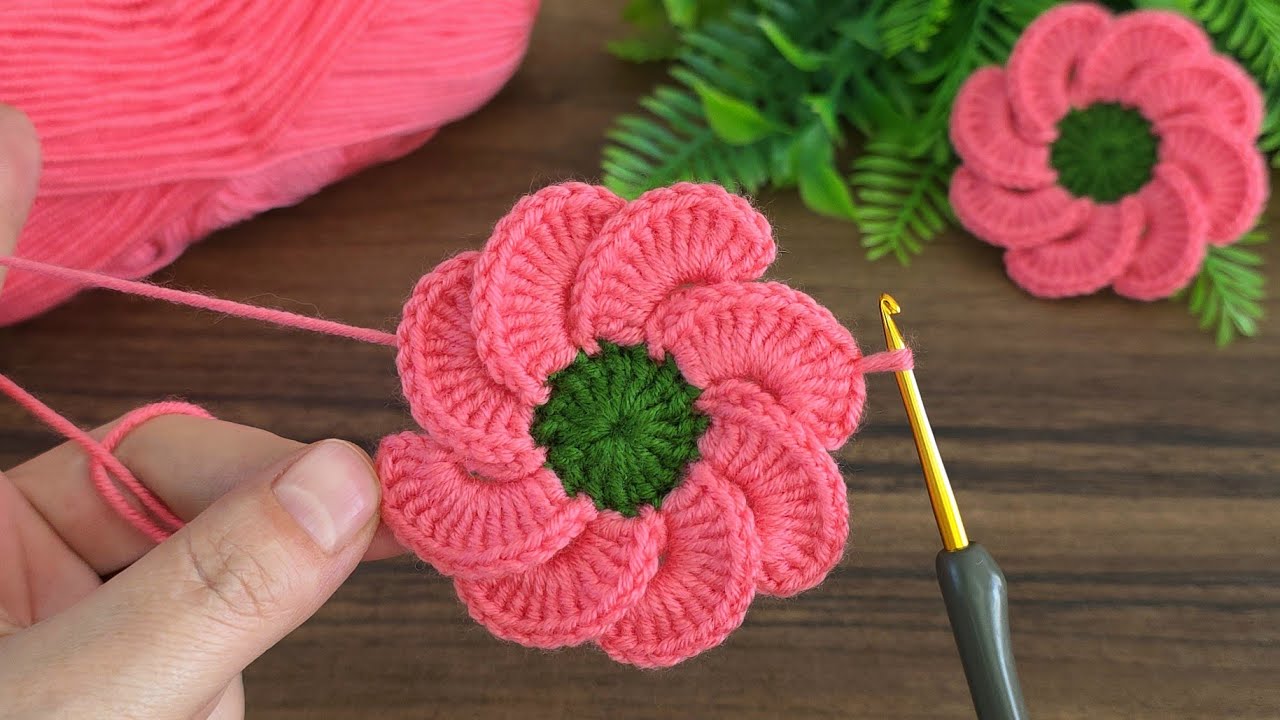
We’ll begin with the green center, then create the captivating pink petals that form the spiral!
Part 1: The Heart (Color A – Green)
- Start with MR: Make a Magic Ring.
- Alternatively, ch 4 and sl st into the first ch to form a ring.
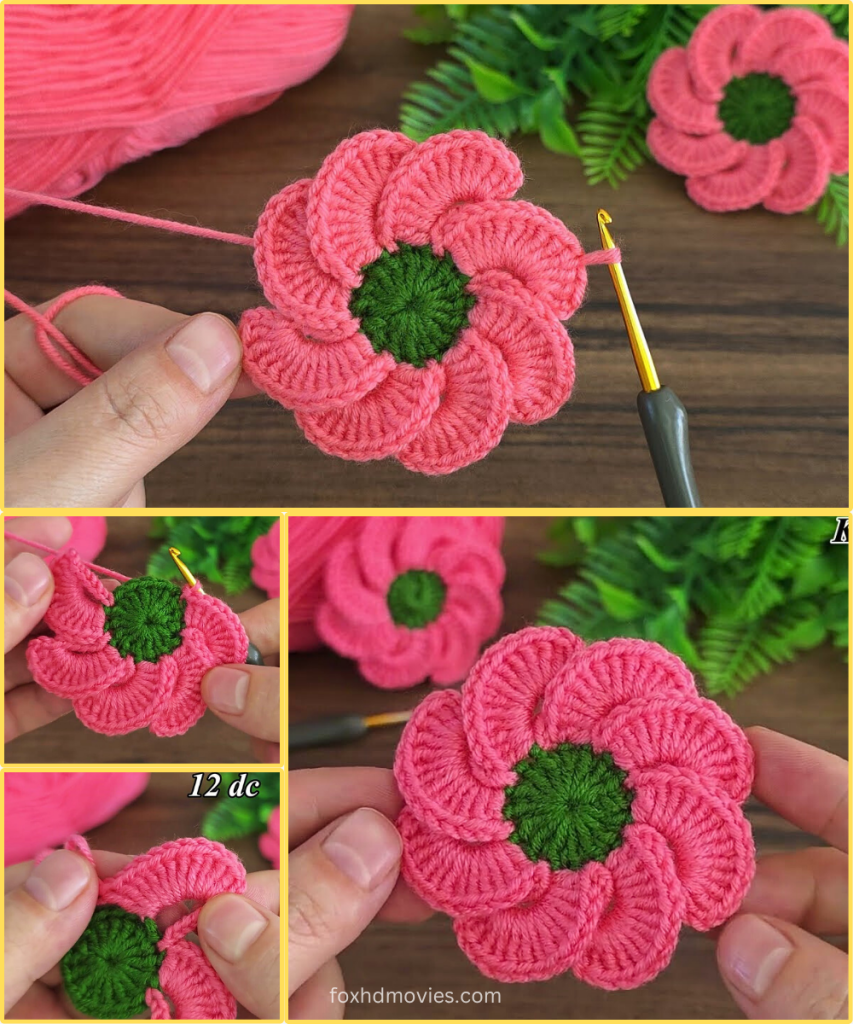
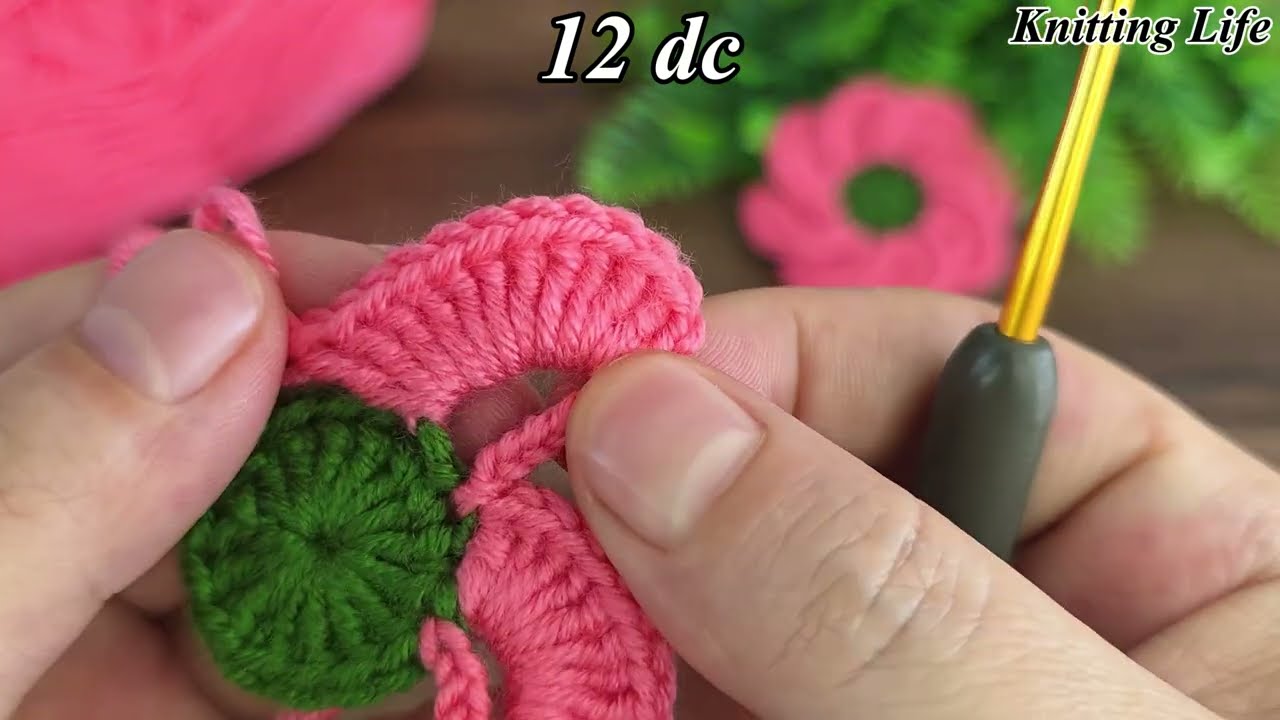
- Round 1: Ch 2 (does not count as a stitch). Work 12 dc into the MR. Sl st to the top of the first dc to join. (12 dc)
- Gently pull the tail of your MR tight to close the center hole.
- Fasten off Color A. Leave a small tail for weaving in later.
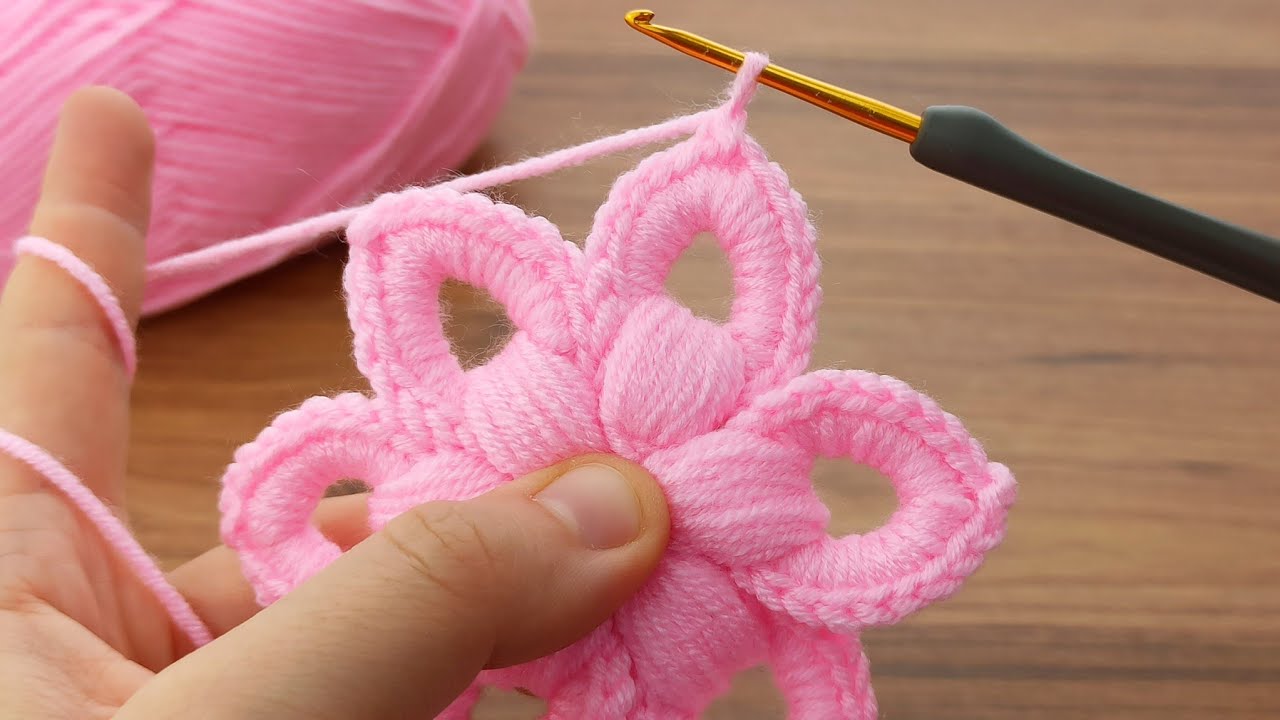
Part 2: The Spiraling Petals (Color B – Pink)
This is where the magic happens! We’ll be working all the petal stitches into the front loops of the stitches from Round 1 of the green center. This creates a distinct ridge behind the petals and allows them to sit forward beautifully, giving that layered effect.

- Attach Color B: Join Color B with a sl st into the front loop of any dc from Round 1 of the green center.
- To find the front loop: When looking at the top of a stitch, you’ll see a ‘V’. The front loop is the one closest to you.
- Round 2 (Petals): Ch 1 (does not count as a stitch).
- Petal Creation: In the same front loop where you joined, work: (sc, hdc, 2 dc, hdc, sc). This completes your first petal.
- Moving to the next petal: Sl st into the front loop of the next dc from Round 1 of the green center.
- Repeat the petal creation: Ch 1 (does not count as a stitch). In this same front loop (where you just sl st’d), work: (sc, hdc, 2 dc, hdc, sc).
- Continue this sequence: Sl st into the front loop of the next dc, then Ch 1 and work (sc, hdc, 2 dc, hdc, sc) into that same front loop.
- Repeat this process for a total of 12 petals, working each petal into a separate front loop of the 12 dc from Round 1 of the green center.
- After completing your 12th petal, sl st into the very first sc of the first petal to securely close the round. (12 petals)
- Fasten off Color B.
Finishing:
- Weave in all your loose ends securely using your tapestry needle. Ensure the Magic Ring tail is pulled tight and secured to keep the center neat.
- Gently block your flower if desired. This will help the petals lay evenly and define their spiral shape.
Video tutorial
Tips for a Perfect Spiraling Bloom:
- Front Loop Focus: The key to this flower’s unique look is consistently working into the front loops only of the green center stitches. Don’t accidentally go through both loops!
- Tension is Your Friend: Maintain a consistent tension, especially during the petal creation, to ensure all your petals are similarly sized and shaped.
- Color Play: Experiment with different color combinations! A dark center with vibrant petals, or even a soft, monochromatic scheme can yield beautiful results. Imagine pastels for a baby blanket or bright, bold colors for a summer tote.
- Uses for your Flowers:
- Attach them as cheerful appliques to scarves, hats, blankets, or clothing.
- Create a whimsical garland for a child’s room or a party.
- Use them to embellish gift wrapping or hair accessories.
- Sew them onto a plain cushion cover for an instant update.
I hope you find as much joy in making these lovely Spiraling Petal Flowers as I do! They are quick to whip up and incredibly satisfying to see take shape.
Happy Crocheting!