by
by 
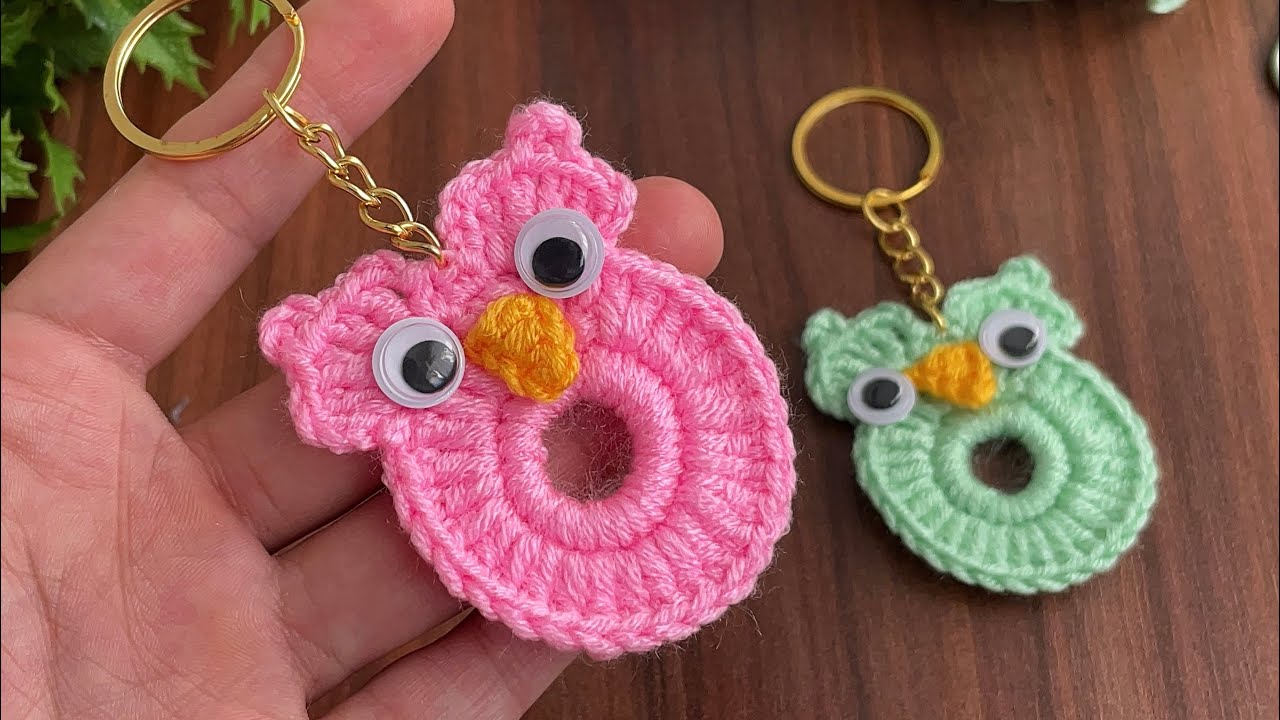
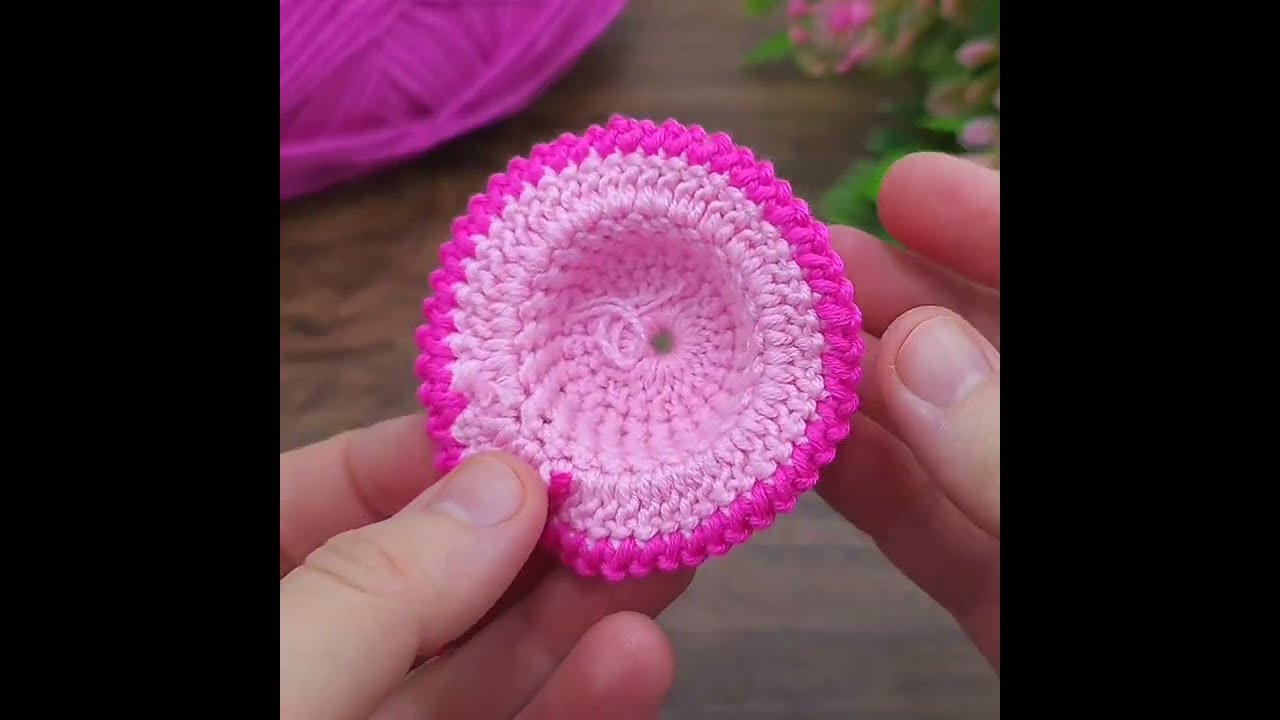
Isn’t this little ruffled circle just delightful? With its tightly crocheted center and charming, undulating edge, it resembles a blooming flower or a delicate seashell. This versatile design can serve as a sweet coaster for your favorite mug, a decorative doily under a small vase, or even a beautiful appliqué to adorn a blanket, bag, or garment!
What I love about this pattern is how a simple increase strategy transforms a flat circle into such a lovely, dimensional ruffle. It’s a fantastic way to practice working in rounds and manipulating stitch counts to achieve different textures. This project is quick to make and satisfying for crocheters of all skill levels, especially if you’re looking to create something pretty with a small amount of yarn!
Ready to add a touch of handmade charm to your home or next project? Let’s gather our hook and yarn and begin!
Materials You’ll Need:
- DK Weight (Light Worsted / 8-ply) Yarn: Approximately 20-30 yards (e.g., Bright Pink).
- Tip: A smooth yarn like cotton or acrylic will best show off the stitch definition and ruffles.
- Crochet Hook: Size G/4.0mm (or size needed to obtain gauge).
- Yarn Needle: For weaving in ends.
- Scissors
Gauge (Important for Size Consistency):
Gauge is not strictly critical for this project, especially if using it as a coaster or appliqué, but for a consistent size: 5 rounds of single crochet (sc) should measure approximately 2 inches (5 cm) in diameter.
Finished Size (Approximate):
Approximately 5.5 – 6 inches (14 – 15 cm) in diameter (when laid flat).
Abbreviations (US Terms):
- ch: chain
- sl st: slip stitch
- sc: single crochet
- hdc: half double crochet
- dc: double crochet
- tr: treble crochet (or triple crochet)
- inc: increase (2 stitches in the same stitch)
- st(s): stitch(es)
- rnd: round
- Magic Ring: Adjustable ring method for starting in the round.
Let’s Get Crocheting!
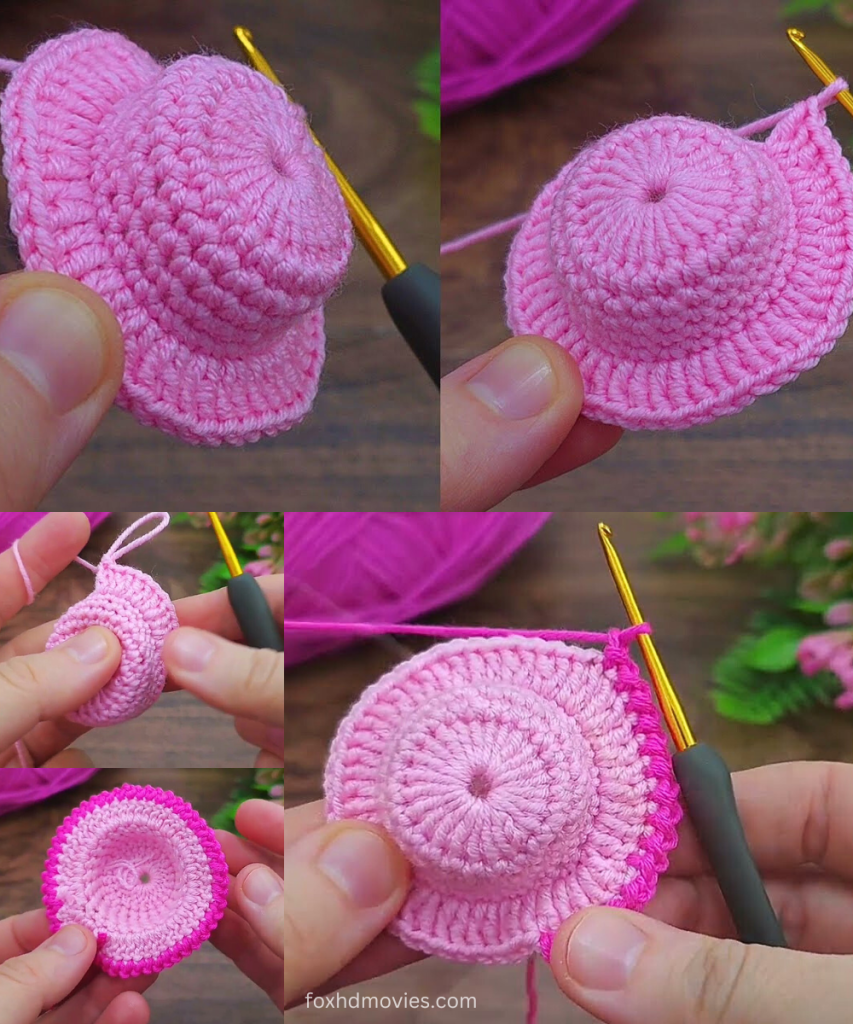
We’ll start with a tightly crocheted center and then gradually add more stitches to create the beautiful ruffle.
Part 1: The Flat Center
Using your chosen yarn color (e.g., Pink):

Rnd 1: Make a Magic Ring. Ch 1, 8 sc into ring. Join with sl st to first sc. (8 sc)
- Alternatively, ch 2, 8 sc in 2nd ch from hook. Join with sl st to first sc.
Rnd 2: Ch 1, inc in each sc around. Join with sl st to first sc. (16 sc)
Rnd 3: Ch 1, (sc in next st, inc in next st) 8 times. Join with sl st to first sc. (24 sc)
Rnd 4: Ch 1, (sc in next 2 sts, inc in next st) 8 times. Join with sl st to first sc. (32 sc)
Rnd 5: Ch 1, (sc in next 3 sts, inc in next st) 8 times. Join with sl st to first sc. (40 sc)
- At this point, your circle should be flat and relatively solid, forming the base of your coaster/appliqué.
Part 2: Transition to Ruffle
This round will start creating the gentle curve for the ruffle.
Rnd 6: Ch 2 (counts as 1 hdc). (Hdc in next 4 sts, inc in next st) 8 times. Join with sl st to top of beg ch 2. (48 hdc)
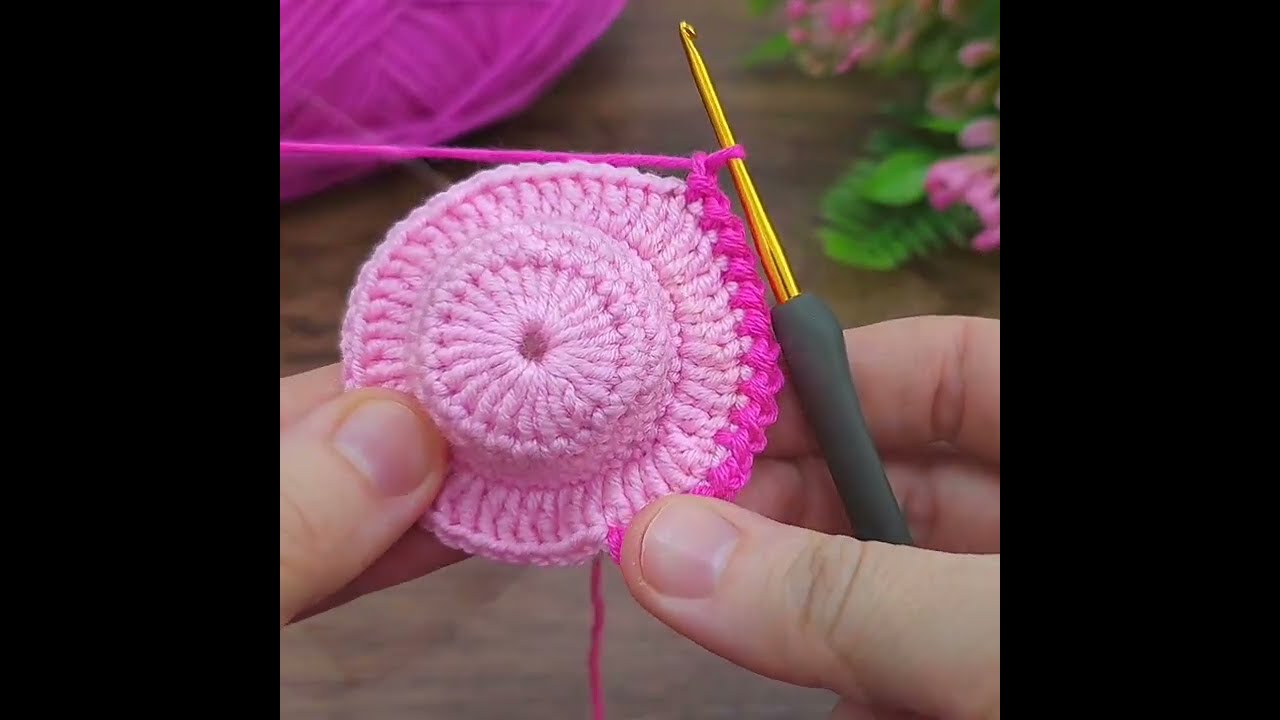
Part 3: The Ruffle Rounds
Here’s where the magic happens and the ruffles emerge! The key is to heavily increase stitches.
Rnd 7: Ch 3 (counts as 1 dc). (2 dc in same st, 3 dc in next st, 2 dc in next st) around. Join with sl st to top of beg ch 3. (112 dc)
- This round significantly increases your stitch count, causing the fabric to start rippling.
Rnd 8: Ch 3 (counts as 1 dc). (Dc in next st, 2 dc in next st) around. Join with sl st to top of beg ch 3. (168 dc)
- This round further expands the ruffles, making them more pronounced.
Rnd 9: Ch 4 (counts as 1 tr). Tr in each st around. Join with sl st to top of beg ch 4. (168 tr)
- Working treble crochets in this round adds height and emphasizes the ruffled edge. You can adjust this to dc if you prefer a less dramatic ruffle.
Fasten off, leaving a tail for weaving in.
Video tutorial
Finishing:
- Weave in Ends: Using your yarn needle, carefully weave in all remaining yarn tails. Ensure they are secure and hidden within the stitches.
- Block (Optional but Recommended): For a neat finish, gently block your ruffled circle. You can mist it with water, gently shape it, and let it dry flat, or pin it to a foam board for more defined shaping. This will help the ruffles lay nicely.
Your Petal-Perfect Ruffled Circle is Complete!
Isn’t it lovely? Whether it’s protecting your table from condensation or adding a decorative flourish to another project, this ruffled circle is a beautiful and versatile handmade item. Play with different colors for different looks!
I hope you enjoyed crocheting this charming piece! If you make one, I would absolutely love to see your finished projects. Share your photos on social media and tag me (if you have an associated platform)!
Happy hooking!