 by
by 
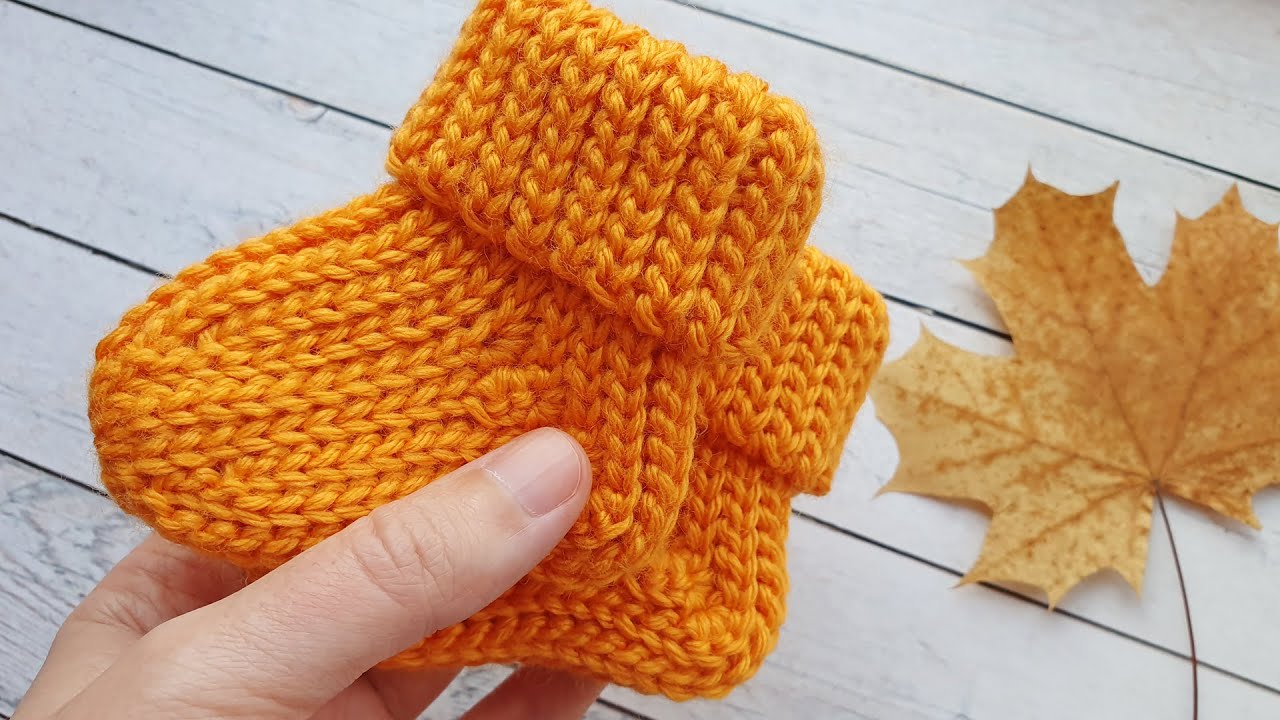
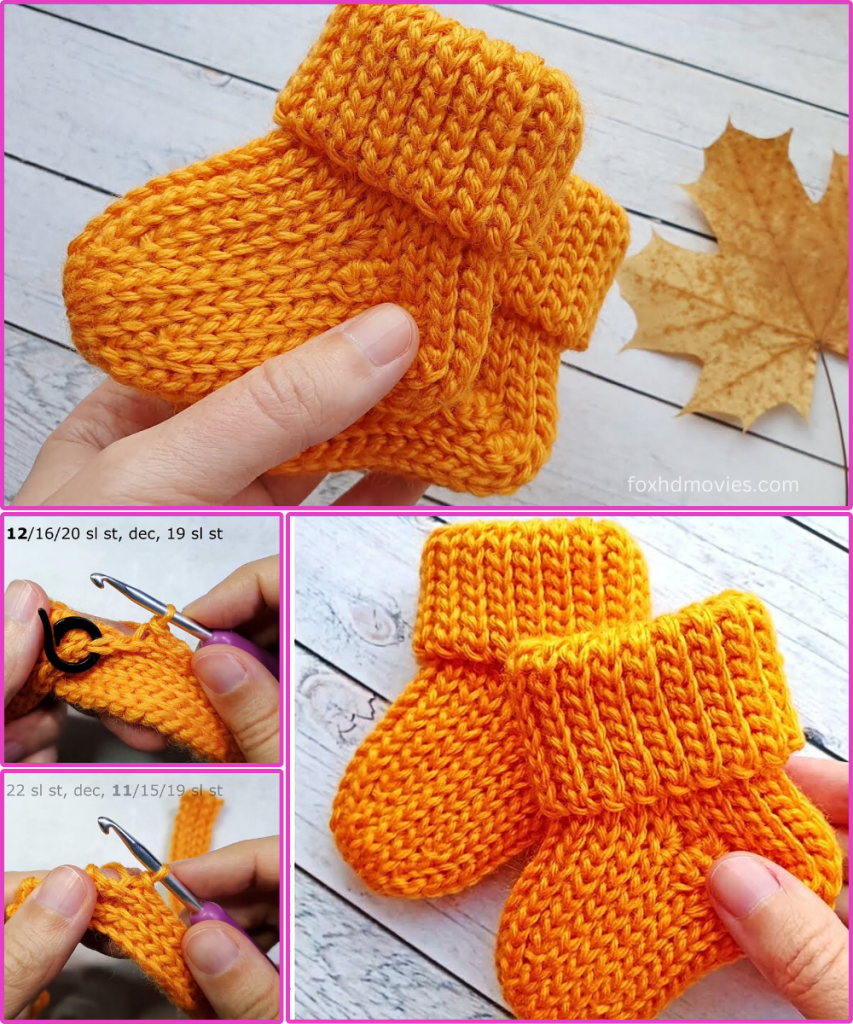
Is there anything sweeter than a tiny pair of booties designed to keep little toes warm? These charming orange baby booties, with their thick, ribbed texture and perfectly cozy folded cuffs, are ideal for cooler weather and make a wonderful handmade gift. They capture the essence of autumn warmth and comfort!
What makes this pattern unique is the beautiful, stretchy texture created by simple knit and purl stitches, and the ingenious construction that results in a seamless look and a perfectly snug fit. If you’re looking for a quick and rewarding knitting project for a baby, this is the one!
Let’s gather our needles and yarn and start knitting some cuteness!
Materials You’ll Need:
- Worsted Weight (Aran/10-ply) Yarn: Approximately 50-70 yards of a soft, washable yarn (e.g., Bright Orange).
- Tip: A soft wool blend or acrylic is perfect for these booties, offering warmth and easy care.
- Knitting Needles: Size US 5 (3.75mm) or US 6 (4.0mm) double-pointed needles (DPNs), or a circular needle if using the Magic Loop method.
- Using DPNs is often easiest for knitting in the round on small circumferences.
- Yarn Needle: For seaming and weaving in ends.
- Scissors
- Stitch Markers: To mark the beginning of rounds and specific points.
Gauge (Crucial for Baby Booties!)
Achieving the correct gauge is essential to ensure the booties fit the intended baby. 22 stitches x 30 rows = 4 inches (10 cm) in stockinette stitch. 24 stitches x 32 rows = 4 inches (10 cm) in ribbing (K1, P1).
Please knit a quick swatch before starting! Adjust your needle size if necessary.
Sizing Notes:
This pattern is written for baby shoe size approximately 0-6 months.
- Finished Foot Length (Sole): Approximately 3.5 – 4 inches (9 – 10 cm).
To adjust for 6-12 months: Use slightly thicker yarn (light worsted/DK weight) and/or knit more rows for the cuff and foot section.
Abbreviations (US Terms):
- CO: Cast on
- K: Knit
- P: Purl
- K1, P1 Rib: Knit 1, Purl 1 (alternating)
- K2tog: Knit 2 stitches together (decrease)
- BO: Bind off
- st(s): Stitch(es)
- DPNs: Double-pointed needles
- PM: Place marker
Let’s Get Knitting!
We’ll start at the cuff, knit down to the ankle, work the heel and foot, and finish with the toe shaping. The cuff is knit in a rib pattern for stretchiness.
Part 1: The Cuff
We’ll knit the cuff in the round using a K1, P1 rib pattern.
CO 36 stitches. (Distribute stitches evenly across your DPNs, or join for knitting in the round using Magic Loop.) PM and join to knit in the round, being careful not to twist the stitches.
Rounds 1 – 20: K1, P1 around. (36 sts)
- This creates the lovely ribbed cuff. Knit more rounds here for a longer cuff if desired.
Part 2: The Ankle and Heel Flap
We’ll now switch to knitting flat for the heel flap.
Round 21: Knit 18 stitches.
- You are now only working on these 18 stitches. Turn your work.
Rows 22 – 32: Continue knitting flat in stockinette stitch (Knit on RS, Purl on WS) on these 18 stitches only.
- *Row 22 (WS): Purl 18. Turn.
- Row 23 (RS): Knit 18. Turn.
- Repeat Purl/Knit rows until you have 11 rows total for the heel flap. This section forms the back of the heel.*
Part 3: Shaping the Heel
We’ll use short row shaping (or “heel turn”) to create the rounded heel cup.
Row 1 (RS): K10, K2tog, K1. Turn. Row 2 (WS): P4, P2tog, P1. Turn. Row 3 (RS): K5, K2tog, K1. Turn. Row 4 (WS): P6, P2tog, P1. Turn.

Continue in this manner (knitting/purling to the gap created by the previous turn, K2tog/P2tog the stitch on the needle and the stitch across the gap) until all stitches from the heel flap are incorporated, and you are left with approximately 8 stitches.
Part 4: Picking Up Stitches & Knitting the Foot
Now we’ll resume knitting in the round to form the foot.
- Pick Up Stitches: Knit across the 8 stitches remaining on the needle (the heel). Pick up and knit 10 stitches along the side of the heel flap.
- Knit Across Instep: Knit the remaining 18 stitches that have been waiting on the other needle(s) (the instep).
- Pick Up Stitches: Pick up and knit 10 stitches along the second side of the heel flap.
- Join: You are now back to knitting in the round. The stitches are distributed across your needles.
Rounds 1 – 10 (Foot): Knit all stitches in the round.

- Knit until the foot section reaches the base of the baby’s toes (the widest part of the foot).
Part 5: Decreasing the Toe
We’ll decrease stitches to close the toe.
Round 1: K2tog, K5; repeat from * to * around. (Decreased by 6 stitches) Round 2: Knit. Round 3: K2tog, K4; repeat from * to * around. (Decreased by 6 stitches) Round 4: Knit. Round 5: K2tog, K3; repeat from * to * around. (Decreased by 6 stitches) Round 6: Knit. Round 7: K2tog, K2; repeat from * to * around. (Decreased by 6 stitches) Round 8: Knit.
Final Decreases: K2tog, K1 until only a few stitches remain.
Finishing: Cut the yarn, leaving a tail of about 6 inches. Thread the tail onto your yarn needle. Thread the needle through the remaining stitches, pull tightly to cinch the hole closed, and weave in the end securely on the inside of the bootie.
Repeat all steps for the second bootie. Roll down the ribbed cuff for that cozy, finished look!
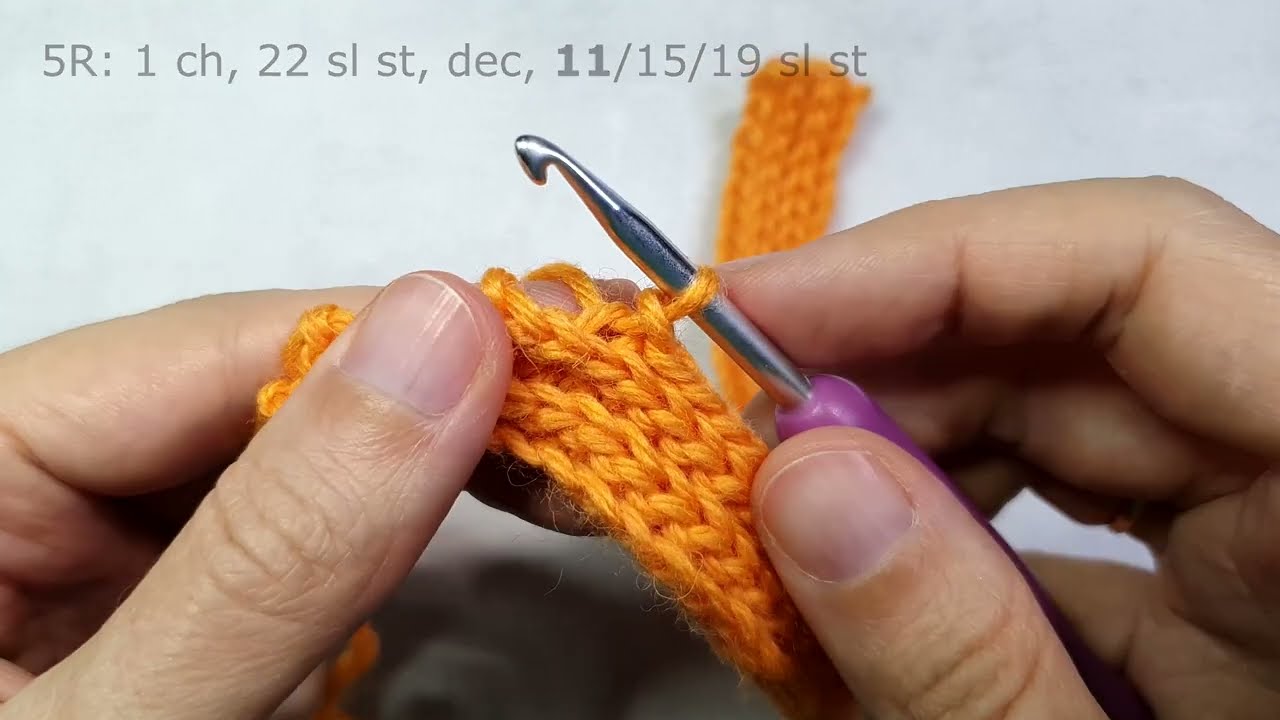
Video tutorial
Your Cozy Rolled-Cuff Booties are Complete!
These booties are soft, snug, and ready to keep those tiny toes warm. They make an excellent baby shower gift or a thoughtful addition to a newborn’s wardrobe.
I hope you enjoyed knitting these adorable booties! If you make them, I would love to see your finished projects. Share your photos and tag me (if you have an associated platform)!
Happy knitting!