by
by 
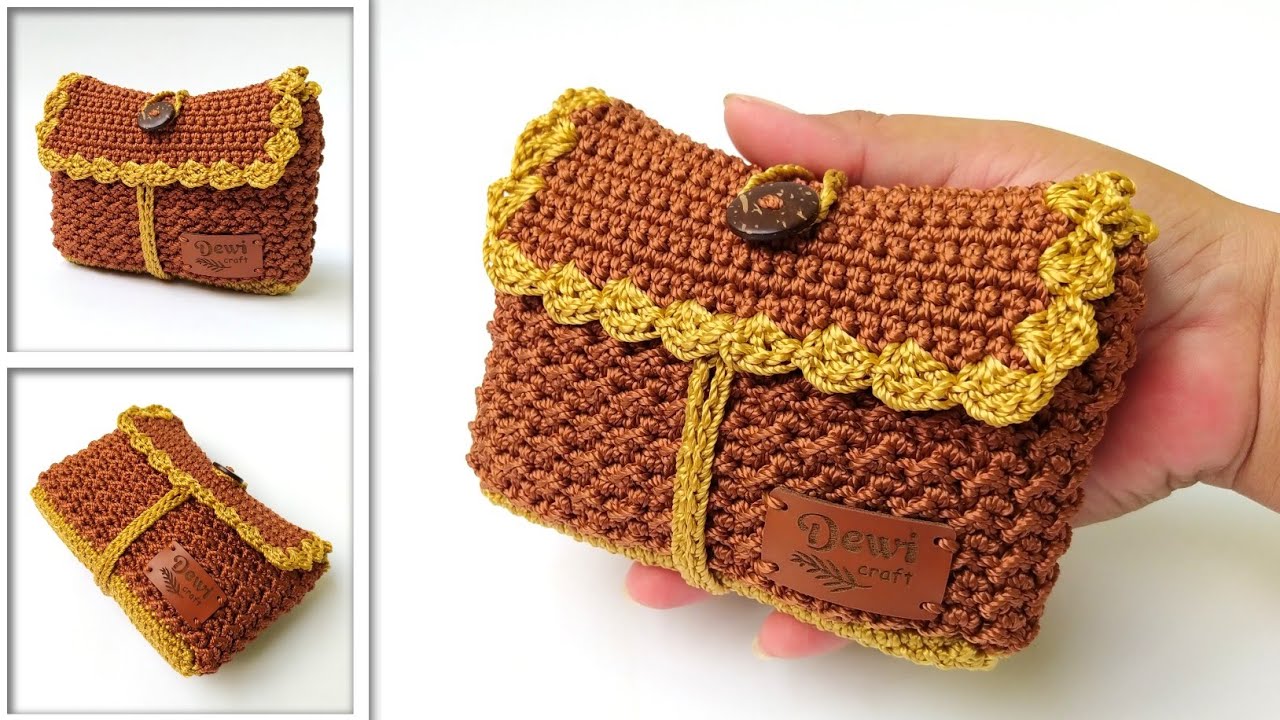
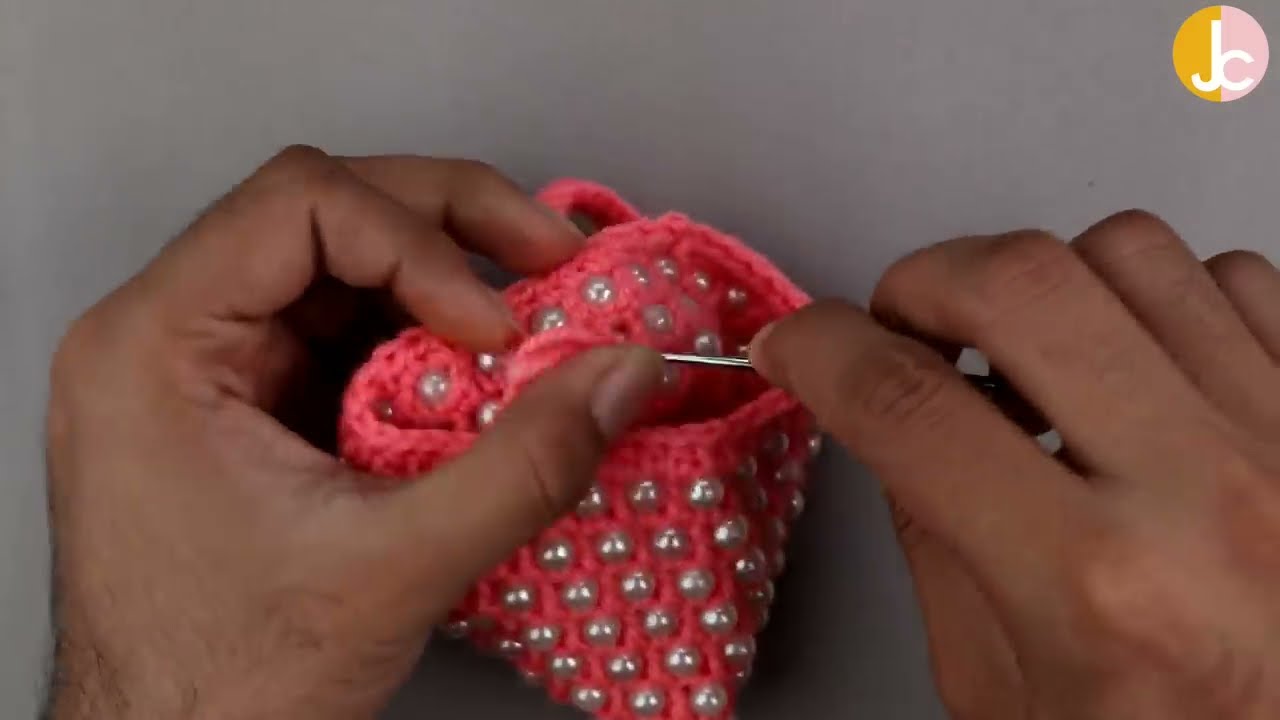
Who doesn’t love a bit of sparkle? This gorgeous crocheted zipper pouch, adorned with dozens of shimmering pearl beads, is an absolute showstopper! It’s perfect for keeping your coins, cards, lip gloss, or even small craft supplies organized and stylish. The combination of the sturdy crochet fabric, the practical zipper, and the elegant beading makes this a truly unique and luxurious accessory.
What I find most captivating about this design is how the beads are seamlessly integrated into the crochet stitches, creating a stunning textured surface. While it might look intricate, the technique for adding the beads is surprisingly straightforward, making this a rewarding project for adventurous beginners or intermediate crocheters looking to add some dazzle to their work!

Ready to add some handmade glam to your day? Let’s gather our materials and get ready to bead and hook!
Materials You’ll Need:
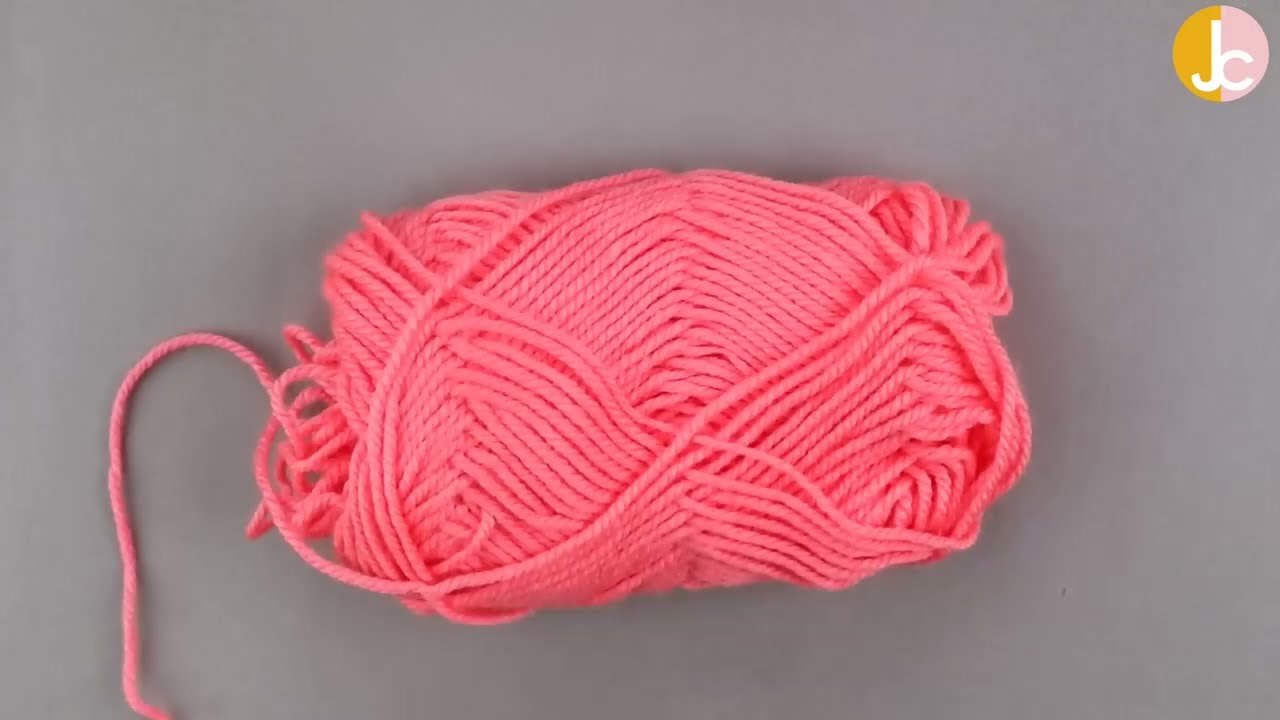
- DK Weight (Light Worsted / 8-ply) Yarn: Approximately 50-70 yards of your chosen color (e.g., Bright Pink).
- Tip: A smooth, non-fuzzy yarn like mercerized cotton or acrylic will work best to let the beads shine and avoid snagging.
- Crochet Hook: Size G/4.0mm (or size needed to obtain gauge).
- Yarn Needle: Essential for weaving in ends and crucially for threading the beads onto your yarn.
- Scissors
- Pearl Beads: Approximately 80-100 beads (depending on size and pouch dimensions), about 6mm-8mm in diameter, with a hole large enough for your yarn to pass through.
- Crucial Prep: You’ll need to pre-string all your beads onto your working yarn BEFORE you start crocheting. It’s much easier than trying to add them as you go.
- Zipper: One 6-inch (15 cm) zipper that matches your yarn color or is complementary (e.g., beige/cream for pink).
- Optional: Small amount of yarn for a wrist strap if desired (matching or contrasting).
Gauge (Important for Pouch Size & Bead Spacing!)
Getting the right gauge is important for your pouch to be the correct size for the zipper and to ensure good bead spacing.18 single crochet stitches x 20 rows = 4 inches (10 cm).
Please make a small swatch without beads first to check your basic stitch gauge. If your swatch is larger, try a smaller hook. If it’s smaller, go up a hook size.
Finished Pouch Size (Approximate):
Approximately 6 inches (15 cm) wide x 4 inches (10 cm) tall (excluding wrist strap).
Abbreviations (US Terms):
- ch: chain
- sc: single crochet
- sl st: slip stitch
- fo: fasten off
- st(s): stitch(es)
- BPSc: Bead Single Crochet (explained below)
Special Stitch: Bead Single Crochet (BPSc)
This is the technique for incorporating the beads directly into your crochet fabric.
To make a BPSc:
- Bring a bead close to your hook, right behind the stitch you are about to make.
- Insert hook into the next stitch.
- Yarn over and pull up a loop (the bead will sit at the front of your work).
- Yarn over and pull through both loops on hook to complete the single crochet.
- The bead should now be snugly held by the single crochet stitch on the front (RS) of your work.
Pre-Work: Threading Your Beads!
This is the most important step before you start crocheting!
- You MUST thread all your beads onto your working yarn before you begin crocheting. This means cutting a generous length of yarn (e.g., 200-250 yards) and threading all 80-100 beads onto it using a thin yarn needle. Slide them down the yarn away from the ball to give yourself room to work.
Let’s Get Crocheting!
We’ll work this pouch flat in rows, primarily in single crochet, incorporating the beads as we go.
Part 1: The Pouch Panel (Make 2 identical panels)
Using your chosen yarn color (e.g., Pink), with beads pre-strung on the yarn:
Ch 26. (This will be the width of your pouch. Adjust for different sizes, ensuring it’s slightly wider than your zipper.)
Row 1: Sc in 2nd ch from hook and in each ch across. Ch 1, turn. (25 sc)
- This forms your base row. No beads on this row.
Row 2 (RS – First Beaded Row): Sc in first st. BPSc in next st, Sc in next st; repeat from * to * across to last st, Sc in last st. Ch 1, turn. (25 sts)
- You should have 12 beads on this row, with a regular sc at each end and alternating in between.
Row 3 (WS – Non-Beaded Row): Sc in each sc across. Ch 1, turn. (25 sc)
- The wrong side rows are always plain single crochet.
Row 4 (RS – Beaded Row): Sc in first st. BPSc in next st, Sc in next st; repeat from * to * across to last st, Sc in last st. Ch 1, turn. (25 sts)
Repeat Rows 3 and 4 until your panel measures approximately 4 inches (10 cm) tall, ending on a Row 3 (WS – non-beaded) for a cleaner edge. This should be about 20 rows total (10 beaded rows, 10 non-beaded rows).
Fasten off, leaving a long tail (about 20 inches) for seaming. Repeat all steps to create a second identical panel.
Part 2: Seaming the Pouch Sides & Bottom

- Align Panels: Place the two crocheted panels together, wrong sides facing each other (so the beads are on the outside of both panels). Make sure all edges are aligned.
- Seam Sides & Bottom: Using your yarn needle and one of the long tails you left, begin seaming along one side, across the bottom, and up the other side. Use a whip stitch or mattress stitch for a neat and sturdy seam. Stitch firmly through both loops of both panels.
- Secure and Weave: Once seamed, knot your yarn securely on the inside of the pouch. Weave in any remaining tails neatly. Turn the pouch right side out if necessary (beads should be on the outside).
Part 3: Attaching the Zipper
This step requires a bit of careful hand-stitching.
- Position Zipper: Open your zipper. Align one side of the zipper tape with the top edge of one side of the pouch opening. Make sure the zipper pull is at one end (this will be the side where your wrist strap will attach if you make one). The zipper teeth should be facing up.
- Pin (Optional but Recommended): Use small sewing pins to hold the zipper in place along the top edge of the pouch.
- Stitch Zipper: Using your yarn needle and a new piece of matching yarn (or a strong sewing thread), hand-stitch the zipper tape securely to the top edge of the pouch. Use small, neat stitches that go through the zipper tape and into the top stitch of your crochet fabric. Be careful not to stitch through the zipper teeth or too close to them, which could impede the zipper’s function.
- Repeat for Other Side: Once one side is securely attached, close the zipper to help align. Then, attach the other side of the zipper tape to the top edge of the second side of the pouch.
- Secure and Weave: Knot your yarn securely and weave in any remaining tails. Test your zipper!
Part 4: Adding the Wrist Strap (Optional)
Using your main yarn color:
Ch 25.Row 1: Sl st in 2nd ch from hook and in each ch across. (24 sl sts) Fasten off, leaving a long tail.
Attach Strap: Fold the chain of slip stitches in half to form a loop. Using the tail and your yarn needle, securely stitch the ends of the loop to the side of the pouch near the zipper’s closed end. Stitch through multiple times to ensure it’s very secure. Knot and weave in ends.
Video tutorial
Your Glamorous Beaded Zipper Pouch is Complete!
Fill it with your essentials and enjoy the sparkle! This pouch is truly a statement piece, and it’s even more special because you made it yourself. You can customize it by trying different bead colors, yarn colors, or even adding a lining for extra durability.
I hope you enjoyed creating this beautiful and functional accessory! If you make this beaded pouch, I would absolutely love to see it. Share your photos on social media and tag me (if you have an associated platform)!
Happy hooking and happy beading!