 by
by 
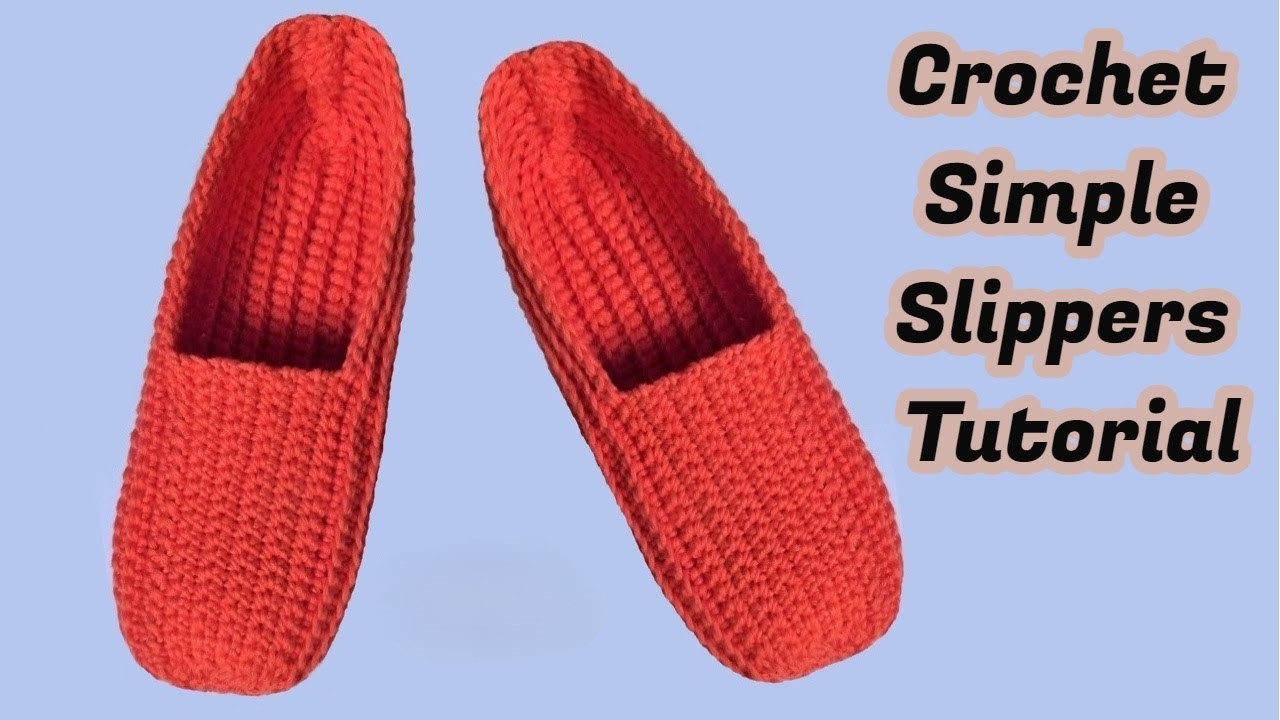
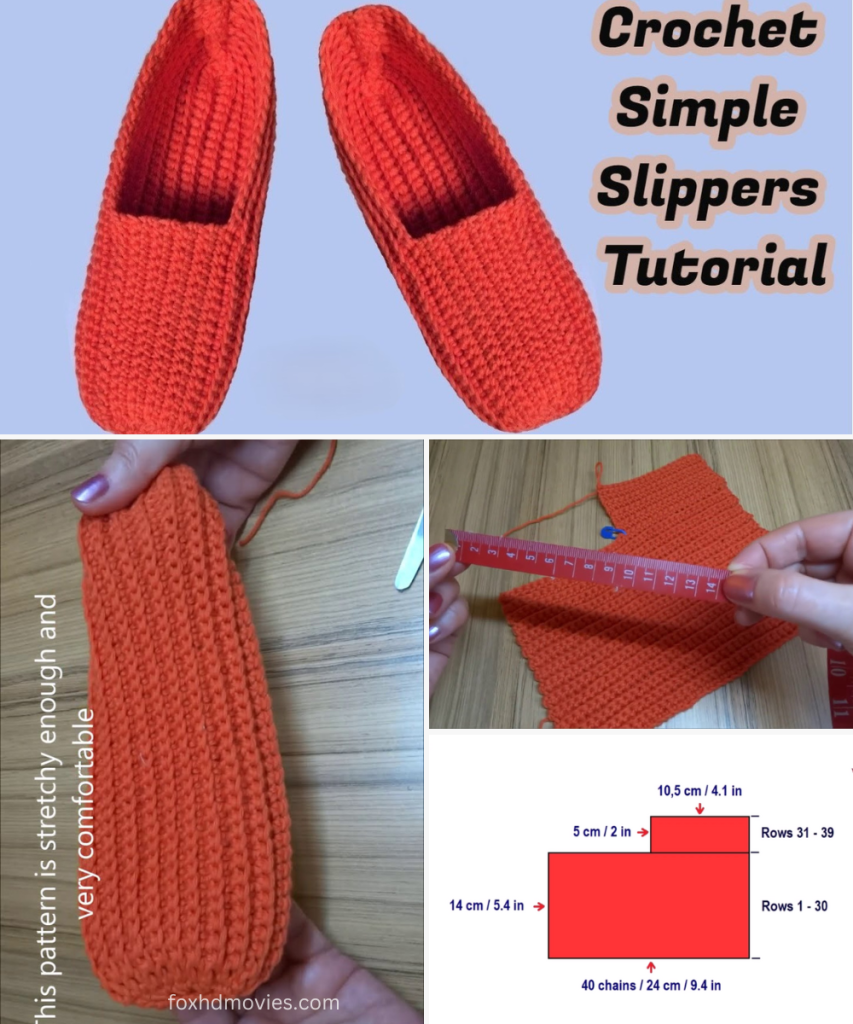
There’s nothing quite like slipping your feet into a pair of warm, handmade slippers after a long day. And if you’re looking for a project that’s both satisfying to make and wonderfully comfortable to wear, you’ve found it! Today, we’re going to crochet these delightfully simple, yet incredibly cozy, ribbed house slippers.
What I particularly love about these slippers is their textured look, achieved with simple stitches that create that lovely ribbed effect. They’re quick to work up, making them perfect for last-minute gifts, or simply as a well-deserved treat for yourself. Let’s grab our hooks and get started on some serious comfort!
Materials You’ll Need:
- Worsted Weight Yarn: Approximately 200-250 yards of a soft, comfortable yarn (e.g., Red or your favorite color).
- Tip: Acrylic or wool blends work wonderfully for warmth and durability.
- Crochet Hook: Size I/5.5mm (or size needed to obtain gauge)
- Yarn Needle: For seaming and weaving in ends
- Scissors
- Stitch Markers (Optional but Recommended): To mark the beginning of rounds or key stitches.
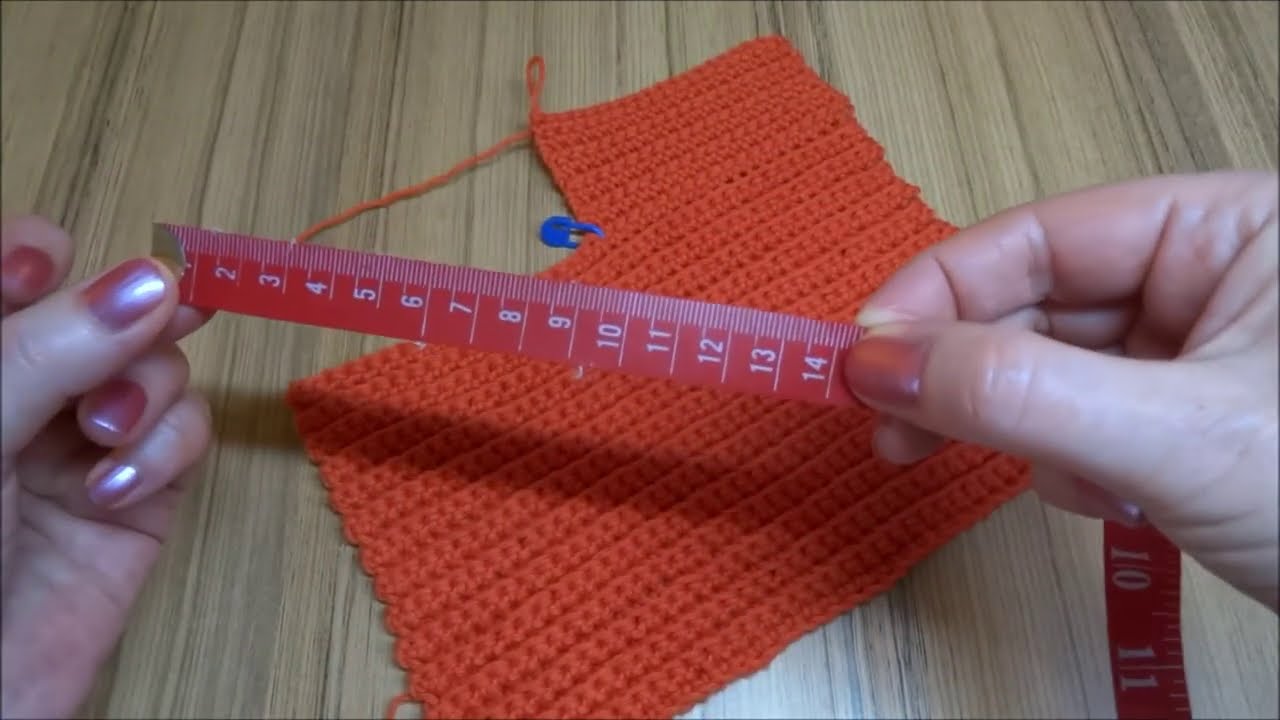
Gauge (Don’t Skip This!)
Getting your gauge right is crucial for a good fit. 12 half double crochet stitches x 10 rows = 4 inches (10 cm) in back loop only hdc.
Make a quick swatch before you begin. If your swatch is larger, try a smaller hook. If it’s smaller, go up a hook size.
Sizing Notes:
This pattern is written for an average women’s US shoe size 7-8. Instructions for adjusting the size are included in the sole section. To customize, you’ll mainly adjust the starting chain length for the sole.
Abbreviations (US Terms):
- ch: chain
- sl st: slip stitch
- hdc: half double crochet
- hdc BLO: half double crochet in back loop only
- hdc2tog: half double crochet 2 stitches together (decrease)
- fo: fasten off
Let’s Get Crocheting!
These slippers are worked flat, then seamed to create the slipper shape. This method is incredibly easy and yields a surprisingly professional finish.
Part 1: The Slipper Main Panel (Make 2)
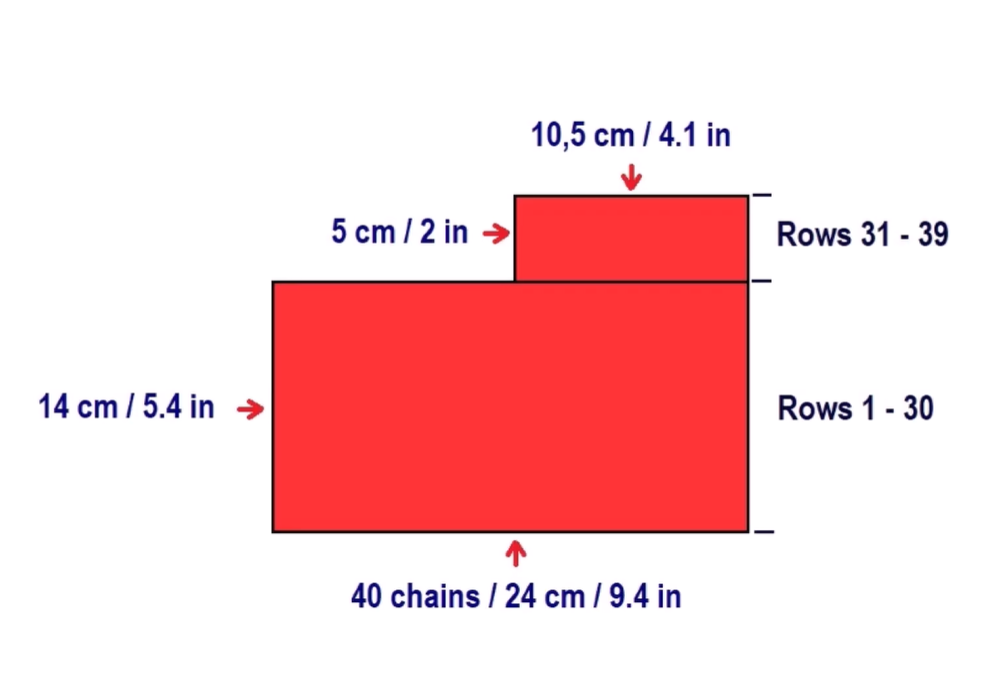
We’ll start by chaining the length of your foot, from the heel to the tip of the longest toe, plus a little extra for seam allowance and stretch. For a women’s US size 7-8, a good starting point is about 40 chains.
Using your chosen yarn (e.g., Red):
Ch 40. (Adjust chain length: Measure your foot from heel to toe. Your chain should be roughly that length, or slightly longer, to account for the ribbing and shaping.)
Row 1: Hdc in 3rd ch from hook and in each ch across. Ch 2, turn. (38 hdc)
- The ch 2 at the beginning of each row counts as your first hdc here and throughout, but we won’t be working into it in subsequent rows unless specified for increases/decreases.
Row 2: Hdc BLO in each hdc across. Hdc in top of turning ch-2. Ch 2, turn. (38 hdc)
- Working in the back loop only creates that beautiful ribbed texture!
Rows 3 – 20 (or until desired width): Repeat Row 2. (38 hdc per row)
- Important: The number of rows determines the width of your slipper opening. You want enough rows so that when you fold the panel in half, it wraps comfortably around the widest part of your foot (across the ball of your foot). For an average foot, 20-22 rows usually works well. Hold it up to your foot and estimate!
Fasten off, leaving a very long tail (at least 24-30 inches) for seaming later.
Repeat these steps to create a second identical panel for the other slipper.
Part 2: Seaming and Shaping Your Slipper
Now for the magic! We’re going to transform your flat rectangle into a three-dimensional slipper.

- Fold the Panel: Lay one of your crocheted panels flat. Fold it in half lengthwise, bringing the two shorter ends together.
- The ribbed texture will now run vertically.
- Seam the Toe: Take your yarn needle and thread the long tail you left. Starting from one corner of the folded edge (which will be the toe), begin seaming the two layers together using a whip stitch or mattress stitch. Stitch across the entire end. Pull it snug to create a rounded toe. Knot securely and weave in any excess tail if you still have some.(Visual Aid: Imagine pulling the top of a stocking closed – that’s the toe seam.)
- Seam the Heel: Now, go to the opposite folded end (which will be the heel). Starting from the other corner, seam about 2-3 inches (5-7 cm) along this edge. This will create the back of your heel. Secure with a knot and weave in any remaining tail.(Visual Aid: You’re just closing off the very back part where your heel sits.)
- Create the Instep Opening: The large un-seamed opening in the middle is where your foot will go. Try on the slipper! Adjust the seaming at the heel if you need a tighter or looser fit. The ribbed fabric is quite forgiving and will stretch to fit your foot comfortably.
Video tutorial
Your Ribbed Slippers are Complete!
Slip them on and enjoy the cozy comfort you just created with your own hands! These make fantastic gifts for anyone who appreciates handmade warmth. You can also customize them by adding:
- A contrasting color cuff (just add a few rows of sc or hdc around the opening).
- A small fabric tag or a leather patch on the side.
- Non-slip grippers on the bottom (you can buy these or use puff paint).
I hope you enjoyed crocheting these simple, yet super comfy, ribbed slippers! Please share your finished projects with me – I love seeing your creations.
Happy hooking!