 by
by 
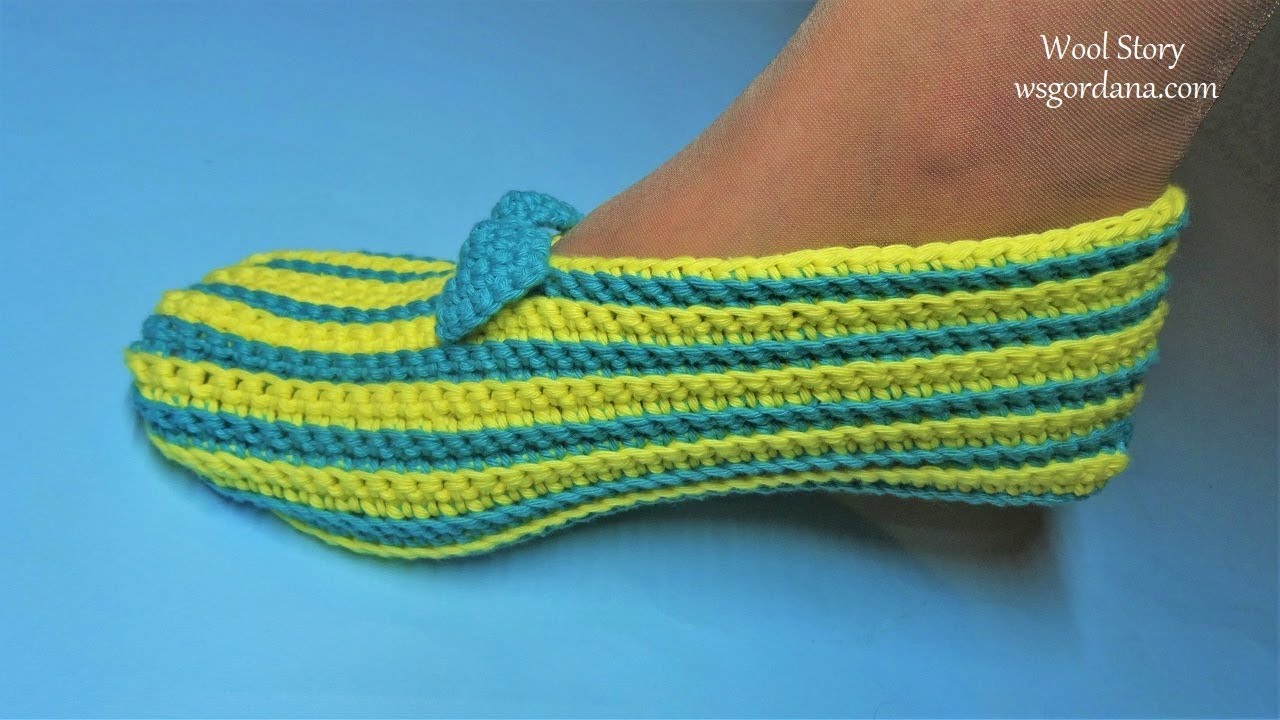
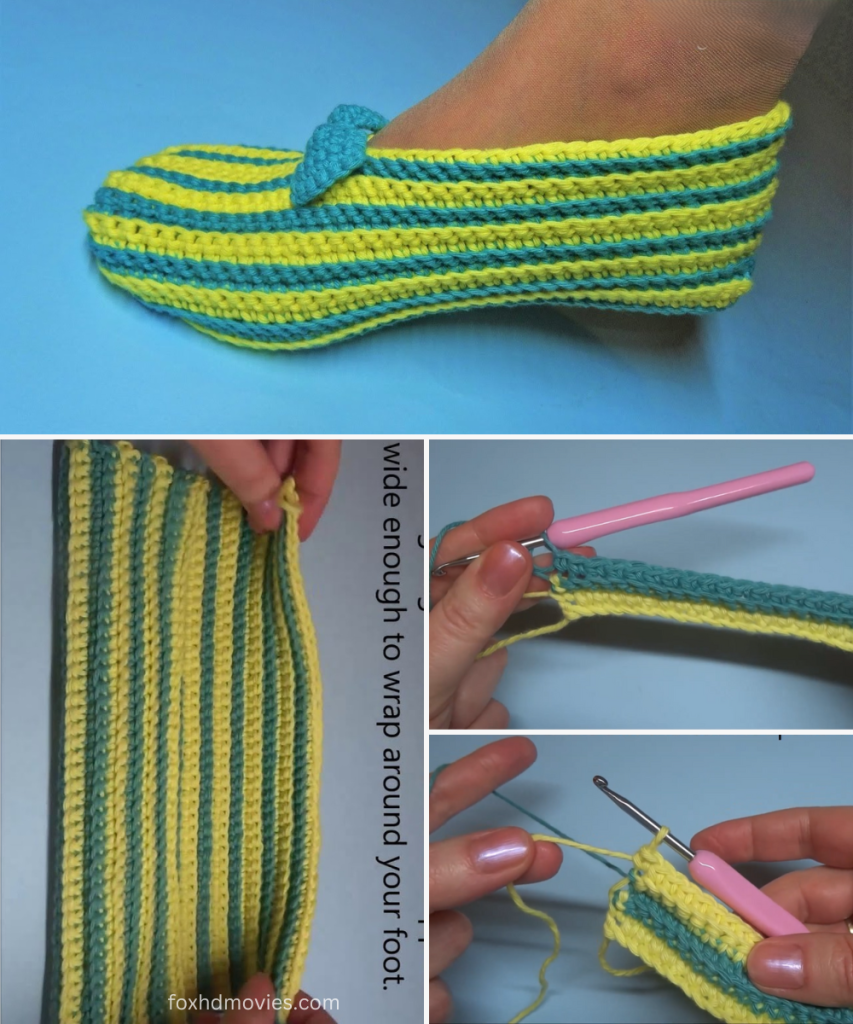
Are you looking for a cozy and stylish project to whip up? Something that feels like a warm hug for your feet after a long day? Look no further! Today, we’re going to dive into creating these charming striped house slippers – perfect for gifting, or just for treating yourself to some handmade comfort.
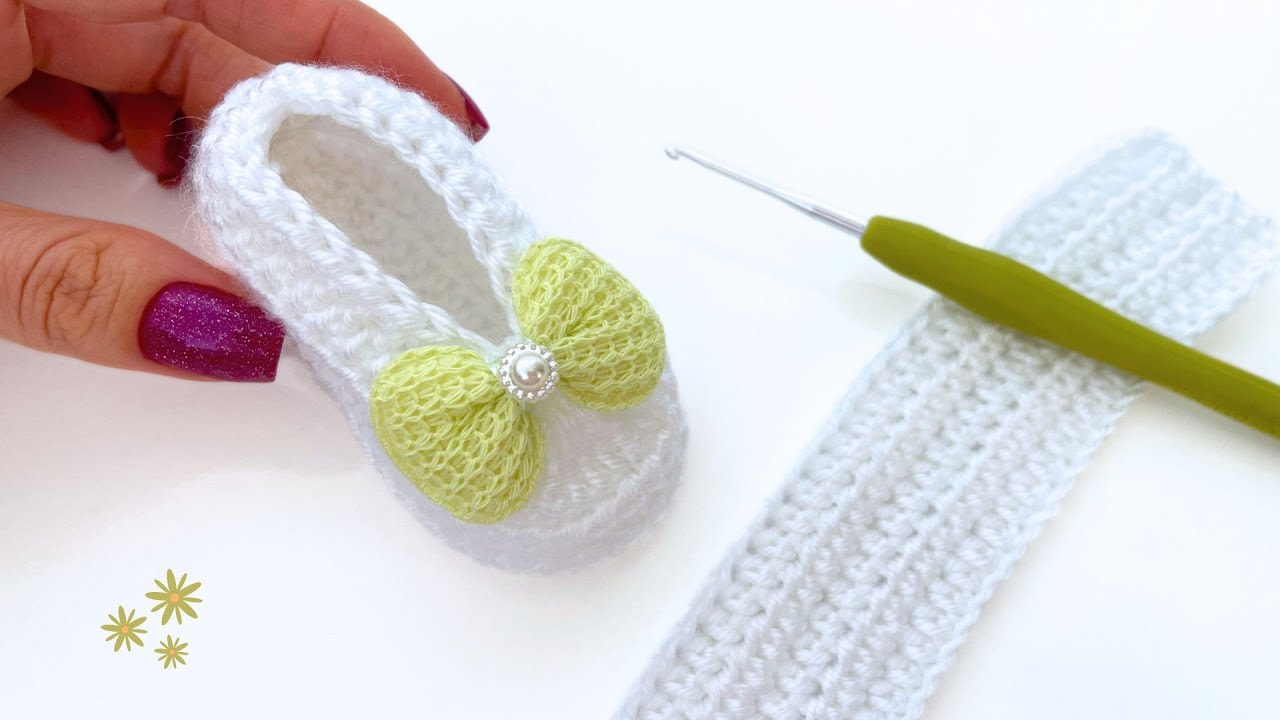
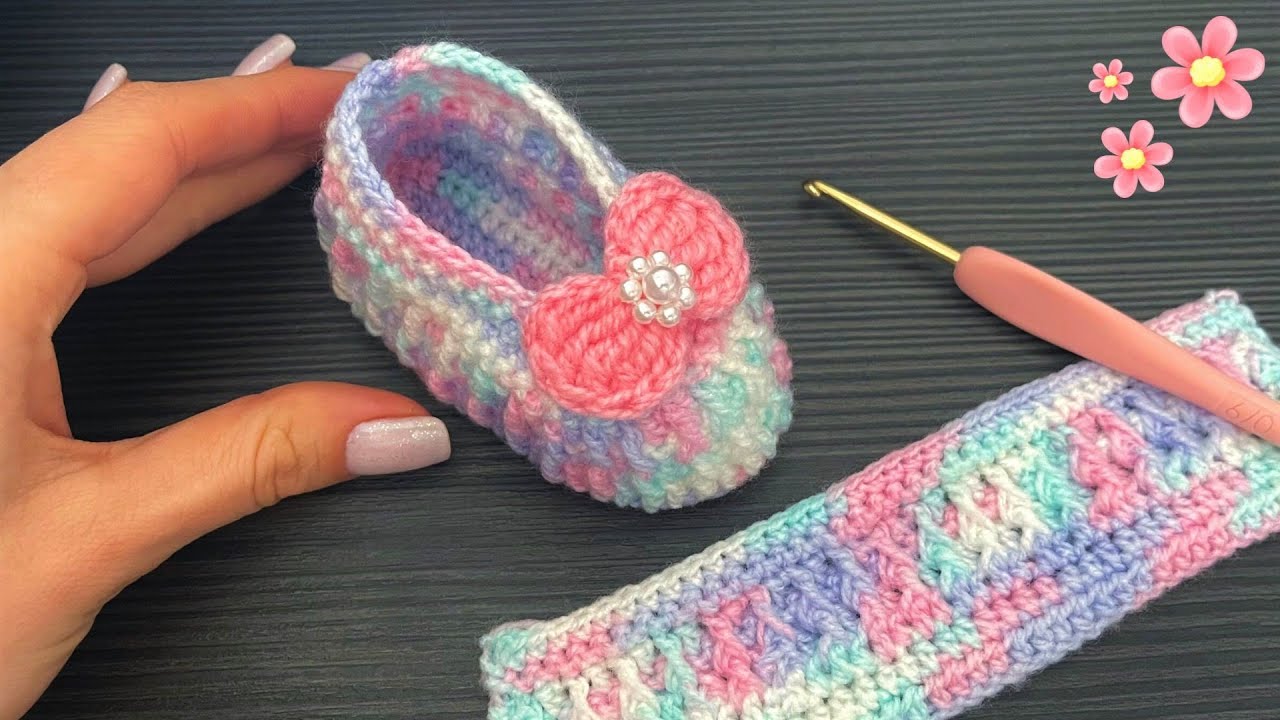
I absolutely adore the classic yet playful vibe of these horizontal stripes, and that little bow detail? Simply irresistible! The beauty of this pattern is its simplicity, making it a fantastic project for crocheters of all levels, even adventurous beginners.
Let’s gather our supplies and get ready to hook some happiness!
Materials You’ll Need:
- Worsted Weight Yarn:
- Main Color (MC) – Approximately 100-150 yards (e.g., Bright Yellow)
- Contrasting Color (CC) – Approximately 100-150 yards (e.g., Teal Blue)
- Pro Tip: Choose soft, durable yarns for maximum comfort and longevity. Acrylic blends work great!
- Crochet Hook: Size H/5.0mm (or size needed to obtain gauge)
- Yarn Needle: For weaving in ends
- Scissors
- Stitch Marker (Optional but Recommended): Especially helpful for the sole rounds.
Gauge (Very Important!)
Getting the right gauge ensures your slippers fit properly. 14 single crochet stitches x 16 rows = 4 inches (10 cm)
Take a moment to make a small swatch. If your swatch is too big, try a smaller hook; if it’s too small, go up a hook size.
Sizing Notes:
This pattern is written for an average women’s US shoe size 7-8. Instructions for adjusting the size will be included in the sole section. To customize your fit, you’ll primarily be adjusting the starting chain length and the number of rounds for the sole.
Abbreviations (US Terms):
- ch: chain
- sl st: slip stitch
- sc: single crochet
- hdc: half double crochet
- dc: double crochet
- inc: increase (2 sc in the same stitch)
- fo: fasten off
- MC: Main Color
- CC: Contrasting Color
Let’s Get Crocheting!
We’ll be working these slippers from the sole up, then building the sides, and finally adding that adorable bow.
Part 1: The Sole (Make 2)
We’ll start with an oval shape for the sole. For a women’s US size 7-8, we’ll chain 25.
Using MC:
Ch 25 (adjust this chain length to roughly match the length from your heel to the ball of your foot, minus about 1-2 inches for stretching).
Row 1: 2 sc in 2nd ch from hook, sc in next 22 ch, 3 sc in last ch. Working down the opposite side of the chain: sc in next 22 ch. Join with sl st to first sc. (50 stitches)
- You’ve now created the basic oval shape.
Round 2: Ch 1. Inc in first 2 sc, sc in next 22 sc, inc in next 3 sc, sc in next 22 sc, inc in last sc. Join with sl st to first sc. (58 stitches)
Round 3: Ch 1. (Sc in next sc, inc in next sc) 2 times, sc in next 22 sc, (sc in next sc, inc in next sc) 3 times, sc in next 22 sc, sc in next sc, inc in last sc. Join with sl st to first sc. (66 stitches)
Round 4 (Optional for larger sizes/wider feet): Ch 1. (Sc in next 2 sc, inc in next sc) 2 times, sc in next 22 sc, (sc in next 2 sc, inc in next sc) 3 times, sc in next 22 sc, sc in next 2 sc, inc in last sc. Join with sl st to first sc. (74 stitches)
- Measure your sole against your foot. It should be slightly smaller than your actual foot to allow for the sides to form properly and for a snug fit. If you need more length or width, you can add another round of increases, spacing them out evenly.
Fasten off MC. Weave in ends securely. Repeat for the second sole.
Part 2: Building the Slipper Sides (Work with 1 Sole at a time)
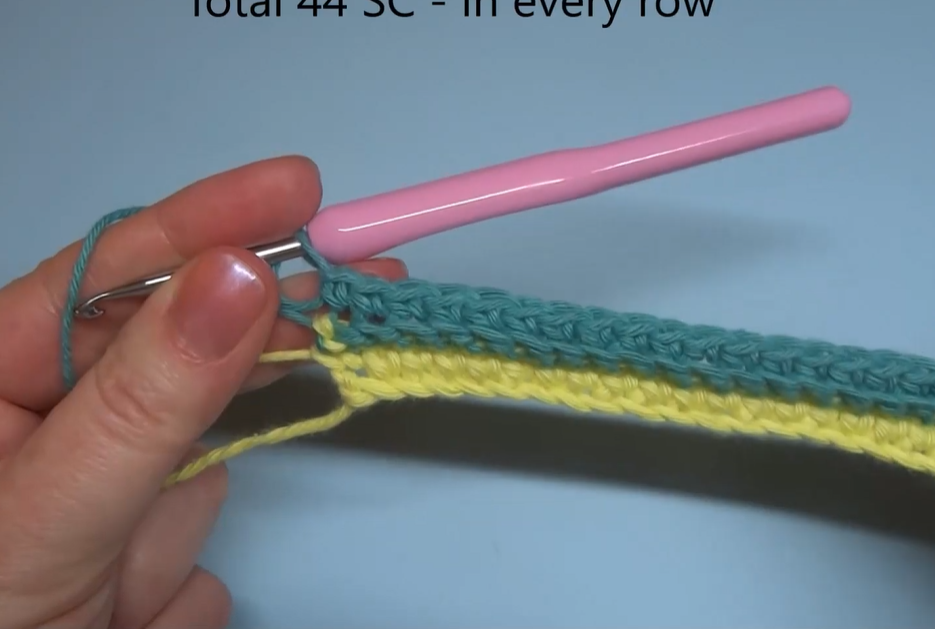
Now, we’ll start building up the sides using both colors. To create the crisp stripe definition, we’ll be joining with a slip stitch at the end of each round and then chaining 1 to begin the next.
Attach CC with a sl st in any stitch.
Round 1 (CC): Ch 1. Sc in each stitch around, working in the back loop only for this round. Join with sl st to first sc. (This creates a defined ridge for the sole).
Attach MC.
Round 2 (MC): Ch 1. Sc in each stitch around. Join with sl st to first sc.
Attach CC.
Round 3 (CC): Ch 1. Sc in each stitch around. Join with sl st to first sc.
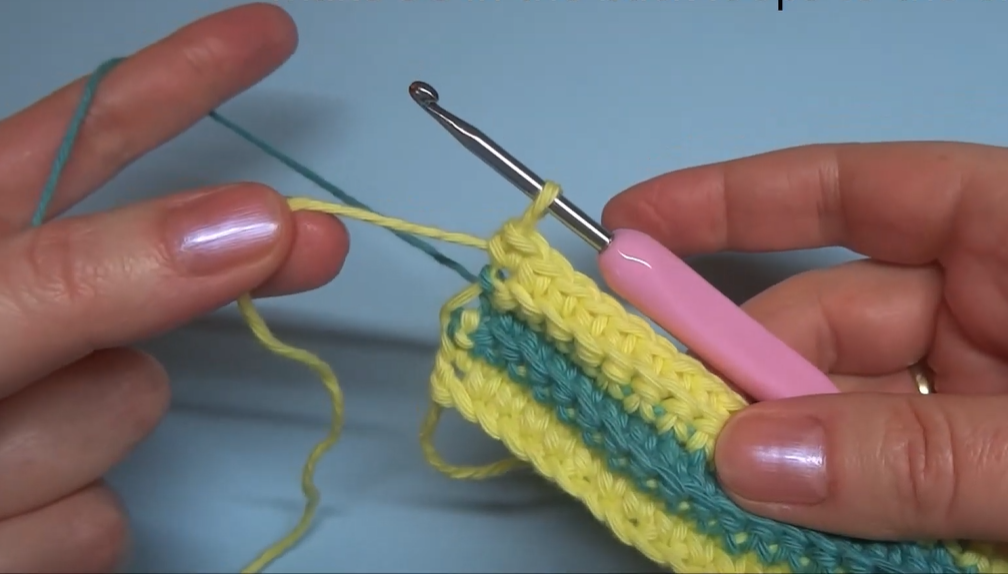
Continue alternating MC and CC every round, working sc in each stitch around, joining with a sl st and chaining 1 to begin the next round.
How many rounds? This depends on the desired height of your slipper. For the slipper in the image, it looks like about 6-8 total rounds for the sides.
- Example Stripe Pattern:
- Round 1 (CC – BLO)
- Round 2 (MC)
- Round 3 (CC)
- Round 4 (MC)
- Round 5 (CC)
- Round 6 (MC)
- If you want a taller slipper, add more rounds.
After the final stripe round, do not fasten off your current color if you plan to use it for the top shaping.
Part 3: Shaping the Toe & Instep
This is where your slipper starts to take its distinct shape! We’ll be working back and forth in rows to create the opening for your foot. You’ll need to eyeball the center front of your slipper.
Using the color of your last stripe round (or attach new MC/CC):
Row 1: Find the center front of your slipper. Count back 10-12 stitches from the center on one side, and place a stitch marker. Count forward 10-12 stitches from the center on the other side, and place another stitch marker. These markers define the width of your slipper opening. Ch 1. Sc in each stitch between the two markers (approximately 20-24 sc depending on your markers). Turn.
Row 2: Ch 1. Sc2tog, sc in each stitch until last 2 stitches, sc2tog. Turn. (2 stitches decreased)
Row 3: Ch 1. Sc in each stitch across. Turn.
Repeat Rows 2 and 3 until your slipper opening is the desired size to comfortably fit your foot. You’ll notice the V-shape forming. Continue until you have a few stitches left for the narrowest part of the opening (e.g., 6-10 stitches).
Final Row: Ch 1. Sc across. Fasten off, leaving a long tail for sewing.

Part 4: Finishing the Slipper & Adding the Bow
Sewing the Toe (Optional but Recommended for a neater finish): Using the long tail, sew the final row stitches together if you want a fully closed toe and only a top opening. Alternatively, if you prefer a slightly more open toe, you can skip this step.
The Cute Little Bow (Make 1 per slipper):
Using CC:
Ch 15. Row 1: Sc in 2nd ch from hook and in each ch across. Ch 1, turn. (14 sc) Rows 2-4: Sc in each sc across. Ch 1, turn. (14 sc) Row 5: Sc in each sc across. Fasten off, leaving a long tail.
Assembling the Bow: Pinch the center of the sc rectangle you just made. Wrap the long tail tightly around the pinched center a few times to create the bow shape. Secure with a knot and weave in ends.
Attaching the Bow: Carefully position the bow at the top center of your slipper opening. Using your yarn needle, securely sew the bow onto the slipper. Hide your knots and ends inside the slipper.
Video tutorial
Your Slippers are Complete!
Give them a try! Walk around, feel the softness, and admire your handiwork. These slippers are not only practical but also a wonderful expression of your creativity. They make incredible gifts for loved ones, too!
I hope you enjoyed this pattern! If you make these slippers, I’d absolutely love to see them. Share your photos on social media and tag me (if you have an associated social media handle)!
Happy hooking!