by
by 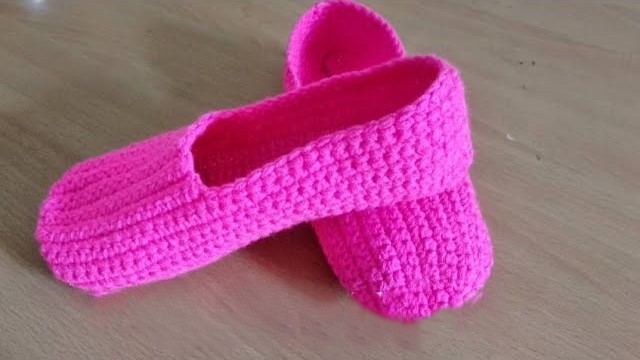
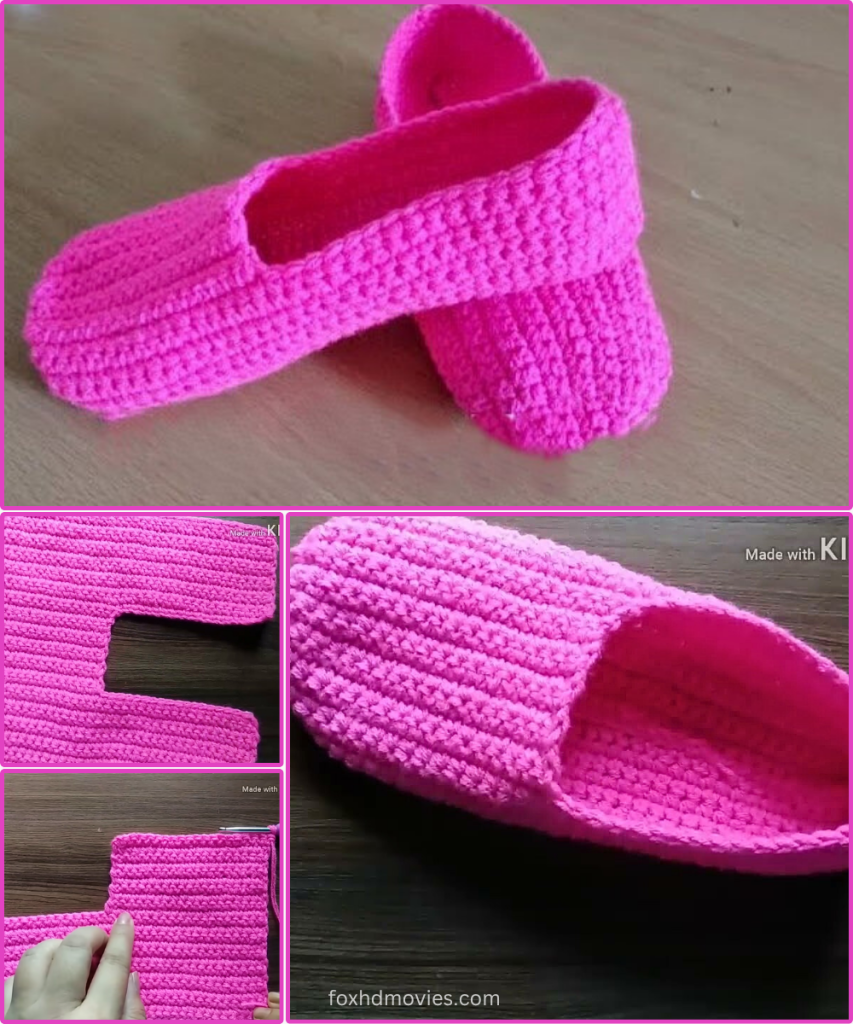
Who doesn’t love a pop of vibrant color, especially when it comes to cozy comfort? These bright pink ballet-style slippers are not only incredibly cheerful but also a surprisingly quick and easy crochet project. Perfect for beginners and experienced crocheters alike, they make for fantastic loungewear or a thoughtful handmade gift.
Let’s grab our hooks and dive into creating some serious foot happiness!
Skill Level: Beginner Yarn Weight: Worsted (Aran) Hook Size: 5.0 mm (H/8) crochet hook (or size needed to obtain gauge) Gauge: 14 single crochet stitches and 16 rows = 4 inches (10 cm)
Materials:
- Approx. 150-200 yards (135-180 meters) of worsted weight yarn (that vibrant hot pink is optional, but highly recommended!)
- 5.0 mm (H/8) crochet hook
- Yarn needle for weaving in ends
- Scissors
- Stitch marker (optional, but helpful for working in the round)
Finished Measurements (approximate for Women’s US 7-8): Slipper Length: 9-9.5 inches (23-24 cm) Slipper Width: 3.5-4 inches (9-10 cm) (Note: These measurements are easily adjustable. See sizing tips below!)
Pattern Notes & Tips:
- Construction: These slippers are worked mostly in the round, starting from the toe and expanding to form the foot, then building up the sides. The ankle opening is then created.
- Stitch: We’ll primarily use the Single Crochet (SC) stitch for a dense, warm fabric, perfect for slippers.
- Sizing: This pattern is for an average adult foot (Women’s US 7-8). To adjust for different sizes:
- Length: Add or subtract rounds in the “Foot Section” before you start shaping the heel.
- Width: Use a smaller/larger hook, or adjust the number of stitches in the initial increases if you’re comfortable modifying patterns. However, changing hook size is usually the easiest way to adjust overall size.
- Seamless Look: Working in continuous rounds (spiral) will give you a seamless look, which is great for slippers. Use a stitch marker to keep track of the beginning of your rounds.
Abbreviations:
- ch: chain
- sc: single crochet
- sl st: slip stitch
- st(s): stitch(es)
- inc: increase (2 single crochet in the same stitch)
- dec: decrease (single crochet 2 together – sc2tog)
- fo: fasten off
- RS: right side
- WS: wrong side
The Pattern
Make 2 (one for each foot!)
Part 1: The Toe & Foot
We’ll start by creating an oval base for the toe and foot.
Start with a magic ring OR Ch 2. If chaining 2, work all first round stitches into the 2nd ch from hook.
Round 1: Sc 8 into magic ring (or 2nd ch from hook). (8 sc)
- If using a magic ring, pull tail tight to close the hole.
- Place stitch marker in the first sc of the round.
Round 2: Inc in each st around. (16 sc)
Round 3: (Sc 1, inc) around. (24 sc)
Round 4: (Sc 2, inc) around. (32 sc)
Round 5: (Sc 3, inc) around. (40 sc)
- At this point, your piece should be fairly flat and oval-shaped, forming the front of the foot.
Foot Section (Straight Sides): Continue working in single crochet, without increasing, for 15-20 rounds (or until the piece measures about 7-8 inches / 18-20 cm from the tip of the toe, or until it reaches the beginning of your heel). The number of rounds here depends on your foot length. Keep trying it on as you go! (40 sc per round)
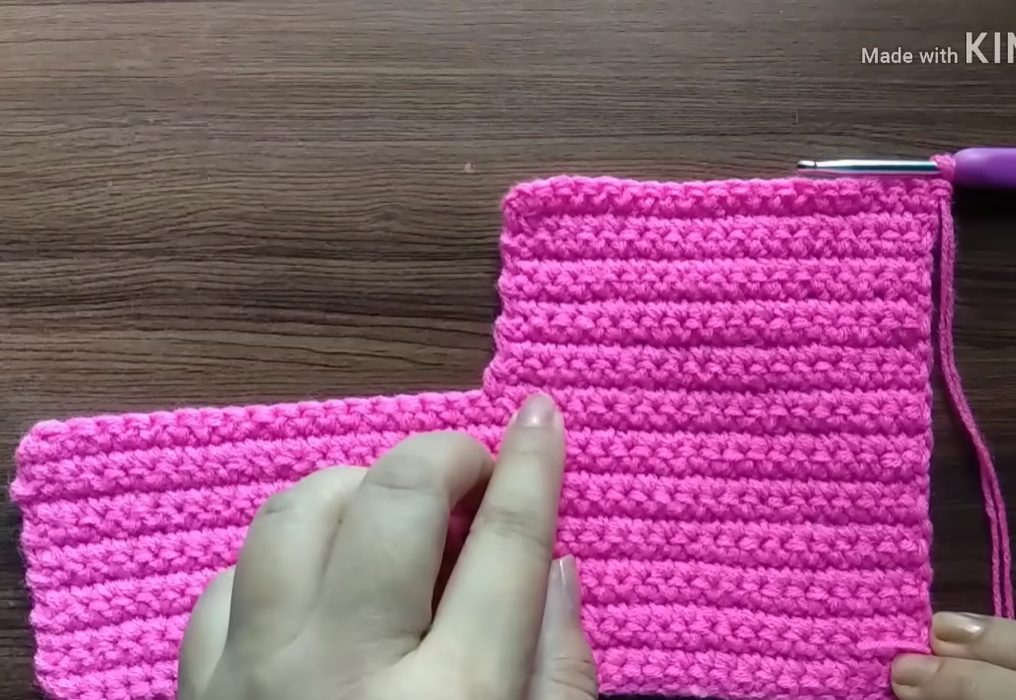
Part 2: Shaping the Heel
We’ll now start working in rows to create the heel opening and shape.

Row 1 (RS): Sc in the next 20 sts. Ch 1, turn. (20 sc)
- You’ve now worked across half of your stitches. The unworked stitches will form the top of the slipper opening.
Row 2 (WS): Sc in each of the 20 sts. Ch 1, turn. (20 sc)
Repeat Row 2 for 8-10 more rows (or until the heel piece covers the back of your heel, creating a cup shape).
- Adjust this number of rows based on the depth of your heel.
Closing the Heel: Fold the heel piece in half lengthwise, so the last row you crocheted meets the beginning of the heel opening on the foot section. Working through both layers, sl st or sc across to join the two edges together, forming the back seam of the heel. Fo, leaving a long tail for weaving. Weave in this tail.
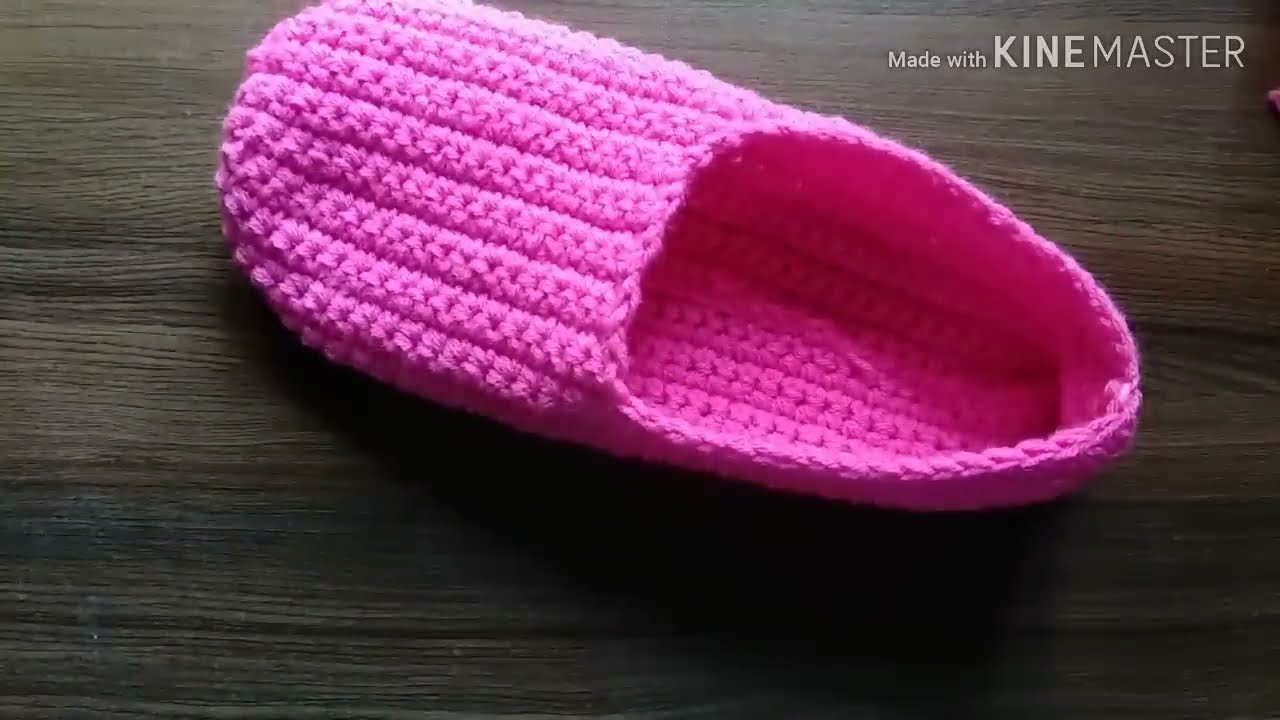
Part 3: The Ankle Opening & Collar
Now we’ll work around the entire opening of the slipper to create the finished look.
- Rejoin Yarn: Join yarn with a sl st at the back center of the slipper opening (where you just seamed the heel).
- Round 1: Sc evenly around the entire opening of the slipper. Work 1 sc into the top of each stitch along the top of the foot opening, and work 1 sc into the end of each row along the side edges of the heel opening.
- Try to keep your stitches even to avoid a wavy edge. You’ll probably have around 50-60 stitches, but the exact number isn’t critical, just keep it consistent.
- Rounds 2-3: Sc in each st around.
- You can add more rounds here if you want a taller collar, or fewer if you want a lower slipper.
- Final Round (Optional for a neat edge): Sl st in each st around.
- Fasten Off: Fo, leaving a long tail. Weave in all remaining ends securely.
Video tutorial
Care:
Hand wash in cool water with a mild detergent. Gently squeeze out excess water, reshape, and lay flat to dry.
You’ve done it! You now have a fantastic pair of vibrant, handmade crochet slippers. Make sure to crochet a second one to complete your pair! These make perfect gifts, or just a treat for your own feet.
I’d love to see your color choices! Share your finished slippers on social media using #CrochetBalletSlippers – Happy crocheting!