 by
by 
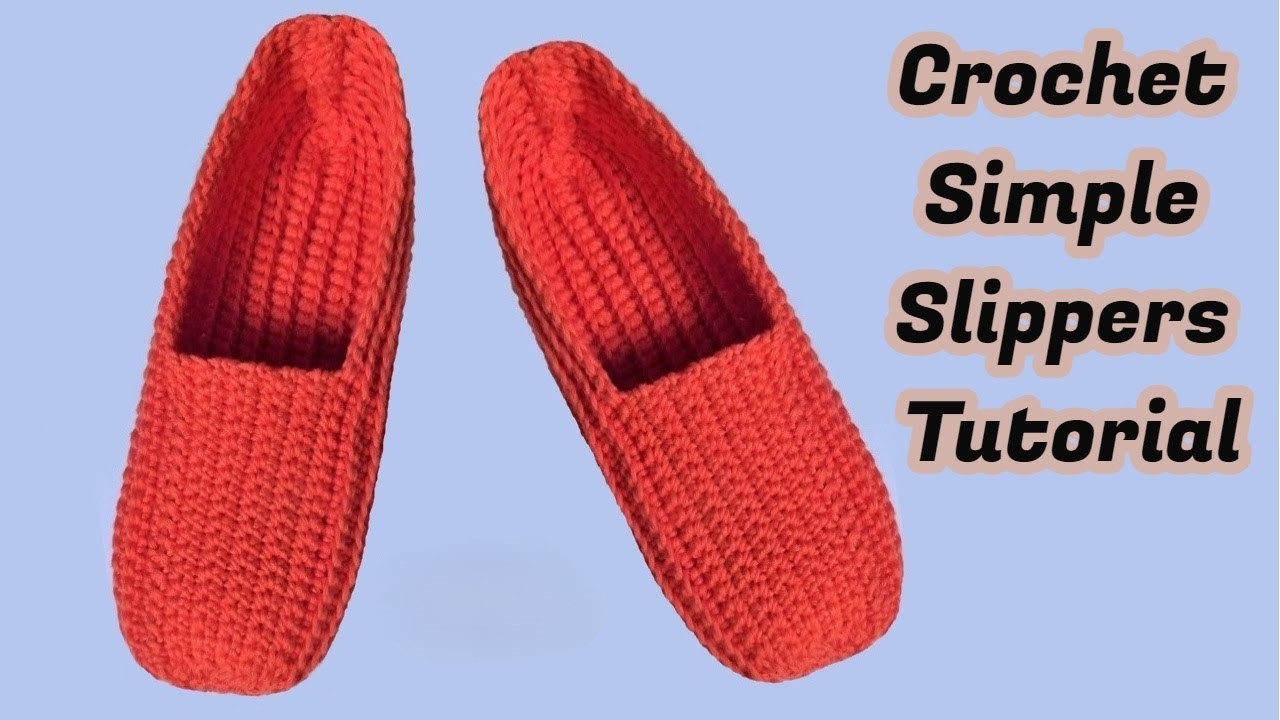
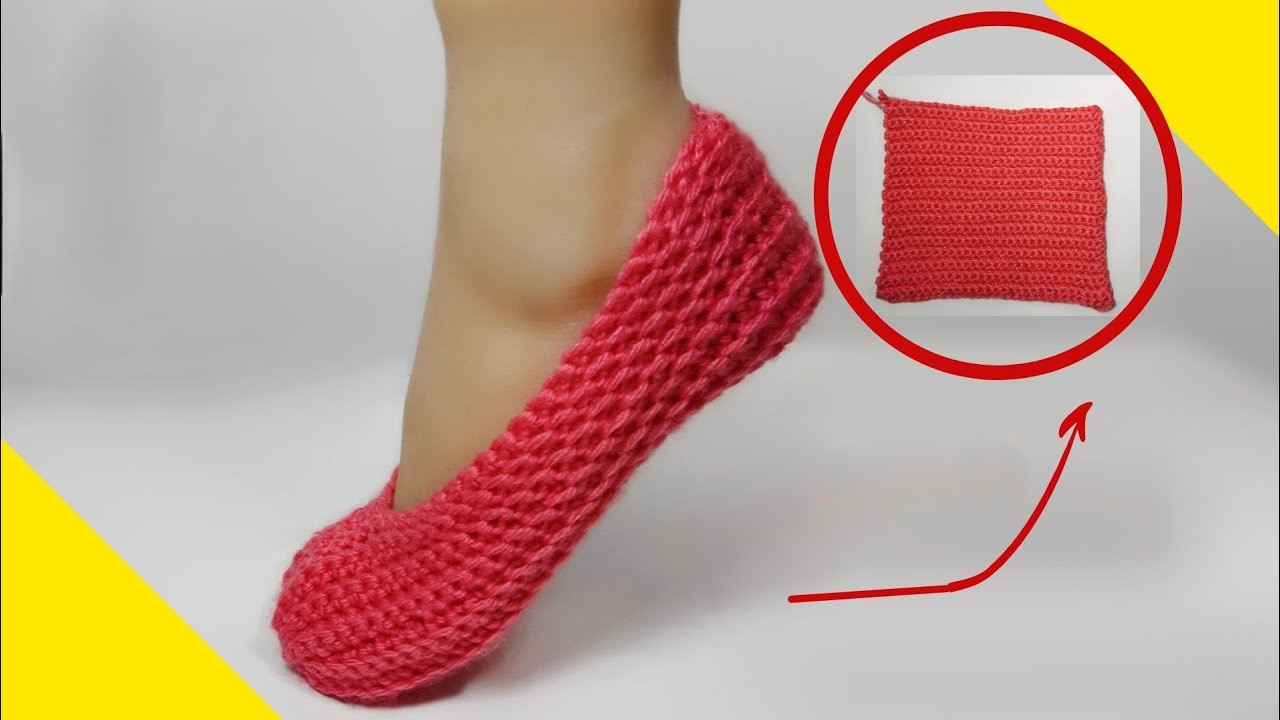
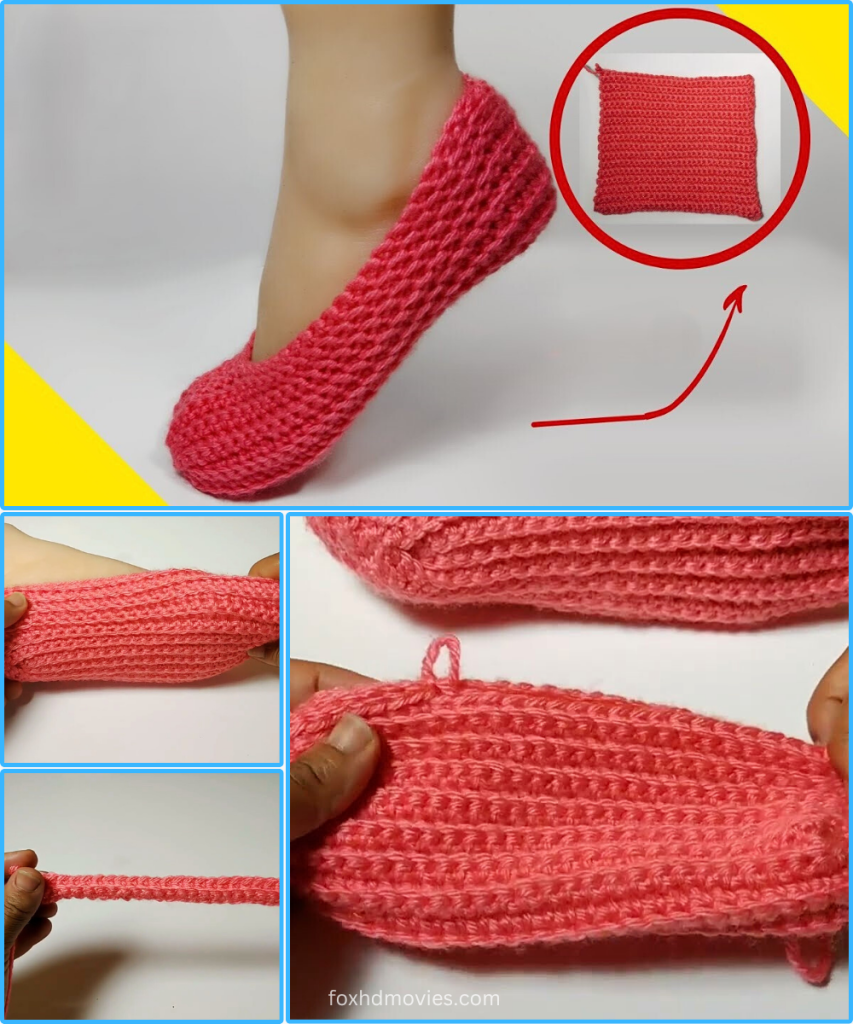
Hello, cozy crafters! Are you searching for a genuinely beginner-friendly project that delivers ultimate comfort? Look no further! Today, I’m absolutely thrilled to share the pattern for these Simple One-Piece Slippers. The magic here is that the entire slipper is made from just one rectangle, minimizing seams and making it super quick to stitch up!
This pattern is a fantastic way to create a warm and snug slipper with minimal fuss. It’s perfect for those new to crochet who want a rewarding project, or for experienced crocheters looking for a fast, satisfying make. Let’s grab our hooks and yarn!
Skill Level: Absolute Beginner-Friendly!
Materials You’ll Need:
- Yarn: Approximately 100-150 grams of Worsted Weight (Aran/10-ply) yarn. The sample features a lovely coral/red, but any color will do! Acrylic or a soft wool blend are excellent choices for durability and comfort.
- Crochet Hook: 5.0 mm (H/8) crochet hook. (Adjust hook size if needed to meet gauge.)
- Tapestry Needle: For weaving in ends and seaming.
- Scissors
Gauge:
- 14 stitches x 12 rows in single crochet (SC) = 4 inches (10 cm) (While this pattern is forgiving, checking your gauge will help ensure your slipper turns out the intended size.)
Abbreviations (US Terms):
- ch: chain
- sl st: slip stitch
- sc: single crochet
- hdc: half double crochet
- st(s):: stitch(es)
- fo: fasten off
Notes Before You Start:
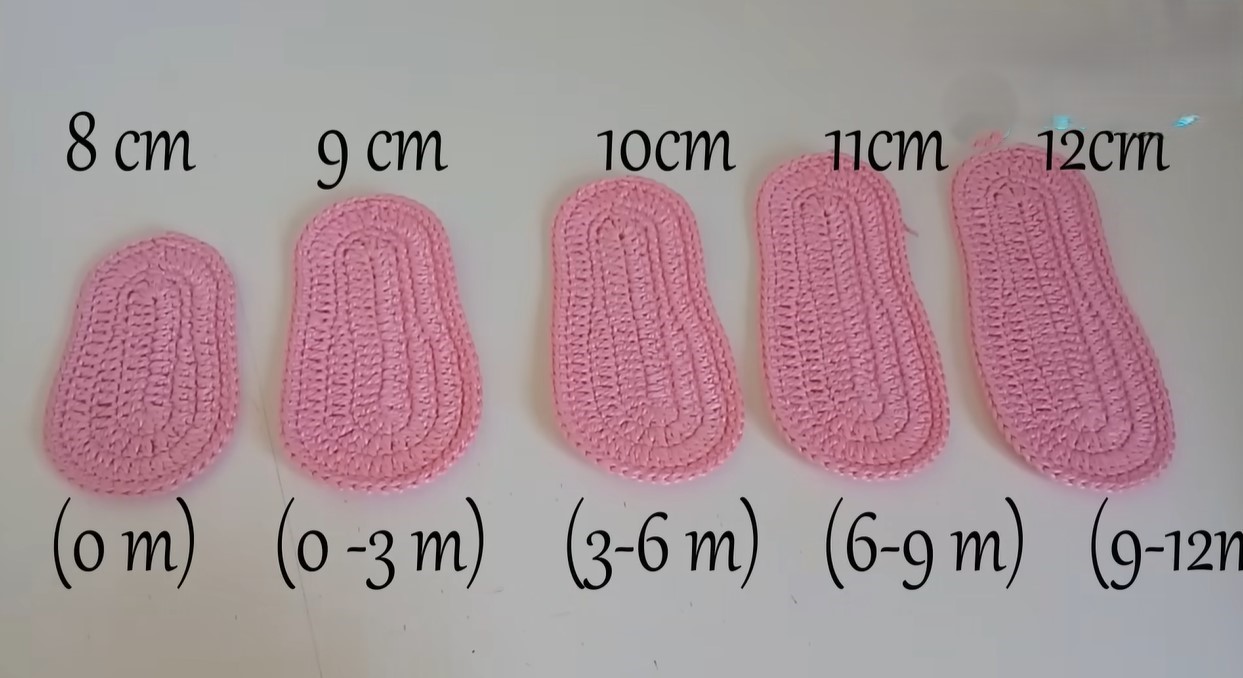
- This pattern is written for an adult women’s size Medium (US 7-9). Instructions for adjusting size (covering US 5-12) will be included.
- The entire slipper is worked flat as a rectangle and then folded and seamed.
- Ch 1 at the beginning of rows does NOT count as a stitch unless otherwise specified.
- The primary stitch used is single crochet, which creates a dense and warm fabric.
Pattern Instructions:
Part 1: The Slipper Body (The Single Rectangle)
We will begin by creating a simple rectangle that will transform into your slipper.
Foundation Chain: Ch 35 (for US Women’s size 7-9).
- To adjust size (approximate conversions for foot length):
- US 5-6: Ch 31-33
- US 9-10: Ch 37-39
- US 11-12: Ch 41-43
- Rule of Thumb: Your chain should be about 1.5-2 inches (4-5 cm) longer than your foot’s actual length, to allow for the shaping.
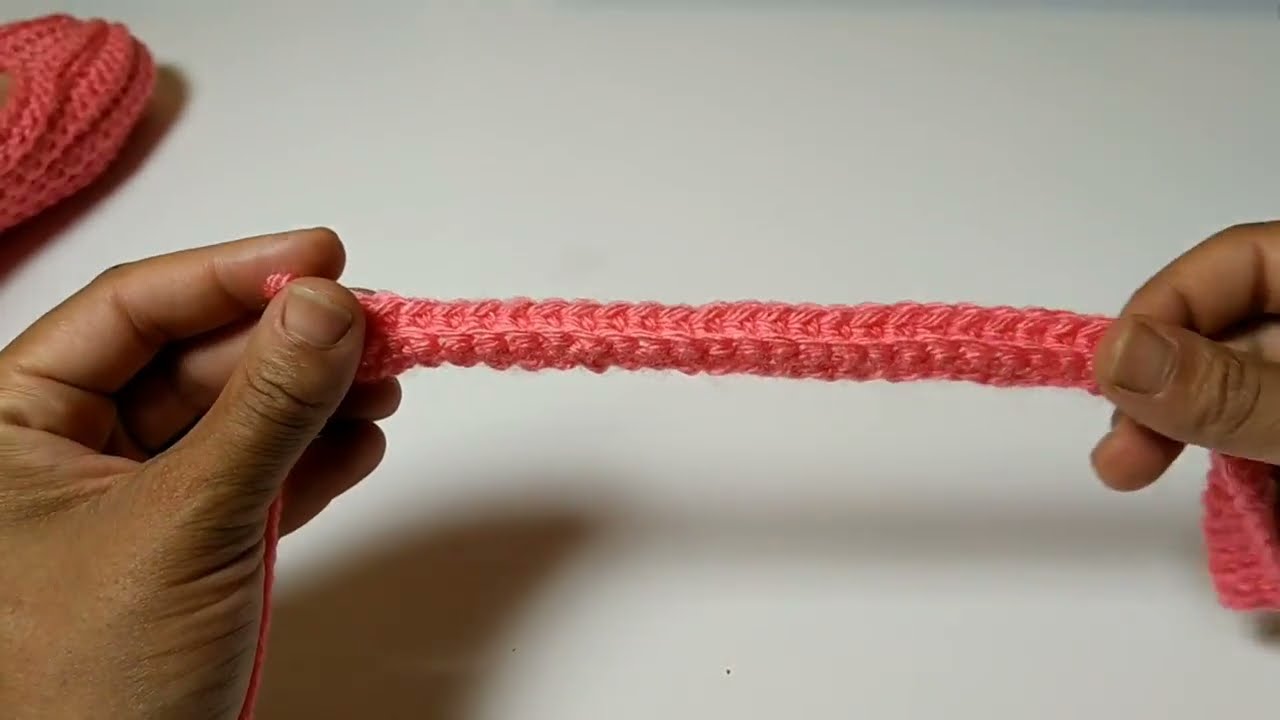
Row 1: Sc in the 2nd ch from hook and in each ch across. (34 sc)
- Using SC from the start creates a nice, tight fabric from the very first row.
Row 2: Ch 1, turn. Sc in each st across. (34 sc)
Repeat Row 2 until your piece measures approximately 8-9 inches (20-23 cm) in width (when laid flat), or wide enough to comfortably wrap around the widest part of your foot. For size 7-9, this will be about 30-34 rows.
- Try wrapping the rectangle around your foot; it should be snug but not too tight. It’s better for it to be slightly too snug at this stage, as the yarn will relax a bit with wear.
Fo, leaving a very long tail (at least 20-25 inches / 50-65 cm) for seaming.
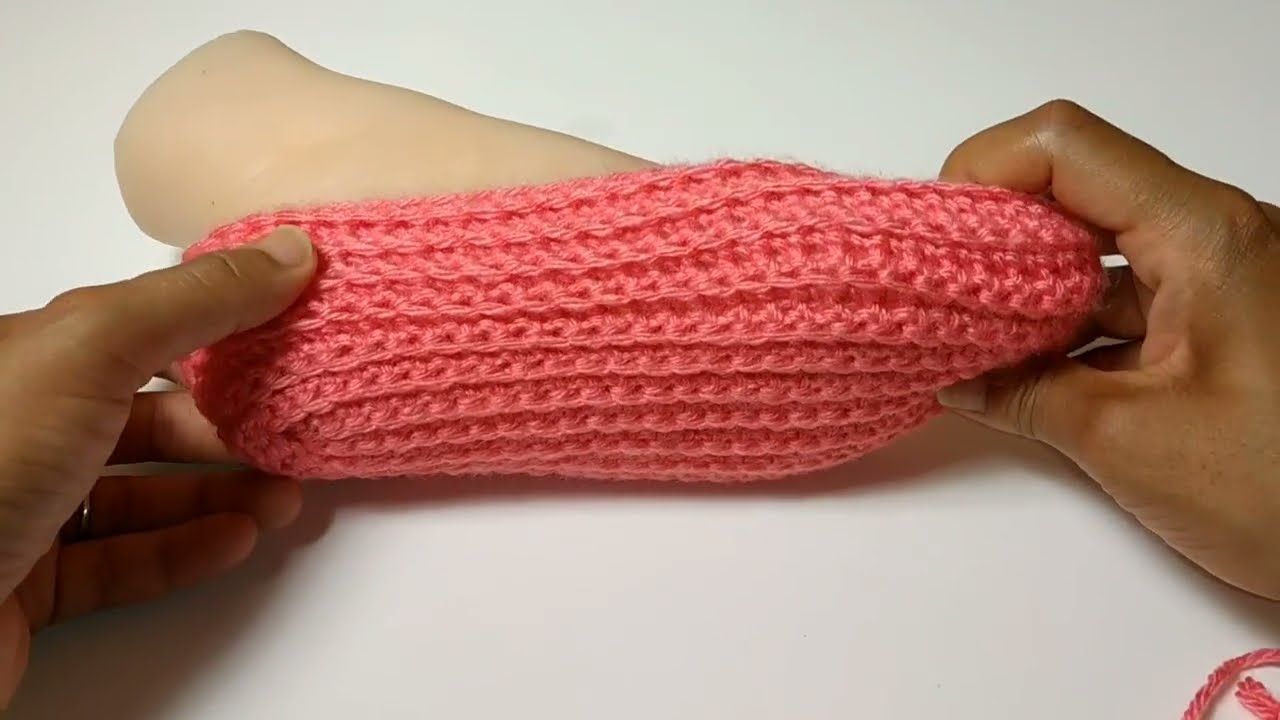
Part 2: Assembly: Transforming the Rectangle into a Slipper!

Now, for the really clever part where your rectangle becomes a slipper with just two seams!
- Fold the Rectangle: Lay your crocheted rectangle flat. Bring the two short ends together, folding the rectangle in half lengthwise.
- Seam the Toe (Front): Using your tapestry needle and the long tail you left, whip stitch or mattress stitch the first 2.5-3 inches (6-7.5 cm) of the folded edge together. This will form the rounded toe of your slipper. Cinch it tightly at the end of the seam and secure with a few extra stitches.
- For smaller sizes, seam slightly less; for larger sizes, seam a bit more.
- Seam the Heel (Back): Now, move to the other short end of your folded rectangle (which will be the heel). Using your tapestry needle and a new piece of yarn (or the starting tail if it’s long enough), seam the back 2.5-3 inches (6-7.5 cm) of this folded edge together, just like you did for the toe. This forms the heel cup. Secure tightly.
- Weave in All Ends: Weave in any remaining loose ends securely.
Part 3: Finishing the Opening (Optional but Recommended)
For a cleaner, more polished look around the foot opening and to give it a little more structure, you can add a simple single crochet border.
- Join yarn with a sl st anywhere along the top opening of the slipper.
- Ch 1, sc evenly around the entire opening. Aim to place stitches consistently to create a smooth edge (approximately 1 sc per row end).
- Sl st to the first sc to join.
- Fo and weave in ends.
Video tutorial
Make Your Second Slipper!
Repeat all the steps above to create your matching second slipper. You’ll be amazed at how quickly the second one comes together once you’ve made the first!
Care Instructions:
- Machine wash gentle cycle with mild detergent.
- Lay flat to dry. Do not tumble dry, as it may cause shrinkage or damage.
And there you have it! Your very own pair of Simple One-Piece Slippers. They’re perfect for lounging, keeping warm, or making thoughtful gifts for friends and family. This quick-to-make project is sure to become a favorite!
If you make a pair, I’d love to see them! Share your creations on social media using the hashtag #OnePieceSlippers and tag me!
Happy crocheting!