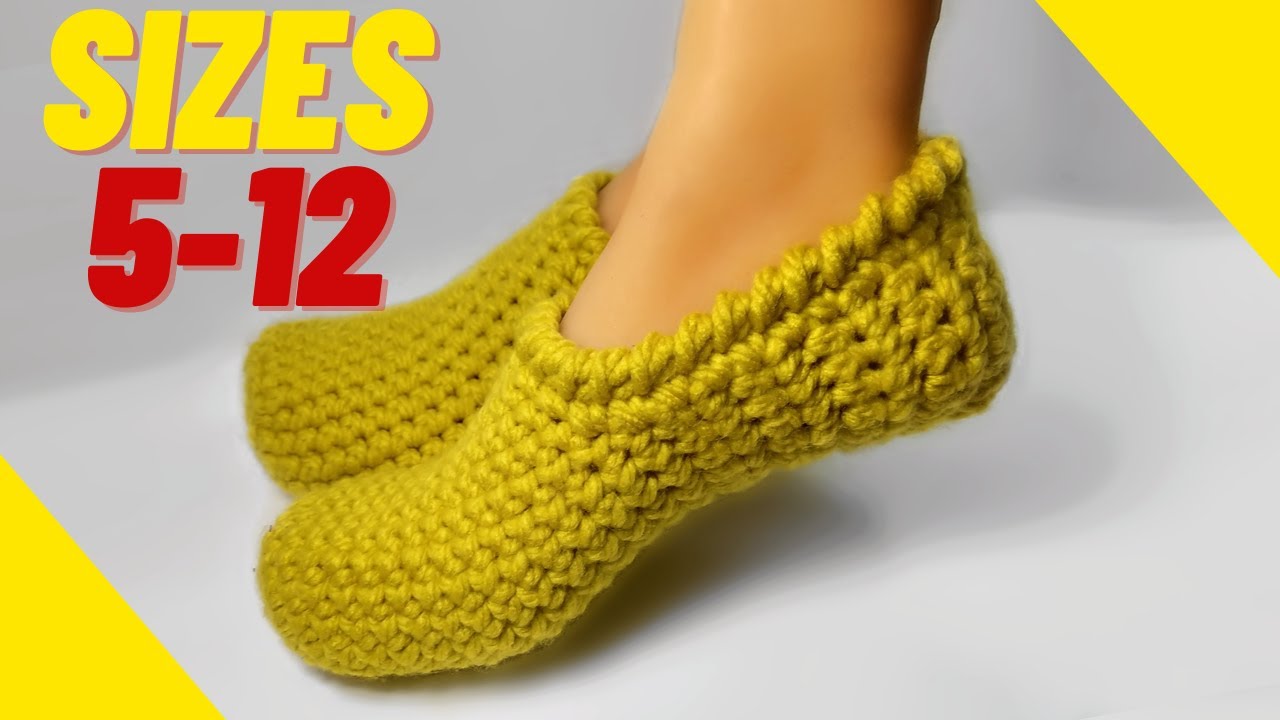
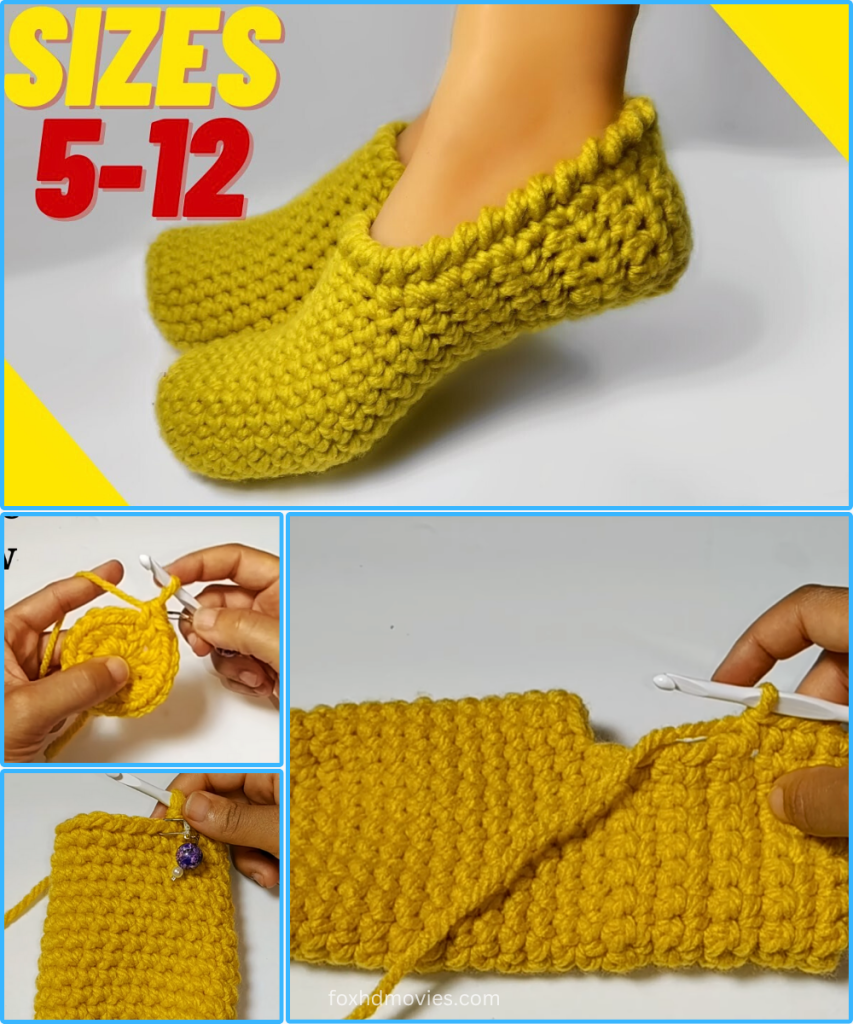
Hello, wonderful crafters! Looking for a super fast, incredibly easy, and wonderfully cozy project to whip up in an afternoon? Look no further! Today, I’m thrilled to share the pattern for these Quick & Cozy Basic Slippers. They’re perfect for keeping your feet warm around the house, make fantastic last-minute gifts, and are so simple, even beginners can feel accomplished!
The beauty of these slippers lies in their straightforward construction, primarily using basic stitches to create a dense, warm fabric. You can customize them with any color yarn to match your style. Let’s get our hooks ready!
Skill Level: Absolute Beginner-Friendly!
Materials You’ll Need:
- Yarn: Approximately 100-150 grams of Worsted Weight (Aran/10-ply) yarn. The sample uses a lovely mustard yellow, but any color will work! Acrylic or a soft wool blend are great choices for durability and warmth.
- Crochet Hook: 5.0 mm (H/8) crochet hook. (Adjust hook size if needed to meet gauge.)
- Tapestry Needle: For weaving in ends and seaming.
- Scissors
Gauge:
- 14 stitches x 12 rows in single crochet (SC) = 4 inches (10 cm) (While this pattern is forgiving, checking your gauge will help ensure your slippers fit as expected!)
Abbreviations (US Terms):
- ch: chain
- sl st: slip stitch
- sc: single crochet
- hdc: half double crochet
- st(s): stitch(es)
- fo: fasten off
Notes Before You Start:
- This pattern is written for an adult women’s size Medium (US 7-9). Instructions for adjusting size (US 5-12) will be included.
- The slipper is worked flat in a rectangle and then seamed.
- Ch 1 at the beginning of rows does NOT count as a stitch unless otherwise specified.
- The entire slipper is worked in continuous rows of single crochet for a dense, durable fabric.
Pattern Instructions:
Part 1: The Slipper Body (Simple Rectangle)
We will start by chaining the length of the slipper, from the tip of the toe to the heel.

Foundation Chain: Ch 35 (for US Women’s size 7-9).
- To adjust size (approximate conversions):
- US 5-6: Ch 31-33
- US 9-10: Ch 37-39
- US 11-12: Ch 41-43
- The chain should be approximately 10-11 inches (25-28 cm) long for an average adult foot, or roughly 1.5-2 inches (4-5 cm) longer than your foot’s actual length.
Row 1: Hdc in the 2nd ch from hook and in each ch across. (34 hdc)
- We use HDC for the first row to create a slightly firmer, more stable starting edge.
Row 2: Ch 1, turn. Sc in each st across. (34 sc)
Repeat Row 2 until your piece measures approximately 8-9 inches (20-23 cm) in width (when laid flat), or wide enough to comfortably wrap around the widest part of your foot. For size 7-9, this will be about 30-34 rows.
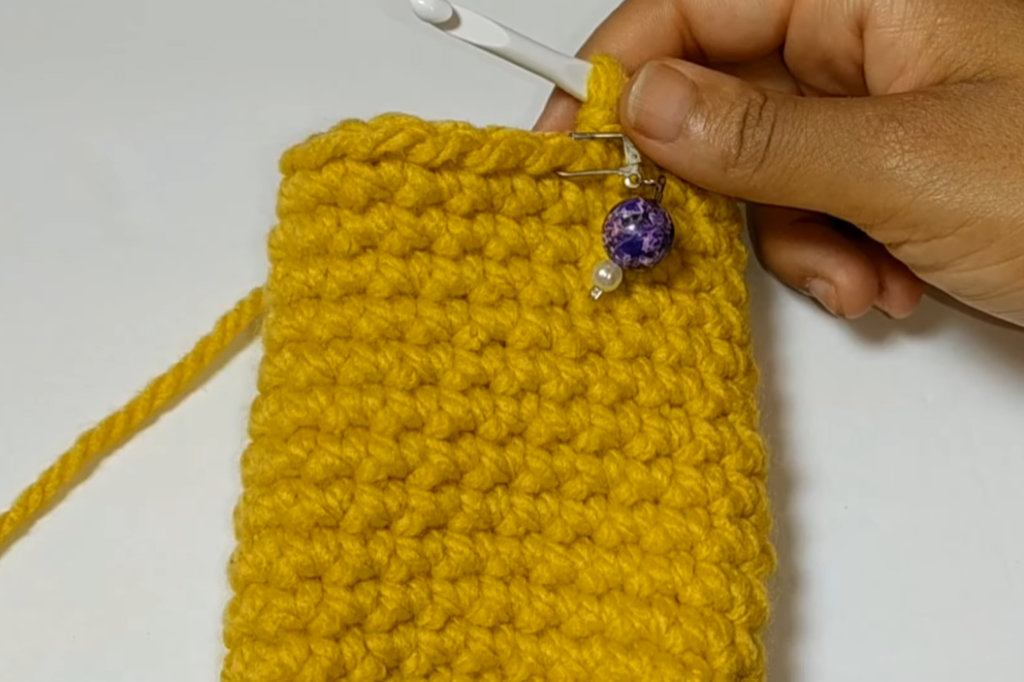
- Try wrapping the piece around your foot; it should be snug but not too tight.
Fo, leaving a very long tail (at least 20-25 inches / 50-65 cm) for seaming.
Part 2: Assembly and Shaping
Now, let’s turn our simple rectangle into a cozy slipper!
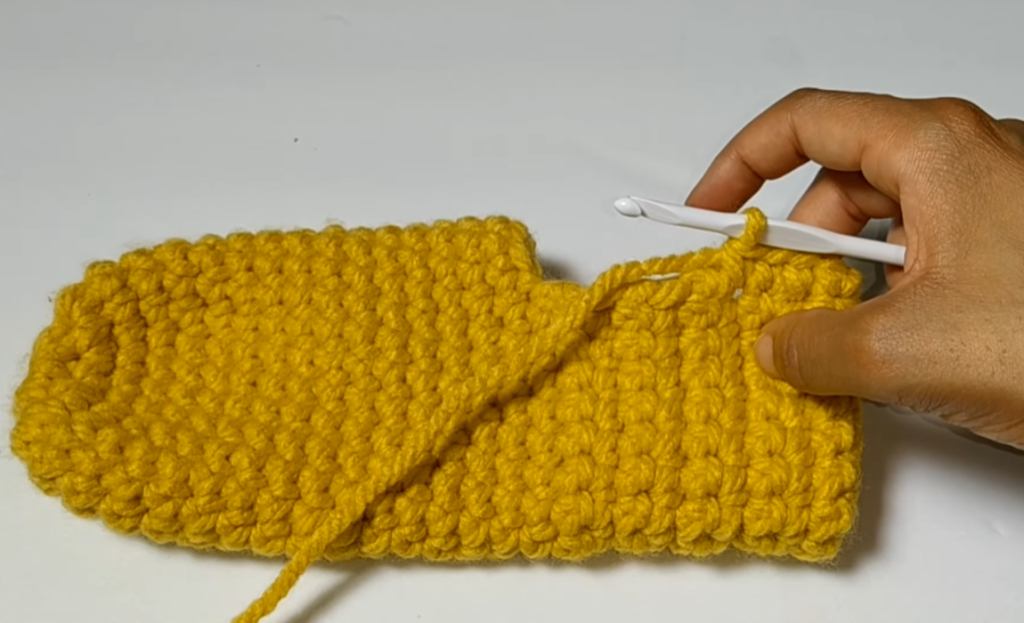
- Fold: Lay your crocheted rectangle flat. Fold it in half lengthwise, so the two short ends meet.
- Seam the Toe: Using your tapestry needle and the long tail you left, whip stitch or mattress stitch the first 2.5-3 inches (6-7.5 cm) of the folded edge together. This forms the rounded toe of your slipper. Cinch it tightly and secure with a few extra stitches.
- For smaller sizes, seam less; for larger sizes, seam a bit more.
- Seam the Heel: Now, locate the other short end (which will be the heel). Using your tapestry needle and a new piece of yarn (or the starting tail if it’s long enough), seam the back 2.5-3 inches (6-7.5 cm) of this folded edge together, just like you did for the toe. This forms the heel. Secure tightly.
- Side Seams (Optional for more fitted look): You’ll notice there’s an opening along the top of your foot. If you desire a more “shoe-like” fit, you can gently seam up about 1-2 inches (2.5-5 cm) from both the toe seam and the heel seam along the top opening. This creates a narrower foot opening. Do not seam too much, or you won’t be able to get your foot in!
- Weave in All Ends: Weave in any remaining loose ends securely.
Video tutorial
Part 3: Finishing the Opening (Optional)
For a cleaner, more finished look around the foot opening, you can add a simple single crochet border.
- Join yarn with a sl st anywhere along the top opening of the slipper.
- Ch 1, sc evenly around the entire opening. Aim to place stitches consistently to create a smooth edge (approximately 1 sc per row end).
- Sl st to the first sc to join.
- Fo and weave in ends.
Make Your Second Slipper!
Repeat all the steps above to create your matching second slipper. You’ll be surprised how quickly the second one comes along!
Care Instructions:
- Machine wash gentle cycle with mild detergent.
- Lay flat to dry. Do not tumble dry, as it may cause shrinkage or damage.
And there you have it! Your very own pair of Quick & Cozy Basic Slippers. They’re perfect for lounging, keeping warm, or making thoughtful gifts for friends and family.
If you make a pair, I’d love to see them! Share your creations on social media using the hashtag #QuickCozySlippers and tag me!
Happy crocheting!
