by
by 
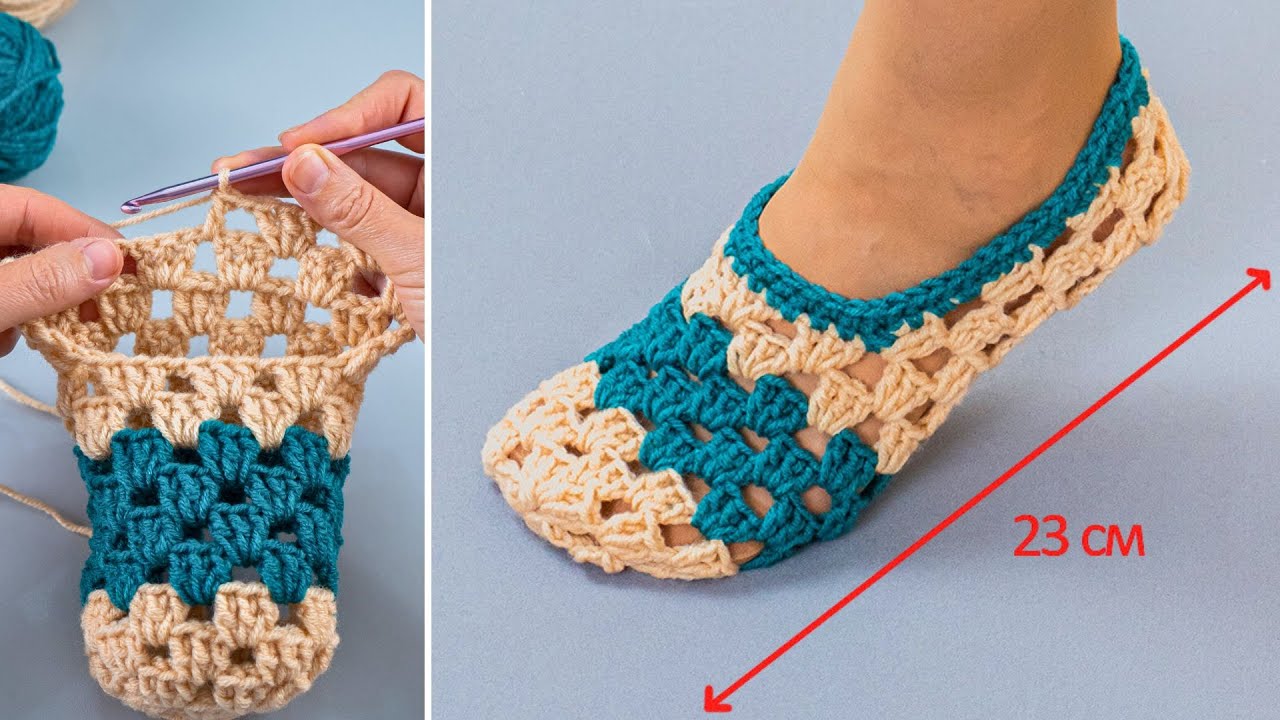
Hello, crochet enthusiasts! Get ready to make the coziest, most adorable slippers you’ll ever slip your feet into! Today, I’m absolutely thrilled to share a pattern for these delightful Two-Tone Granny Stitch Slippers. Combining the timeless appeal of the granny stitch with a clever construction, these slippers are quick to make, incredibly comfortable, and feature a playful pom-pom for that extra touch of charm.
What makes this pattern unique is how it uses the familiar granny cluster to create a textured and flexible fabric that conforms beautifully to your foot. Plus, it’s a fantastic way to play with two contrasting colors!
Skill Level: Intermediate (familiarity with granny stitch clusters, working in rounds, basic shaping and seaming)
Materials You’ll Need:
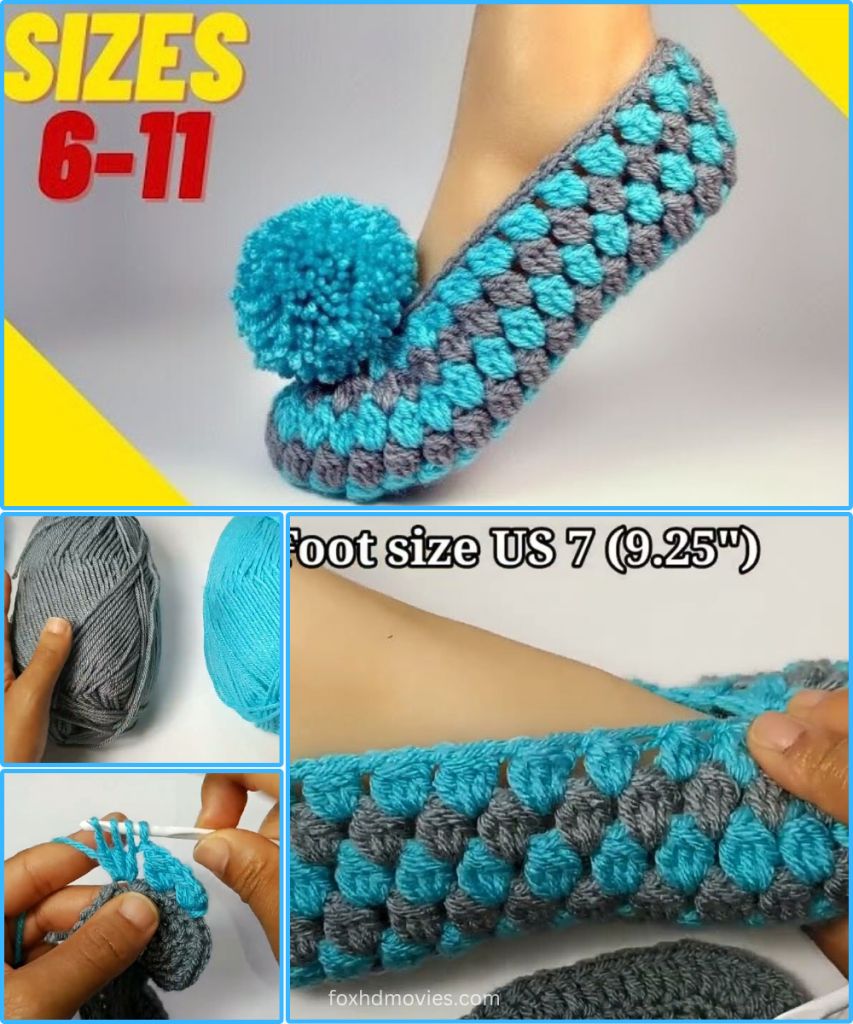
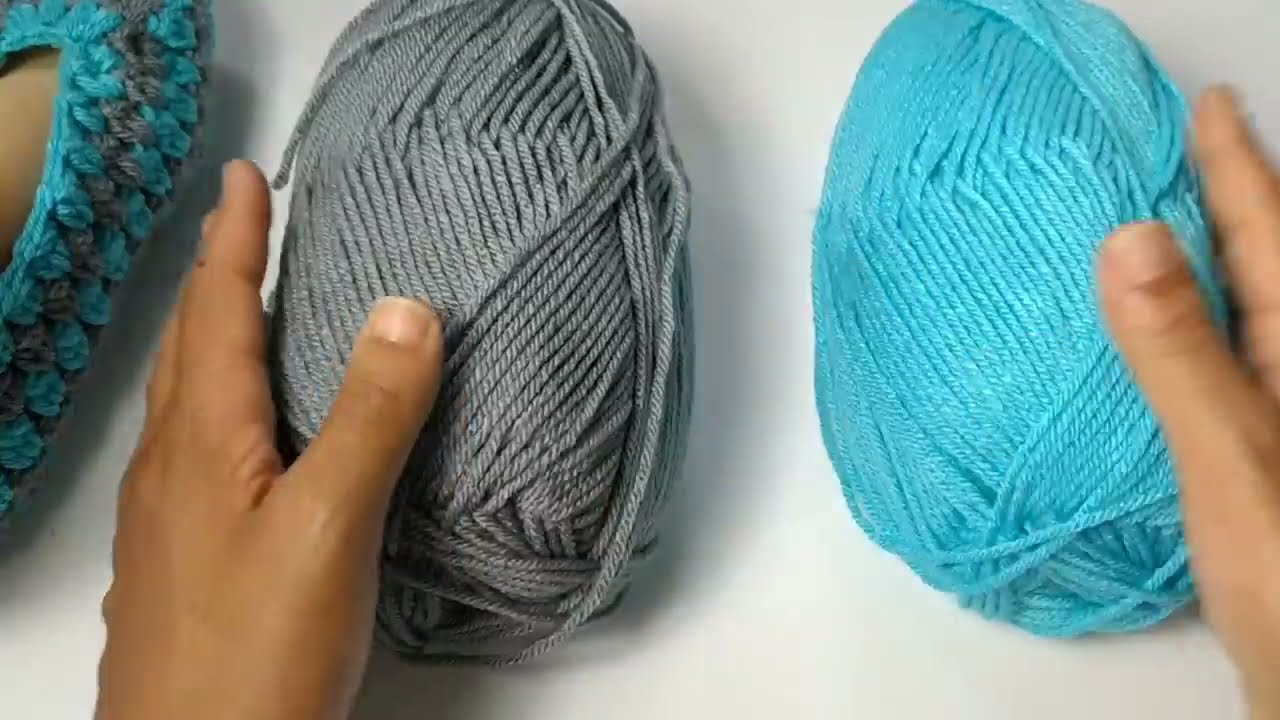
- Yarn: Worsted Weight (Aran/10-ply) yarn in two contrasting colors.
- Color A (e.g., Grey in the sample): Approximately 100-120 grams
- Color B (e.g., Teal in the sample): Approximately 80-100 grams
- Small amount of yarn for the pom-pom (could be Color B or another contrasting color).
- Crochet Hook: 5.0 mm (H/8) crochet hook. (Adjust hook size if needed to meet gauge.)
- Tapestry Needle: For weaving in ends and seaming.
- Scissors
- Stitch Markers: Very helpful for marking rounds and specific stitches.
- Pom-Pom Maker: (Optional) for making a consistent, fluffy pom-pom (e.g., 2.5-3 inches / 6-7.5 cm).
Gauge (for the granny stitch):
- After 3 rounds of the sole (refer to pattern), the oval should measure approximately 6.5 inches (16.5 cm) long by 3 inches (7.5 cm) wide at the widest point. (Achieving correct gauge is crucial for these slippers, as the fit is dependent on the sole size!)
Abbreviations (US Terms):
- ch: chain
- sl st: slip stitch
- sc: single crochet
- dc: double crochet
- sk: skip
- sp: space
- ch-sp: chain space
- [ ]: indicates a group of stitches to be worked into the same space
- st(s): stitch(es)
- dc cluster: 3 dc in the same space/stitch.
- fo: fasten off
Notes Before You Start:
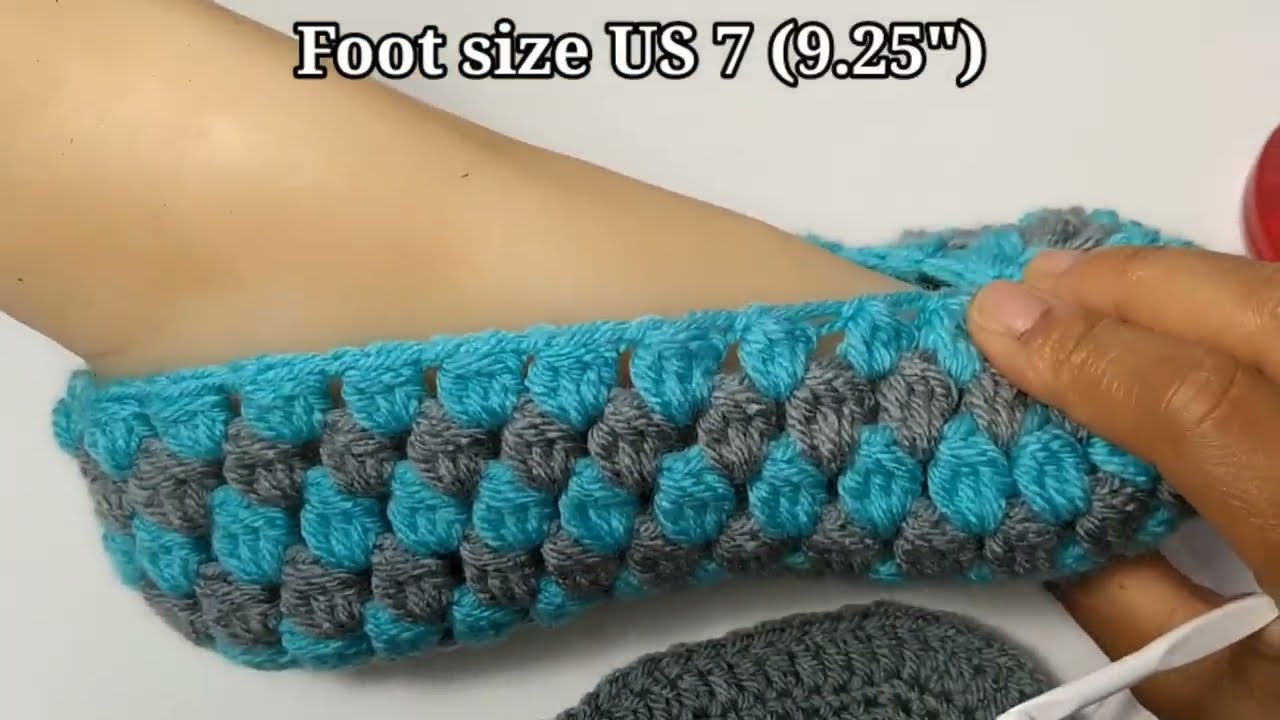
- This pattern is written for an adult women’s size Medium (US 7-9). Instructions for adjusting sizes (US 6-11) will be given for the initial chain.
- The slipper is worked from the sole up, primarily in rounds using the granny stitch pattern.
- Ch 3 at the beginning of DC rounds counts as 1 dc.
- Ch 1 at the beginning of SC rounds/rows does NOT count as a stitch.
- You will be alternating colors for a striped effect.
Pattern Instructions:
Part 1: The Slipper Sole (Oval Shape)
We’ll start by creating an oval-shaped sole, which is the foundation of your slipper.
Using Color A (e.g., Grey):
Foundation Chain: Ch 19 (for US sizes 7-9).
- To adjust size:
- US 6-7: Ch 17
- US 9-10: Ch 21
- US 10-11: Ch 23
- The chain should be approximately the length from your heel to the base of your toes, minus about 1-1.5 inches for toe shaping.
Round 1: 2 hdc in the 2nd ch from hook. Hdc in each of the next 16 chs (adjust this number based on your initial chain). 5 hdc in the last ch. Now, working on the other side of the foundation chain: Hdc in each of the next 16 chs. 3 hdc in the last ch. Sl st to the first hdc to join. (42 hdc, for initial Ch 19)
- Make sure your stitch count is correct for your size. Example: For Ch 19, (2+16+5+16+3 = 42 sts).
Round 2: Ch 1, sc in the same st. 2 sc in the next st. Sc in each of the next 17 sts. 2 sc in the next 3 sts. Sc in each of the next 17 sts. 2 sc in the next 2 sts. Sl st to first sc to join. (50 sc, for initial Ch 19)
Round 3: Ch 1, sc in the same st. Sc in the next 2 sts. 2 sc in the next st. Sc in each of the next 18 sts. 2 sc in the next 3 sts. Sc in each of the next 18 sts. 2 sc in the next 2 sts. Sl st to first sc to join. (58 sc, for initial Ch 19)
- Fo Color A, leaving a tail to weave in. Your sole should now be a good base for your foot.
Part 2: Building the Slipper Body (Granny Stitch Rounds)
Now we’ll build up the sides of the slipper using the granny stitch. This part is worked in alternating colors.
Join Color B (e.g., Teal):
- Join Color B with a sl st in any stitch along the side of the sole.
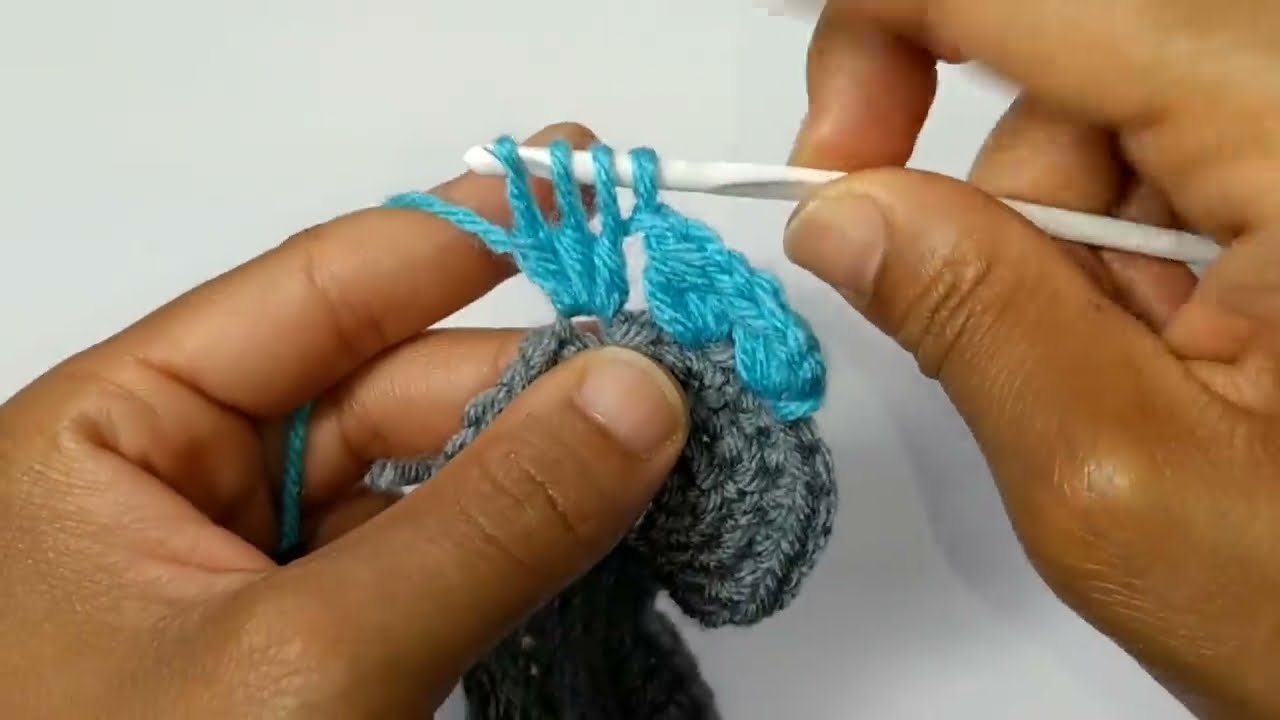
Round 1: Ch 3 (counts as 1 dc). 2 dc in the same st. Sk 2 sts, 3 dc in next st (this forms a dc cluster). Repeat from * to * around the entire sole. Sl st to the top of beg ch-3 to join. (You should have a number of 3-dc clusters around your sole.)
- Note: You may need to slightly adjust the “sk 2 sts” around the curved ends to keep your stitch count even and the clusters lying flat. The goal is to have an even number of 3-dc clusters that will allow for smooth color changes.
Join Color A (e.g., Grey):
- Round 2: Sl st into the next 2 dc to reach the space between the 3-dc clusters of the previous round. Ch 3 (counts as 1 dc), 2 dc in the same space. 3 dc in the next space between clusters. Repeat from * to * around. Sl st to the top of beg ch-3 to join.
- Fo Color A, leaving a tail to weave in.
Continue alternating Color B and Color A for each round.
Repeat Round 2 (using alternating colors for each round) for a total of 5-7 more rounds, or until the slipper walls are tall enough to comfortably come up your foot to the instep (the arch of your foot before the ankle).
- For US 7-9, this is typically 7-8 total rounds of granny stitch after the sole.
Part 3: Shaping the Instep (Top Opening)
This section will create the opening for your foot, keeping the back of the slipper higher for a secure fit.
Using Color A (e.g., Grey) for the last round you’re working:
- Identify the Toe and Heel: Put the slipper on your foot. Mark approximately where the toe begins and where your heel begins. We will only work across the top of the foot for this section.
- Row 1 (Top Opening): Identify approximately 6-8 granny clusters that span the top of your foot (from just beyond your toes to the beginning of your arch). Join Color A with a sl st into the space between the first cluster of your chosen section. Ch 3 (counts as 1 dc), 2 dc in the same space. 3 dc in the next space between clusters. Repeat across the 6-8 clusters. Turn. (6-8 clusters)
- You are now working in rows, not rounds, to create the opening.
- Row 2: Sl st into the next 2 dc to reach the space between the 3-dc clusters of the previous row. Ch 3 (counts as 1 dc), 2 dc in the same space. 3 dc in the next space between clusters. Repeat across. Turn.
- Fo Color A, leaving a tail to weave in.
Repeat Row 2 (alternating colors if desired, or sticking with Color A) for 2-3 more rows, or until the top of the slipper comes up high enough on your foot.
- For the sample slipper, it looks like only 2-3 rows were worked for the instep shaping.
- Fo, leaving a long tail to weave in.
Part 4: Final Edging & Pom-Pom
Top Edge (Optional but Recommended):
- Using Color A: Join Color A with a sl st anywhere at the top opening of the slipper.
- Round 1: Ch 1, sc evenly around the entire top opening of the slipper. Aim to place stitches into the tops of the dc clusters and along the sides of the rows you just made for the instep. Sl st to first sc to join.
- Fo and weave in ends. This provides a neat and finished edge.
The Pom-Pom!
- Using your pom-pom maker (or by hand), create a fluffy pom-pom with your chosen yarn (e.g., Color B, Teal). Aim for a size that’s substantial enough to be a playful feature (e.g., 2.5-3 inches / 6-7.5 cm in diameter).
- Leave long tails when tying off your pom-pom.
- Position the pom-pom on the top front of the slipper, over the toe section.
- Using your tapestry needle, thread the pom-pom tails through the stitches of the slipper and tie them securely on the inside. Double-knot for extra security! Trim any excess.
Video tutorial
Make Your Second Slipper!
Repeat all the steps above to create your matching second slipper.
Care Instructions:
- Hand wash or machine wash on a delicate cycle in cold water.
- Lay flat to dry. Do not tumble dry, as it may cause shrinkage or damage.
You now have a delightful and super comfy pair of Two-Tone Granny Stitch Slippers! These make wonderful personalized gifts or a cheerful addition to your own loungewear.
If you create your own pair, I’d love to see them! Share your photos on social media using the hashtag #GrannySlippers and tag me!
Happy hooking!