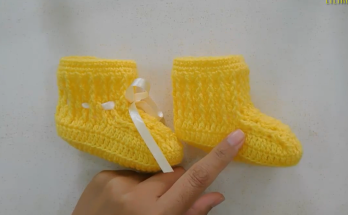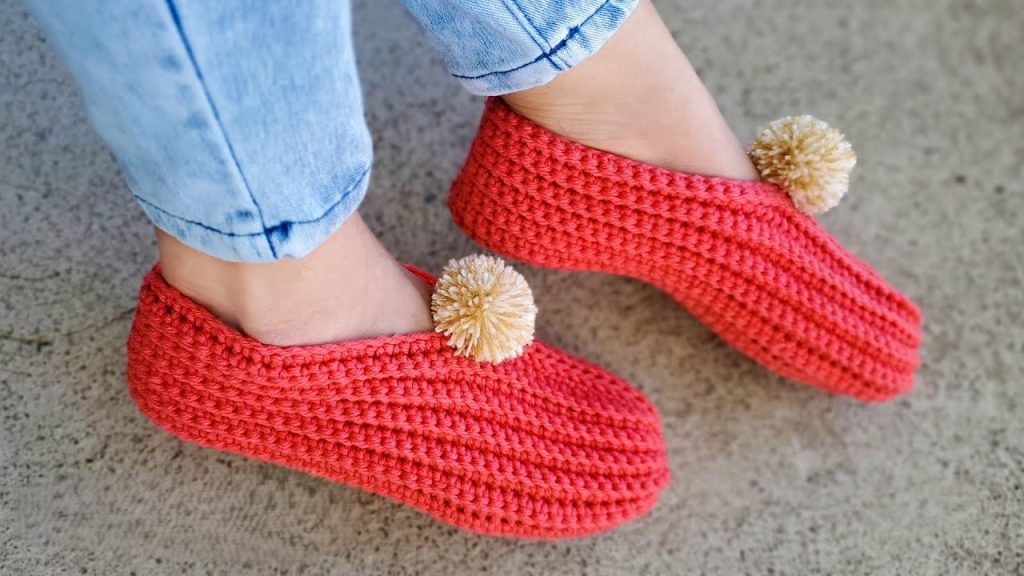
Hello, crochet friends! Who doesn’t love a pair of cozy slippers to slip into after a long day? Today, I’m so excited to share a pattern for these adorable and incredibly comfortable Comfy Pom-Pom House Slippers. They’re perfect for keeping your toes warm around the house, and that little pom-pom adds a touch of playful charm!
These slippers are worked in a unique way, starting from the toe and working up, then adding the cozy ribbed sections. The result is a snug fit and a beautiful texture. Let’s get our hooks ready!
Skill Level: Intermediate Beginner (basic stitches, some shaping)
Materials You’ll Need:
- Yarn: Approximately 150-200 grams of Worsted Weight (Aran/10-ply) yarn. I used a lovely coral/red for my sample, but any color will do! Choose a soft acrylic or wool blend for ultimate comfort.
- Crochet Hook: 5.5 mm (I/9) crochet hook. (Adjust hook size if needed to meet gauge.)
- Tapestry Needle: For weaving in ends and seaming.
- Scissors
- Stitch Markers: Very helpful for keeping track of rounds.
- Pom-Pom Maker: (Optional) for making consistent pom-poms, or you can make them by hand.
- Small amount of contrasting yarn for pom-poms (or same color for a subtle look).
Gauge:
- 12 half double crochet (HDC) stitches x 9 rows = 4 inches (10 cm) in HDC. (Taking time to make a gauge swatch will ensure your slippers fit well!)
Abbreviations (US Terms):
- ch: chain
- sl st: slip stitch
- sc: single crochet
- hdc: half double crochet
- hdc inc: half double crochet increase (2 hdc in same stitch)
- fpdc: front post double crochet
- bpdc: back post double crochet
- st(s): stitch(es)
- rnd: round
- fo: fasten off
Notes Before You Start:
- This pattern is written for an adult women’s size Medium (US 7-9). Instructions for adjusting size will be included where possible.
- The main body of the slipper is worked in continuous rounds (spirals) from the toe. Use a stitch marker to keep track of the beginning of each round.
- Ch 1 at the beginning of rows/rounds does NOT count as a stitch.
Pattern Instructions:
Part 1: The Toe and Foot (Worked in Continuous Rounds)
We’ll start by making a flat oval for the sole of the toe, then build up the sides.
Initial Chain: Ch 16 (for size M).
- To adjust size: For a smaller slipper, chain fewer stitches (e.g., Ch 14). For a larger slipper, chain more stitches (e.g., Ch 18). This chain will be the length of your foot from the tip of your toe to the start of your arch.
Round 1: Hdc in the 2nd ch from hook. Hdc in the next 13 chs. 3 hdc in the last ch. Now working on the other side of the foundation chain: Hdc in the next 13 chs. 2 hdc in the last ch. Do NOT join, place stitch marker in the first hdc. (32 hdc)
Round 2: 2 hdc in the first st. Hdc in the next 13 sts. 2 hdc in each of the next 3 sts. Hdc in the next 13 sts. 2 hdc in each of the last 2 sts. Move stitch marker. (40 hdc)
Round 3: 2 hdc in the first st. Hdc in the next 14 sts. 2 hdc in next st, hdc in next st (repeat 2 times). 2 hdc in next st. Hdc in the next 14 sts. 2 hdc in next st, hdc in next st (repeat 1 time). 2 hdc in next st. Move stitch marker. (48 hdc)
Round 4: Hdc in each st around. Move stitch marker. (48 hdc)
Round 5: Hdc in each st around. Move stitch marker. (48 hdc)
Continue working in continuous rounds, doing HDC in each stitch around until your piece measures approximately 6-7 inches (15-18 cm) from the tip of the toe, or until it reaches the base of your ankle/top of your foot. For size M, this will be about 10-12 more rounds after Round 5.
Important: Try it on as you go! The goal is for the slipper to comfortably cover your foot up to the ankle bone, leaving the heel and top opening to be shaped.
Part 2: Shaping the Instep (Top Opening)
Now we’ll work in rows to create the opening for your foot.

Row 1: Ch 1, turn. Hdc in the first 28 sts. (28 hdc)
- You should now be at the side of your slipper. The remaining stitches (approx. 20) will form the back/heel section that you’ll work into later.
- Adjusting: If your slipper feels too wide, work fewer stitches across. If it feels too narrow, work more. This creates the opening.
Row 2: Ch 1, turn. Hdc in each st across. (28 hdc)
Repeat Row 2 for approximately 8-10 more rows, or until this section covers the top of your foot and reaches comfortably to where the opening of your slipper should be.
Next Row (Last Row of Instep): Ch 1, turn. Sc across. (28 sc) Fo, leaving a long tail for seaming.
Part 3: The Heel and Back of Slipper
- Identify Heel Stitches: With the slipper right-side out, look at the stitches you skipped when starting Part 2. These form the back of your heel.
- Join Yarn: Join your yarn with a sl st to the first skipped stitch at the side of the slipper (where the last row of Part 1 ended).
- Row 1: Ch 1, hdc in the same st and in each of the remaining skipped stitches across the heel. You should have approximately 20 hdc.
- Repeat Row 1 for approximately 8-10 rows, or until this section reaches the same height as the instep section when pulled together.
- Fo, leaving a long tail for seaming.
Part 4: Seaming and Ribbed Cuff
- Seam the Top: Fold the slipper flat with right sides facing out. Using your tapestry needle and the long tail from the instep section, seam the side edges of the instep and heel sections together using a whip stitch or mattress stitch. This forms the top of the slipper. Weave in ends.
- Seam the Heel: Fold the slipper so the heel edges meet. Using the tail from the heel section or a new piece of yarn, seam the back of the heel together. Weave in ends.
Adding the Ribbed Cuff:
This creates a lovely finished edge and helps the slipper stay on.
- Join Yarn: With the slipper right side out, join yarn with a sl st anywhere along the top opening of the slipper.
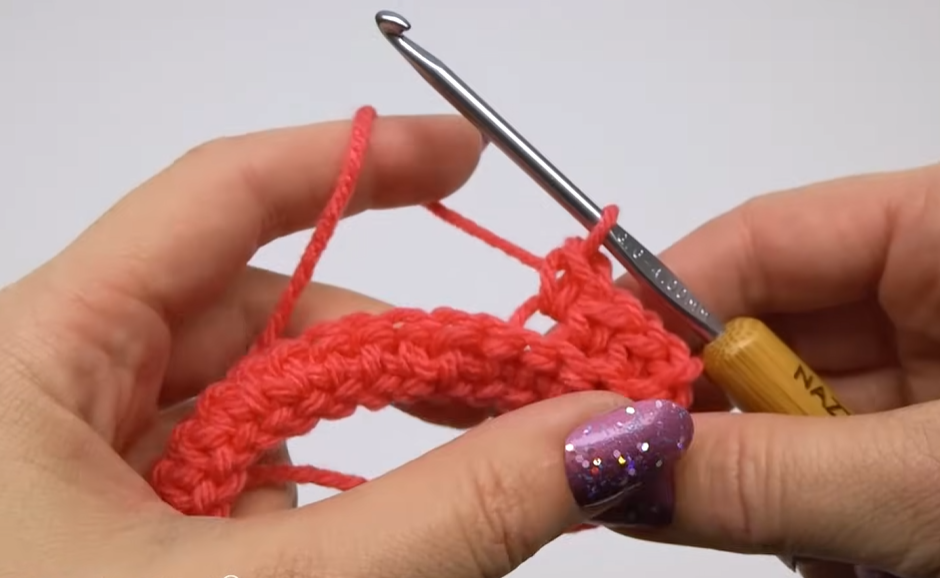
- Round 1: Ch 2 (does not count as st). Hdc in next st, fpdc around next st, bpdc around next st. Repeat from * to * around the entire opening. You’ll alternate between hdc and post stitches to create a ribbed look. Join with a sl st to the first hdc.
- Tip: You’ll be working into the sides of rows for the instep/heel sections. Aim to place stitches evenly to prevent gaps, perhaps 1 hdc per row edge and 1 hdc per stitch along the top of the foot.
- Round 2: Ch 2 (does not count as st). Hdc in first st. Fpdc around next fpdc, bpdc around next bpdc. Repeat from * to * around. Join with a sl st to the first hdc.
- Repeat Round 2 for 2-4 more rounds, or until your cuff is your desired height.
- Fo and weave in ends.
Part 5: Make Your Pom-Poms!
- Using your pom-pom maker (or by hand), create two fluffy pom-poms about 1.5-2 inches (4-5 cm) in diameter. You can use the same yarn as your slipper or a contrasting color for a fun pop!
- Leave long tails when tying off your pom-poms.
- Position one pom-pom on the top front of each slipper, just above the toe.
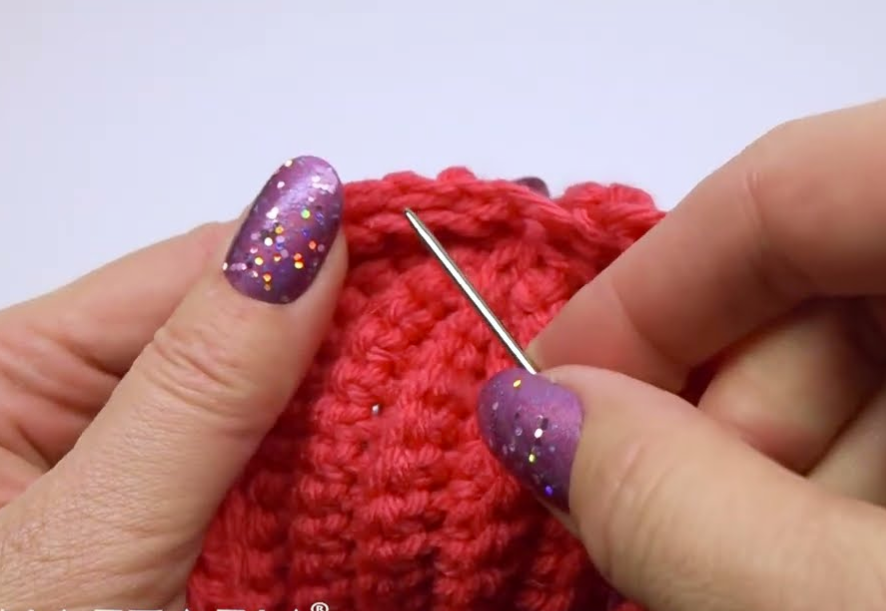
- Using your tapestry needle, thread the pom-pom tails through the stitches of the slipper and tie them securely on the inside. Trim excess.
Video tutorial
Finishing Touches:
Weave in all remaining loose ends. Take a moment to admire your beautiful new Comfy Pom-Pom House Slippers!
Care Instructions:
- Hand wash or machine wash on a delicate cycle in cold water.
- Lay flat to dry. Do not tumble dry, as it can felt or shrink the yarn.
I hope you enjoyed crocheting these delightful slippers! They make wonderful gifts or a perfect treat for yourself. Share your finished slippers with me on social media using #ComfyPomPomSlippers – I can’t wait to see your color choices!
Happy stitching!