 by
by 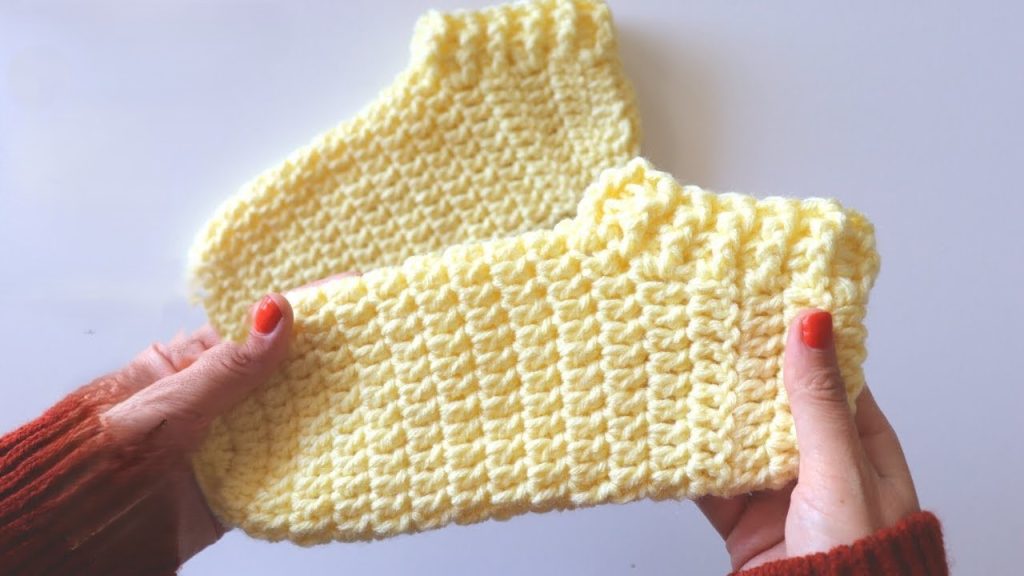
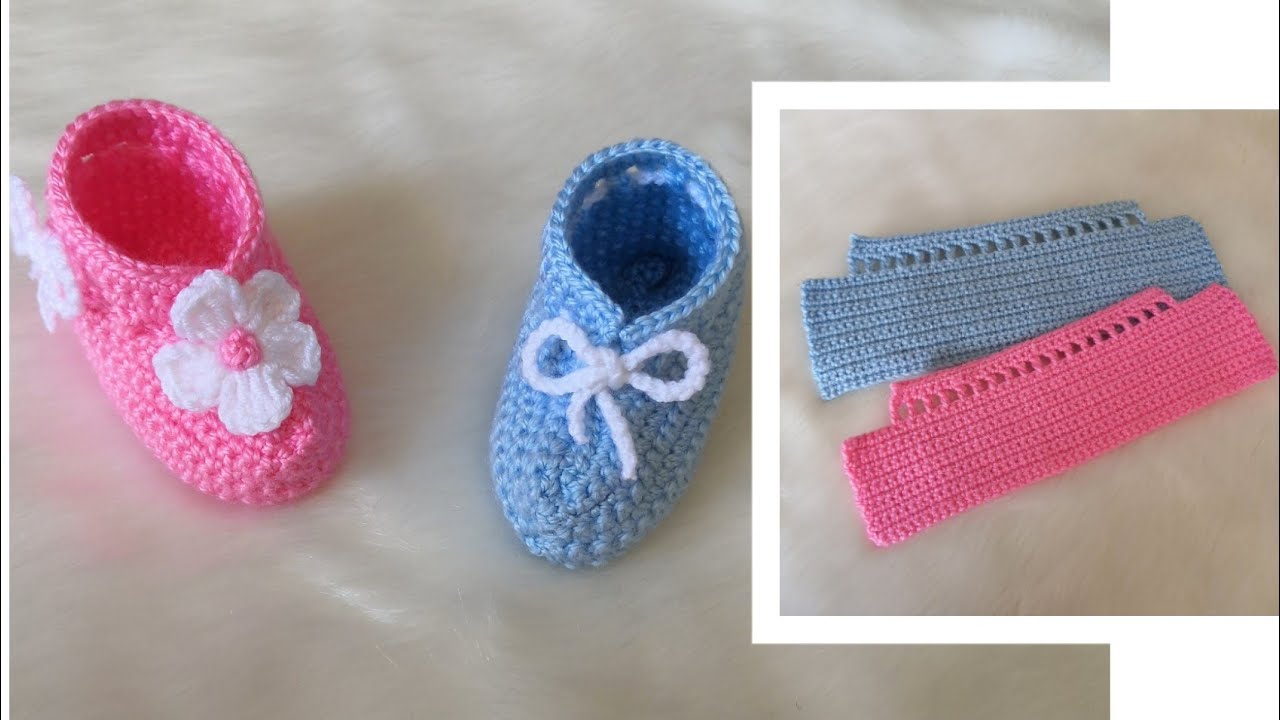
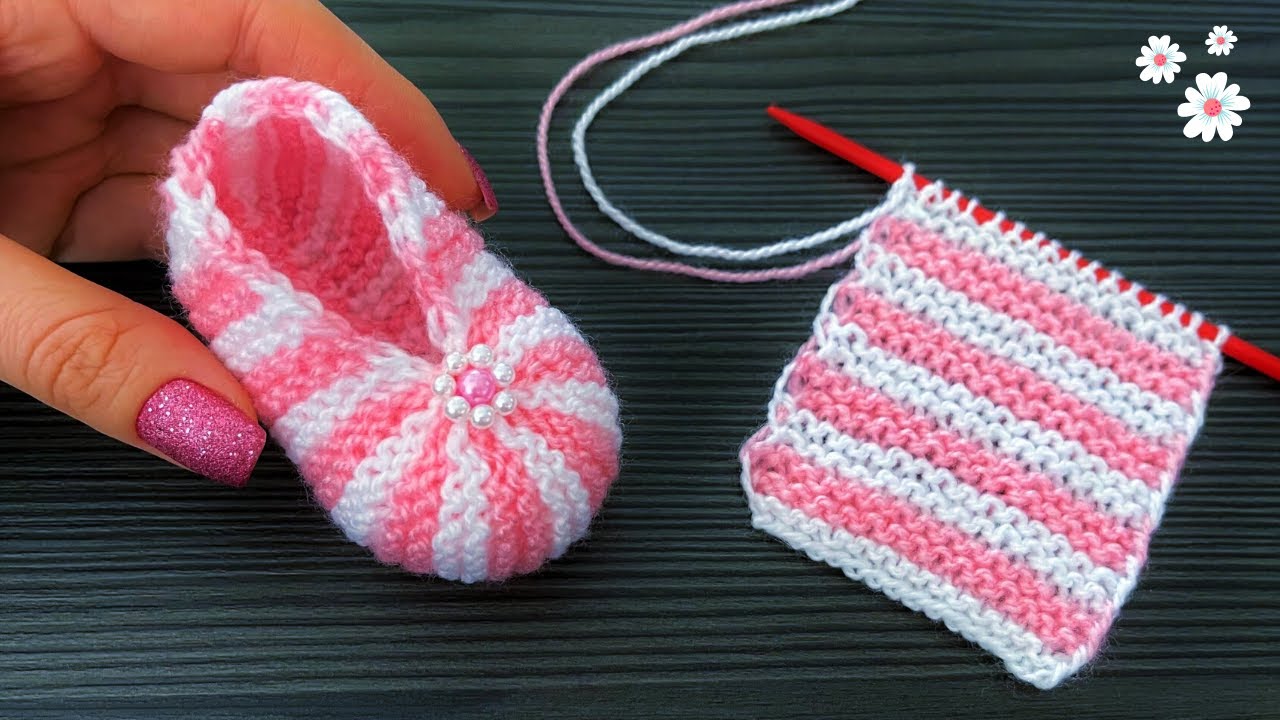
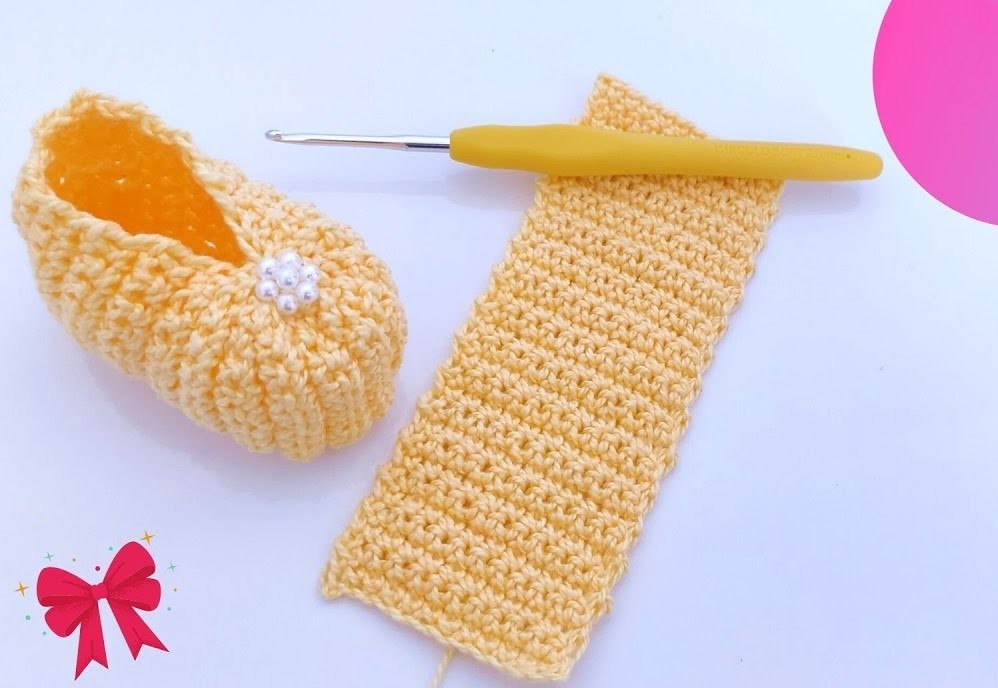
Hey there, fellow yarn lovers! Are you looking for a quick and satisfying project that will keep your feet toasty warm? Look no further! Today, I’m thrilled to share a pattern for these Super Easy Crochet Slippers. Even if you’re a beginner, you’ll be able to whip up a pair of these in just a few hours. Trust me, your feet (or the feet of a lucky friend!) will thank you.
The best part about these slippers? They’re made primarily with simple stitches, creating a lovely textured fabric that’s both comfy and stylish. Let’s dive in!
Skill Level: Beginner-Friendly!
Materials You’ll Need:
- Yarn: Approximately 100-150 grams of Worsted Weight (Aran/10-ply) yarn. I used a lovely light yellow for my sample, but feel free to pick your favorite color! Cotton blends or acrylic are great choices for durability and washability.
- Crochet Hook: 5.0 mm (H/8) crochet hook. (Adjust hook size if needed to meet gauge.)
- Tapestry Needle: For weaving in ends.
- Scissors
Gauge:
- 14 stitches x 10 rows in half double crochet (HDC) = 4 inches (10 cm)
(Getting gauge right is important for the slipper size! Take a moment to make a swatch.)
Abbreviations (US Terms):
- ch: chain
- sl st: slip stitch
- sc: single crochet
- hdc: half double crochet
- hdc2tog: half double crochet two stitches together (decrease)
- st(s): stitch(es)
- fo: fasten off
Notes Before You Start:
- This pattern is written for an adult women’s size Small/Medium (US 6-8). Instructions for adjusting size will be included.
- The slipper is worked flat and then seamed.
- Ch 1 at the beginning of rows does NOT count as a stitch unless otherwise specified.
- Pay attention to your stitch count at the end of each row.
Pattern Instructions:
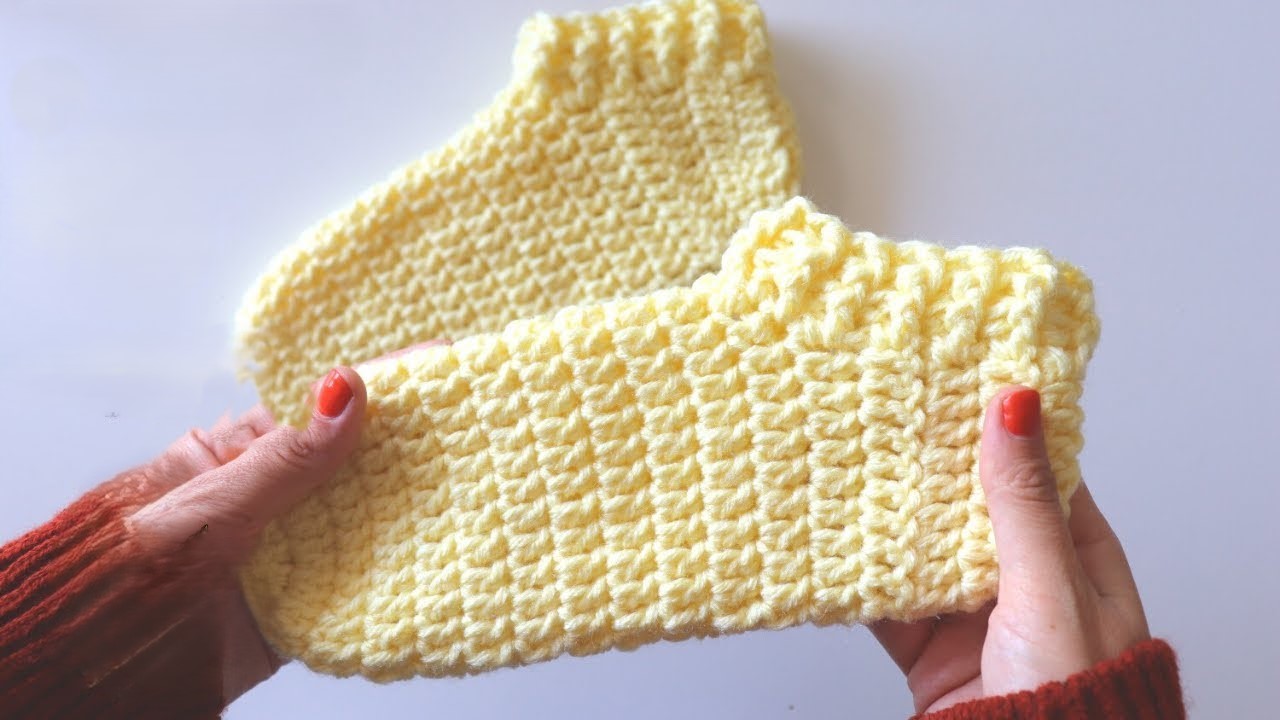
Let’s begin by creating the main body of the slipper.
Foundation Chain: Ch 29 (for size S/M).

- To adjust size: For a smaller slipper, chain fewer stitches (e.g., Ch 25-27). For a larger slipper, chain more stitches (e.g., Ch 31-33). The chain should be approximately the length from your heel to the base of your toes.
Row 1: Hdc in the 2nd ch from hook and in each ch across. (28 hdc) Row 2: Ch 1, turn. Hdc in each st across. (28 hdc)
Repeat Row 2 until your piece measures approximately 8-9 inches (20-23 cm) in length, or long enough to wrap comfortably around your foot from the instep to the heel. For size S/M, this will be about 30-34 rows.
Shaping the Toe (Decrease Section):
This section will create the tapered front of the slipper.
Row 1 (Decrease Row): Ch 1, turn. Hdc2tog, hdc in each st until the last 2 sts, hdc2tog. (26 hdc) Row 2: Ch 1, turn. Hdc in each st across. (26 hdc)
Repeat Row 1 and 2 alternately until you have approximately 10-14 stitches remaining. For size S/M, this will be about 6-8 rows of decreases.
Example decrease sequence for S/M (you’ll adjust based on your starting stitches and desired toe shape):
- Row 1: (26 hdc)
- Row 2: (26 hdc)
- Row 3: (24 hdc)
- Row 4: (24 hdc)
- Row 5: (22 hdc)
- Row 6: (22 hdc)
- Row 7: (20 hdc)
- Row 8: (20 hdc)
- Row 9: (18 hdc)
- Row 10: (18 hdc)
- Row 11: (16 hdc)
- Row 12: (16 hdc)
Finishing the Toe:
Once you have your desired number of stitches for the toe (e.g., 12-14 sts for S/M), you’ll close it up.

Next Row: Ch 1, turn. Sc across. (e.g., 12-14 sc) Next Row: Ch 1, turn. Hdc2tog across until 1 or 2 sts remain, hdc in last st if needed. You want to reduce to just a few stitches. (e.g., 6-7 hdc) Next Row: Ch 1, turn. Sc2tog across. (e.g., 3-4 sc)
Fo, leaving a long tail for seaming.
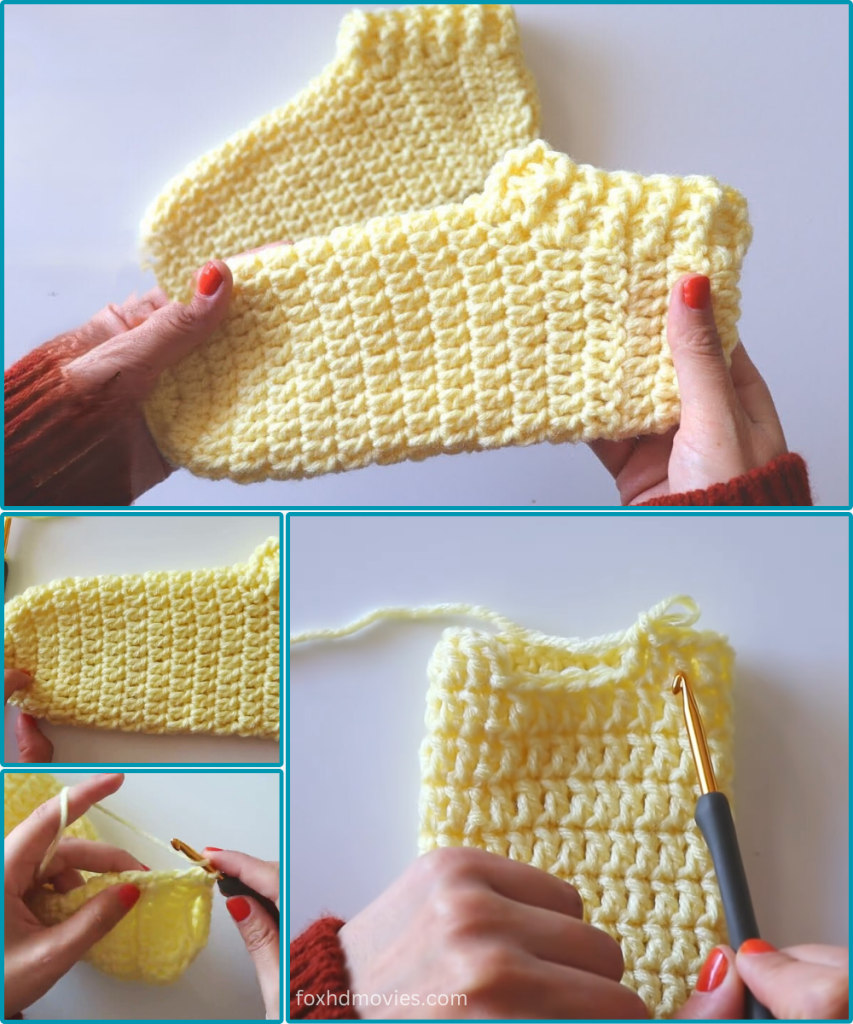
Assembly:
Now, let’s turn our flat piece into a cozy slipper!
- Fold: Fold your crocheted piece in half lengthwise, right sides together. The side you just finished decreasing will be the top of the toe.
- Seam the Toe: Using your tapestry needle and the long tail you left, whip stitch or mattress stitch the edges of the decreased section together to form the front of the slipper toe. Weave in any remaining ends securely.
- Seam the Heel: Now, turn the slipper inside out. Identify the starting chain edge. This will be the heel of your slipper. Using a new piece of yarn (or the starting tail if it’s long enough), seam the short edges of the heel together using your preferred seaming method (whip stitch or mattress stitch). Weave in ends.
- Try it on! See how it fits. If it’s a bit loose, you can add a row of single crochet around the opening.
Adding the Cuff (Optional but Recommended!):
This ribbed cuff adds a lovely finish and helps keep the slipper on.
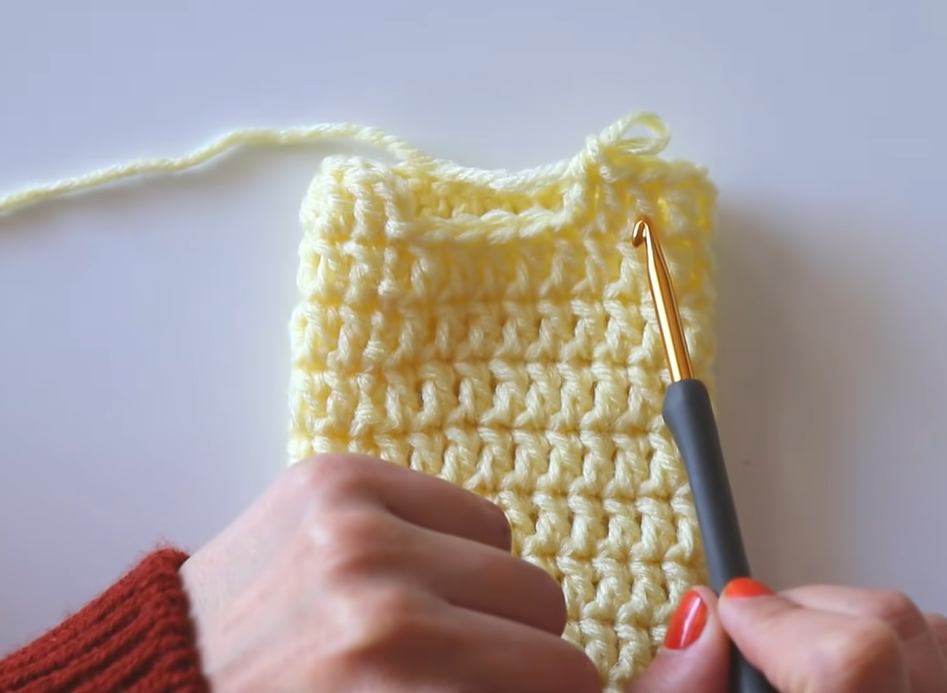
- With your slipper right side out, join yarn with a sl st to the back center of the slipper opening.
- Round 1: Ch 1, sc evenly around the entire opening of the slipper. Aim for approximately 45-55 sc for S/M, adjusting to ensure it lies flat and doesn’t pull. Join with a sl st to the first sc.
- Round 2: Ch 7 (this will be the height of your cuff).
- Row 1 (Working into chain): Sl st in the 2nd ch from hook and in each of the next 5 chs. (6 sl sts).
- Row 2 (Attaching to slipper): Sl st into the next 2 sc sts on the slipper opening (skip 0 stitches, sl st into next 2 stitches as per typical ribbed cuff method).
- Row 3 (Working back on cuff): Turn. Sl st in the back loop only (BLO) of each of the 6 sl sts you just made. (6 sl sts BLO)
- Row 4 (Attaching to slipper): Ch 1, turn. Sl st in BLO of each of the 6 sl sts. (6 sl sts BLO)
- Row 5 (Attaching to slipper): Sl st into the next 2 sc sts on the slipper opening.
Repeat Rows 6-9 (working back and forth in BLO for the cuff, and attaching every two rows to the slipper opening) all the way around the slipper opening.
When you reach the starting point, sl st the two ends of the cuff together using the BLO stitches. Weave in all remaining ends.
Video tutorial
Make a Second Slipper!
Repeat all the steps above to create your second slipper. You’ll be surprised how quickly the second one comes along!
Care Instructions:
- Machine wash gentle cycle with mild detergent.
- Lay flat to dry. Do not tumble dry, as it may cause shrinkage or damage.
And there you have it! Your very own pair of Super Easy Crochet Slippers. I hope you enjoyed making them as much as I did sharing the pattern. These make fantastic gifts, too!
If you make a pair, I’d love to see them! Share your creations on social media using the hashtag #SuperEasySlippers and tag me!
Happy crocheting!