 by
by Hello, loving crafters!
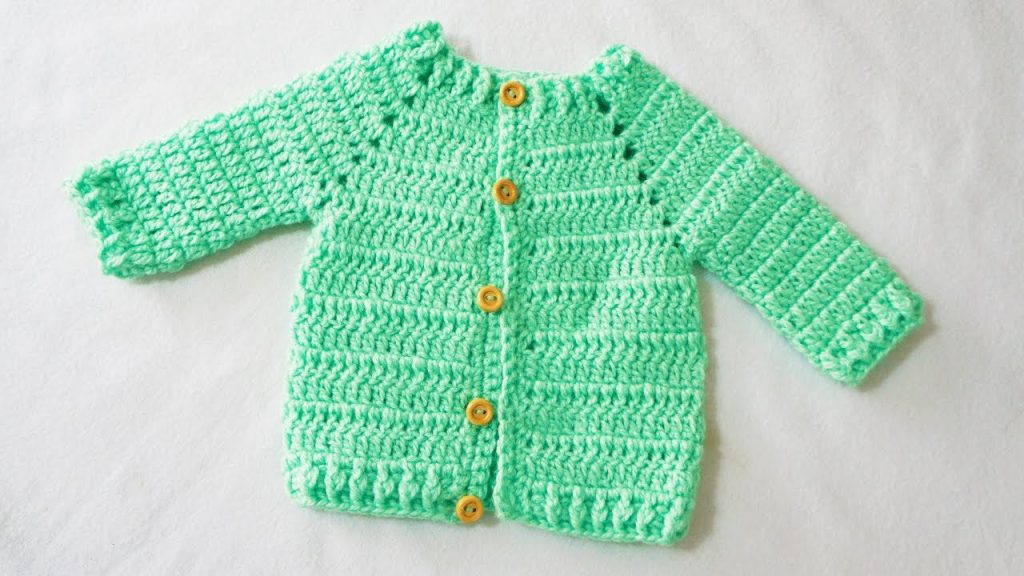
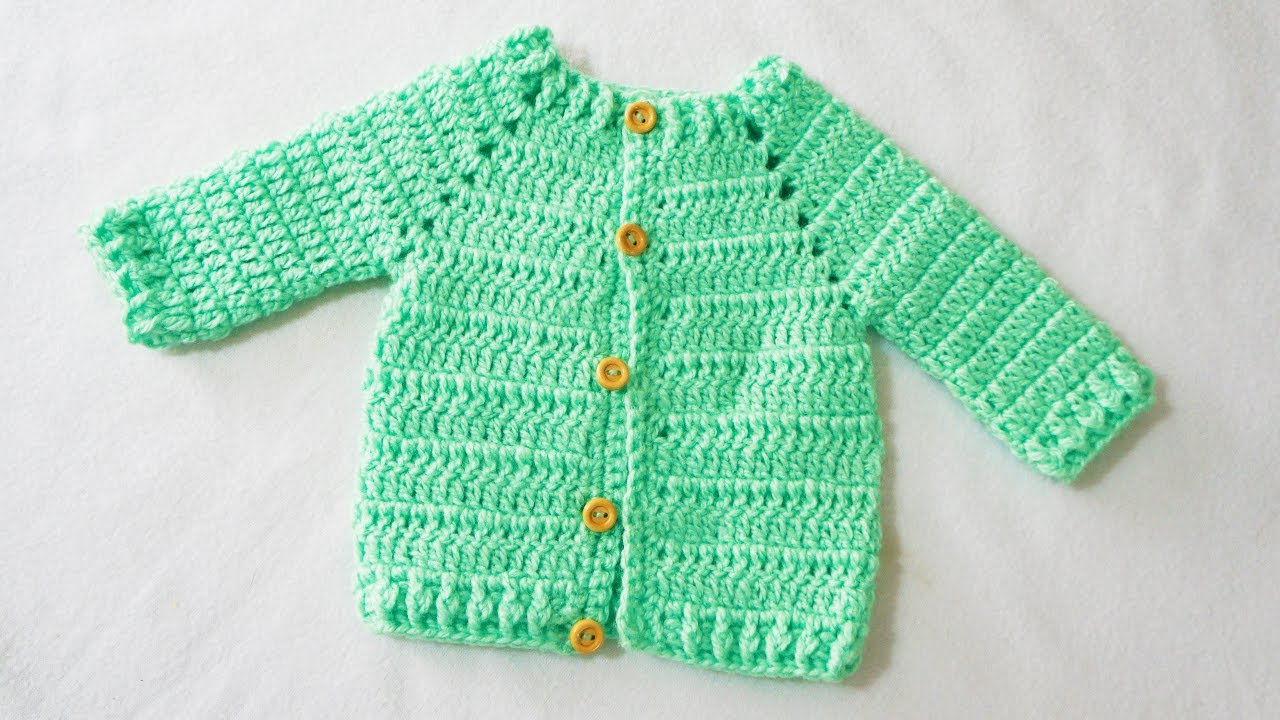
Are you ready to create a truly precious and practical garment for a little one? Today, we’re going to crochet the charming “Minty Comfort” Baby Cardigan! This adorable little jacket, as seen in the image, features a lovely textured stitch pattern that gives it a wonderful squishy feel, long sleeves for warmth, and simple button-front closure.
This cardigan is designed for comfort and style, perfect for keeping a baby cozy on cooler days or as a sweet layering piece. The subtle texture adds a touch of sophistication without being overly complicated, making it a satisfying project for intermediate crocheters and adventurous beginners alike.
Ready to stitch up some handmade warmth and cuteness? Let’s gather our softest yarn and hooks!
Pattern Sizing:
This pattern is designed for Newborn to 3 Months (approximately 16-18 inches chest circumference). To adjust size, you can use a larger hook, thicker yarn, or adjust the initial chain for the yoke (ensuring it’s a multiple that can be divided into the appropriate sections for back, sleeves, and front). You can also add or subtract rows for length.
What you’ll need:
- Yarn: A soft, baby-friendly yarn. A DK (light worsted) or Sport weight yarn is ideal for a good drape and stitch definition. The sample in the image uses a beautiful mint green. You’ll need approx. 200-250 yards.
- Crochet Hook: A hook size appropriate for your chosen yarn. For DK/Sport weight, a 3.75mm (F/5) or 4.0mm (G/6) hook would work well. (The hook in the image appears to be around a 4.0mm).
- Scissors
- Tapestry Needle (for weaving in ends and seaming)
- Small Buttons: (3-5, approximately 12-15mm) in a contrasting color (yellow in the example).
- Stitch Markers (at least 4, for marking yoke corners)
Abbreviations (US Terms):
- ch: chain
- st(s): stitch(es)
- sl st: slip stitch
- sc: single crochet
- hdc: half double crochet
- dc: double crochet
- Fpdc: Front Post Double Crochet (Specific instructions below)
- Bpdc: Back Post Double Crochet (Specific instructions below)
- inc: increase (work 2 sts in the same st)
- rep: repeat
- {…}: indicates stitches worked in the same stitch/space
- (…): indicates total stitches at the end of the row
Understanding the Post Stitches (for texture)
These stitches are crucial for the cardigan’s lovely ribbed texture:
- Front Post Double Crochet (Fpdc): Yo, insert hook from front to back to front around the post of the indicated stitch, yo, pull up a loop, (yo, pull through 2 loops) twice.
- Back Post Double Crochet (Bpdc): Yo, insert hook from back to front to back around the post of the indicated stitch, yo, pull up a loop, (yo, pull through 2 loops) twice.
The “Minty Comfort” Baby Cardigan Pattern
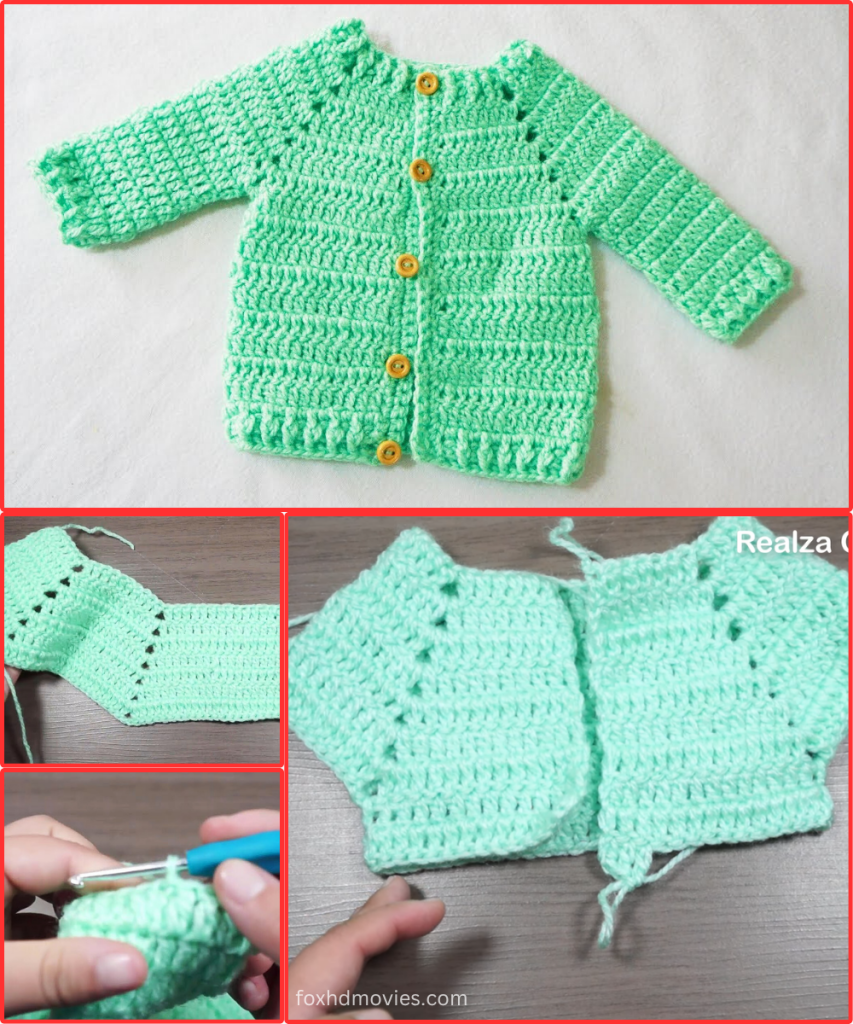
We’ll start by working the yoke flat, then separate for body and sleeves, and finally add texture and details.

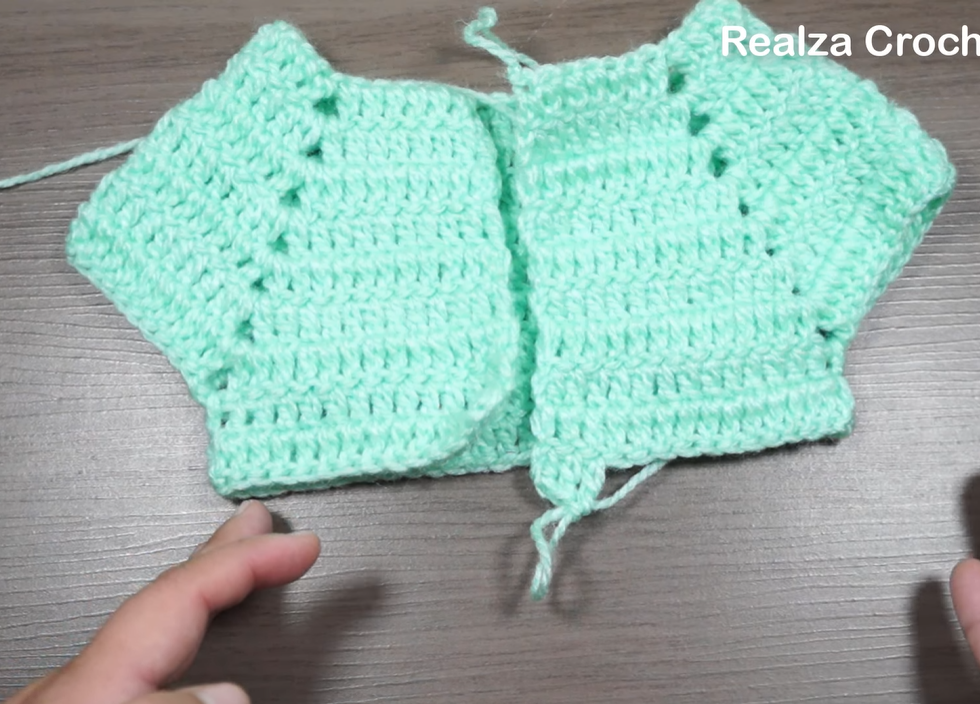
Part 1: The Yoke (Worked Flat)
- Ch 58.
- Row 1 (Foundation Row): Dc in the 3rd ch from hook (counts as 1st dc) and in each ch across. (56 dc). Turn.
- Row 2 (Yoke Division): Ch 2 (does not count as st).
- Dc in next 8 sts (Right Front Panel). Place marker in last dc.
- {Dc, ch 2, dc} in next st. Place marker in the ch-2 space.
- Dc in next 10 sts (First Sleeve). Place marker in last dc.
- {Dc, ch 2, dc} in next st. Place marker in the ch-2 space.
- Dc in next 16 sts (Back Panel). Place marker in last dc.
- {Dc, ch 2, dc} in next st. Place marker in the ch-2 space.
- Dc in next 10 sts (Second Sleeve). Place marker in last dc.
- {Dc, ch 2, dc} in next st. Place marker in the ch-2 space.
- Dc in next 8 sts (Left Front Panel). Turn. (Total 56 dc, 4 ch-2 corner spaces).
- You’ve now divided the yoke into the main sections.
- Row 3 (Increase Row): Ch 2. Dc in each dc up to the first ch-2 space. {Dc, ch 2, dc} in each ch-2 space (moving your stitch markers to the new ch-2 spaces). Continue dc in each dc to the end of the row, working {Dc, ch 2, dc} in each corner space. Turn. (68 dc, 4 ch-2 corner spaces).
- Row 4: Repeat Row 3. (84 dc, 4 ch-2 corner spaces). Turn.
- Row 5: Repeat Row 3. (100 dc, 4 ch-2 corner spaces). Turn.
- Your yoke should now be comfortably sized for a baby. Add more increase rows here if a larger size is needed.
Part 2: Separate Body & Sleeves
- Row 6 (Body Connection): Ch 2.
- Dc in each dc up to the first ch-2 space.
- Dc in the ch-2 space. Ch 2 (this creates the armpit joining chain).
- Sk all sleeve stitches (the dc stitches between the first and second ch-2 space).
- Dc in the next ch-2 space.
- Dc in each dc across the back panel up to the next ch-2 space.
- Dc in the ch-2 space. Ch 2 (second armpit joining chain).
- Sk all sleeve stitches (the dc stitches between the third and fourth ch-2 space).
- Dc in the next ch-2 space.
- Dc in each dc to the end of the row (last front panel). Turn. (Approx. 60-64 dc, 2 ch-2 armpit chains).
Part 3: The Body (Texture Rounds)
We’ll work the body flat in rows, then finish with a bottom band.

- Row 7 (First Texture Row): Ch 2. Dc in each dc across, working 2 dc into each ch-2 armpit space. Turn. (Approx. 64-68 dc).
- Row 8 (Texture Row): Ch 2. *Fpdc around the first dc, Bpdc around the next dc*. Rep from * to * across the row. End with a dc in the last dc. Turn.
- This creates the alternating front/back post texture. Ensure you work the last stitch correctly.
- Repeat Row 8 until the body reaches your desired length (approx. 8-10 rows total from the armpit join). The image shows about 8 texture rows.
- Bottom Band (Optional Ribbing):
- Row 1: Ch 2. Dc in each st across. Turn.
- Row 2: Ch 2. *Fpdc around the next dc, Bpdc around the next dc*. Rep from * to * across. End with a dc in the last dc. Turn.
- Row 3: Repeat Row 2.
- Fasten off.
Part 4: The Sleeves (Worked in Rounds)
Rejoin yarn for each sleeve.
- Rejoin Yarn: Attach yarn with a sl st to the center of an armpit ch-2 space.
- Round 1: Ch 2. Dc evenly around the armhole opening (working into the stitches that formed the sleeve, and 2 dc into the ch-2 armpit space). Sl st to the top of the beginning ch-2 to join. (Approx. 28-32 dc).
- Round 2 (Texture Round): Ch 2. *Fpdc around the next dc, Bpdc around the next dc*. Rep from * to * around. Sl st to join.
- Repeat Round 2 until the sleeve reaches desired length (approx. 12-14 rounds total, including Round 2). The image shows relatively long sleeves for warmth.
- Cuff (Optional Ribbing):
- Round 1: Ch 2. Dc in each st around. Sl st to join.
- Round 2: Ch 2. *Fpdc around the next dc, Bpdc around the next dc*. Rep from * to * around. Sl st to join.
- Round 3: Repeat Round 2.
- Fasten off. Repeat for the second sleeve.
Part 5: Finishing Touches (Borders & Buttons)
- Front Edging (Button Band): Re-attach yarn to the bottom corner of one front opening. Ch 1. Sc evenly up the raw edge of the front panel, around the neck opening, and down the other front panel. Sl st to finish.
- Aim for 1 sc per dc row for a neat edge.
- Buttonholes: On one of the front bands (e.g., the right side for girls, left for boys), create buttonholes. Re-attach yarn to the bottom corner. Ch 1. Sc evenly for a few stitches. *Ch 2, sk 2 sts (buttonhole), sc in next few sts*. Repeat for 3-5 buttonholes, spacing them evenly. Sc to the end. Fasten off.
- Sew Buttons: Align buttons with buttonholes on the opposite front band and sew them securely in place.
- Weave in Ends: Use your tapestry needle to weave in all remaining loose ends neatly.
- Blocking (Optional): Gently block your cardigan to help the stitches even out and the garment lay flat.
Video tutorial
Tips for Your Minty Comfort Cardigan:
- Gauge Swatch: For garments, especially baby clothes, always make a gauge swatch to ensure your tension matches the pattern. This helps guarantee the correct size.
- Yarn Softness: Choose a yarn that is specifically labeled as “baby yarn” or is known for its softness and is gentle on sensitive skin.
- Buttonhole Placement: Carefully measure and mark where you want your buttonholes before you crochet them.
- Customization:
- Length: Add or subtract texture rows to the body for a longer or shorter cardigan.
- Sleeves: You can make 3/4 length or short sleeves by reducing the number of rounds.
- Color: This pattern would look lovely in any pastel shade – yellow, blue, lavender, or cream.
- Edging: Experiment with a different edging for the bottom or sleeve cuffs (e.g., shell stitch or picot).
This “Minty Comfort” Baby Cardigan is a labor of love that will surely be a cherished addition to a baby’s wardrobe. Enjoy the process of creating this cozy classic!
Happy Crocheting!