 by
by Hello, budding crocheters and seasoned pros alike!

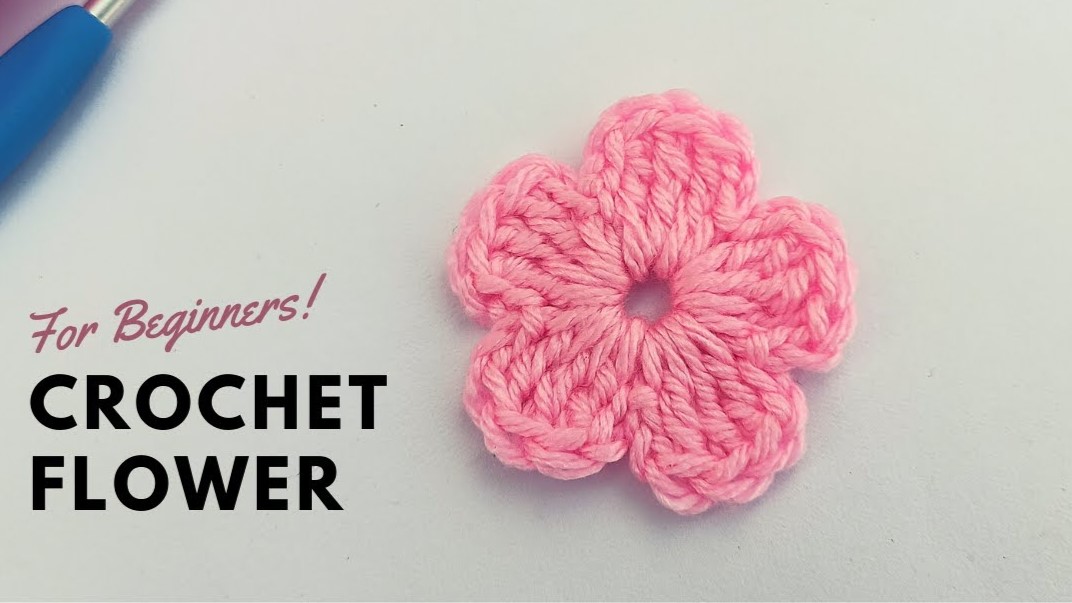
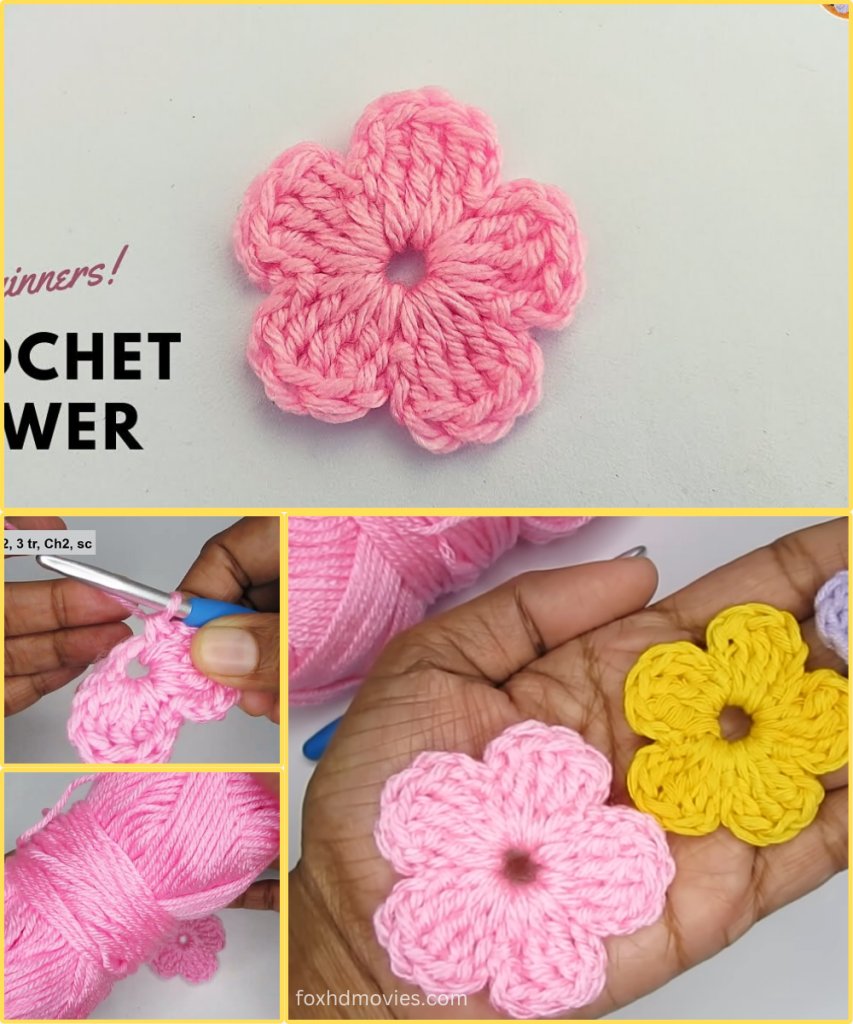
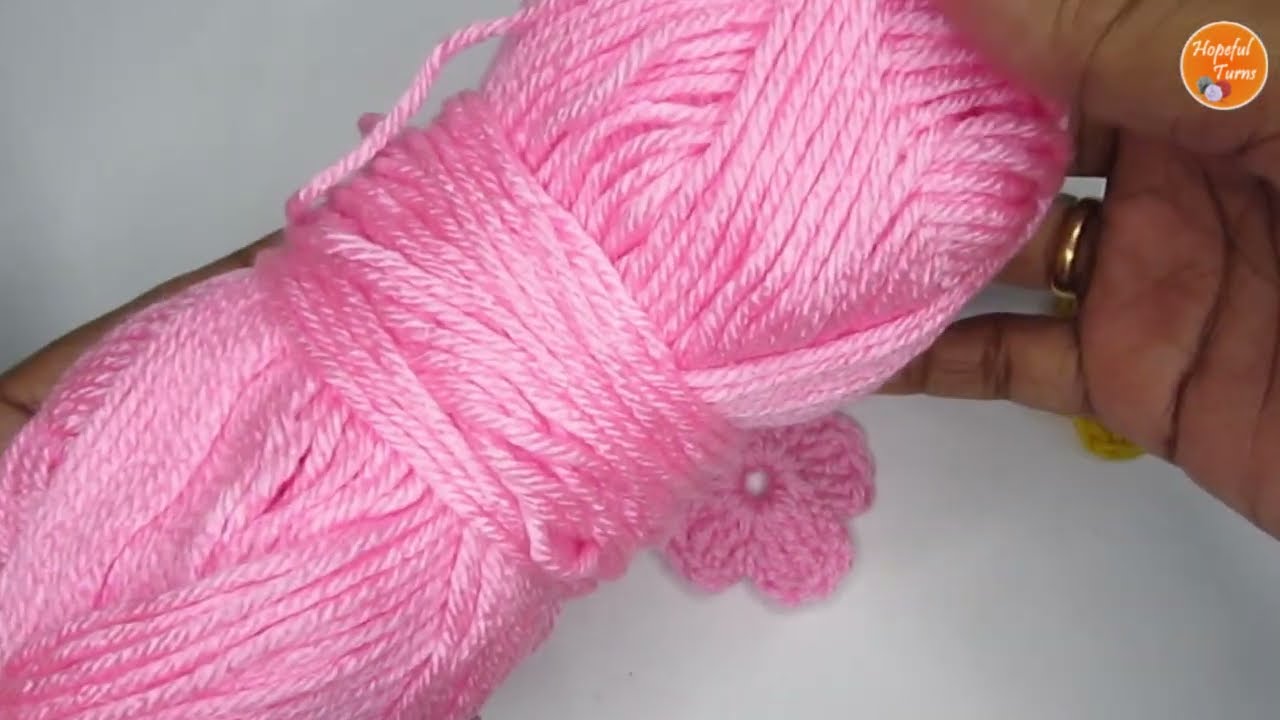
Are you looking for a quick, satisfying project that creates instant cheer? Today, we’re making the easiest and sweetest little Perfect Petal Flower! This charming, simple bloom, like the one pictured, is absolutely ideal for beginners, using just a couple of fundamental stitches to create a delightful result.
These flowers are perfect for so many things:
- Adding a touch of handmade charm to headbands or hair clips.
- Embellishing hats, scarves, bags, or garments.
- Stringing together for a cute garland.
- Even using as tiny appliques on baby clothes or greeting cards!
If you can chain, slip stitch, and make a double crochet, you’ve got this! Let’s dive in and watch your yarn blossom.
What you’ll need:
- Yarn: Any weight yarn will work, but a DK (light worsted) or worsted weight yarn will make a nice, visible flower. The pink yarn in the image looks like a soft DK weight.
- Crochet Hook: Choose a hook size appropriate for your chosen yarn. For DK yarn, a 3.5mm (E/4) or 4.0mm (G/6) hook would be suitable. For worsted, a 4.5mm (7) or 5.0mm (H/8) hook. (The hook in the image appears to be around a 4.0mm or 4.5mm).
- Scissors
- Tapestry Needle (for weaving in ends)
Abbreviations (US Terms):
- ch: chain
- st(s): stitch(es)
- sl st: slip stitch
- dc: double crochet
- MR: Magic Ring (or Magic Circle)
The Perfect Petal Flower Pattern
This flower is made in just two simple steps: creating the center, and then adding the petals around it!
Part 1: The Heart of the Flower (The Center)
We’ll start with a small circle that will form the base for your petals.
Method A: Magic Ring (Recommended for a tighter center)
- Make a Magic Ring.
- If you’re new to the Magic Ring, don’t worry! There are tons of great video tutorials online. It’s worth learning for a nice, tight center.
- Ch 2 (does not count as a stitch).
Method B: Chain Method (Easier for absolute beginners)
- Ch 4.
- Sl st into the first ch to form a ring.
- Ch 2 (does not count as a stitch).
Continue with Round 1 (from either Method A or B):
- Work 10 dc into the ring (from either Method A or B).
- Sl st to the top of the first dc to join the round. (10 dc)
- If using the Magic Ring, gently pull the tail to close the center hole securely.
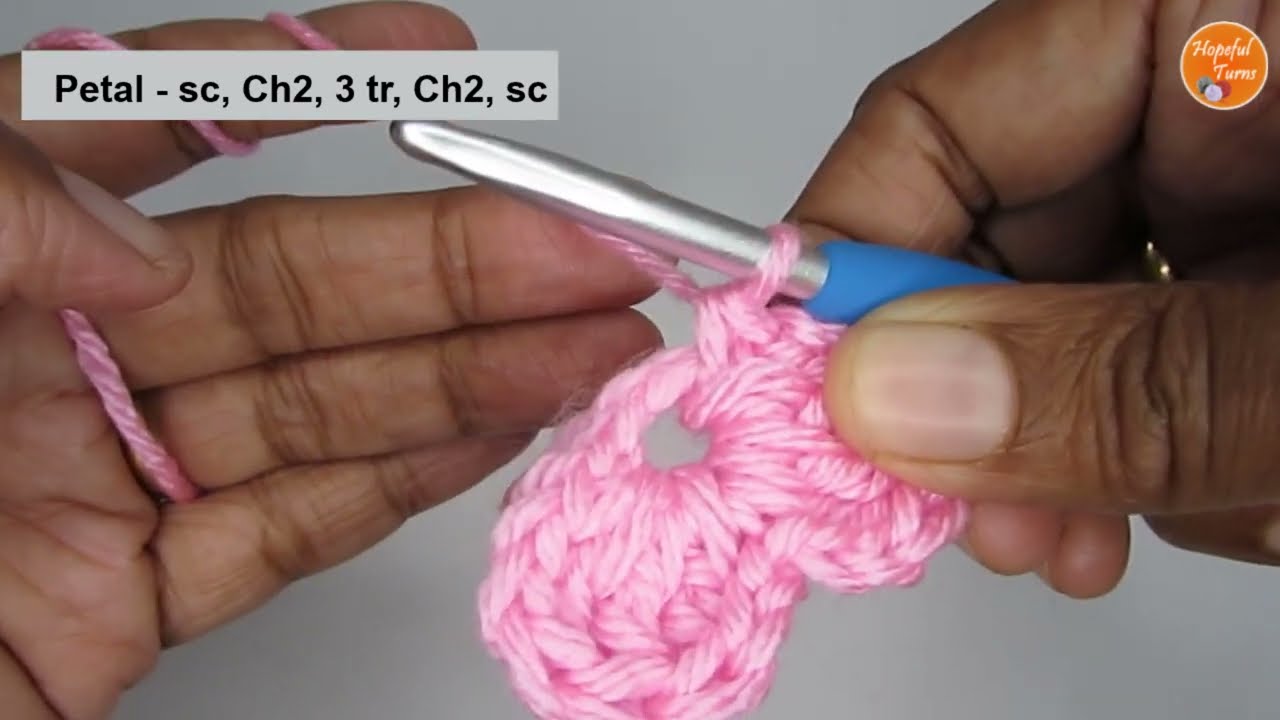
Part 2: Blooming Petals!
Now, let’s create those lovely, plump petals. We’ll be working these directly into the chain-2 spaces of the previous round.
- Creating the First Petal:
- Ch 2 (does not count as a stitch).
- Work 3 dc into the same stitch where you just joined.
- Ch 2.
- Sl st into the next stitch. This completes your first petal!
- You will now repeat this exact sequence to create the remaining petals.
- Repeat for Remaining Petals (4 more times):
- Ch 2 (does not count as a stitch).
- Work 3 dc into the same stitch where you just slip stitched.
- Ch 2.
- Sl st into the next stitch.
- Continue this sequence until you have made a total of 5 petals. Each petal should have been worked into a separate stitch from your central circle.
- After your 5th petal, you will be at the beginning. Sl st into the very first stitch of the first petal (or directly into the center ring) to secure your last petal and seamlessly finish the flower.
- Fasten off. Leave a tail about 6 inches long for weaving in.
Finishing:
- Using your tapestry needle, weave in all loose ends securely. Pay special attention to the Magic Ring tail if you used that method, ensuring it’s pulled tight and secured so the center doesn’t open up.
- Gently flatten and shape your flower with your fingers.
Video tutorial
Tips for Your Perfect Petal Flower:
- Tension: Try to keep your tension consistent for each petal so they are all roughly the same size and puffiness.
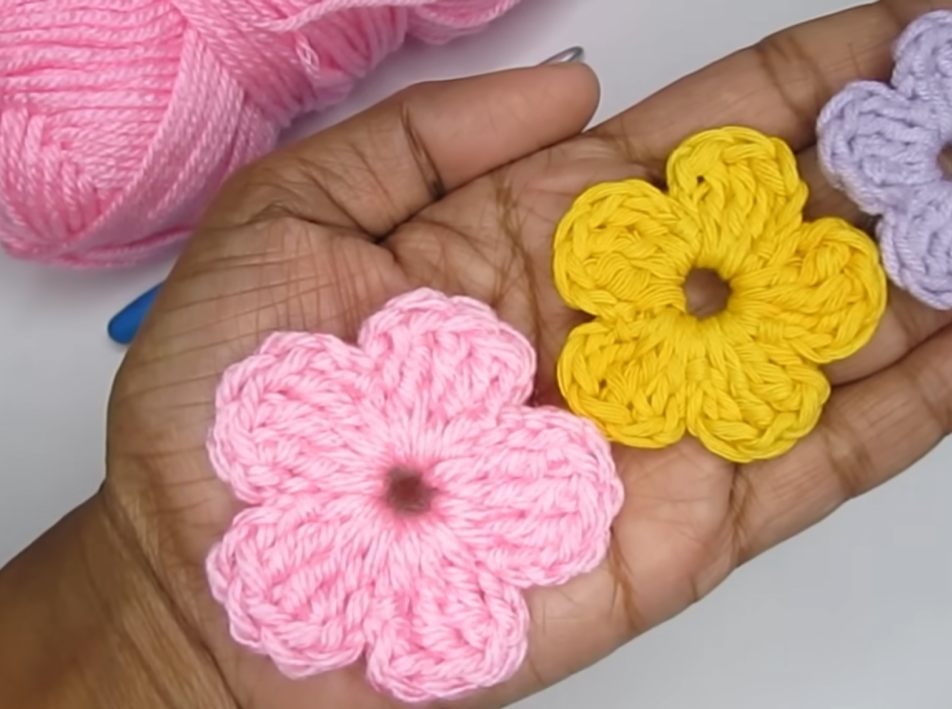
- Yarn Choice: This flower looks great in any color! Solid colors really highlight the simple shape. You can also experiment with variegated yarns for a different effect.
- Embellishments: For extra charm, you can sew a small button, a bead, or a sequin into the center of your finished flower.
- Practice, Practice! The more you make, the faster and more consistent your flowers will become. They’re great for practicing your double crochet stitches!
- Beyond the Basic: Once you’re comfortable, you can experiment with making more petals (by increasing the starting chain or dc count in the center), or using different stitch combinations (like hdc or tr) for different petal shapes.
I hope you enjoy making these sweet little flowers! They are truly a joy to create and add a beautiful handmade touch to anything. Don’t forget to share your blossoms – I love seeing your creations!
Happy Crocheting!