by
by 
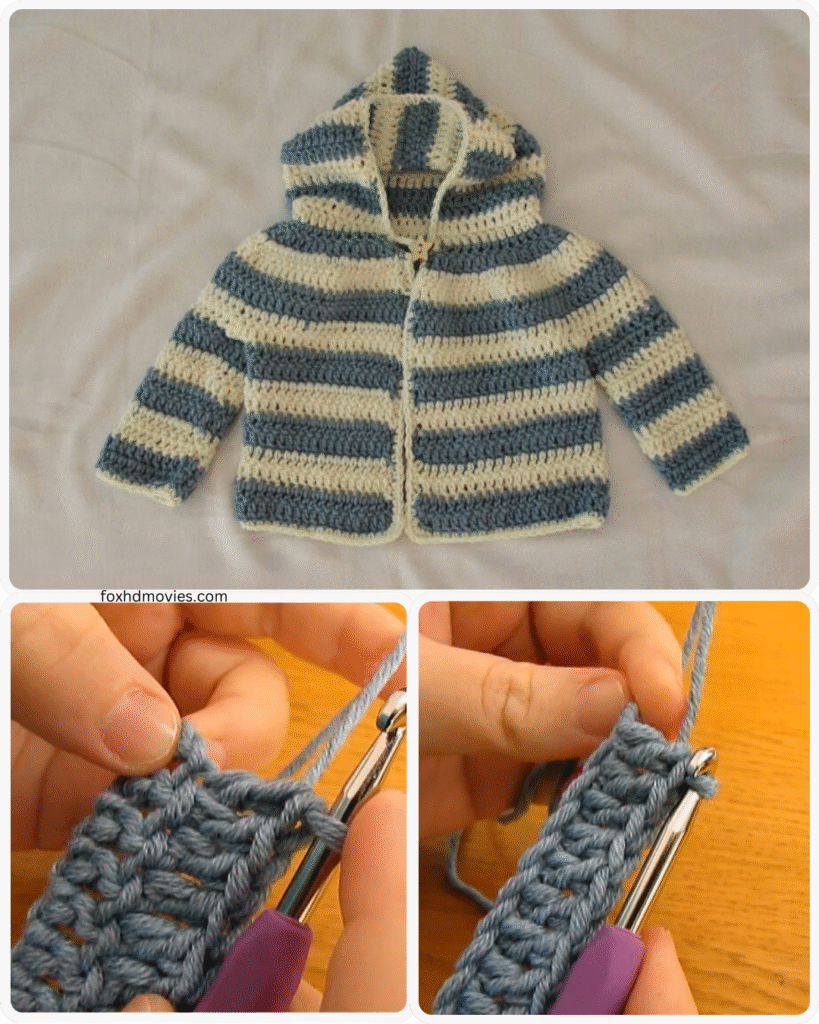
Feeling the urge to whip up something cozy and cute for the little ones in your life? Maybe you’re new to garment sewing, or perhaps you just need a quick, satisfying project. Well, you’re in the right place!
Today, we’re tackling a super simple pattern for a children’s hoodie, sweater, or even a light jacket. The beauty of this pattern is its flexibility and, most importantly, its EASE! We’re using basic shapes and techniques that even a sewing newbie can master.
Forget complicated zippers or fussy collars – this is all about comfort, speed, and getting a wearable, adorable result.
Ready to dive in? Let’s gather our supplies!
What You’ll Need:
- Fabric: About 1 – 1.5 yards (depending on size) of a medium-weight knit fabric. Think sweatshirt fleece, French terry, cotton jersey, even a stable double knit. Knits are forgiving and comfy for kids!
- Ribbing Fabric (Optional but Recommended): A small piece (about 1/4 – 1/2 yard) for cuffs, waistband, and possibly neckband. Ribbing gives a nice finish and stretch. If not using ribbing, you’ll just hem.
- Thread: Matching or coordinating all-purpose thread.
- Pattern Paper or Large Paper: Butcher paper, wrapping paper (the blank kind!), or even old newspaper taped together.
- An Existing Garment: A well-fitting t-shirt, sweater, or hoodie that belongs to the child you’re sewing for. This will be our template!
- Sewing Machine: With a stretch needle (important for knits!) and ideally a stretch stitch or a serger/overlocker. A zigzag stitch works too!
- Basic Sewing Supplies: Scissors, pins or fabric clips, measuring tape, chalk or fabric marker.
- Hoodie Option: Drawstring and grommets (optional).
Choosing Your Fabric:
For this easy project, knit fabric is your best friend! It doesn’t fray, it stretches (which helps with fit and pulling it on over a head), and it’s super comfortable.
- Sweatshirt Fleece: Classic hoodie material, very warm.
- French Terry: Lighter weight than fleece, looped on the back. Great for transitional weather.
- Cotton Jersey: T-shirt material, best for a lighter sweater or layering piece.
- Ponte or Double Knit: More stable, less stretch, good for a slightly more structured feel.
Pre-wash and dry your fabric before you start! Knits can shrink.
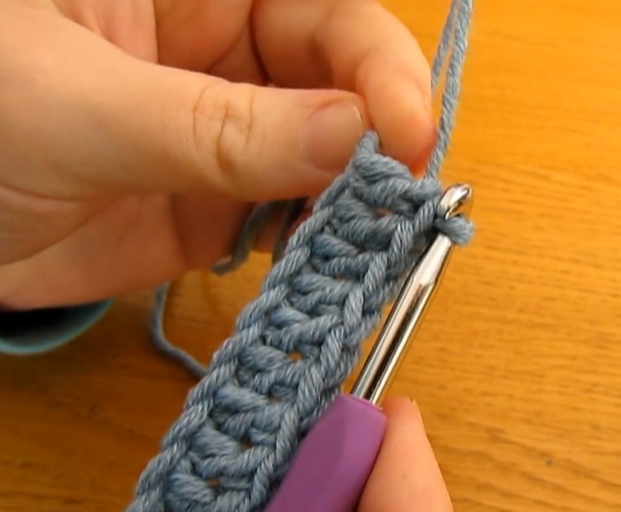
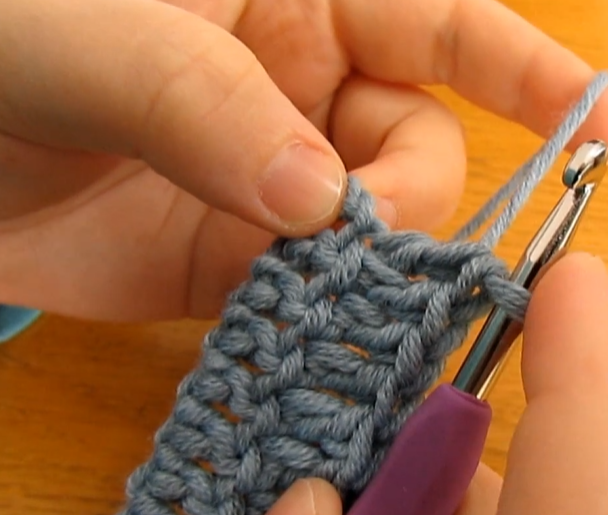
Video tutorial
Creating Your Pattern: The Cheat Method!
This is where the “easy” really shines. We’re not drafting complex patterns from scratch. We’re using an existing garment as our guide!
- Lay out your existing garment: Choose one that fits the child comfortably – not too tight, not too big. Lay it flat on your pattern paper, smoothing out any wrinkles.
- Trace the Back Piece: Fold the garment in half lengthwise. Lay the back of the folded garment onto the paper with the fold edge right on the edge of the paper. Trace carefully around the shoulder, armhole, side seam, and hem. For the neckline, trace the back neckline. Mark the center fold line. Remember to add seam allowance later!
- Trace the Front Piece: Unfold the garment and lay the front flat on the paper (or trace the other half if you folded). Trace everything the same way as the back (shoulder, armhole, side, hem), but this time trace the front neckline (which is usually lower). Mark the center fold line.
- Trace the Sleeve: Lay one sleeve flat. Trace around the top curve (sleeve cap), the underarm seam, and the wrist edge. Make sure it’s wide enough at the top to match your armhole tracing. This will likely be a slightly curved rectangle shape. Trace one sleeve.
- Trace the Hood (if making a hoodie): Fold the hood in half. Lay it on the paper and trace the curved top edge and the bottom edge that attaches to the neckline. You’ll need two mirror image pieces for the hood lining, too, if you want a lined hood (recommended for neatness).
- Ribbing/Band Pieces (Optional): You don’t strictly need a pattern piece for these, just measurements.
- Cuffs: Measure the wrist opening of your sleeve pattern piece. Your ribbing piece will be a rectangle slightly shorter than this measurement (so the cuff snugs in) and twice as tall as you want the finished cuff to be (plus seam allowance). A good starting point is about 80-90% of the sleeve opening width.
- Waistband: Measure the hem width of your body pattern piece. Your ribbing piece will be a rectangle slightly shorter than this measurement and twice as tall as you want the finished waistband to be (plus seam allowance). Aim for 80-90% of the hem width.
- Neckband (if no hood): Measure the neckline opening. Cut a rectangle slightly shorter than this measurement and about 3-4 inches wide.
- Add Seam Allowance: Now, go back to your traced lines and draw another line around all the edges (except the center fold lines) about 1/2 inch (1.25 cm) away from your tracing. This is your seam allowance! This is very important for your garment to fit. Add a hem allowance of about 1 inch (2.5 cm) if you are hemming the body and sleeves instead of using ribbing.
- Cut Out Your Pattern Pieces: Label each piece (Front, Back, Sleeve, Hood, Cuff, Waistband) and note how many to cut.
Cutting Your Fabric:
- Fold your fabric according to the instructions on your pattern pieces (usually folding along the grainline).
- Pin your paper pattern pieces onto the fabric.
- Carefully cut out your fabric pieces using sharp fabric scissors.
You should have:
- 1 x Front (cut on fold)
- 1 x Back (cut on fold)
- 2 x Sleeves (cut on fold, or flat if not on fold line)
- 2 x Main Hood pieces (cut on fold or as mirror images)
- 2 x Hood Lining pieces (if lining, cut on fold or as mirror images)
- Ribbing pieces: 2 x Cuffs, 1 x Waistband (cut on fold), 1 x Neckband (if no hood, cut on fold). Cut these as rectangles based on your calculations.
Let’s Sew! (Using a Zigzag or Stretch Stitch)
Remember to use a stretch needle and a stitch designed for knits on your machine. A small zigzag or a dedicated stretch stitch works best. A serger/overlocker is ideal if you have one!
- Shoulder Seams: Place the Front and Back pieces right sides together. Pin or clip along the shoulder edges. Stitch the shoulder seams.
- Attach Sleeves: Lay your main body piece flat, right side up. Align the center of the sleeve cap (the top curve) with the shoulder seam. Pin the sleeve to the armhole edge, matching the raw edges. It’s a straight seam if you have a drop shoulder! Stitch the sleeves onto the armholes. Repeat for the other sleeve.
- Side and Sleeve Seams: Fold the garment in half lengthwise, right sides together. Pin or clip from the raw wrist edge all the way up the sleeve and down the side of the body to the hem. Stitch this long seam on both sides. You’ve now created the main body and sleeves!
- Prepare Ribbing/Bands:
- For each cuff, fold the ribbing piece in half widthwise, right sides together. Stitch the short raw edges to form a loop. Repeat for the other cuff and the waistband.
- If using a neckband (instead of a hood), sew the short edges right sides together to form a loop.
- Attach Ribbing/Bands:
- Cuffs: Turn the sleeve right side out. Fold the ribbing loop in half lengthwise wrong sides together. Slip the ribbing loop over the end of the sleeve, aligning the raw edges of the ribbing with the raw edge of the sleeve. The ribbing loop is smaller than the sleeve opening – gently stretch the ribbing to fit the sleeve edge as you pin/clip. Stitch around the cuff edge.
- Waistband: Do the same for the waistband. Turn the body of the garment right side out. Fold the waistband loop in half lengthwise wrong sides together. Slip the waistband over the bottom edge of the garment body, aligning raw edges. Stretch the waistband slightly to fit the garment hem. Stitch around the waistband edge.
- Neckband (if no hood): Fold the neckband loop in half lengthwise wrong sides together. Divide the neckband and the neckline opening into quarters (or eighths) and mark with pins. Align the raw edges of the neckband with the raw edge of the neckline, matching the quarter marks. Stretch the neckband slightly between the pins as you stitch it to the neckline.
- Construct the Hood (if making a hoodie):
- Place the two main hood pieces right sides together. Stitch along the curved top edge.
- If lining, place the two lining hood pieces right sides together and stitch the curved top edge.
- Place the main hood and the lining hood right sides together. Pin around the front curved edge of the hood. Stitch this seam.
- Turn the hood right side out. Press the front seam neatly.
- Baste (stitch with a long stitch length) the raw bottom edges of the main hood and the lining hood together.
- Attach the Hood: Divide the neckline opening of your garment and the bottom edge of the hood into quarters (or eighths) and mark with pins. With the garment right side out, place the hood onto the neckline, aligning the raw edges of the baste hood bottom with the raw edge of the garment neckline. Match up the quarter marks. Stitch the hood to the neckline.
- Finishing:
- If using ribbing, you’re pretty much done with the edges!
- If hemming instead of using ribbing, fold the raw edge of the hem/sleeves up by your hem allowance (1 inch) and press. Fold again to enclose the raw edge. Stitch using a double needle or a zigzag stitch.
- Trim any loose threads.
- (Optional for Hoodies) Create buttonholes or insert grommets near the front of the hood opening for a drawstring. Thread the drawstring through.

And Ta-Da!
You’ve just made an adorable, custom-fitted sweater, hoodie, or jacket for a child! Give yourself a huge pat on the back.
This basic method is incredibly adaptable. You can:
- Make it a jacket by cutting the front piece down the center and adding a simple hemmed edge or a basic facing.
- Add simple patch pockets to the front.
- Use fun contrasting fabrics for the hood lining or cuffs.
- Leave off the hood for a simple crew neck sweater (just finish the neckline with a neckband or binding).