by
by 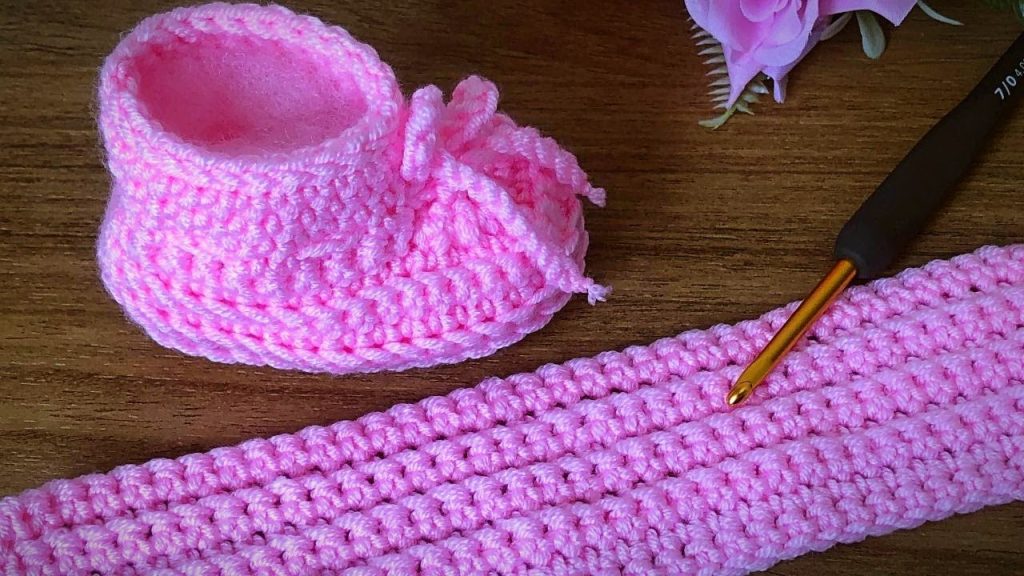
Finished Size: Approximately 3.5 – 3.75 inches (9 – 9.5 cm) sole length, suitable for 0-3 months. Instructions for adjusting size are included at the end.
Skill Level: Easy
Materials:
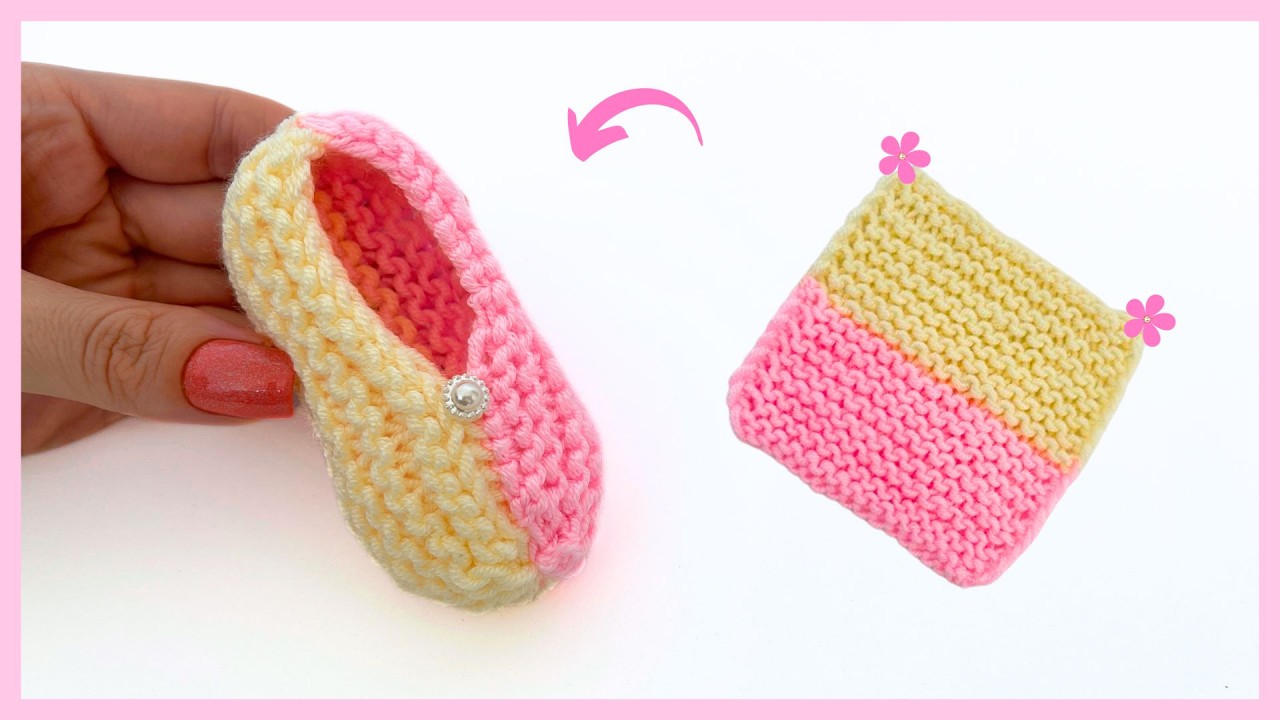
- Yarn: DK weight (Light Worsted/8 ply) baby yarn in desired color (e.g., pink in image). Approximately 50-60 yards per pair. Acrylic or cotton baby yarn is recommended for softness and easy care.
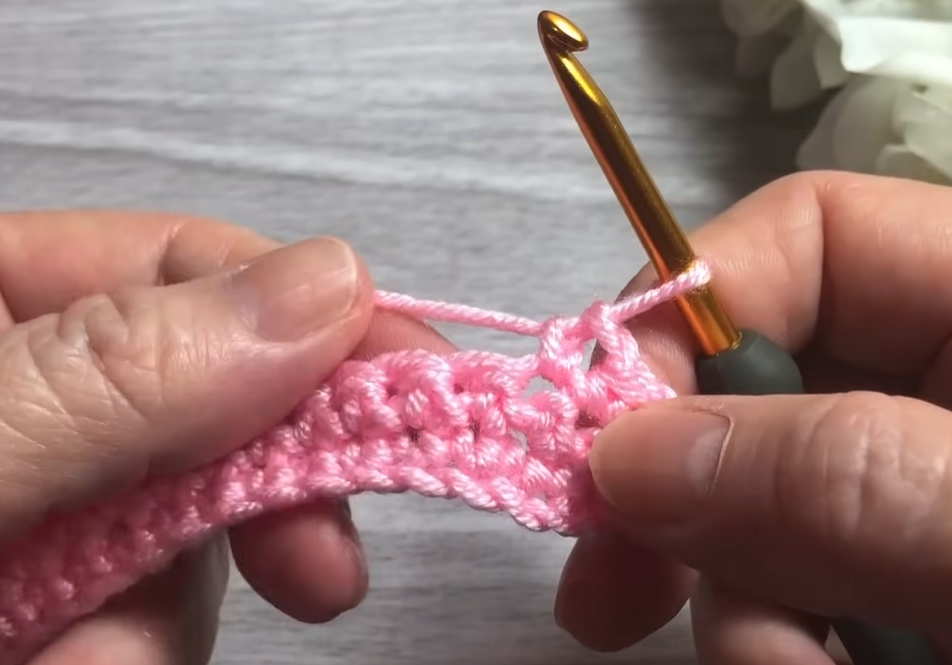
- Crochet Hook: E/4 (3.5 mm) or size needed to obtain gauge (the hook in the image appears to be 4.0mm, but a 3.5mm might be better for DK weight to ensure a dense fabric for booties).
- Tapestry Needle: For weaving in ends.
- Scissors
- Stitch Markers (optional but helpful)
Gauge (Important!): 5 hdc stitches and 4 rows = 1 inch (2.5 cm) Always check your gauge! Adjust your hook size if necessary to ensure your booties turn out the correct size.
Abbreviations (US Terms):
- ch: chain
- sl st: slip stitch
- sc: single crochet
- hdc: half double crochet
- dc: double crochet
- hdc2tog: half double crochet 2 stitches together (decrease)
- st(s): stitch(es)
- Rnd: Round
- FO: Fasten off
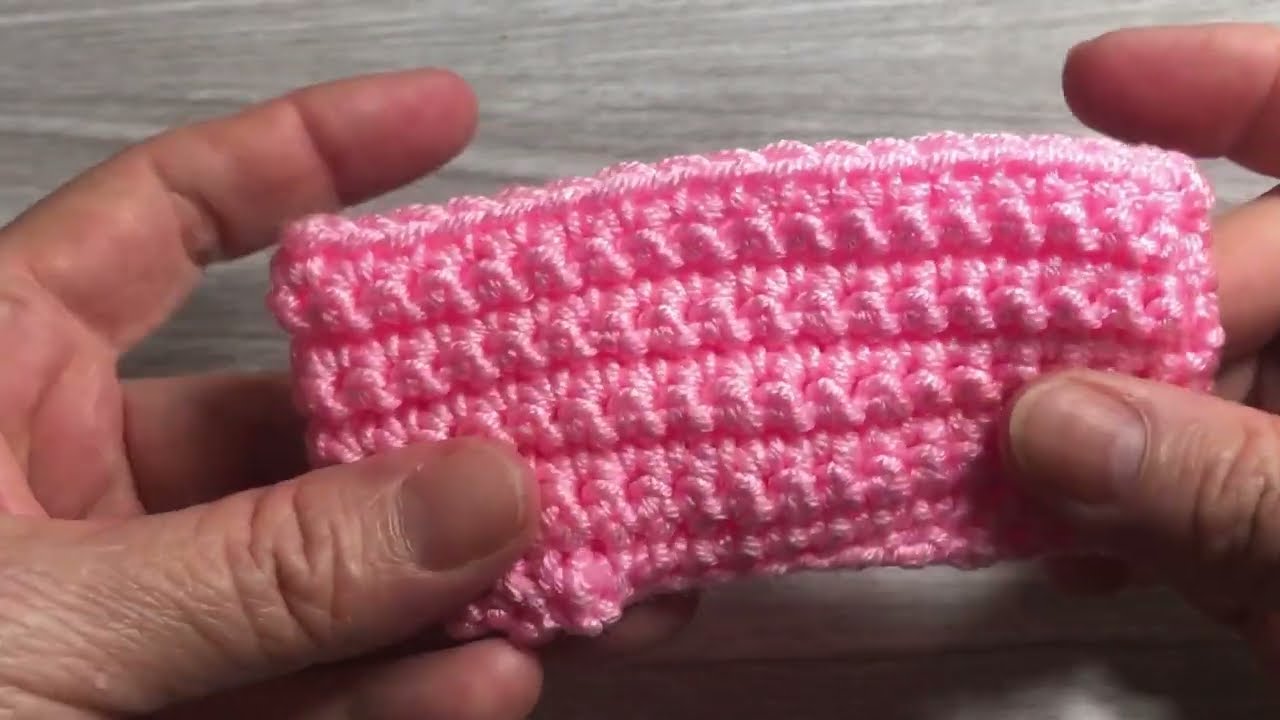
Part 1: Bootie Sole
The sole is worked in oval rounds.
Rnd 1: Ch 12. 2 hdc in 3rd ch from hook (counts as first 3 hdc in corner). Hdc in next 8 chs. 5 hdc in last ch (this forms the toe end). Working down the other side of the starting chain: Hdc in next 8 chs. 3 hdc in the last ch (same ch as first hdc of the round). Join with a sl st to the top of the beginning ch 2. (Total: 26 hdc)
Rnd 2: Ch 2 (counts as hdc). Hdc in same st as join. 2 hdc in next hdc (from the 3 hdc group). Hdc in next 8 hdc. 2 hdc in next 5 hdc (forming the toe curve). Hdc in next 8 hdc. 2 hdc in next 2 hdc (from the 3 hdc group). Join with a sl st to the top of the beginning ch 2. (Total: 36 hdc)
Rnd 3: Ch 2 (counts as hdc). Hdc in each hdc around. Join with a sl st to the top of the beginning ch 2. (Total: 36 hdc)
*Your sole should now be a firm oval, approx. 3.5 inches long.*
Part 2: Bootie Body
Now we will build up the sides of the bootie.
Rnd 4: Ch 2 (counts as hdc). Hdc in back loop only of each hdc around. Join with a sl st to the top of the beginning ch 2. Working in the back loop only creates a subtle ridge that defines the edge of the sole and helps the bootie stand up. (Total: 36 hdc)
Rnd 5: Ch 2 (counts as hdc). Hdc in each hdc around. Join with a sl st to the top of the beginning ch 2. (Total: 36 hdc)
Rnd 6 (Toe Decrease Round): Ch 2 (counts as hdc). Hdc in next 10 hdc. (Hdc2tog) 8 times. Hdc in next 9 hdc. Join with a sl st to the top of the beginning ch 2. This creates the gentle curve over the top of the baby’s foot. (Total: 28 hdc)
Rnd 7: Ch 2 (counts as hdc). Hdc in each hdc around. Join with a sl st to the top of the beginning ch 2. (Total: 28 hdc)
Part 3: Ankle Cuff & Drawstring Holes
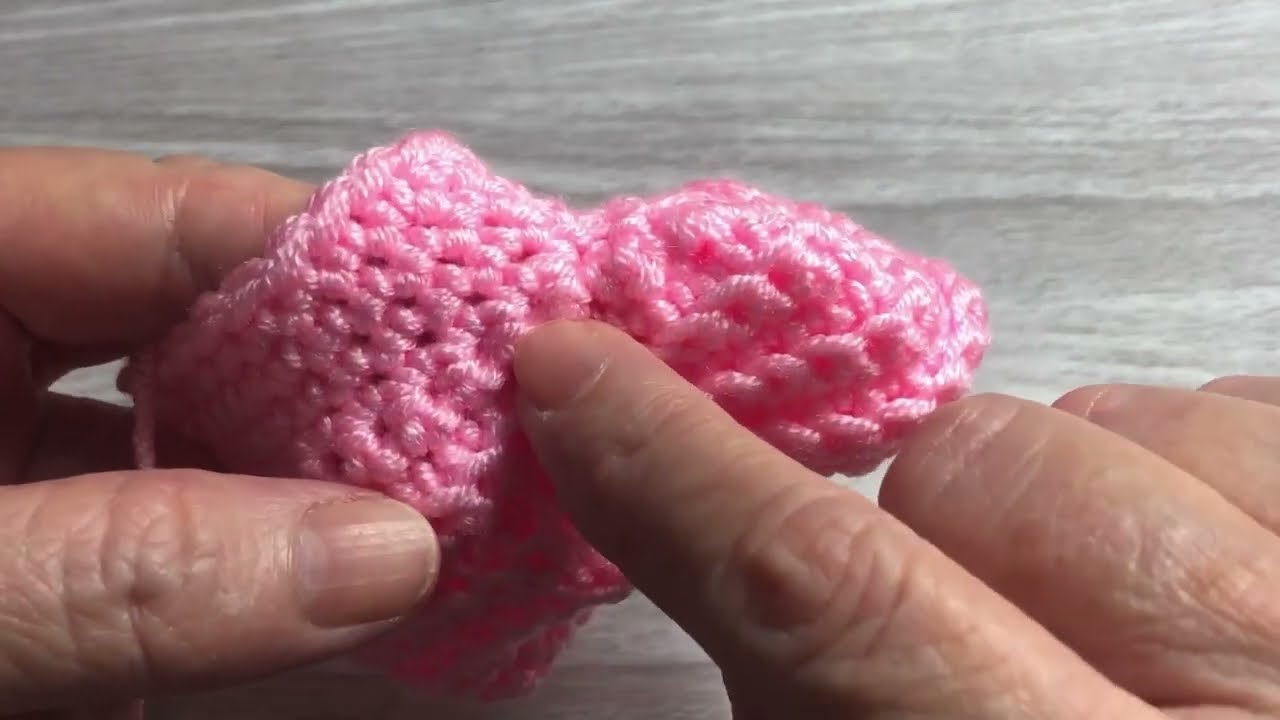
Rnd 8 (Drawstring Holes): Ch 3 (counts as 1 dc). Dc in next st. Ch 1, sk 1 st, dc in next st. Repeat from * to * around. (The exact number of repeats will depend on your stitch count, aim for approximately 14 dc and 14 ch-1 spaces). Join with a sl st to the top of the beginning ch 3. This creates the eyelets for the drawstring.
Rnd 9: Ch 1, sc in each dc and in each ch-1 space around. Join with a sl st to the first sc. (Total: 28 sc)
Rnd 10: Ch 1, sc in each sc around. Join with a sl st to the first sc. (Total: 28 sc)
FO, weave in all ends.
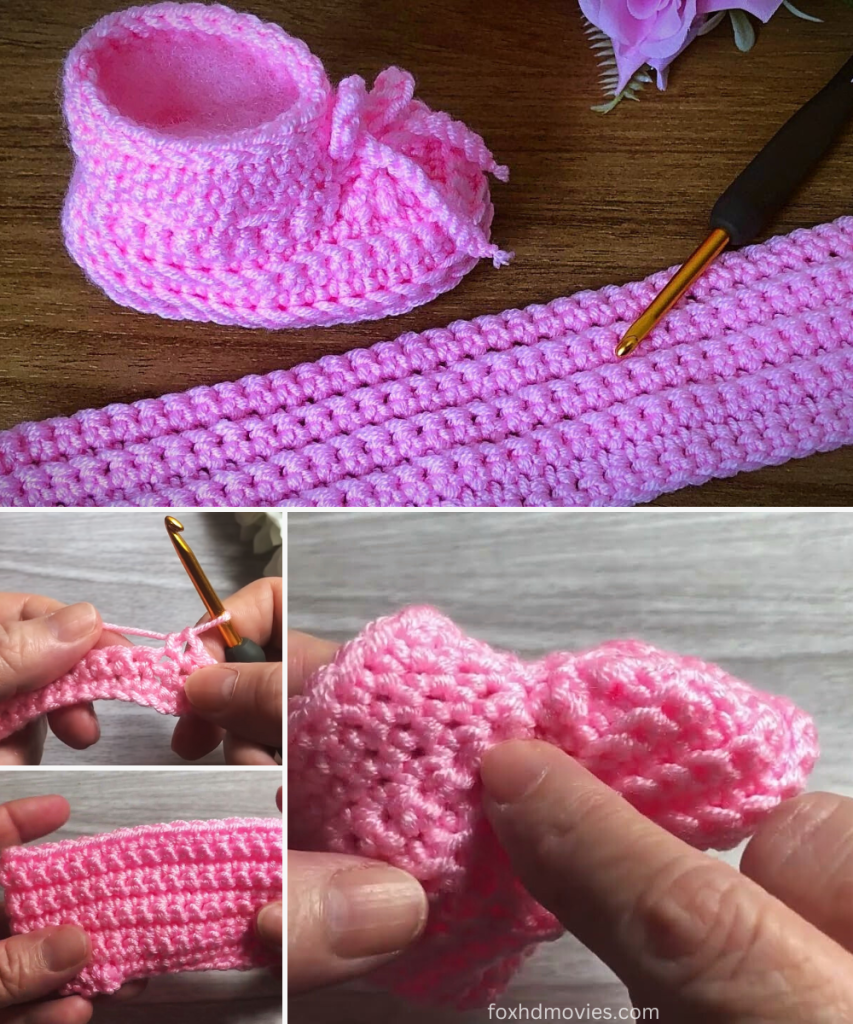
Part 4: Drawstring
Drawstring: Ch 40 (or desired length). Sc in 2nd ch from hook and in each ch across. FO, weave in ends.
Assembly of Drawstring:
- Thread the drawstring through the eyelets created in Rnd 8. Start from the front center of the bootie, going in and out around the ankle.
- Tie a small bow at the front.
Finishing:
- Weave in all ends: Use your tapestry needle to neatly weave in any loose yarn tails.
- Make a second bootie: Repeat all steps to create a matching bootie for the other foot!
Video tutorial
Sizing Adjustments:
- For a smaller size (e.g., Preemie/Newborn):
- Start with a shorter chain for Rnd 1 (e.g., Ch 9 or 10).
- Adjust the hdc counts in Rnd 1-3 accordingly to form the oval.
- You will end up with a smaller total stitch count after Rnd 3 (e.g., 30 or 32 hdc).
- Reduce the number of repeats for the toe decrease (Rnd 6).
- Reduce the chain length for the drawstring.
- For a larger size (e.g., 6-9 months):
- Start with a longer chain for Rnd 1 (e.g., Ch 14 or 15).
- Add an extra increase round after Rnd 3 if needed to widen the sole.
- Increase the total stitch count after the sole (e.g., 40 or 42 hdc).
- Adjust the hdc counts before and after the toe decrease to maintain the center, and increase the number of hdc2tog repeats for the toe.
- Add an extra round or two of hdc for the body (between Rnd 5 and 6, or after Rnd 7) to make it taller.
- Increase the chain length for the drawstring.
General Sizing Tip: The most critical part for sizing is the sole (Rnd 1-3). The length of your initial chain will largely determine the length of the sole. Once Rnd 3 is complete, hold the sole up to a baby’s foot (or a measuring tape) to estimate size. It should be slightly smaller than the actual foot, as crochet stretches.
Enjoy making these sweet booties!