 by
by 
This pattern is for an adult women’s size US 7-8 (EU 38-39). Adjustments for other sizes are included at the end.
Skill Level: Intermediate (requires knowledge of basic stitches, working in rounds, and front/back post stitches)
Materials:
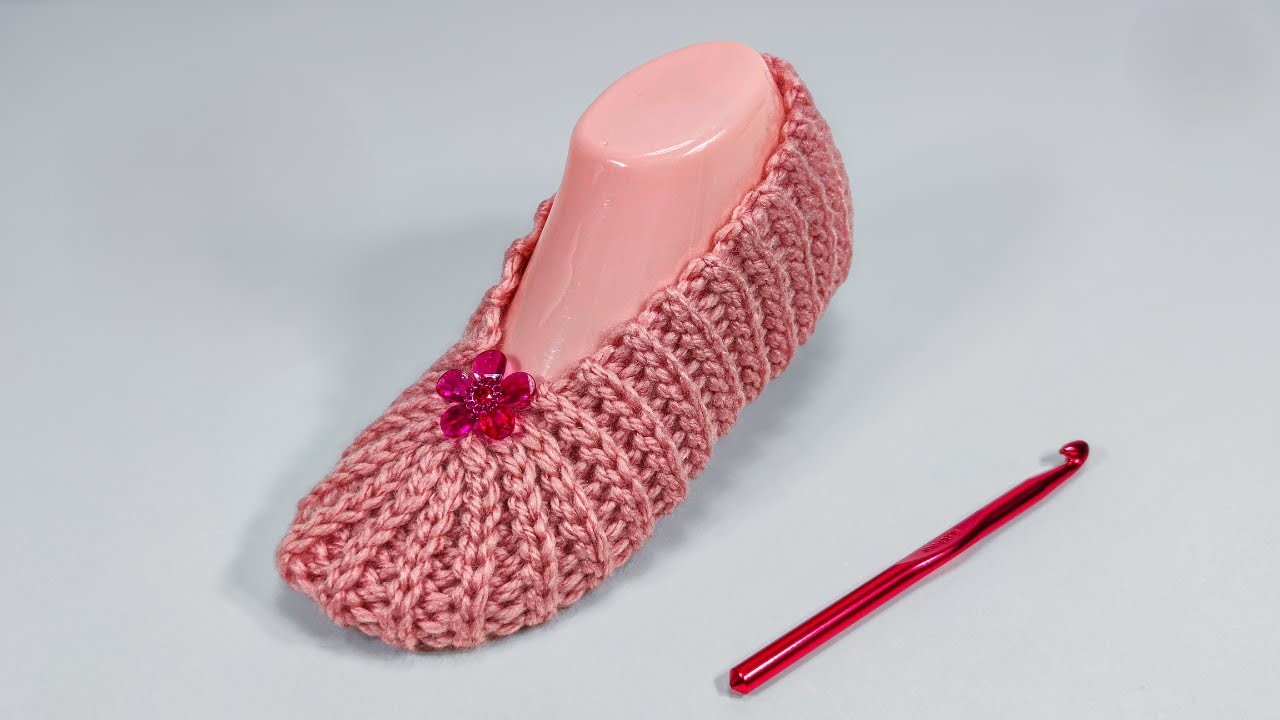
- Yarn: Worsted weight (Aran/10 ply) yarn in one solid color (e.g., dusty rose/pink in image). Approximately 180-220 yards per pair. Choose a soft, durable yarn like acrylic, wool blend, or cotton blend for comfort and wear.
- Crochet Hook: H/8 (5.0 mm) or size needed to obtain gauge
- Tapestry Needle: For weaving in ends and seaming
- Scissors
- Stitch Markers (optional but highly recommended for marking rounds and shaping points)
- Decorative Button/Bead (optional): For the center of the flower.
- Small Bead (optional): For the center of the flower.
- Sewing Needle and Thread (optional): To attach the flower/bead.
Gauge (Important!): 12 half double crochet (hdc) stitches and 9 rows = 4 inches (10 cm) in un-ribbed hdc. For the ribbed section, 10 FPhdc/BPhdc stitches and 8 rows = 4 inches (10 cm). Always check your gauge! Adjust your hook size if necessary to ensure your slipper turns out the correct size.
Abbreviations (US Terms):
- ch: chain
- sl st: slip stitch
- sc: single crochet
- hdc: half double crochet
- FPhdc: front post half double crochet
- BPhdc: back post half double crochet
- hdc2tog: half double crochet 2 stitches together (decrease)
- st(s): stitch(es)
- rnd: round
- FO: fasten off
Pattern Notes:
- The slipper is worked from the sole upwards, mostly in continuous rounds, with the heel opening completed by seaming.
- The prominent ribbing is created using alternating Front Post Half Double Crochet (FPhdc) and Back Post Half Double Crochet (BPhdc) stitches.
- The beginning ch 2 of each round counts as the first hdc/post stitch for that round.
- The sole is worked in oval rounds.
Part 1: Slipper Sole
Start by chaining for the length of your foot minus about 1-2 inches (this will be filled by the curved ends). For a US 7-8, this is typically about 20-22 chains.
Rnd 1: Ch 22. 2 hdc in 3rd ch from hook (counts as first 3 hdc in corner). Hdc in next 18 chs. 5 hdc in last ch (this forms the toe end). Working down the other side of the starting chain: Hdc in next 18 chs. 3 hdc in the last ch (same ch as first hdc of the round). Join with a sl st to the top of the beginning ch 2. (Total: 46 hdc)
Rnd 2: Ch 2 (counts as hdc). Hdc in same st as join. 2 hdc in next hdc (from the 3 hdc group). Hdc in next 18 hdc. 2 hdc in next 5 hdc (forming the toe curve). Hdc in next 18 hdc. 2 hdc in next 2 hdc (from the 3 hdc group). Join with a sl st to the top of the beginning ch 2. (Total: 56 hdc)
Rnd 3: Ch 2 (counts as hdc). Hdc in same st as join. Hdc in next hdc. 2 hdc in next hdc. Hdc in next 18 hdc. (Hdc in next hdc, 2 hdc in next hdc) 5 times. Hdc in next 18 hdc. (Hdc in next hdc, 2 hdc in next hdc) 2 times. Join with a sl st to the top of the beginning ch 2. (Total: 66 hdc)
Rnd 4: Ch 2 (counts as hdc). Hdc in each hdc around. Join with a sl st to the top of the beginning ch 2. (Total: 66 hdc)
*Your sole should now be firm and oval-shaped. Place it under your foot to check the size. It should be slightly smaller than your actual foot to allow for stretching and a snug fit.*
Part 2: Slipper Body (Ribbed Section)
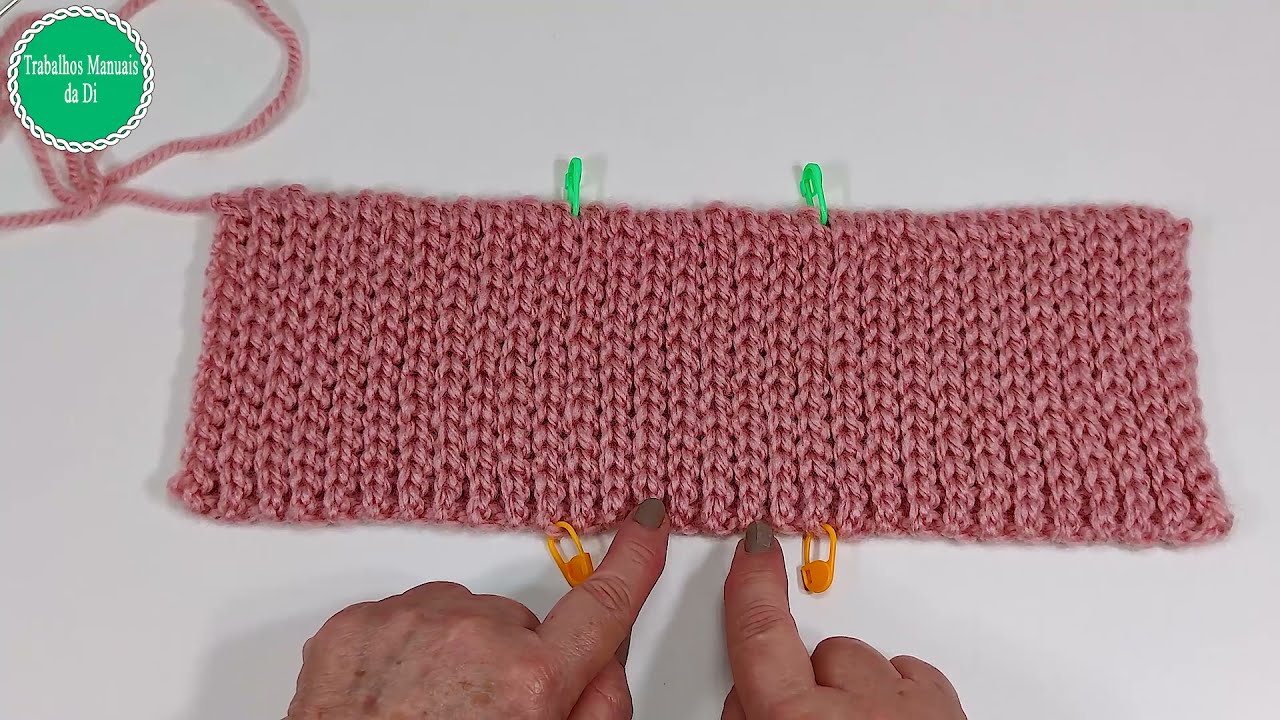
Now we will build up the sides of the slipper with the ribbed pattern.

Rnd 5: Ch 2 (counts as FPhdc). Hdc in back loop only of each hdc around. Join with a sl st to the top of the beginning ch 2. Working in the back loop only creates a subtle ridge that defines the edge of the sole and helps the slipper stand up. (Total: 66 hdc)
Rnd 6: Ch 2 (counts as FPhdc). BPhdc around next st, FPhdc around next st. Repeat from * to * around. Join with a sl st to the top of the beginning ch 2. (Total: 66 stitches, alternating FPhdc and BPhdc)
Rnd 7: Ch 2 (counts as FPhdc or the first post stitch, depending on what it aligns with). Work post stitches according to the previous row’s pattern (FPhdc around FPhdc, BPhdc around BPhdc). Repeat from * to * around. Join with a sl st to the top of the beginning ch 2. Maintain the ribbing pattern by working FPhdc around FPhdc and BPhdc around BPhdc.
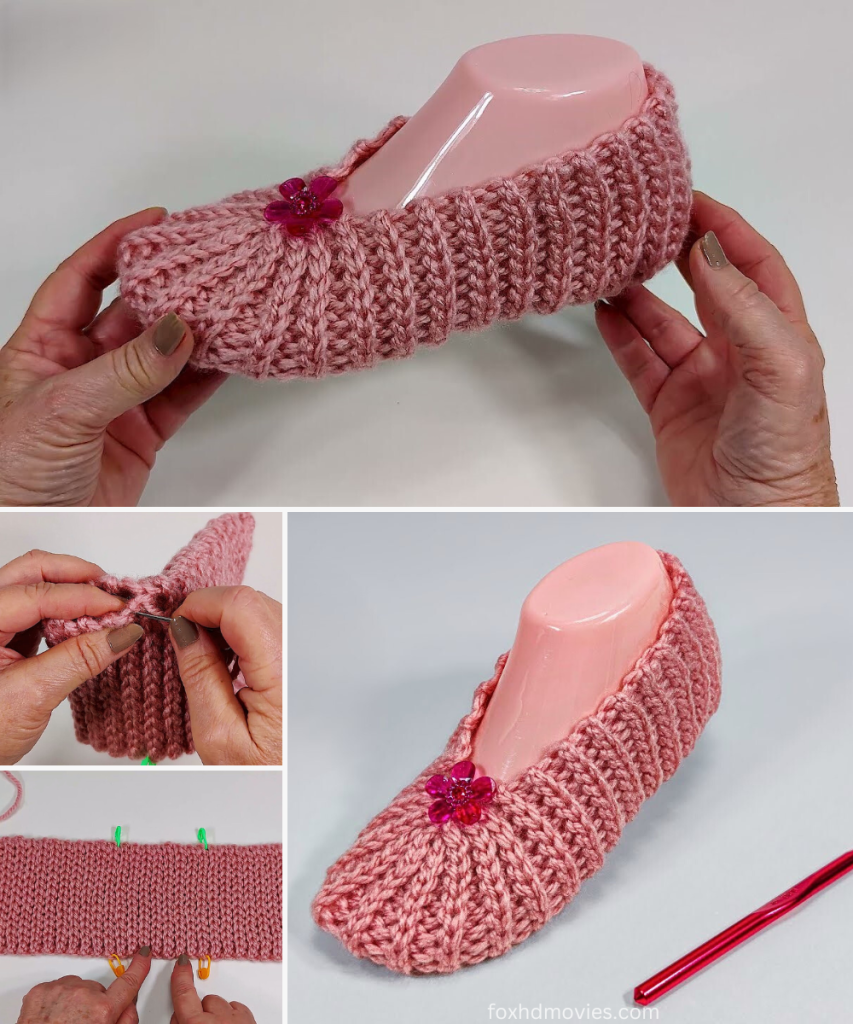
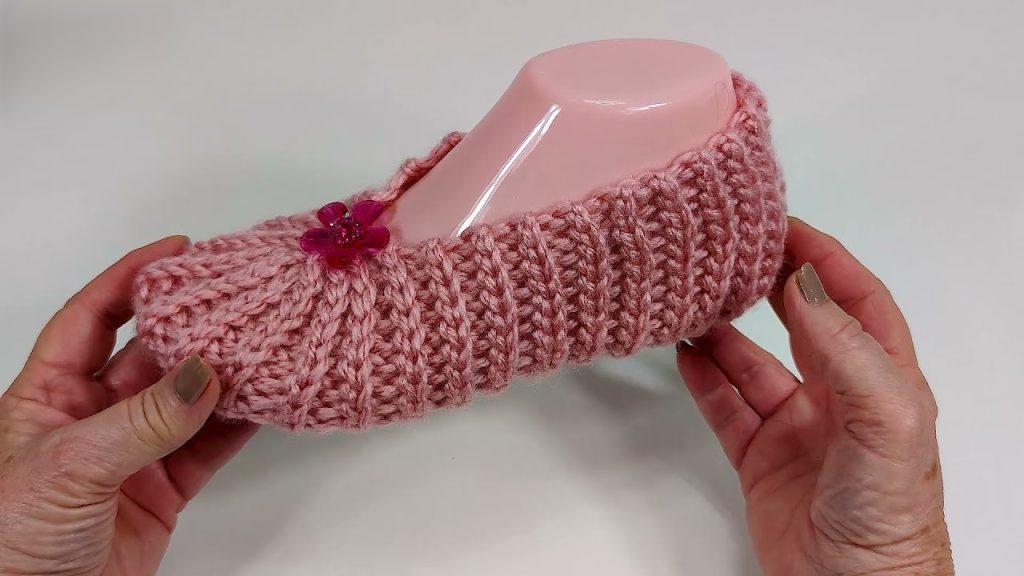
Rnd 8 – Rnd 15 (or until desired height): Repeat Rnd 7. Continue these rounds until the slipper covers your toes and reaches the top of your foot (instep). The image shows about 10-11 rows of ribbing from the sole upwards. You might need more or fewer rounds depending on your foot size and desired coverage.
Part 3: Shaping the Foot Opening/Ankle
We will now decrease stitches to create the front opening of the slipper.
Rnd 16 (Decrease Round): Ch 2 (counts as first post stitch). Continue the ribbing pattern for the next 24 stitches. (Hdc2tog keeping the rib pattern as much as possible, or simply hdc2tog if it gets too complicated) 8 times. Continue the ribbing pattern for the remaining 25 stitches. Join with a sl st to the top of the beginning ch 2. (Total: 58 stitches)
Rnd 17: Ch 2 (counts as first post stitch). Continue the ribbing pattern for each stitch around. Join with a sl st to the top of the beginning ch 2. (Total: 58 stitches)
Rnd 18 (Decrease Round): Ch 2 (counts as first post stitch). Continue the ribbing pattern for the next 22 stitches. (Hdc2tog keeping the rib pattern as much as possible, or simply hdc2tog if it gets too complicated) 6 times. Continue the ribbing pattern for the remaining 23 stitches. Join with a sl st to the top of the beginning ch 2. (Total: 52 stitches)
Rnd 19 (Finishing Edge): Ch 1, sc in each stitch around (working into the top of the post stitches). Join with a sl st to the first sc. This creates a neat, firm edge for the opening.
FO, leaving a long tail for seaming the heel.
Part 4: Assembly & Finishing
- Seaming the Heel:
- Turn the slipper inside out.
- Fold the back edges of the slipper together, aligning the stitches.
- Using your tapestry needle and the long yarn tail, seam the heel shut using a whip stitch or mattress stitch. Ensure the seam is neat and secure.
- Weave in all ends: Use your tapestry needle to neatly weave in any loose yarn tails.
- Make a second slipper: Repeat all steps to create a matching slipper for the other foot!
Part 5: Optional Flower Embellishment
Use the same yarn or a contrasting color for the flower.
Small Flower:
Rnd 1: Create a magic ring. Ch 1. Sc 6 into the ring. Sl st to first sc to close. (6 sc) Rnd 2 (Petals): [Ch 2, 2 dc in same sc, ch 2, sl st in same sc]. Repeat from * to * in each of the next 5 sc. You should have 6 petals. Sl st to join. FO, leaving a long tail for sewing.
Assembly of Flower:
- Position the flower on the front top of the slipper (as shown in the image).
- Using the yarn tail and tapestry needle, sew the flower securely onto the slipper.
- Sew a decorative button or bead in the center of the flower using a sewing needle and thread.
Video tutorial
Sizing Adjustments:
- For a smaller size (e.g., US 5-6):
- Start with a shorter chain for Rnd 1 (e.g., Ch 19 or 20).
- Adjust the hdc counts in Rnd 1-3 accordingly to form the oval.
- You might end up with a smaller total stitch count after Rnd 3 (e.g., 58 or 60 hdc).
- Reduce the number of rounds for the main body (Rnd 6-15).
- Adjust the decrease counts in Rnd 16 and 18 to match your smaller circumference.
- For a larger size (e.g., US 9-10):
- Start with a longer chain for Rnd 1 (e.g., Ch 25 or 26).
- Adjust the hdc counts in Rnd 1-3 accordingly to form the oval.
- You might end up with a larger total stitch count after Rnd 3 (e.g., 70 or 74 hdc).
- Increase the number of rounds for the main body (Rnd 6-15) as needed.
- Adjust the decrease counts in Rnd 16 and 18 to match your larger circumference.
General Sizing Tip: The most critical part for sizing is the sole (Rnd 1-4). Place the sole under your foot to see if it’s the right length and width. It should be slightly smaller than your actual foot, as crochet stretches. You can add more increase rounds for a wider foot if needed, just ensure you maintain an even shape.
Enjoy creating your cozy and stylish ribbed slippers!