by
by 
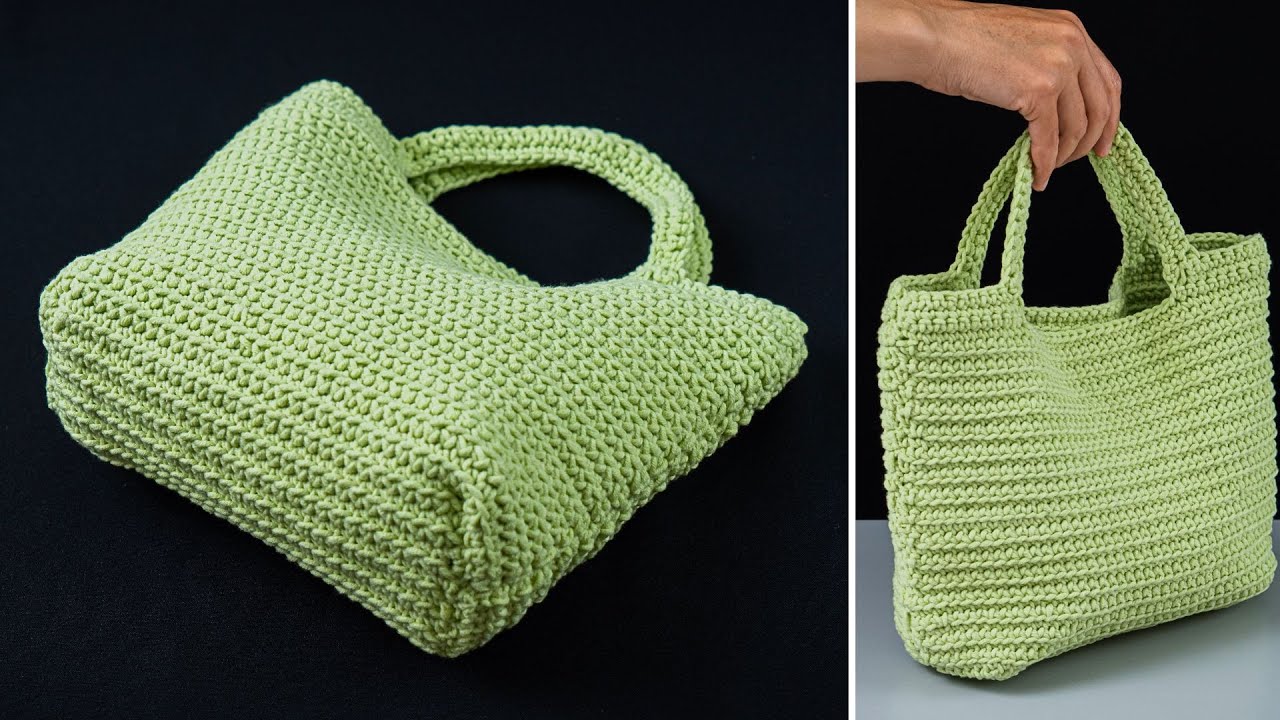
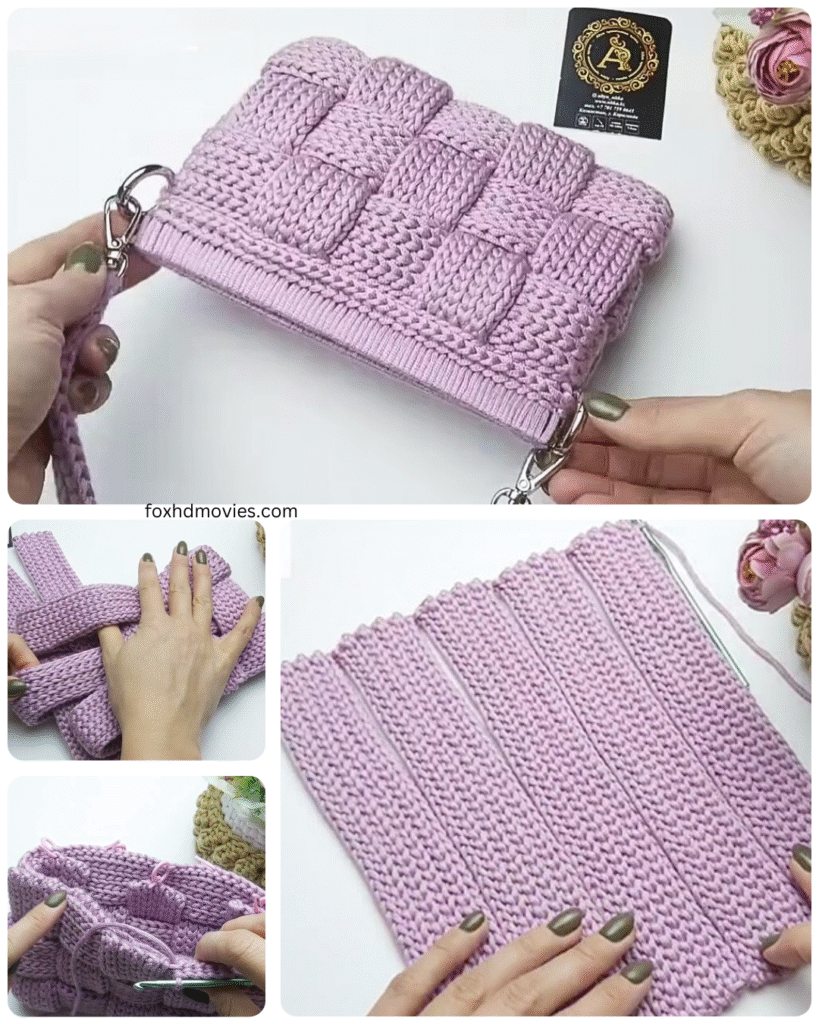
Hello, creative souls! Are you ready to embark on a crochet adventure that blends texture, style, and practicality? Today, we’re diving into the delightful world of the Crochet Wicker Bag. This isn’t your average tote; with its unique woven-like texture created through clever crochet techniques, it mimics the charm of traditional wickerwork while offering the satisfying process of handmade creation.
This project is perfect for those looking to elevate their crochet skills and create a statement piece that’s both eye-catching and functional. Imagine strolling through a market, attending a picnic, or simply heading out for the day with your very own handcrafted wicker-inspired bag. Get ready to turn yarn into a cherished accessory!
What You’ll Need to Weave Your Crochet Magic:
- Bulky or Chunky Weight Yarn: Choose a sturdy yarn that will hold its shape well. Natural fibers like cotton, jute, or a durable acrylic blend are excellent choices. Consider the color that speaks to your personal style! The amount will depend on the size of your desired bag, but estimate around 500-800 yards to be safe.
- Large Crochet Hook: Select a hook size appropriate for your chosen bulky yarn. Sizes K/10.5 (6.5 mm) to M/13 (9 mm) are common for this weight.
- Scissors: For snipping your yarn.
- Yarn Needle: For weaving in ends securely.
- Stitch Markers: These will be invaluable for keeping track of rounds, especially during shaping.
- Measuring Tape: To ensure your bag reaches your desired dimensions.
- Optional: Fabric Lining: If you want a more structured interior or pockets, you’ll need fabric, sewing supplies (needle, thread, sewing machine or hand-sewing skills).
- Optional: Handles or Straps: You can crochet your own, use leather handles, or repurpose straps from an old bag.
- Optional: Magnetic Snap or Button Closure: For securing the top of your bag.
Understanding the “Wicker” Stitch: The Heart of the Texture
The key to achieving that beautiful wicker-like texture lies in a combination of basic crochet stitches worked in a specific way. We’ll primarily be using:
- Chain (ch): The foundation of our project.
- Single Crochet (sc): Creates a dense fabric and forms the base for our textured rows.
- Slip Stitch (sl st): Used for joining rounds and creating a neat finish.
- Front Post Double Crochet (fpdc): This is the star of the show! Working a double crochet around the post of a stitch from the previous round creates a raised, vertical “rib” that mimics the look of wicker.
Video tutorial
The Pattern: Building Your Beautifully Textured Bag
Let’s get crocheting! This pattern provides a foundation for a medium-sized tote. Feel free to adjust the starting chain and the number of rounds to customize the size.
Part 1: The Base of the Bag
We’ll start by creating a sturdy, flat base for our bag.
- Magic Ring (or Chain 2, sc 6 in the second ch from hook): Start with a magic ring. If you prefer not to use a magic ring, chain 2 and work 6 single crochet stitches into the second chain from your hook. (6 sc)
- Round 1: 2 sc in each stitch around. Place a stitch marker in the first stitch of the round. (12 sc)
- Round 2: *Sc in the next stitch, 2 sc in the following stitch.* Repeat from * to * around. (18 sc)
- Round 3: *Sc in the next 2 stitches, 2 sc in the following stitch.* Repeat from * to * around. (24 sc)
- Continue Increasing: Continue increasing in this manner, adding one more single crochet between each increase in each round (e.g., Round 4: *sc 3, 2 sc*; Round 5: *sc 4, 2 sc*; and so on). Work until your base reaches your desired diameter. For a medium-sized bag, a diameter of approximately 8-10 inches is a good starting point. Remember to move your stitch marker at the beginning of each round.
- No More Increases: Once your base is the desired size, work one round of single crochet in each stitch around without increasing. This will create the edge for the sides of your bag.

Part 2: Building the “Wicker” Sides
Now, we’ll start creating the textured sides of the bag using the front post double crochet stitch.
- Round 1 (Side Round): Chain 1 (does not count as a stitch). Single crochet (sc) in each stitch around. Join with a slip stitch to the first single crochet.
- Round 2 (Texture Round): Chain 2 (does not count as a stitch). Front post double crochet (fpdc) around each single crochet from the previous round. Join with a slip stitch to the first fpdc.
- Round 3: Chain 1 (does not count as a stitch). Single crochet (sc) in each stitch around (work into the top of the fpdc stitches). Join with a slip stitch to the first single crochet.
- Repeat Rounds 2 & 3: Continue repeating Rounds 2 and 3, alternating between a round of front post double crochet and a round of single crochet. The front post double crochet rounds will create the vertical “wicker” ribs. Work until your bag reaches your desired height. For a tote-style bag, a height of 10-12 inches is a common range.
Part 3: Shaping the Top (Optional)
You can keep the top edge straight, or you can add some shaping for a more defined opening. Here’s a simple way to create a slightly tapered top:
- Next Round: Chain 1. *Sc in the next 6 stitches, sc2tog (single crochet two stitches together).* Repeat from * to * around. Join with a slip stitch. (The number of stitches between decreases will depend on your total stitch count. Adjust as needed to create a gentle taper.)
- Optional Additional Decrease Rounds: You can work another round or two of decreases, spacing them out further, to create a more pronounced taper.
- Final Round: Chain 1. Single crochet in each stitch around. Join with a slip stitch.
Part 4: Creating the Handles (Optional)
You have several options for handles:
- Crocheted Handles:
- Option 1 (Simple Straps): Chain a length that feels comfortable for a handle (e.g., ch 60-80). Single crochet in the second chain from the hook and in each chain across. Fasten off. Make two. Attach securely to opposite sides of your bag. You can reinforce the attachment by sewing them on as well.
- Option 2 (Sturdier Handles): Work several rows of single crochet or half double crochet for a wider, more robust handle. You can also fold and sew the handle to create a double layer for extra strength.
- Purchased Handles: Leather or wooden handles can add a professional touch. Attach them according to the manufacturer’s instructions.
- Repurposed Straps: Use straps from an old bag that you no longer use.

Part 5: Finishing Touches
- Weave in all loose ends carefully using your yarn needle.
- Optional: Fabric Lining: If you choose to add a lining, measure the inside of your bag and cut fabric pieces accordingly. Sew the lining together to create a pouch that fits inside your bag. You can hand-stitch or machine-stitch the lining to the top edge of your crocheted bag. Consider adding pockets to your lining for extra organization.
- Optional: Closure: Attach a magnetic snap or button closure to the inside top edges of your bag if desired.
- Blocking (Optional but Recommended): If your bag feels a little uneven or you want to enhance its shape, you can gently block it. Stuff the bag with towels or plastic bags to the desired shape and lightly mist it with water. Allow it to air dry completely.
Congratulations! Your Crochet Wicker Bag is Complete!
Step back and admire your beautiful creation! The textured “wicker” sides and the sturdy construction make this bag a true standout. Whether you chose a vibrant color or a classic neutral, you now have a unique and handmade accessory that you’ll be proud to carry.
Tips for a Wonderful Wicker Bag:
- Tension is Key: Maintain consistent tension throughout your project to ensure an even texture.
- Stitch Markers are Your Friends: Don’t hesitate to use stitch markers, especially at the beginning of rounds, to keep track of your progress.
- Experiment with Yarn: Try different bulky yarns to see how they affect the final texture and appearance of your bag. Jute, for example, will create a very rustic, sturdy bag.
- Handle Placement: Think about how you’ll carry your bag and place the handles accordingly for comfort and balance.
- Embellishments: Feel free to add embellishments like tassels, charms, or crocheted flowers to personalize your bag further.