 by
by 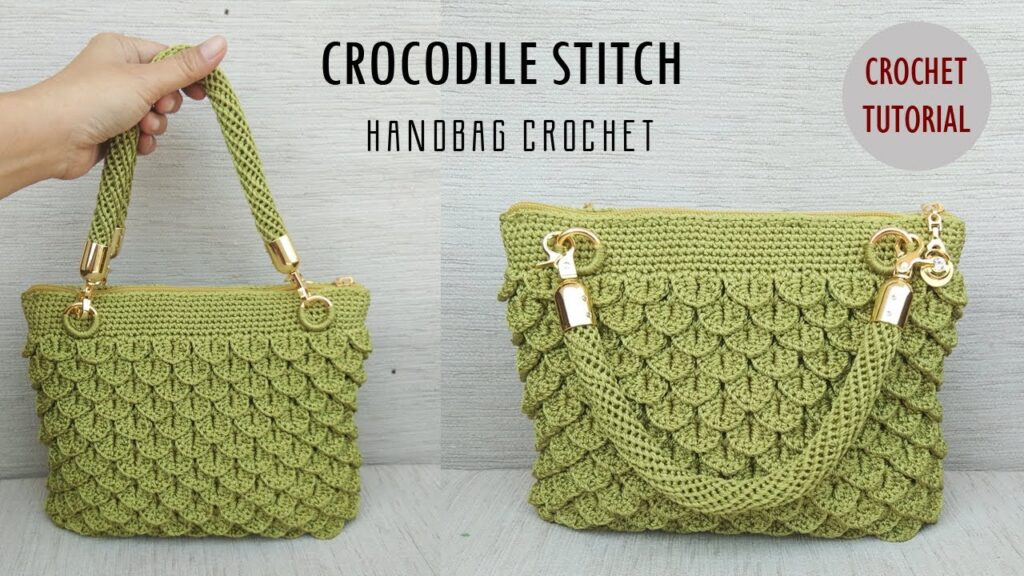
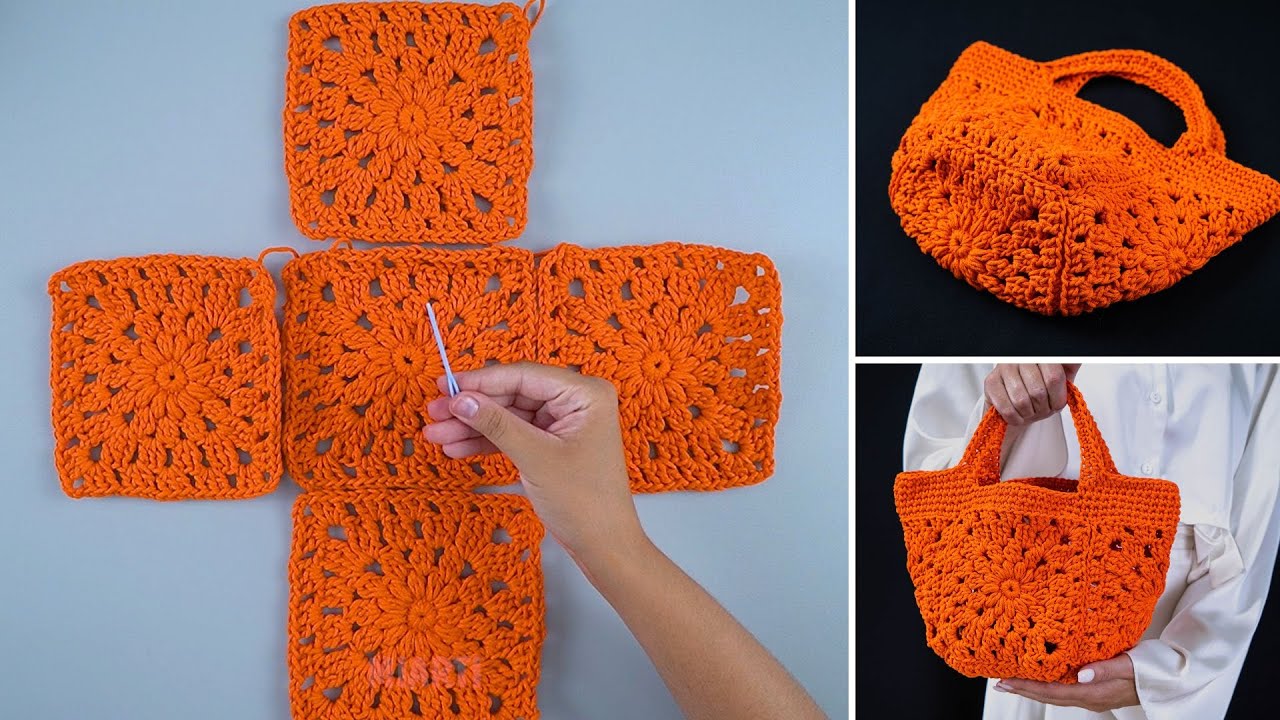
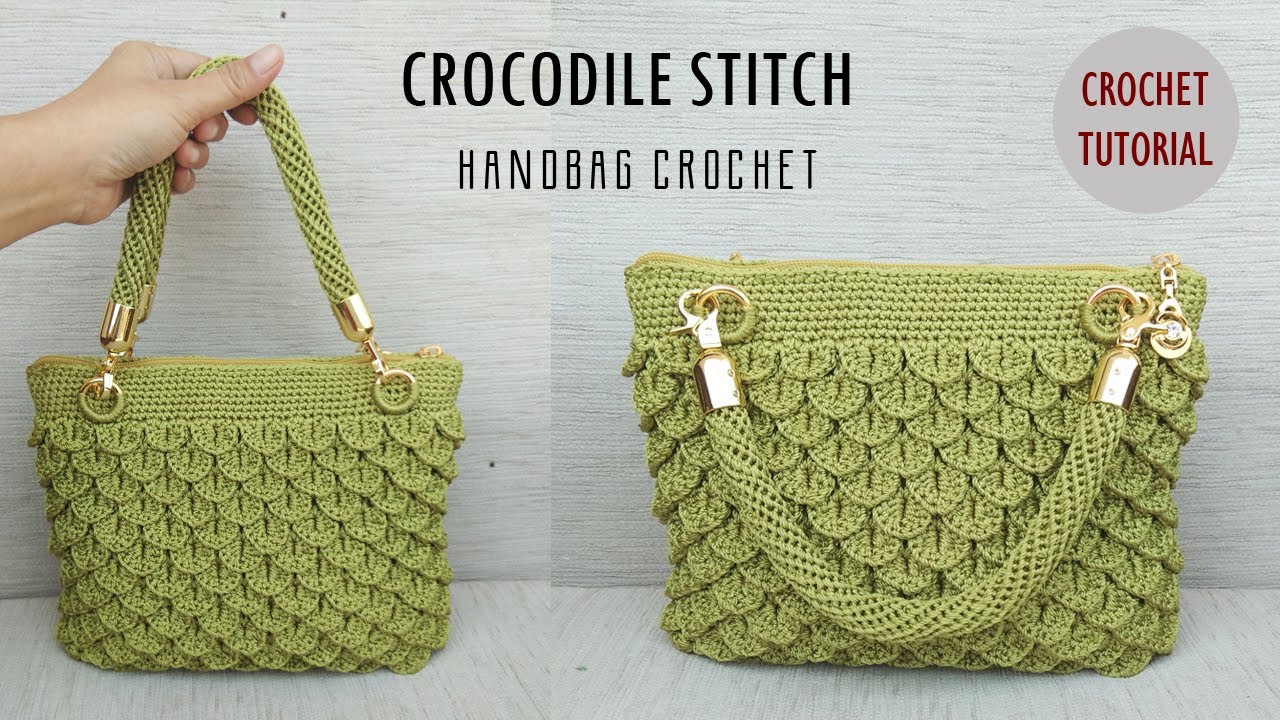
Calling all adventurous crocheters! Are you ready to tackle a project that’s as visually striking as it is texturally intriguing? Today, we’re embarking on a journey to create a magnificent Crochet Crocodile Stitch Bag. This unique stitch, with its overlapping “scales,” brings a touch of the exotic and a whole lot of personality to your handmade accessories.
While the Crocodile Stitch might look complex, breaking it down step-by-step makes it surprisingly manageable. Get ready to learn a new skill and craft a bag that’s sure to turn heads wherever you go!
What You’ll Need to Tame Your Crochet Dragon:
- Worsted Weight Yarn: Choose a sturdy yarn that will hold its shape well. The amount will depend on the size of your desired bag, but estimate around 500-700 yards. Consider using a solid color to really showcase the texture of the stitch, or experiment with variegated yarn for a multi-dimensional effect.
- Crochet Hook: Select a hook size appropriate for your chosen yarn. An H/8 (5.0 mm) or I/9 (5.5 mm) hook is often a good starting point for worsted weight yarn.
- Scissors: For snipping your yarn.
- Yarn Needle: For weaving in ends securely.
- Stitch Markers: These will be invaluable for keeping track of your rounds, especially when working with the Crocodile Stitch.
- Buttons, Magnetic Snap, or Other Closure: For securing the top of your bag.
- Optional: Fabric Lining: If you desire a more structured interior and added durability, you’ll need fabric, sewing supplies (needle, thread, scissors), and potentially interfacing.
- Optional: Handles or Strap: You can crochet your own handles, create a strap using the Crocodile Stitch or other techniques, or purchase готовые handles or straps.
Understanding the Star of the Show: The Crocodile Stitch
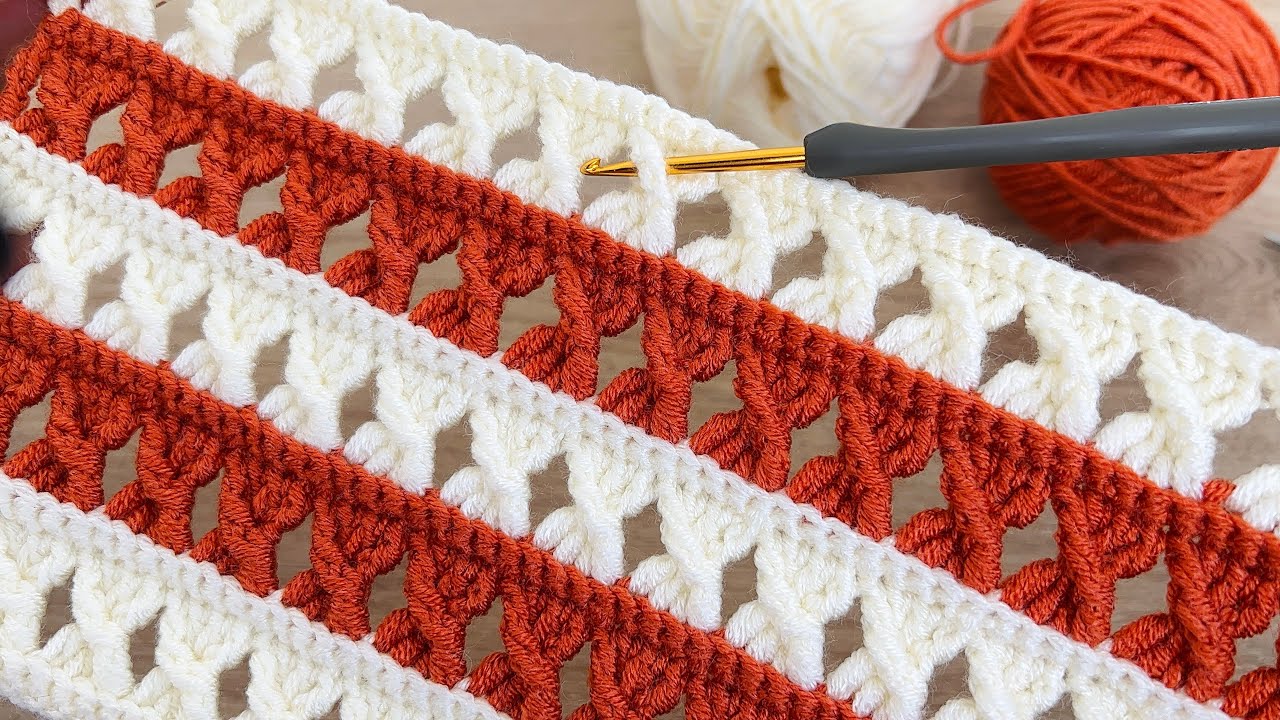
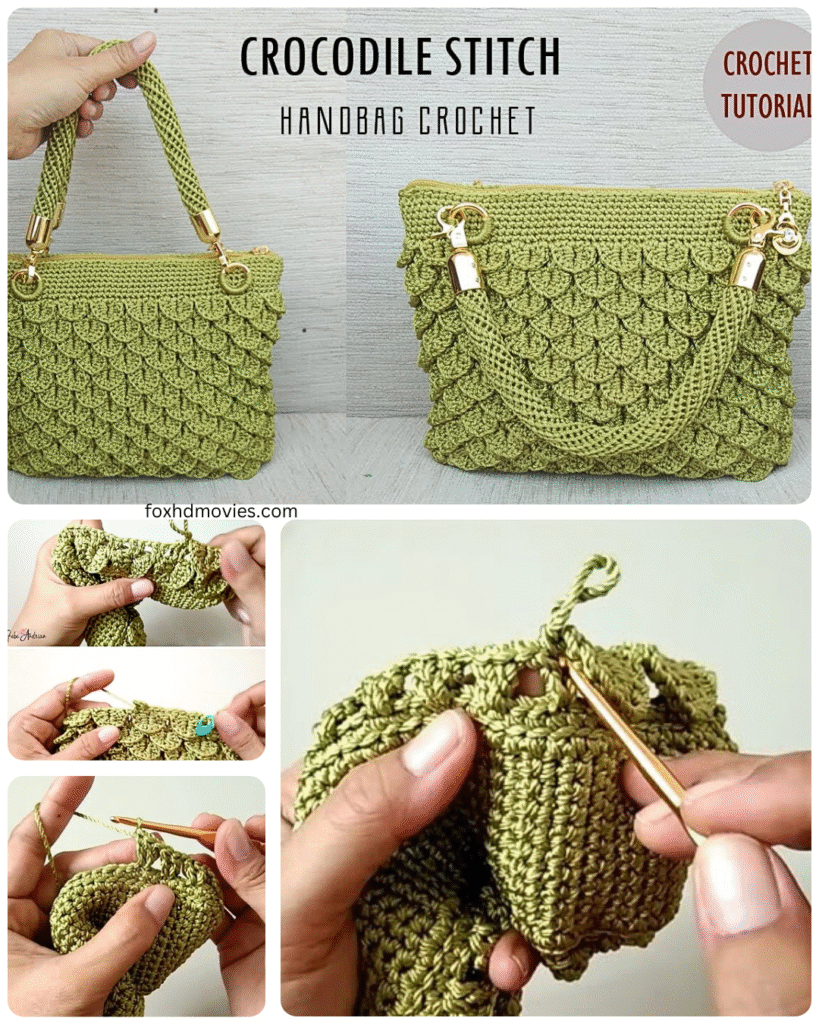
The Crocodile Stitch, also known as the scale stitch, creates a textured, overlapping effect reminiscent of reptile scales. It’s worked over a series of double crochet (dc) posts, creating “scales” that fan out. Here’s a quick rundown of how it’s typically formed:
- Work a set of double crochet stitches.
- Chain a few stitches to create a space.
- Work a second set of double crochet stitches.
- The “scale” is formed by working stitches (often 5 double crochets) down one dc post and then up the next dc post from the previous set, joining at the top.
We’ll be incorporating this technique into the construction of our bag.
Video tutorial
The Pattern: Scaling Up to a Stylish Bag
This pattern will guide you through creating a basic rectangular or slightly tapered bag using the Crocodile Stitch for the main body. You can adjust the dimensions by changing the initial chain and the number of rounds.
Part 1: The Base
- Foundation Chain: Chain 60 (adjust for your desired base width).
- Round 1: Hdc in the third chain from the hook and in each chain across. Join with a slip stitch to the first hdc. (58 hdc)
- Round 2: Chain 1, sc in each stitch around. Join with a slip stitch to the first sc. (58 sc)
- Round 3: Chain 3 (counts as first dc), dc in each stitch around. Join with a slip stitch to the top of the beginning chain-3. (58 dc)
- Rounds 4-6: Repeat Round 3. This creates a solid base for your bag.
Part 2: The Crocodile Stitch Body
In this section, we’ll establish sets of double crochet posts that will form the base for our Crocodile Stitch scales.
- Round 7: Chain 3 (counts as first dc), dc in the next stitch. Chain 3, skip the next 2 stitches, dc in the next 2 stitches. Repeat from * around. Join with a slip stitch to the top of the beginning chain-3. You should have pairs of dc separated by chain-3 spaces.
- Round 8: Slip stitch into the next dc and into the first chain-3 space. Chain 1. Work 5 dc down the first dc post of the pair from the previous round. Chain 1. Work 5 dc up the second dc post of the pair from the previous round. Slip stitch into the next chain-3 space. Repeat from * around. Join with a slip stitch to the first “scale” you created.
- Round 9: Chain 3 (counts as first dc), dc in the next 2 skipped stitches from Round 7. Chain 3, skip the next “scale,” dc in the next 2 skipped stitches. Repeat from * around. Join with a slip stitch to the top of the beginning chain-3.
- Round 10: Slip stitch into the next dc and into the first chain-3 space. Chain 1. Work 5 dc down the first dc post of the pair from the previous round. Chain 1. Work 5 dc up the second dc post of the pair from the previous round. Slip stitch into the next chain-3 space. Repeat from * around. Join with a slip stitch to the first “scale.”
- Repeat Rounds 9 and 10: Continue repeating Rounds 9 and 10 until your bag reaches your desired height. Remember to place stitch markers at the beginning of each round to help you keep track.

Part 3: Shaping the Top (Optional)
If you want your bag to taper slightly towards the top:
- Next Round: You can decrease the number of double crochet pairs in a “Round 9” equivalent by skipping more stitches between the pairs.
- Continue with the Crocodile Stitch rounds, adjusting the placement of the scales to follow the tapered shape.
Part 4: Creating the Top Edge
Once your bag reaches the desired height, you can create a more finished top edge:
- Round (Edging): Chain 1, sc in each stitch and chain space around. Join with a slip stitch to the first sc.
- Optional Additional Rounds: You can work a few more rounds of single crochet or half double crochet for a sturdier edge.
Part 5: Adding the Closure
- Button Loop: If using a button, create a chain loop of appropriate size on one side of the bag’s opening during your edging rounds. Sew the button to the opposite side.
- Magnetic Snap: Follow the manufacturer’s instructions to install the magnetic snap.
- Other Closures: Attach your chosen closure securely.
Part 6: Crafting the Handles or Strap (Choose one or use готовые options)
Option A: Crocheted Handles
- Chain a length suitable for your desired handle size (make two).
- Work several rows of single crochet or half double crochet until the handle is the desired width.
- Sew the handles securely to the sides of your bag.
Option B: Crocodile Stitch Strap
- Follow the initial rounds of the Crocodile Stitch pattern (Rounds 7-10) to create a long strip.
- Adjust the initial chain for the desired width of your strap.
- Continue working the pattern until the strap reaches your desired length.
- Attach the ends of the strap securely to the sides of your bag.
Option C: Purchased Handles or Strap
- Sew or attach your готовые handles or strap according to their instructions and your bag’s design.
Part 7: Adding a Fabric Lining (Optional)
- Measure the inside of your crocheted bag.
- Cut out fabric pieces for the lining, adding seam allowances.
- Sew the fabric pieces together to create a bag shape that fits inside your crocheted bag.
- Hand-stitch or carefully machine-stitch the lining to the inside of your crocheted bag, ensuring a neat finish around the top edge.

Final Touches:
- Weave in all loose ends securely using your yarn needle.
- Block your bag gently if needed to help it hold its shape. You can stuff it with towels or newspaper to maintain its form while it dries.
Tips and Tricks for Taming the Crocodile Stitch:
- Don’t be afraid to watch video tutorials! Seeing the Crocodile Stitch in action can make it much easier to understand.
- Use stitch markers diligently, especially at the beginning of each round and around the chain-3 spaces.
- Practice the Crocodile Stitch on a small swatch before starting your bag to get comfortable with the technique.
- Keep your tension consistent for a uniform look.
- Take breaks! The Crocodile Stitch can be a bit more involved, so don’t hesitate to step away and come back with fresh eyes.