by
by 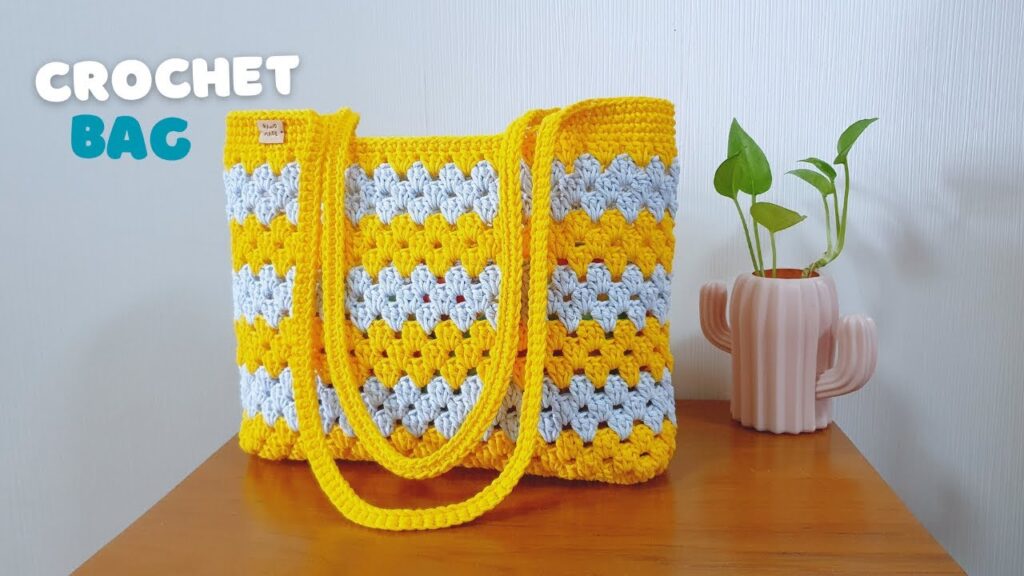
Hello, fellow makers! Ready to infuse some serious sunshine into your accessory collection? This vibrant crochet tote bag, with its cheerful yellow and soft blue-grey granny stripes, is the ultimate statement piece for spring, summer, or any day that needs a pop of color! It’s perfect for hauling your latest WIP, market finds, or just your everyday essentials with a dose of handmade joy.
If you loved the look of our previous granny stripe totes, this one follows a similar, easy-to-master pattern, but with a color combination that’s sure to brighten your day. Let’s grab our hooks and create something truly radiant!
Skill Level: Easy to Intermediate (familiarity with basic crochet stitches and granny clusters is helpful)
Materials You’ll Need:
- Yarn: Approximately 300-400 grams (or more for a larger bag) of sport, DK, or light worsted weight cotton yarn. Cotton is highly recommended for its durability, structure, and stitch definition in a bag.
- Main Color (MC): Bright Yellow (for the dominant color and straps)
- Contrast Color (CC): Light Blue-Grey (or your preferred accent color)
- Crochet Hook: 4.0mm – 4.5mm (or hook size appropriate for your chosen yarn to create a sturdy fabric).
- Stitch Markers: Helpful for marking corners and the beginning of rounds.
- Yarn Needle: For weaving in ends.
- Scissors
- (Optional but Recommended) Fabric lining and magnetic snap/button: For a more polished and durable finish.
Abbreviations Used:
- ch: chain
- sl st: slip stitch
- sc: single crochet
- dc: double crochet
- sp: space
- ch-sp: chain space
- cluster (granny cluster): 3 dc in the same stitch/space
- FO: fasten off
- st(s): stitch(es)
Gauge: Not critical, but aim for a firm fabric that will hold the bag’s shape without being too stiff.
Pattern Notes:
- This bag is worked in the round from the bottom up.
- The base is a simple oval.
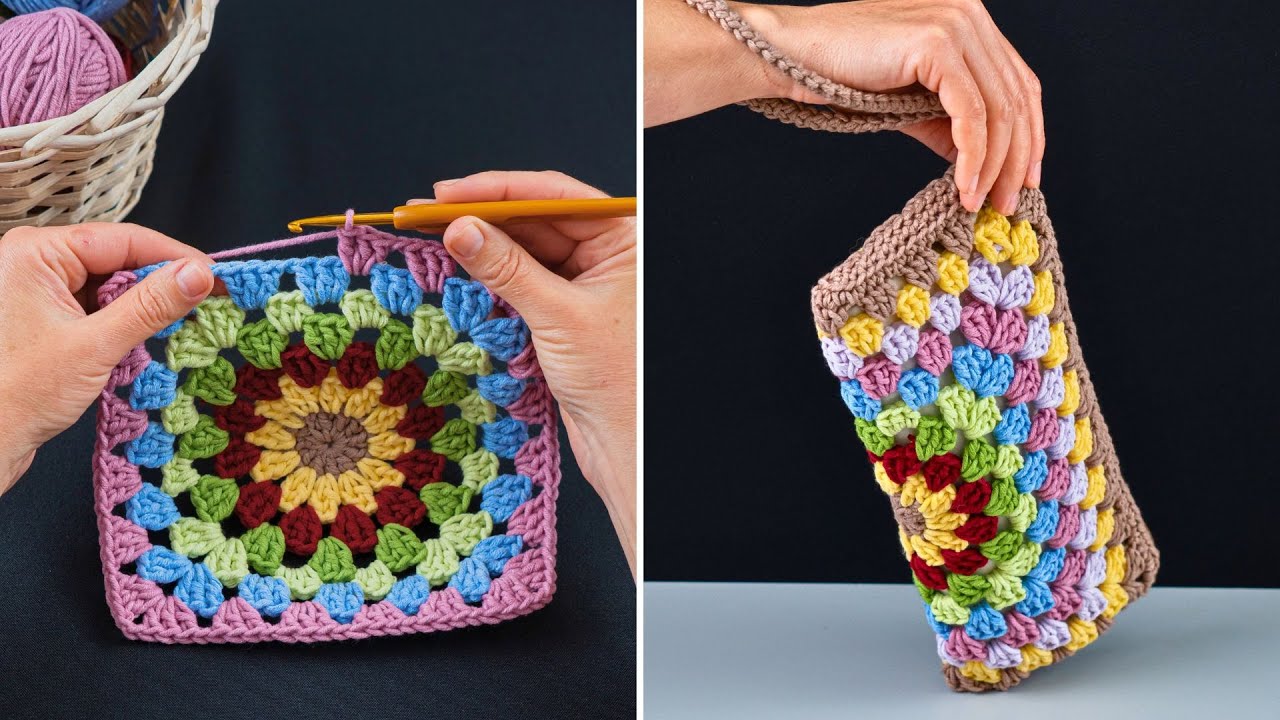
- The body uses the classic “granny stripe” pattern.
- Color changes happen at the end of each round/row for the striped effect. You’ll join, then FO and join the new color.
Part 1: The Base of the Bag (Main Color – Bright Yellow)
We’ll start by creating an oval base.
With Main Color (Bright Yellow):

Row 1: Ch 31 (or your desired length for the base of the bag, minus 1 chain. This will be the length of your bag’s base). Sc in 2nd ch from hook and in next 28 ch. 3 sc in last ch. Now working on the opposite side of the chain: Sc in next 28 ch. 2 sc in the very last ch (this is the same stitch as your first sc). Join with a sl st to the first sc. (62 sc total – 30 on each long side, 2 on each end for increases) Place stitch markers in the first and last stitch of this round, and in the central stitch of the 3-sc groups at each end, to help identify the turning points.
Round 2: Ch 1. Sc in each of the first 29 sts. 3 sc in next st (this is your corner increase). Sc in next 30 sts. 3 sc in next st (corner increase). Sc in last st. Join with a sl st to the first sc. (66 sc)
Round 3: Ch 1. Sc in each of the first 30 sts. 3 sc in next st. Sc in next 32 sts. 3 sc in next st. Sc in last 2 sts. Join with a sl st to the first sc. (70 sc)
Continue increasing in this manner for a few more rounds if you want a wider base, ensuring you add 4 stitches per round (2 at each end). Work until your base is the desired width. The sample bag looks to have about 4-5 rounds for the base.
Last Base Round (Transition to Sides): Ch 1. Sc in the back loop only (BLO) of each stitch around. Join with a sl st to the first sc. (This creates a distinct ridge for the sides to stand up from). FO Main Color.
Part 2: The Body of the Bag (Granny Stripes)
Now we’ll build the sides of the bag using the granny stripe pattern, alternating colors.

Round 1 (Granny Stripe – Join Contrast Color – Light Blue-Grey): Join Contrast Color (Light Blue-Grey) with a sl st in any BLO stitch from the previous round. Ch 2 (does not count as dc). Make 2 dc in the same stitch (this forms your first half-cluster). Sk 2 sts, (cluster) in next st. Repeat from * around. You will end with a “sk 2 sts” before the beginning. Join with a sl st to the top of the first dc (of the initial 2dc). FO Contrast Color.
Round 2 (Granny Stripe – Join Main Color – Bright Yellow): Join Main Color (Bright Yellow) with a sl st in any space between two clusters from the previous round. Ch 2. Make 2 dc in the same space (first half-cluster). (Cluster) in next space between clusters. Repeat from * around. Join with a sl st to the top of the first dc. FO Main Color.
Repeat Round 1 and Round 2, alternating colors, until your bag reaches the desired height. The sample bag has about 8-10 rows of granny stripe for the body. End on a Main Color (Bright Yellow) round.

Part 3: The Top Border (Main Color – Bright Yellow)
This creates a sturdy and neat top edge for the bag.
With Main Color (Bright Yellow):
Round 1: Join Main Color in any stitch. Ch 1. Sc in each dc and each space around. (This will give you a solid top edge). Join with a sl st to the first sc. Round 2 – Round 3 (or until desired border height): Ch 1. Sc in each sc around. Join with a sl st to the first sc.
Part 4: The Straps (Make 2 – Main Color – Bright Yellow)
These are simple, sturdy straps for your tote.
With Main Color (Bright Yellow):
Strap 1: Ch 60-70 (or your desired length for the strap). Sc in 2nd ch from hook and in each ch across. (59-69 sc) FO, leaving a long tail for sewing.
Strap 2: Repeat for the second strap.
Video tutorial
Assembly:
- Attach Straps: Position your straps evenly on the inside of the bag’s top border. The image shows them attached directly to the solid yellow border. Ensure they are aligned across from each other.
- Sew each end of the straps securely to the top edge of the bag using the long tails and a yarn needle. Go through the stitches multiple times for durability.
- Weave in all remaining ends: Take your time with this step for a clean, professional finish.
Congratulations! You’ve just crocheted your own vibrant and practical Granny Stripe Tote Bag! This bag is perfect for carrying your essentials with a touch of handmade cheer wherever you go.
Don’t forget to share your finished bag with me on social media! Tag me and use the hashtag #SunshineGrannyTote. I can’t wait to see your cheerful creations!
Happy Crocheting!