 by
by 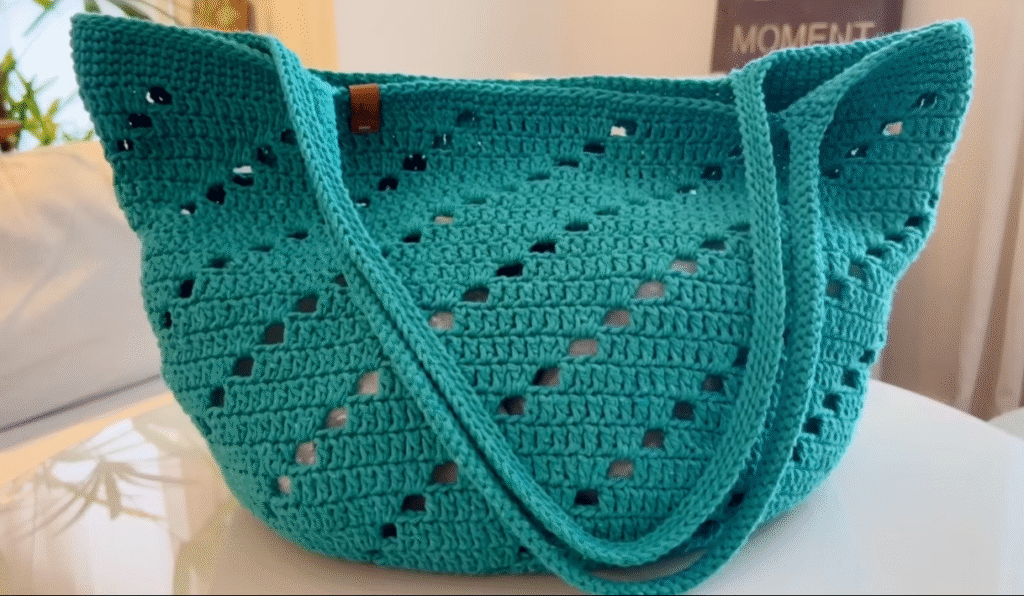
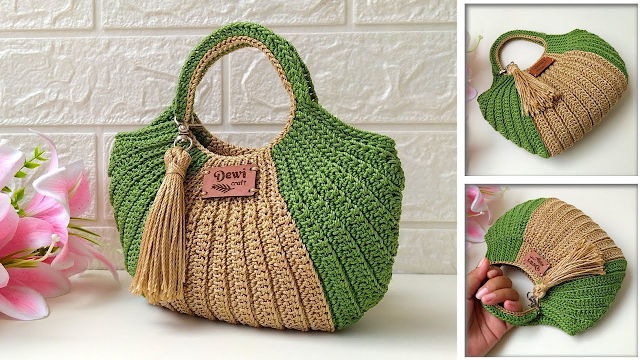
Hello sunshine crafters! As the days grow longer and the air gets warmer, our thoughts naturally turn to breezy outfits and essential accessories for those sun-drenched adventures. What better way to embrace the season than by crocheting your very own stylish and practical summer handbag?
Today, I’m thrilled to share a detailed pattern for a crochet summer handbag that’s both easy to make and endlessly customizable. Whether you’re heading to the beach, a farmer’s market, or a casual picnic, this handmade bag will be your perfect companion, adding a touch of your unique style to every outing.
So, grab your favorite summery yarn, your trusty hook, and let’s weave some sunshine into a beautiful and functional handbag!
What You’ll Need:
- Worsted Weight Cotton or Linen Yarn: Choose a breathable and durable yarn in a color or combination of colors that screams summer to you! Cotton and linen blends are ideal for their sturdiness and lovely drape. Approximately 300-400 yards should suffice, depending on the size you desire.
- Crochet Hook Size H/8 (5.0 mm): Adjust the hook size based on your yarn weight and desired fabric density.
- Scissors: For snipping your yarn.
- Yarn Needle: For weaving in ends securely.
- Stitch Markers: Highly recommended for keeping track of rounds, especially for beginners.
- Measuring Tape: To check your dimensions as you go.
- Optional: Fabric lining, magnetic snap or button closure, leather or wooden handles.
Understanding the Construction: A Simple Yet Chic Design
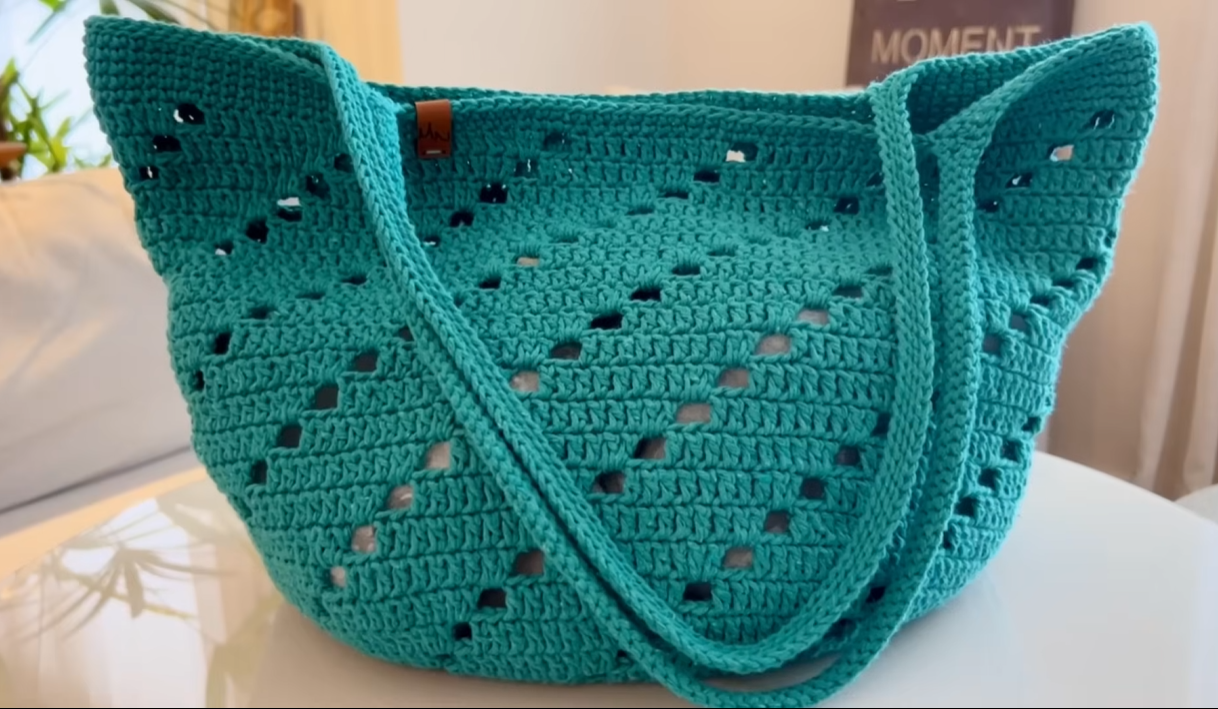
This pattern creates a sturdy, open-top tote-style handbag with a comfortable size for carrying your essentials. We’ll be working primarily in single crochet (sc) and half double crochet (hdc) in the round to create a seamless and durable fabric. The handles will be crocheted separately and attached securely.
Video tutorial
The Pattern: Stitching Your Summer Style
Let’s get started on creating your beautiful summer handbag!
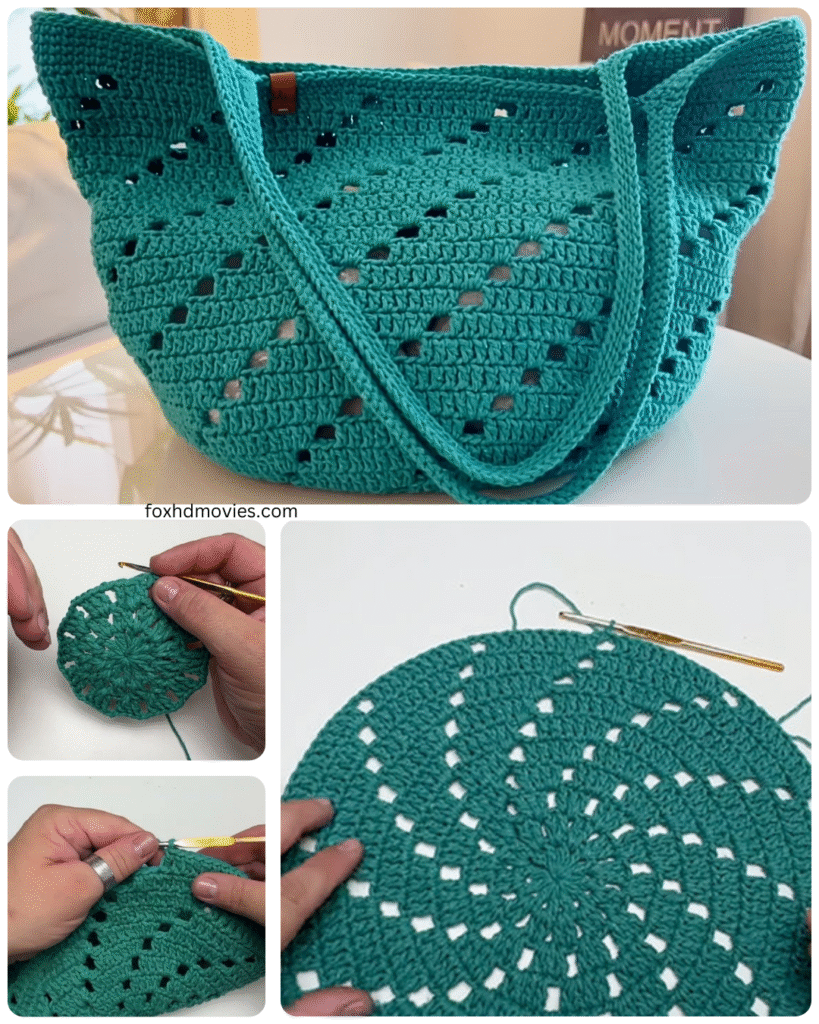
Part 1: The Body of the Bag
- Magic Ring (or Chain 2, then work into the second chain from the hook): Start with a magic ring. If you prefer not to use a magic ring, chain 2 and work all stitches for the first round into the second chain from the hook.
- Round 1: Work 8 single crochet (sc) stitches into the magic ring. Pull the tail tight to close the ring. Join with a slip stitch (sl st) to the first sc. (8 sc)
- Round 2: Chain 1 (does not count as a stitch). Work 2 sc in each stitch around. Join with a sl st to the first sc. (16 sc)
- Round 3: Chain 1. *Sc in the next stitch, 2 sc in the next stitch.* Repeat from * to * around. Join with a sl st to the first sc. (24 sc)
- Round 4: Chain 1. *Sc in the next 2 stitches, 2 sc in the next stitch.* Repeat from * to * around. Join with a sl st to the first sc. (32 sc)
- Continue Increasing: Continue in this manner, increasing by 8 stitches each round, placing the increases evenly. For example:
- Round 5: *Sc in the next 3 stitches, 2 sc in the next stitch.* (40 sc)
- Round 6: *Sc in the next 4 stitches, 2 sc in the next stitch.* (48 sc)
- And so on…
- Work until your base reaches your desired diameter. For an average-sized handbag, this might be around 10-12 inches. Keep track of your stitch count.
- Begin Working Straight (No Increases): Once your base is the desired size, chain 1. Single crochet (sc) in each stitch around. Join with a sl st to the first sc.
- Continue Working in Rounds of Single Crochet: Repeat Round 8 until your bag reaches your desired height. For a tote-style bag, this could be around 12-15 inches. Use stitch markers at the beginning of each round to help you keep track.
- Optional Texture (Changing to Half Double Crochet): For the last few rounds (e.g., 3-5 rounds), you can switch to half double crochet (hdc) for a slightly different texture and a softer top edge. Chain 1 (does not count as a stitch), hdc in each stitch around, join with a sl st to the first hdc.
- Finishing the Top Edge: After your last round, fasten off your yarn and weave in the ends securely.

Part 2: Creating the Handles (Make 2)
There are several ways to create the handles. Here’s a simple crocheted handle method:
- Chain: Chain 60 (adjust this length based on your preferred handle drop).
- Row 1: Half double crochet (hdc) in the third chain from the hook and in each chain across. Turn. (58 hdc)
- Row 2: Chain 1 (does not count as a stitch). Single crochet (sc) in each stitch across. Turn. (58 sc)
- Row 3: Chain 1. Single crochet (sc) in each stitch across. Fasten off, leaving a long tail for sewing. (58 sc)
- Alternative Handle: You can also create a thicker, more rope-like handle by working several strands of yarn together or by using a different stitch like the i-cord.
Part 3: Attaching the Handles
- Position your bag with the right side facing you.
- Decide on the placement of your handles. Ensure they are evenly spaced on opposite sides of the bag opening. For an average-sized bag, leave about 4-5 inches between the handle attachments on each side.
- Using your yarn needle and the long tails left on your handles, securely sew the handles to the bag. Reinforce the stitching by going back and forth several times to ensure they can support the weight of your belongings.
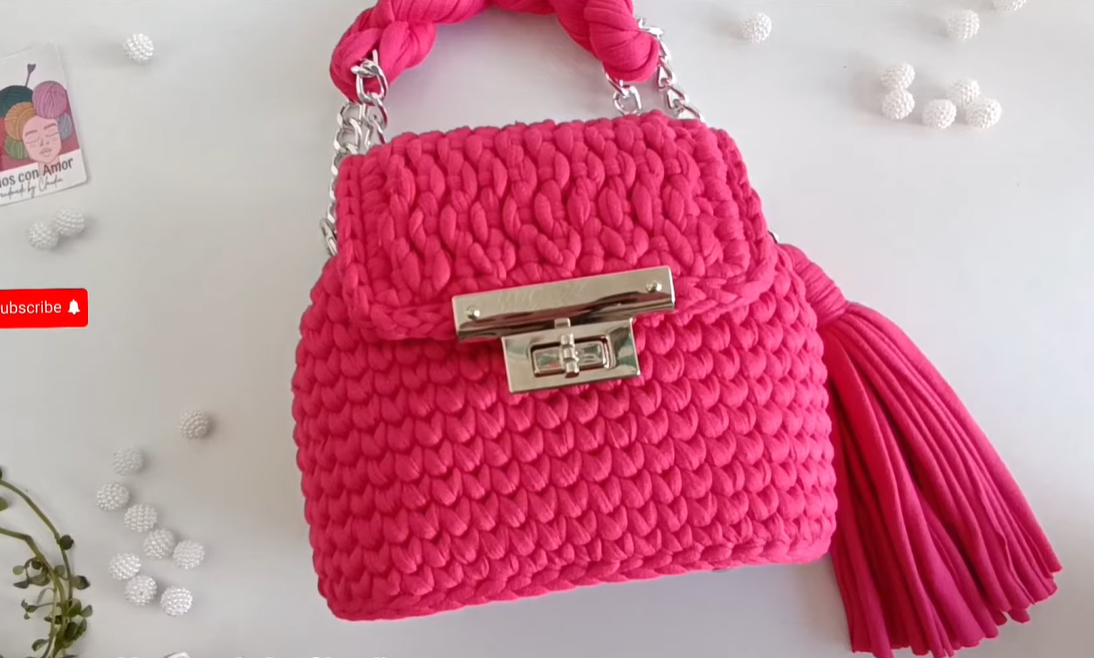
Optional Finishing Touches:
- Lining: For added structure and to keep small items from slipping through the stitches, consider adding a fabric lining. You can hand-sew or machine-sew a simple lining to the inside of your bag.
- Closure: Add a magnetic snap, button and loop closure, or even a drawstring closure to keep your bag contents secure.
- Embellishments: Personalize your bag with crochet flowers, tassels, beads, or leather tags.
- Handle Alternatives: Explore using purchased leather or wooden handles for a different look and feel. Attach them securely according to the manufacturer’s instructions.

Tips and Variations:
- Stripes: Incorporate stripes of different colors for a fun, summery vibe. Change colors every few rounds or rows.
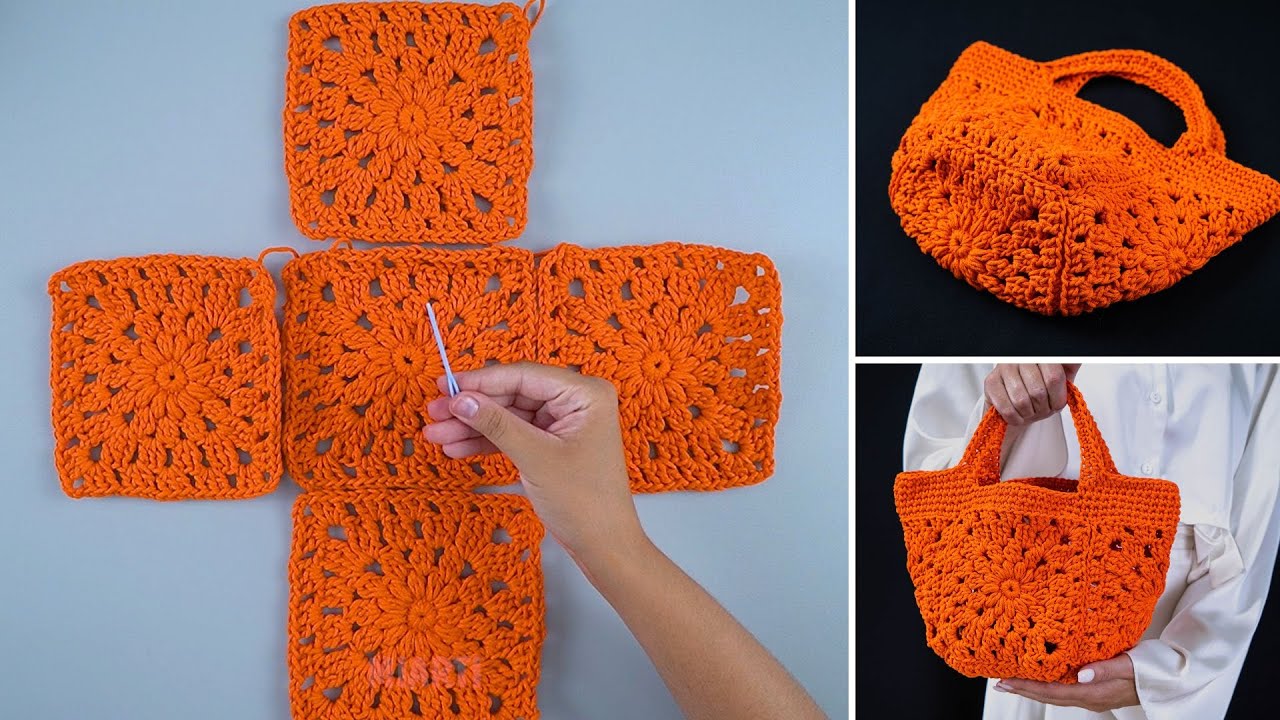
- Textured Stitches: Experiment with different stitch patterns for the body of the bag, such as shell stitch, bobble stitch, or even a simple mesh pattern for a more open, airy feel.
- Different Shapes: While this pattern creates a round-bottomed tote, you can easily adapt it to create a square or rectangular base.
- Handle Placement: Consider making shorter handles for a handheld bag or longer handles for a shoulder bag.
Caring for Your Crochet Summer Handbag:
- Hand wash your bag gently in cool water with a mild detergent.
- Lay it flat to dry to maintain its shape.
- Avoid hanging it when wet, as this can stretch the fabric.
Share Your Sunny Creations!
Congratulations on crafting your very own Crochet Summer Handbag! I hope this detailed pattern has guided you through the process with ease and joy. Now it’s time to fill your beautiful handmade bag with your summer essentials and head out to enjoy the sunshine in style.