by
by 
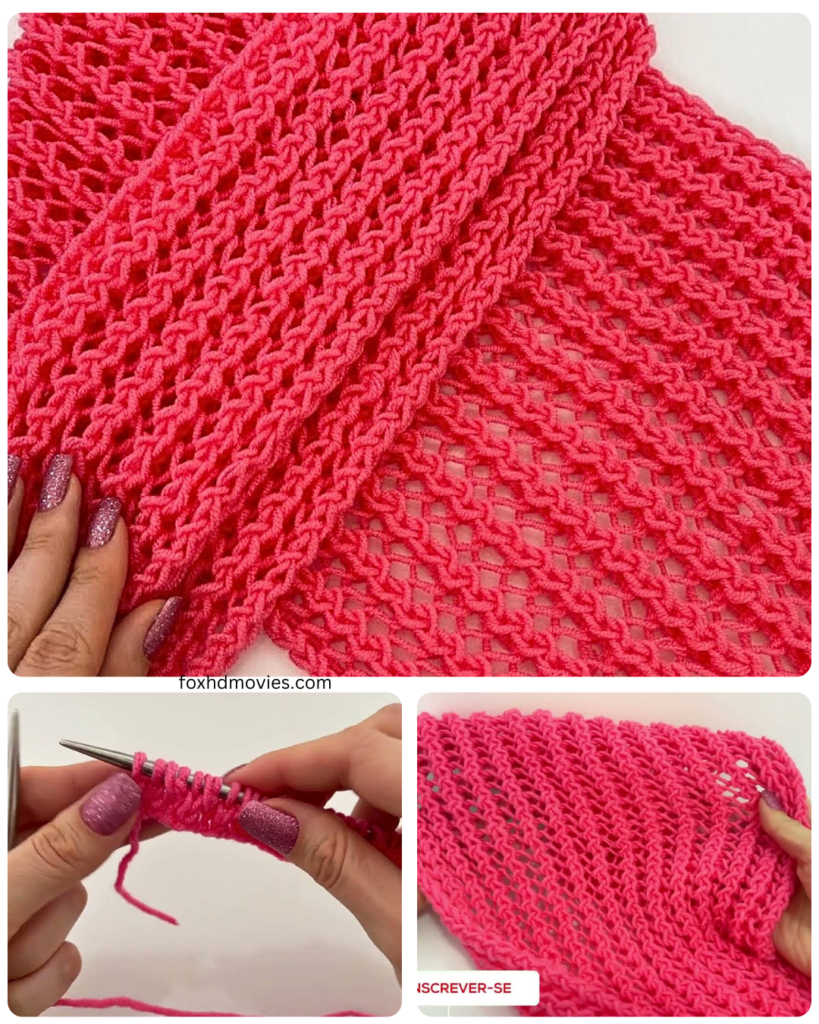
here is a detailed step-by-step pattern for how to knit a scarf. This pattern is perfect for beginners and uses the basic garter stitch, which creates a lovely textured and reversible fabric.
Difficulty: Beginner
Materials You Will Need:
- Yarn: Choose a yarn that you like the look and feel of. The amount of yarn you’ll need will depend on the desired length and thickness of your scarf, as well as the yarn weight. For a standard adult scarf (around 60-70 inches long), you’ll likely need:
- Worsted Weight Yarn: Approximately 200-300 yards.
- Bulky Weight Yarn: Approximately 150-250 yards.
- Sport Weight Yarn: Approximately 250-350 yards.
- Consider the yarn label for recommended needle size and yardage.
- Knitting Needles: The size of your needles should correspond to the weight of your yarn. The yarn label will usually recommend a needle size. For beginners, straight needles are easiest to handle.
- For Worsted Weight Yarn: US size 7-9 (4.5-5.5 mm)
- For Bulky Weight Yarn: US size 10-11 (6-8 mm)
- For Sport Weight Yarn: US size 5-6 (3.75-4 mm)
- Scissors: For cutting the yarn.
- Tapestry Needle (or Yarn Needle): For weaving in the yarn ends.
- Measuring Tape (Optional but Recommended): To check the length of your scarf as you go.

Step-by-Step Pattern:
1. Casting On (Creating the First Row of Stitches):
- Make a Slip Knot:
- Hold the yarn with the tail end (the shorter end) in your palm and the working yarn (the end attached to the ball) hanging down.
- Make a loop with the working yarn, bringing it behind the tail end.
- Reach through the loop and grab the working yarn.
- Pull the working yarn through the loop, creating a new loop.
- Tighten the knot by pulling gently on both the working yarn and the tail end. Make sure the loop is loose enough to slip onto your needle.
- Place the Slip Knot on the Needle:
- Hold one knitting needle in your dominant hand.
- Slip the loop of the slip knot onto the needle. Gently tighten it so it’s snug but not too tight. This is your first stitch.
- The Thumb Method (Long Tail Cast On): This is a common and easy cast-on method.
- Drape the yarn over your left thumb and index finger, with the tail end hanging over your thumb and the working yarn over your index finger.
- Hold the needle in your right hand.
- Bring the needle tip down and under the strand on your thumb, going from the palm side.
- Scoop up the strand on your index finger with the needle tip.
- Bring the needle tip back down and through the loop on your thumb.
- Release the loop from your thumb.
- Gently pull both yarn strands to tighten the stitch on the needle.
- Repeat this process until you have the desired number of stitches on your needle. For a standard scarf, you might cast on anywhere from 20 to 40 stitches, depending on how wide you want it to be and the yarn weight. A narrower scarf (20-25 stitches) is common for beginners.

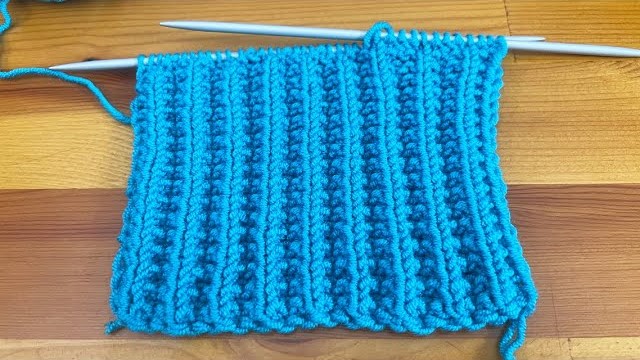
2. Knitting the Scarf (Working the Garter Stitch):
- Understanding Garter Stitch: The garter stitch is created by knitting every single stitch. This creates a reversible fabric with a nice bumpy texture.
- Row 1: Insert the right needle into the first stitch on the left needle from front to back. Wrap the working yarn around the tip of the right needle in a counter-clockwise direction. Use the tip of the right needle to pull the wrapped yarn through the loop of the first stitch on the left needle. Slide the old stitch off the left needle. You have now knitted one stitch. Repeat this process for every stitch on the left needle until you reach the end of the row.
- Row 2 and All Subsequent Rows: Turn your work so that the needle with the stitches is now in your left hand. Repeat the knitting process described in Row 1 for every stitch in this row and all subsequent rows.
- Continue Knitting: Keep knitting every stitch on every row until your scarf reaches your desired length. You can periodically measure your scarf with a measuring tape. A common length for an adult scarf is around 60-70 inches (152-178 cm), but you can adjust this to your preference.
3. Binding Off (Securing the Last Row):
- Knit the First Two Stitches: Knit the first stitch as usual. Knit the second stitch as usual. You will now have two stitches on your right needle.
- Pass the First Stitch Over the Second Stitch: Using the tip of your left needle, lift the first stitch on the right needle up and over the second stitch, and then off the right needle. You now have one stitch on your right needle.
- Knit One More Stitch: Knit the next stitch on your left needle onto your right needle. You will again have two stitches on your right needle.
- Pass the First Stitch Over Again: Lift the first stitch on the right needle up and over the second stitch, and then off the right needle. You are left with one stitch.
- Repeat: Continue knitting one stitch and then passing the previous stitch over the new stitch until you have only one stitch left on your right needle.
- Cut the Yarn: Cut the working yarn, leaving a tail of about 6-8 inches.
- Pull the Yarn Through the Last Loop: Pull the yarn tail through the last loop on your needle. Tighten the knot gently to secure it.
4. Weaving in the Ends:
- Thread the yarn tail from the cast-on edge onto your tapestry needle.
- Weave the yarn tail through the knitted fabric on the wrong side (the side that looks less neat) of your scarf. Try to follow the path of the stitches so the tail blends in. Weave it in for a few inches in one direction, then change direction and weave it back. This will secure the end and prevent it from unraveling.
- Once the tail is securely woven in, trim any excess yarn close to the fabric.
- Repeat this process for the yarn tail from the bind-off edge.
Video tutorial
5. Optional Finishing Touches:
- Fringes:
- Cut several strands of yarn to your desired fringe length (multiply the desired finished length by two).
- For each fringe, take a few strands of yarn (e.g., 3-5 strands).
- Fold the strands in half.
- Insert the crochet hook (or your fingers) through one of the end stitches of your scarf.
- Pull the folded loop of the fringe through the stitch.
- Thread the loose ends of the fringe through the loop and pull to tighten.
- Repeat this process across both ends of your scarf, spacing the fringes as desired.
- Trim the fringe ends to make them even.
- Tassels:
- Wrap yarn around a piece of cardboard (the width of the cardboard will determine the length of your tassel).
- Wrap the yarn around the cardboard multiple times until you have the desired thickness for your tassel.
- Cut the yarn at one end of the cardboard.
- Carefully slide the yarn loops off the cardboard.
- Tie a piece of yarn tightly around the top of the loop bundle, about an inch down from the top. This will form the head of the tassel.
- Cut through the loops at the bottom of the tassel.
- Wrap another piece of yarn tightly around the tassel a little further down from the head to create a more defined shape. Tie the ends securely and weave them into the tassel.
- Attach the tassel to one or both ends of your scarf by sewing the top of the tassel securely.