 by
by 
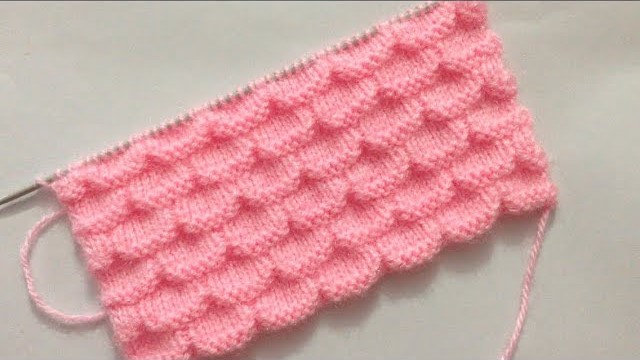
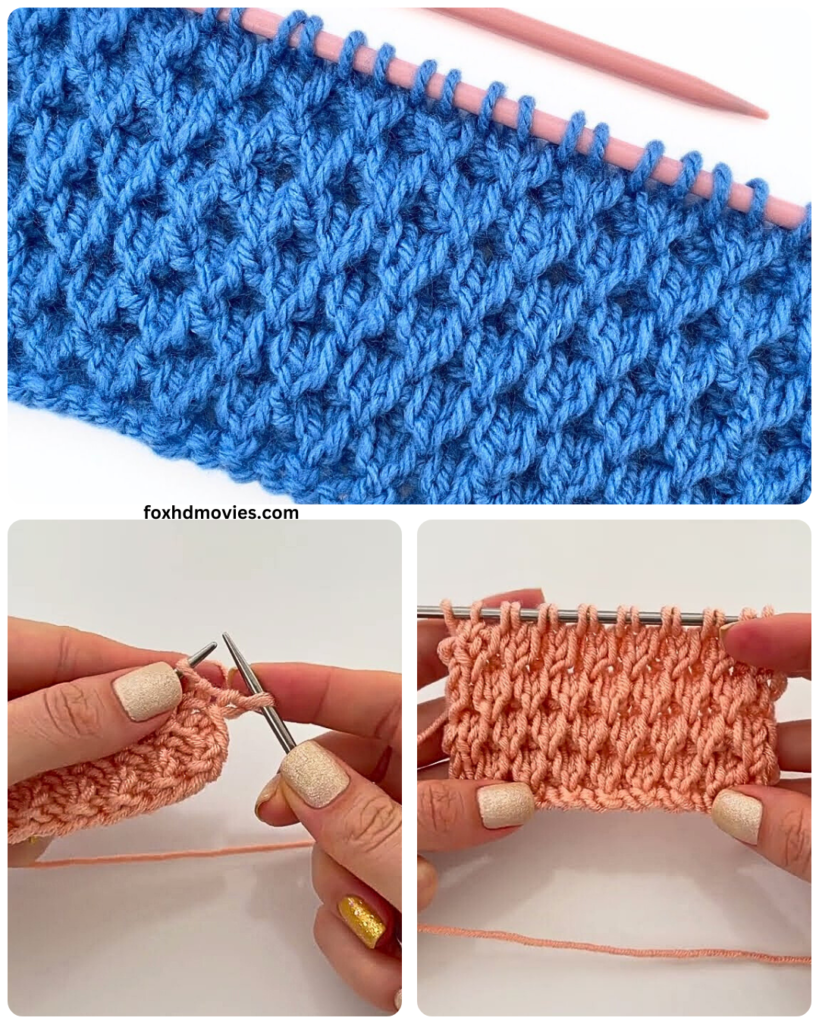
here is a detailed step-by-step pattern for a beautiful and easy knitting stitch: the Moss Stitch (also sometimes called Irish Moss Stitch).
This stitch creates a lovely textured fabric that lies flat and doesn’t curl, making it perfect for scarves, blankets, dishcloths, and more. It’s also very easy to learn as it only uses the basic knit (K) and purl (P) stitches.
Stitch Name: Moss Stitch (or Irish Moss Stitch)
Skill Level: Beginner
Materials You’ll Need:
- Yarn of your choice (any weight will work)
- Knitting needles appropriate for your yarn weight
- Scissors
- Tapestry needle (for weaving in ends)
Gauge:
- Gauge isn’t crucial for projects like scarves or blankets, but if you’re following a pattern that requires a specific gauge, make sure to knit a gauge swatch first. The Moss Stitch typically produces a slightly denser fabric than stockinette stitch.
Abbreviations:
- K: Knit
- P: Purl
- sts: Stitches
- rep: Repeat

Pattern Instructions:
The Moss Stitch is worked over an even number of stitches.
Step 1: Cast On
- Cast on an even number of stitches onto your needle using your preferred cast-on method (e.g., long-tail cast-on). Let’s say you cast on 20 stitches for this example.
Step 2: Working the Rows
- Row 1 (Right Side): K1, P1, K1, P1. Repeat this sequence across the entire row. Your last stitch should be a Purl stitch.
- Explanation: You are alternating between knitting one stitch and purling the next.
- Row 2 (Wrong Side): P1, K1, P1, K1. Repeat this sequence across the entire row. Your last stitch should be a Knit stitch.
- Explanation: Notice that on this row, you are purling the stitches that you knitted on the previous row, and knitting the stitches that you purled on the previous row. This is key to creating the Moss Stitch texture.
- Row 3 (Right Side): K1, P1, K1, P1. Repeat this sequence across the entire row. Your last stitch should be a Purl stitch.
- Explanation: This row is the same as Row 1.
- Row 4 (Wrong Side): P1, K1, P1, K1. Repeat this sequence across the entire row. Your last stitch should be a Knit stitch.
- Explanation: This row is the same as Row 2.

Step 3: Repeating the Pattern
- Continue repeating Rows 1 and 2 for the Moss Stitch pattern.
- Important Note: Some patterns might describe the Moss Stitch as repeating 4 rows. In that case, you would repeat Rows 1, 2, 3, and 4 as described above. However, the core of the Moss Stitch texture is created by the alternating knit and purl in each row, with the pattern shifting on every other row.
Simplified Pattern (Repeating 2 Rows):
- Row 1: *K1, P1; rep from * to end.
- Row 2: *P1, K1; rep from * to end.
Tips for Success:
- Pay Attention to Your Stitches: In the Moss Stitch, you are essentially working the opposite stitch of what appears on the needle from the previous row. If you see a knit stitch, you purl it, and if you see a purl stitch, you knit it.
- Keep Your Tension Consistent: Try to maintain even tension throughout your knitting to create a uniform fabric.
- Use Stitch Markers (Optional): If you are working on a larger project, you can place stitch markers at regular intervals to help you keep track of your place.
- Practice Makes Perfect: Don’t worry if your first attempt isn’t perfect. Keep practicing, and you’ll get the hang of it quickly.
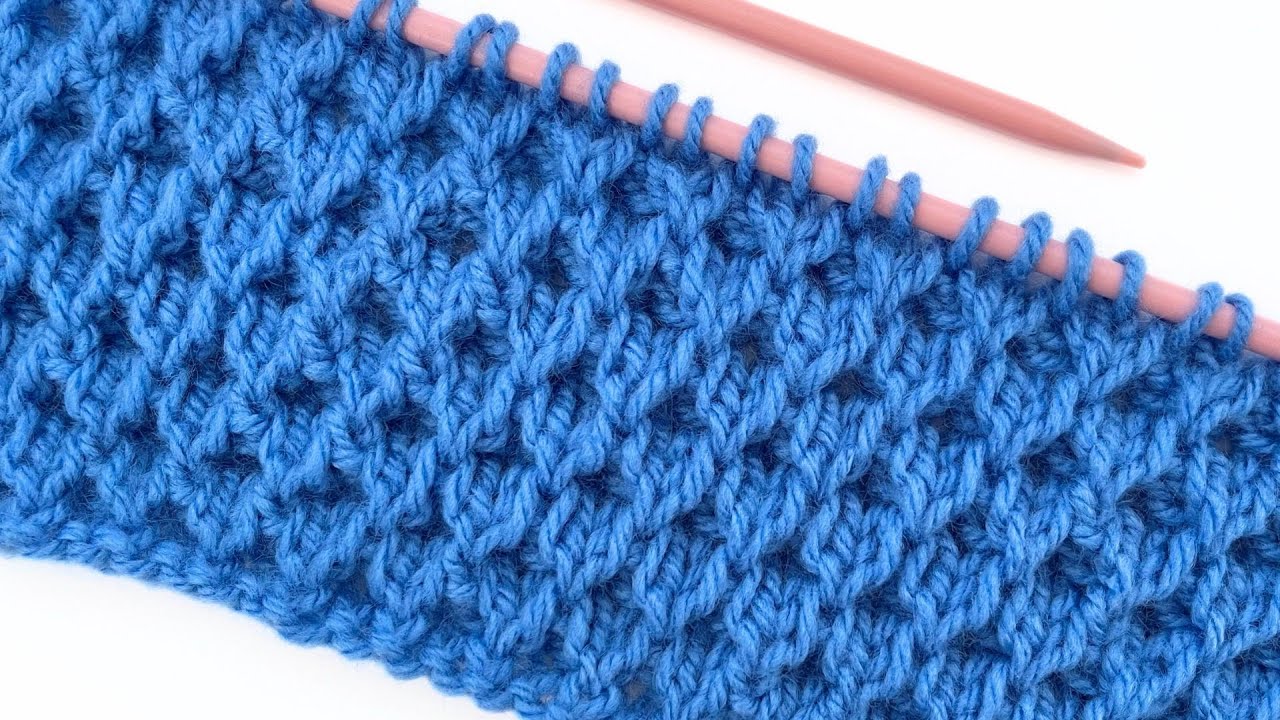
How to Identify the Right and Wrong Sides:
- The Right Side (RS) will have a more defined, slightly bumpy texture with the knit and purl stitches clearly visible.
- The Wrong Side (WS) will have a similar texture, but it might look slightly less distinct.
Video tutorial
Ideas for Using the Moss Stitch:
- Scarves: The Moss Stitch creates a warm and cozy scarf that lies flat.
- Blankets: A Moss Stitch blanket is soft, textured, and reversible.
- Dishcloths/Washcloths: The texture of the Moss Stitch makes it great for scrubbing.
- Hats: You can knit flat panels in Moss Stitch and seam them together to create a hat.
- Sweaters/Cardigans: While entire garments in Moss Stitch can be quite textured, you can use it for borders, cuffs, or panels.