by
by 
Here is a detailed, step-by-step pattern for making a very easy knitting embroidery stitch, focusing on the simple running stitch as a great starting point. This technique allows you to add decorative elements to your finished knitted fabric.
What is Knitting Embroidery?
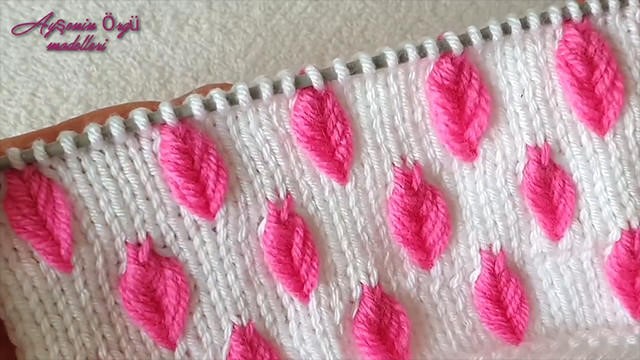
Knitting embroidery, also known as surface embroidery on knitting, involves using a needle and thread to add decorative stitches onto a piece of knitted fabric after it has been knitted. This is a simple way to personalize your projects with designs, letters, or simple embellishments.
Materials You Will Need:
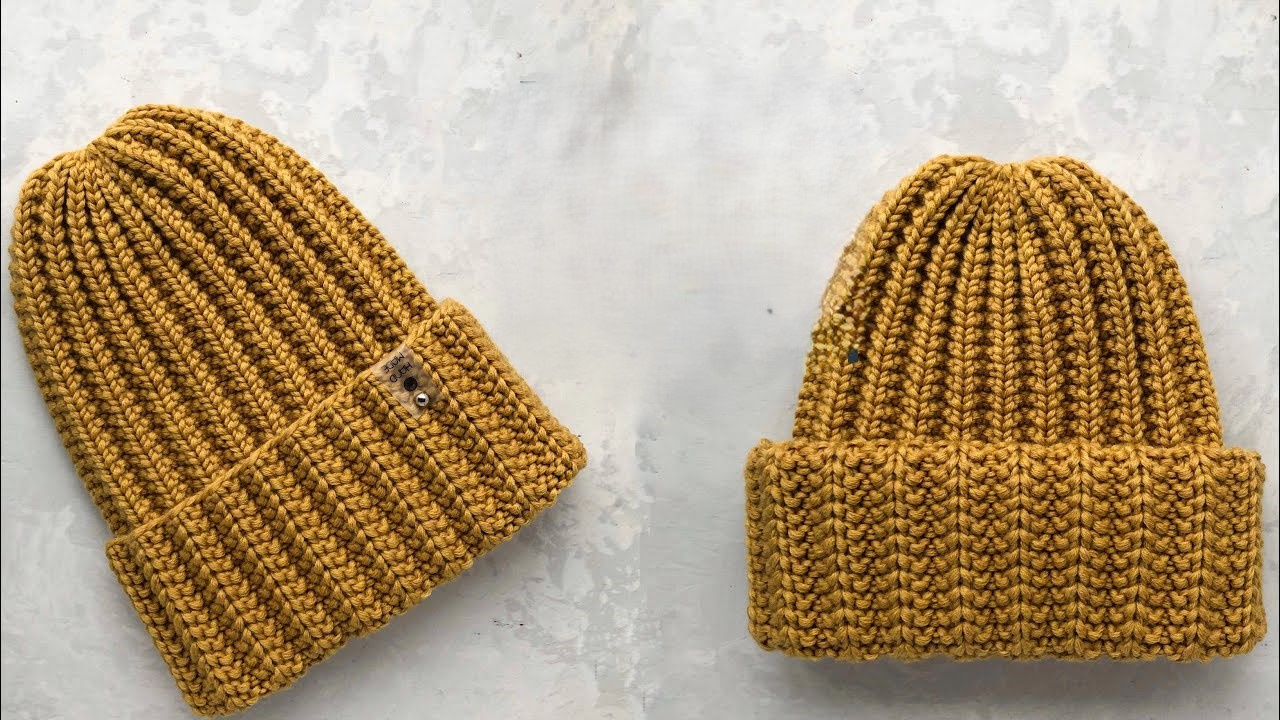
- Finished Knitted Fabric: This is the piece you want to embroider. Make sure it’s securely cast off.
- Embroidery Needle: Choose a needle with a large enough eye to easily thread your embroidery floss or yarn, and a blunt tip to avoid splitting the knitted stitches. Tapestry needles work well for this.
- Embroidery Floss or Yarn: Select a color and thickness that contrasts well with your knitted fabric and suits your desired look. You can use stranded embroidery floss (and separate the strands for finer details), perle cotton, or even a contrasting yarn of a similar weight to your knitted fabric.
- Embroidery Scissors: Small, sharp scissors for snipping threads.
- Optional: Embroidery Hoop: While not strictly necessary for simple designs on knitting, a hoop can help to keep the fabric taut and prevent puckering, especially for larger or more intricate designs. Choose a size that comfortably fits your design area.
- Optional: Water-Soluble Pen or Tracing Paper: If you want to follow a specific design, you might need a way to transfer it onto your knitted fabric.
Step-by-Step Pattern: The Simple Running Stitch
The running stitch is the most basic embroidery stitch and perfect for creating simple lines, outlines, or filling in small areas.
1. Prepare Your Fabric and Thread:
- Thread Your Needle: Cut a comfortable length of embroidery floss or yarn (about 18-24 inches is a good starting point to avoid tangling). Thread one end through the eye of your embroidery needle. If using stranded embroidery floss, you can separate the strands (usually 2-3 strands are sufficient for knitting embroidery, but experiment to see what you like). Tie a knot at the end of your thread. A simple double knot or a knot with a few wraps around your finger works well.
2. Start Your Stitch:
- Bring the Needle Up: From the wrong side (back) of your knitted fabric, insert your needle through the fabric and bring it up to the right side (front) at the point where you want your embroidery to begin. Pull the thread through until the knot catches on the back of the fabric.
3. Create the Running Stitch:
- Go Down and Up: Move your needle a short distance (usually a few knitted stitches or a small fraction of an inch) along the line of your desired design. Insert the needle back down into the fabric at this point.
- Bring the Needle Up Again: Now, bring your needle back up to the right side of the fabric a short distance ahead of where you just went down. The distance between your “up” and “down” points will determine the length of your running stitches. Aim for consistent stitch lengths for a neat look.
4. Continue the Stitch:
- Repeat: Continue this “down and up” motion, creating a series of small, even stitches along your desired line. Think of it as a dashed line on the front of your fabric.
5. Following a Design (Optional):
- Freehand: If you’re doing a simple freehand design, just follow your eye and create the running stitches as you go.
- Transferring a Design:
- Water-Soluble Pen: Lightly draw your design directly onto your knitted fabric using a water-soluble pen. The ink will disappear when you dampen it later.
- Tracing Paper: Trace your design onto tracing paper. Pin the tracing paper to your knitted fabric. Using a needle or tracing wheel, carefully poke small holes along the lines of your design. Remove the tracing paper. The perforations will act as a guide for your stitching.
6. Finishing Your Stitch:
- Secure the End: When you reach the end of your desired line or section of embroidery, bring your needle down to the wrong side of the fabric.
- Tie a Knot: On the wrong side, carefully tie a knot to secure your thread. You can do this by weaving the needle through a few of the existing stitches and then creating a small knot.
- Trim the Thread: Snip the excess thread close to the knot.
Example Project: Embroidered Heart
Let’s say you want to embroider a simple heart on your knitted fabric.
- Draw or Transfer Your Heart: Lightly draw a small heart shape onto your fabric with a water-soluble pen or transfer it using tracing paper.
- Start at One Point: Bring your threaded needle up at one point on the outline of the heart.
- Follow the Outline: Use the running stitch to carefully follow the outline of the heart shape. Make small, even stitches.
- Complete the Heart: Continue stitching until you have completed the entire outline of the heart.
- Secure and Finish: Bring your needle to the wrong side, tie a knot, and trim the thread.
Video tutorial
Tips for Success:
- Keep Your Stitches Even: Try to make your running stitches the same length for a more consistent and professional look.
- Don’t Pull Too Tight: Be careful not to pull your embroidery thread too tightly, as this can distort or pucker your knitted fabric.
- Use a Contrasting Color: For your first few attempts, choose an embroidery thread that strongly contrasts with your knitted fabric so you can easily see your stitches.
- Practice Makes Perfect: Don’t worry if your first attempt isn’t perfect. The more you practice, the better you’ll become at creating even and neat running stitches.
- Experiment with Thread Thickness: Try using different thicknesses of embroidery floss or yarn to see how it affects the look of your embroidery.
- Consider Your Knit Fabric: The gauge and texture of your knitted fabric will influence how your embroidery looks. Finer gauge knits will generally allow for more detailed embroidery.