by
by 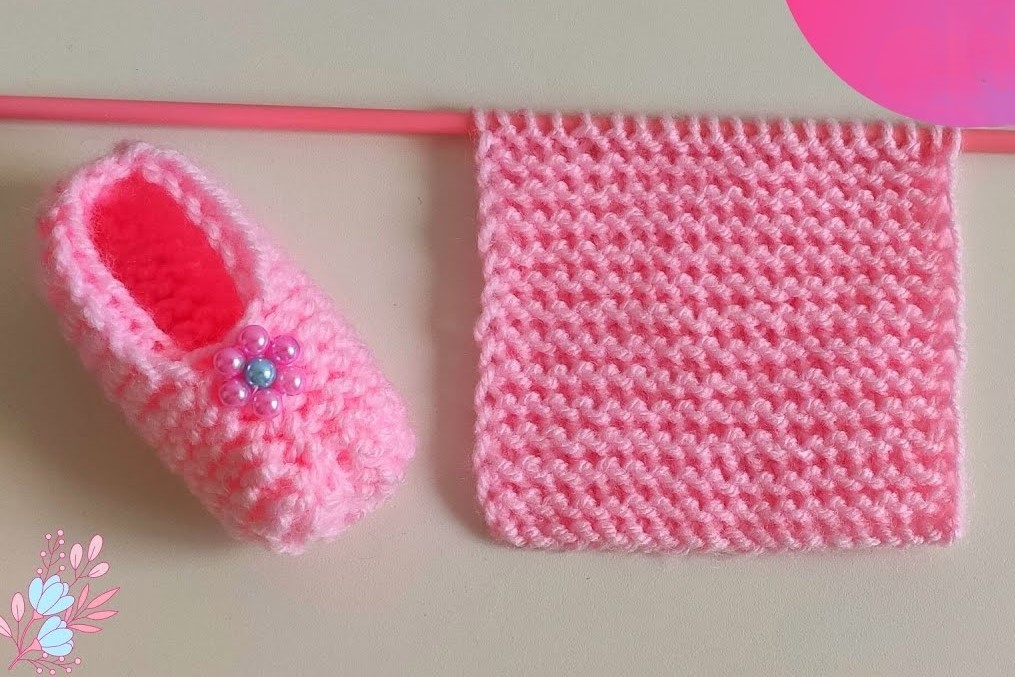
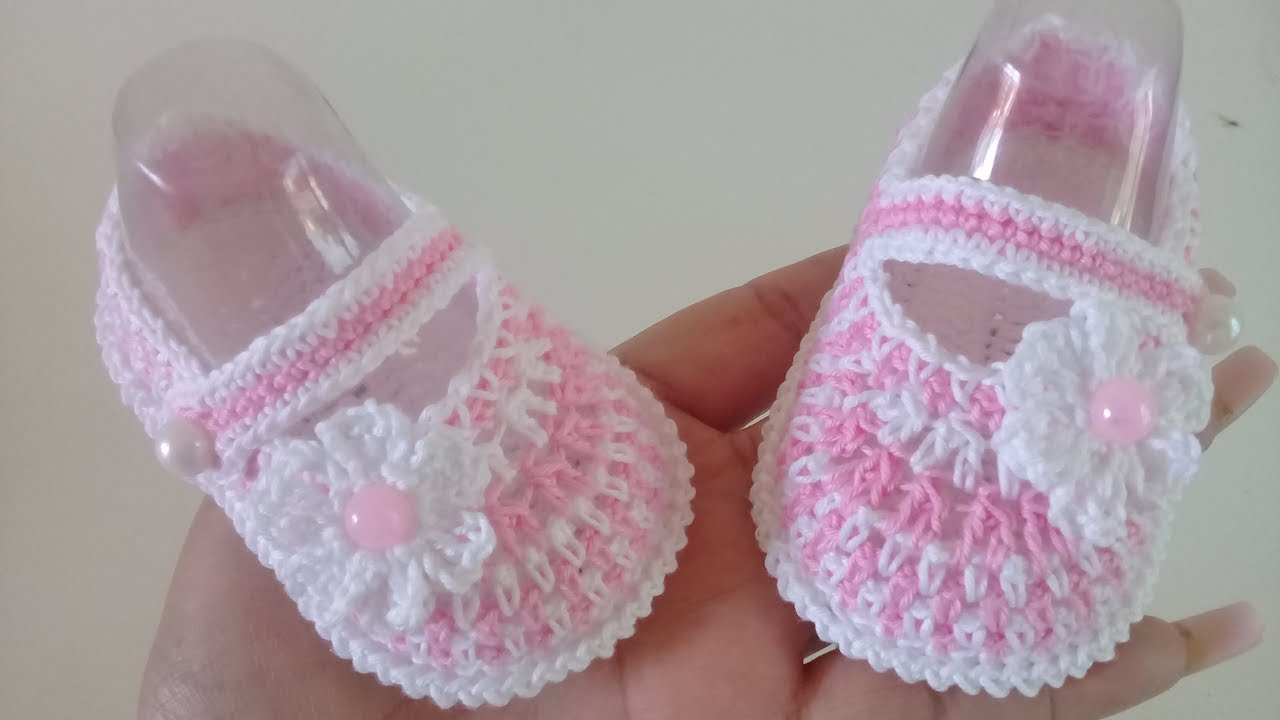
There’s nothing quite as sweet as tiny, warm baby feet, and knitting a pair of booties is a truly rewarding project! This pattern is inspired by a straightforward tutorial that focuses on ease and comfort, making it perfect for knitters of all skill levels. We’ll create a cozy, classic bootie or slipper using a simple construction, designed for a snug fit.
Skill Level: Easy
Finished Size (Approximate):
- Sole Length: 3.5 – 3.75 inches (9 – 9.5 cm)
- Suitable for: Newborn to 3 Months (as per the video’s suggested size)
Materials You’ll Need:
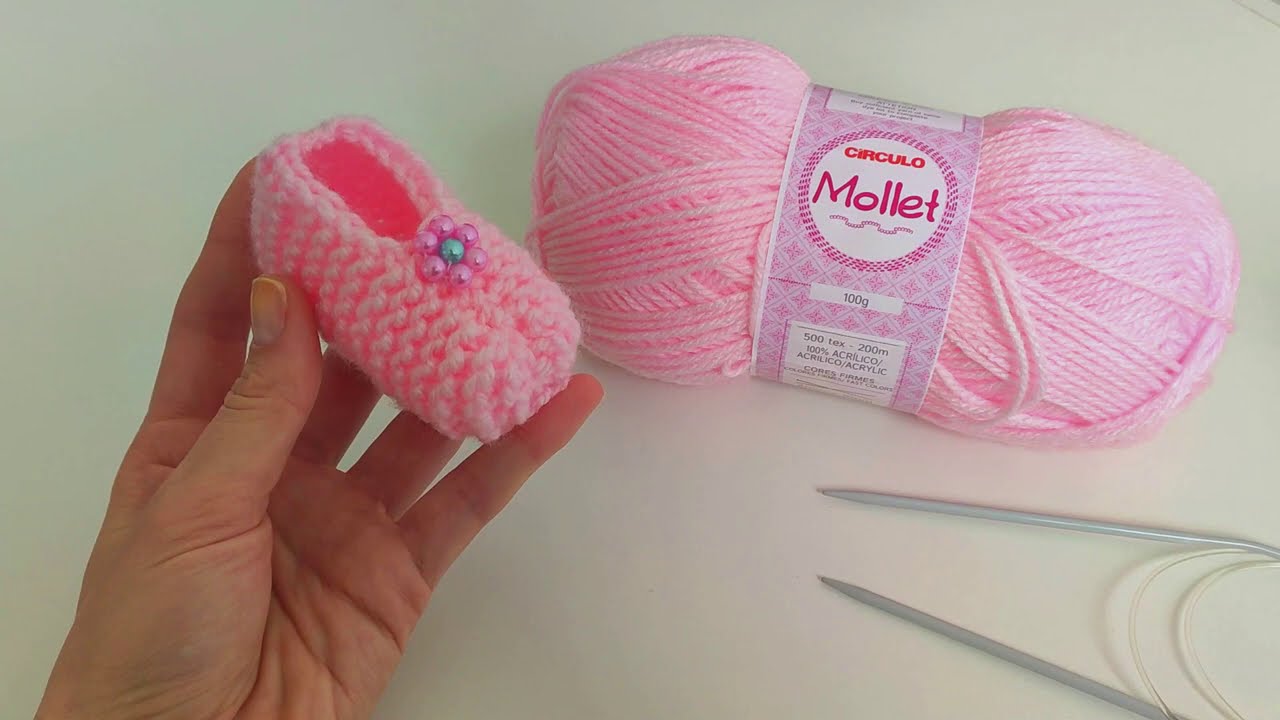
- Yarn: DK weight (Light Worsted / 8 ply) baby yarn in your chosen color. (Approximately 40-50 yards per pair).
- The video mentions “Mollet yarn,” which is often a soft acrylic. Choose a soft, machine-washable yarn like baby acrylic, cotton blends, or superwash merino wool for baby’s comfort and easy care.
- Knitting Needles: Straight knitting needles (or circulars, working flat) in size US 4 (3.5 mm).
- The video uses straight needles, which simplifies things for this flat construction.
- Tapestry Needle: Essential for seaming and weaving in ends.
- Scissors
- Stitch Markers (optional): Helpful for marking the center section for shaping.
Gauge (Crucial for Sizing!):
26 stitches and 36 rows = 4 inches (10 cm) in garter stitch (knitting every row).
- Why Gauge Matters: Achieving the correct gauge is vital to ensure your finished bootie is the right size. The video mentions using a 3.5mm needle for a “tighter stitch,” so our gauge reflects that. If your gauge is off, your bootie might be too big or too small!
- How to Swatch: Cast on 30 stitches. Knit every row (garter stitch) for about 40 rows. Bind off. Measure a 4-inch square in the middle of your swatch. If you have more than 26 stitches in 4 inches, try a larger needle size. If you have fewer, try a smaller needle size.
Abbreviations (US Knitting Terms):
- CO: Cast On
- K: Knit
- K2tog: Knit 2 stitches together (decrease)
- SSK: Slip, slip, knit (decrease) – Slip 1 stitch knitwise, slip next stitch knitwise, then knit them together through the back loops.
- St(s): Stitch(es)
- RS: Right Side
- WS: Wrong Side
- BO: Bind Off
Let’s Start Knitting Your Bootie!
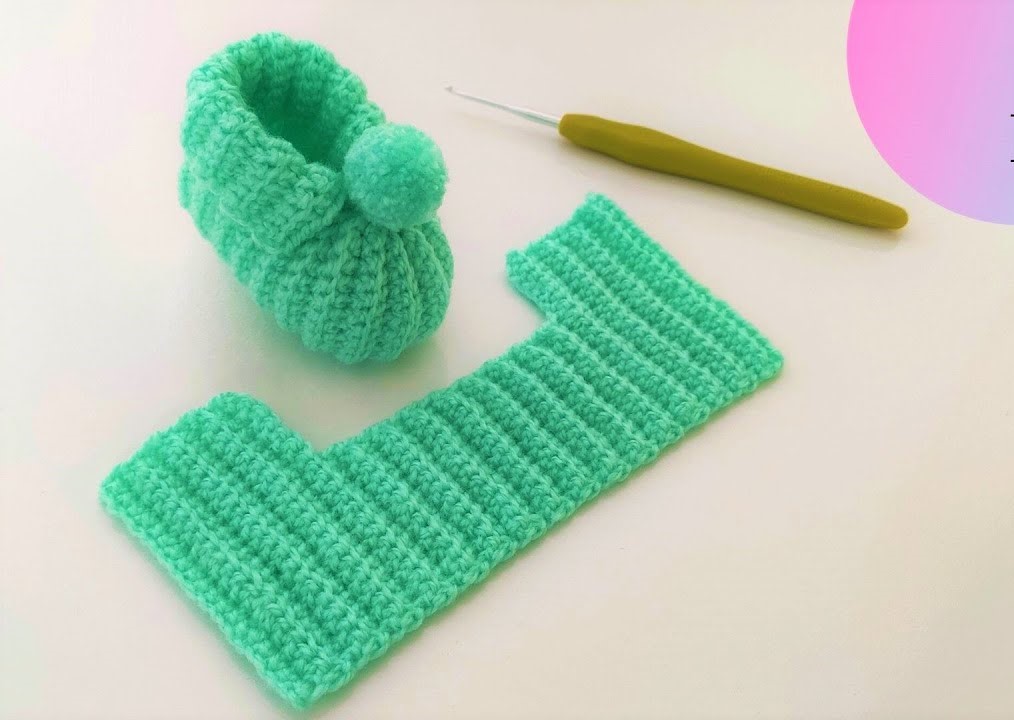
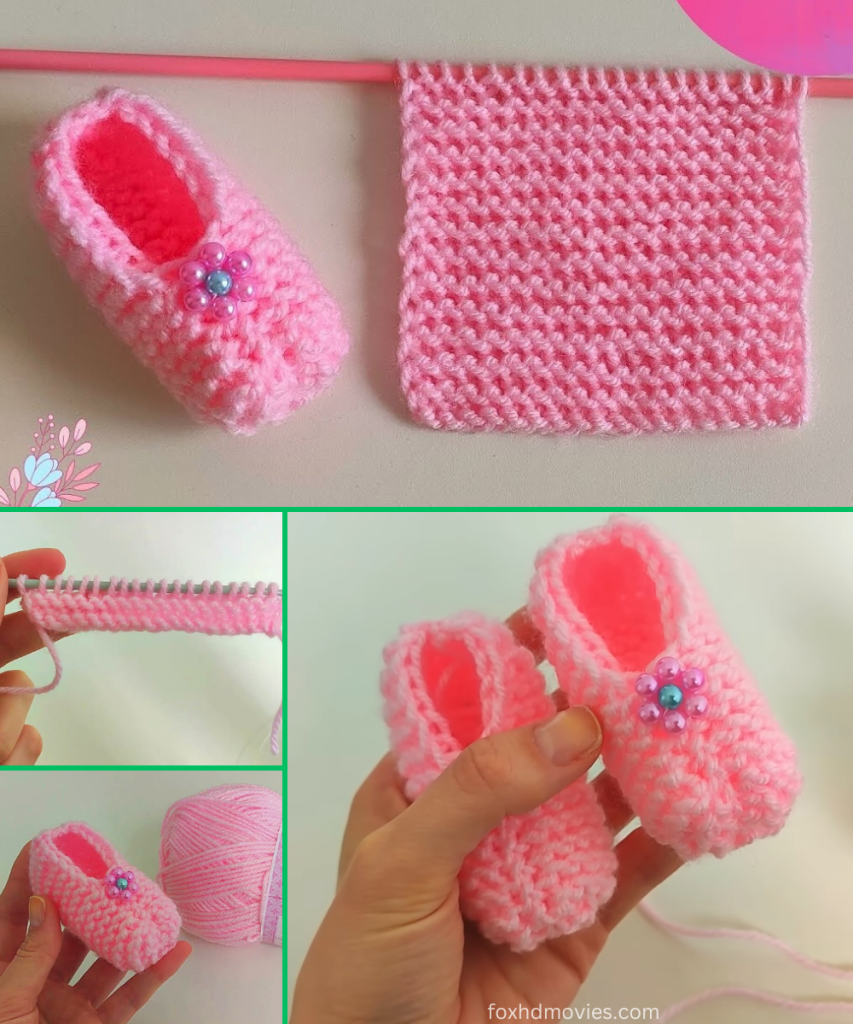
This bootie is knitted flat in one piece, primarily in garter stitch, then cleverly seamed to form its shape.
Part 1: The Sole & Lower Body
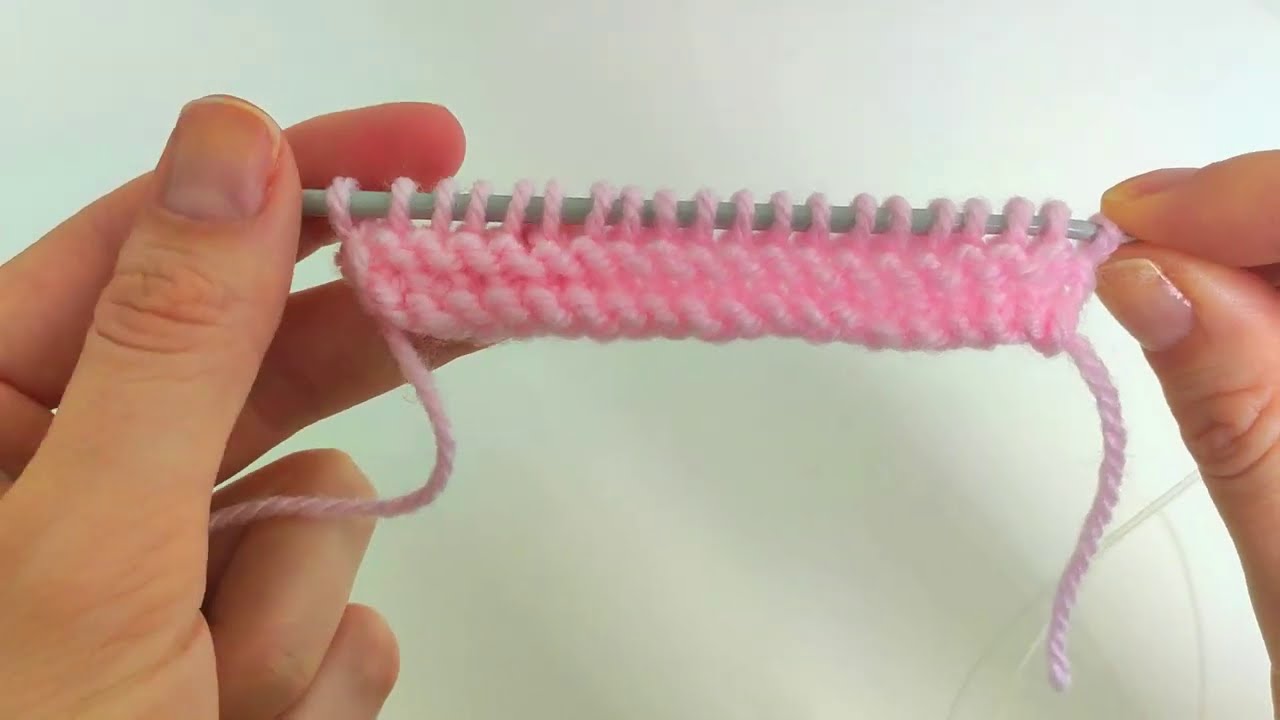
Using your knitting needles, CO 30 stitches.
Rows 1-24: Knit all stitches. (24 rows total of garter stitch).
- This forms the sole and the initial lower sides of the bootie. The video shows a significant length of garter stitch before shaping begins.
Part 2: Shaping the Toe & Instep
Now, we’ll start decreasing stitches to create the toe and instep of the bootie.
Row 25 (RS – Decrease Row 1): K12, K2tog, K2tog, K2tog, K2tog, K2tog, K1. (25 sts)
- You’ve now decreased 5 stitches in the middle section, beginning to form the toe.
Row 26 (WS): Knit all stitches.
Row 27 (RS – Decrease Row 2): K10, K2tog, K2tog, K2tog, K2tog, K1. (21 sts)
- Another 4 stitches decreased, further shaping the toe.
Row 28 (WS): Knit all stitches.
Row 29 (RS – Decrease Row 3): K8, K2tog, K2tog, K2tog, K1. (18 sts)
- Another 3 stitches decreased, creating a defined toe shape.
Row 30 (WS): Knit all stitches.
Part 3: The Ankle Cuff
This section forms the opening around the ankle.
Rows 31-38: Knit all stitches. (8 rows total of garter stitch).
- This creates a neat, slightly rolled garter stitch cuff around the ankle.
BO all 18 stitches loosely.
- The video shows a standard bind-off. You can use your preferred method.
Part 4: Assembling Your Bootie
This is where your flat knitted piece transforms into an adorable bootie!
- Prepare for Seaming: Lay your knitted piece flat with the RS facing up.
- Sew the Toe Seam:
- Fold the piece in half, bringing the top edges of the shaped section together.
- Starting from the bound-off edge (the very top of the bootie), use your tapestry needle and the yarn tail from the bind-off.
- Sew the toe seam (the top edges of the rows where you decreased) using a mattress stitch for an invisible seam, or a whip stitch for a neat, visible seam. Sew for approximately 4-5 cm, or until you’ve closed the shaped toe section.
- Sew the Back Seam:
- Continue sewing down the side seam from where you stopped, along the long edges of the garter stitch sections. This forms the back of the bootie. Sew until you reach the cast-on edge.
- Sew the Sole:
- Now, you’re at the bottom of the bootie. The video’s construction creates a natural sole seam.
- Continue seaming the remaining open edge of the sole, bringing the two long edges of the initial garter stitch section together. Use a mattress stitch for an invisible seam.
- Turn Right Side Out: Carefully turn your bootie right side out.

Part 5: Decorating Your Bootie (Optional Fun!)
Now for the creative part! As the video suggests, you can easily personalize your booties.
- Ribbon/Cord: Thread a thin ribbon or a knitted/crocheted cord through some of the garter stitch ridges around the ankle for a charming tie.
- Pearls or Buttons: Sew small pearl beads or cute buttons onto the front of the bootie for a classic look.
- Pompoms: Attach a tiny pompom to the top of the toe for a playful touch.
- Embroidery: Add a simple embroidered design, like a tiny heart or star.
Part 6: Final Touches
- Weave in all ends: Make sure all your yarn tails are neatly woven in for a professional finish.
- Make a second bootie: Repeat all steps to create a matching bootie for the other foot!
Video tutorial
Sizing Adjustments:
This pattern is designed for 0-3 months based on the video’s specifications. Here’s how you can modify it for different sizes:
- For a smaller size (e.g., Preemie/Newborn):
- Reduce the initial CO stitches (e.g., CO 26 stitches).
- Reduce the number of rows in Part 1 (e.g., 20 rows).
- Adjust the number of stitches before and after the decreases in Part 2, and reduce the number of decreases in each row (e.g., 4 decreases, then 3 decreases, then 2 decreases).
- Reduce the number of rows in Part 3 (e.g., 6 rows).
- Your final stitch count before binding off will be lower.
- For a larger size (e.g., 3-6 months or 6-9 months):
- Increase the initial CO stitches (e.g., CO 34 or 38 stitches).
- Add more rows in Part 1 (e.g., 28 or 32 rows).
- Adjust the number of stitches before and after the decreases in Part 2, and increase the number of decreases in each row (e.g., 6 decreases, then 5 decreases, then 4 decreases).
- Add more rows in Part 3 (e.g., 10 or 12 rows).
- Your final stitch count before binding off will be higher.
General Sizing Tip: The initial cast-on number and the length of Part 1 largely determine the overall size of the bootie. Always refer to your gauge swatch to ensure your finished size is accurate!
I hope you enjoy knitting these adorable and cozy baby booties! They make fantastic gifts and are a joy to create.