 by
by 
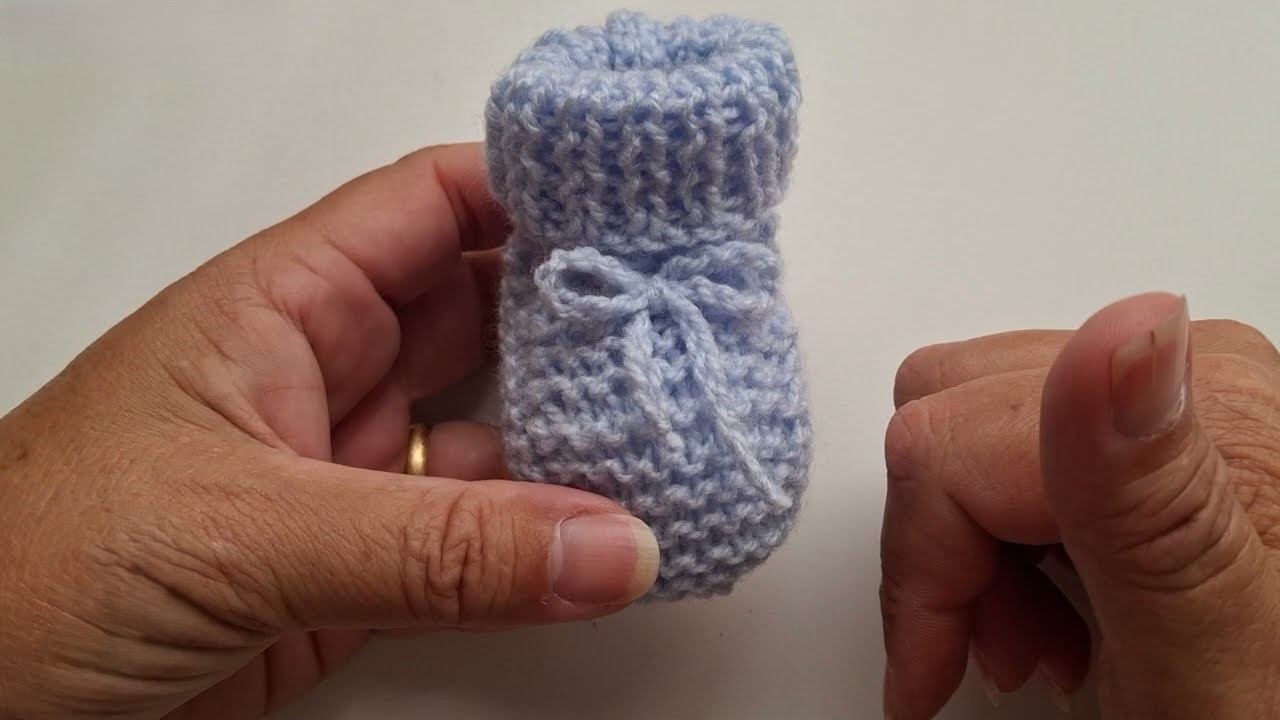
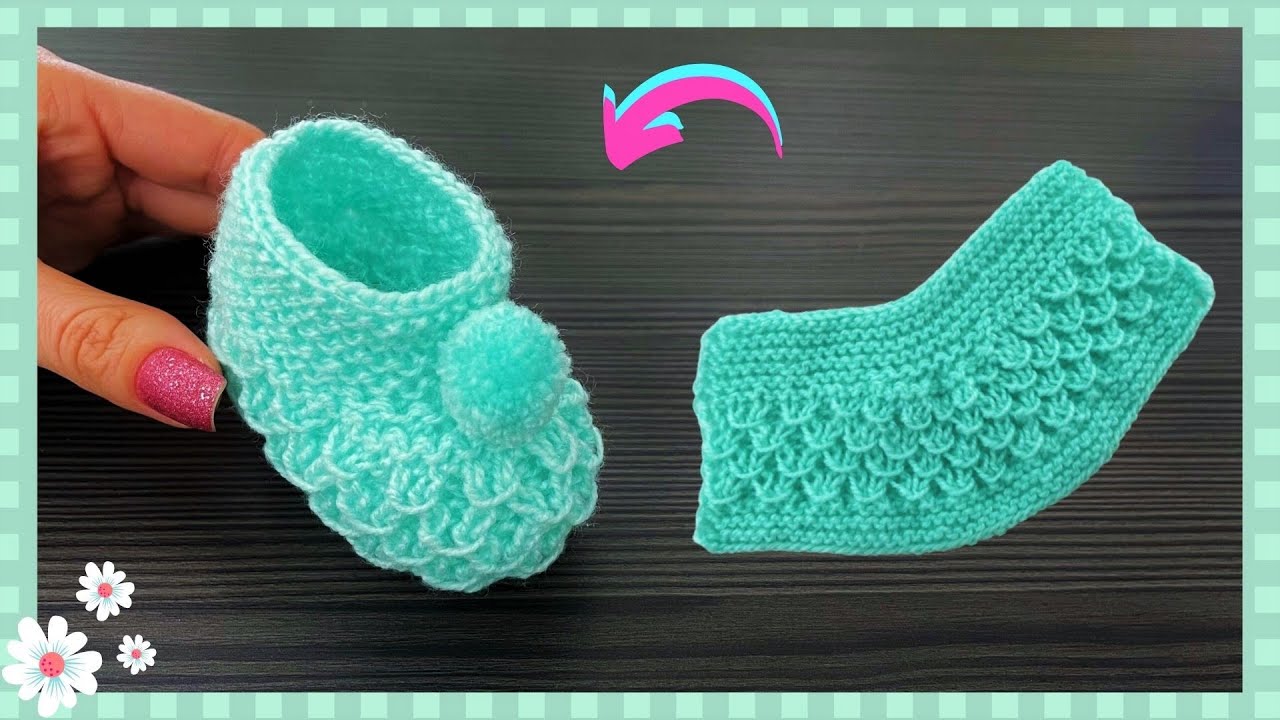
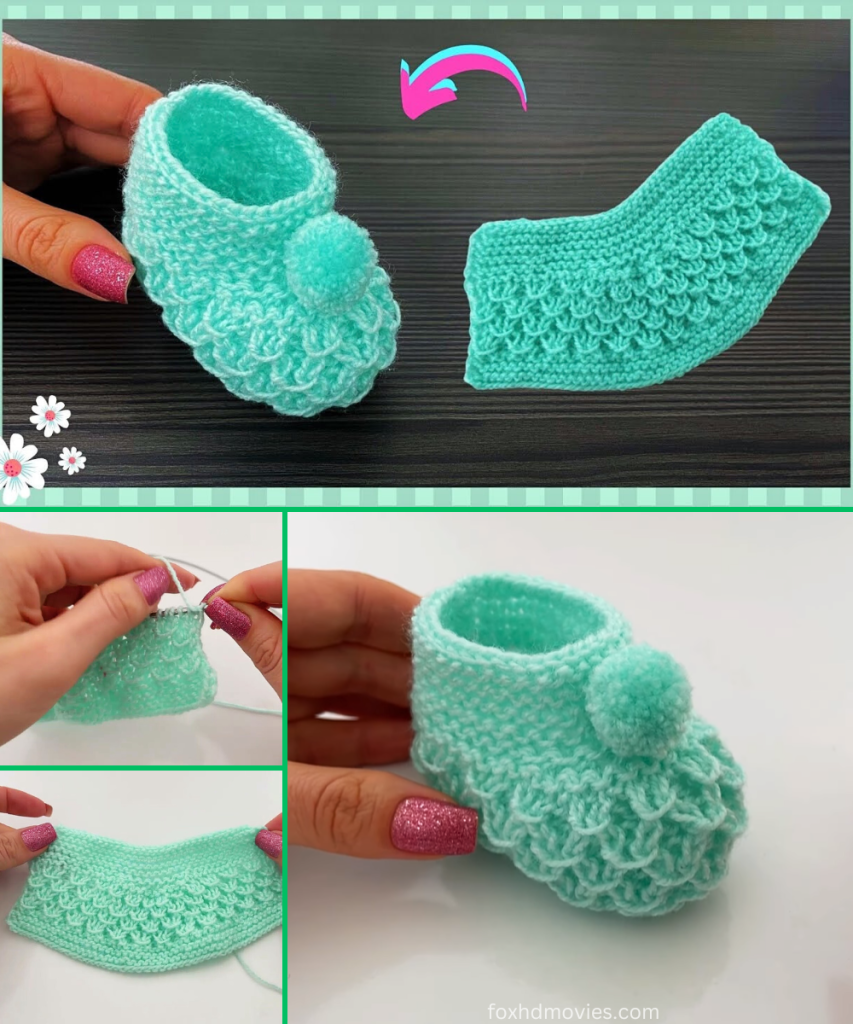
There’s something truly special about wrapping tiny feet in handmade warmth. These knitted baby slippers are not just adorable; they’re designed for comfort and ease of knitting, making them a perfect project whether you’re a seasoned knitter or just starting out. Inspired by a wonderful step-by-step tutorial, this pattern will guide you through creating a delicate and adaptable slipper that’s suitable for both boys and girls.
Skill Level: Easy to Intermediate
Finished Size (Approximate):
- Sole Length: 3.75 – 4 inches (9.5 – 10 cm)
- Suitable for: 0-6 Months (adjustments for different sizes included below)
Materials You’ll Need:
- Yarn: DK weight (Light Worsted / 8 ply) baby yarn in your chosen color. (Approximately 50-70 yards per pair).
- Tip: Look for soft, washable yarns like baby acrylic, cotton blends, or superwash merino wool for ultimate baby comfort.
- Knitting Needles: Double-pointed needles (DPNs) or a short circular needle (for magic loop) in size US 4 (3.5 mm).
- Adjust needle size if needed to meet gauge.
- Tapestry Needle: Essential for seaming and weaving in ends.
- Scissors
- Stitch Markers (optional): Helpful for marking the beginning of rounds or specific sections.
Gauge (Crucial for Sizing!):
24 stitches and 32 rows = 4 inches (10 cm) in stockinette stitch.
- Why Gauge Matters: Achieving the correct gauge is vital to ensure your finished slipper is the right size. If your gauge is off, your slipper might be too big or too small!
- How to Swatch: Cast on 30 stitches. Knit in stockinette stitch (knit on RS rows, purl on WS rows) for about 40 rows. Bind off. Measure a 4-inch square in the middle of your swatch. If you have more than 24 stitches in 4 inches, try a larger needle size. If you have fewer, try a smaller needle size.
Abbreviations (US Knitting Terms):
- CO: Cast On
- K: Knit
- P: Purl
- K2tog: Knit 2 stitches together (decrease)
- SSK: Slip, slip, knit (decrease) – Slip 1 stitch knitwise, slip next stitch knitwise, then knit them together through the back loops.
- St(s): Stitch(es)
- RS: Right Side
- WS: Wrong Side
- BO: Bind Off
- M1L: Make 1 Left – Lift the bar between the last stitch and the next stitch from the front with the left needle, knit into the back of it.
- M1R: Make 1 Right – Lift the bar between the last stitch and the next stitch from the back with the left needle, knit into the front of it.
Let’s Start Knitting Your Slipper!
This slipper is worked in a few distinct parts: first, the sole is knitted flat, then stitches are picked up to create the sides, followed by shaping the toe and finishing with the ankle cuff.
Part 1: The Sole (Knitted Flat)
Using your knitting needles, CO 10 stitches.
- Row 1 (RS): K all stitches.
- Row 2 (WS): P all stitches.
- Row 3 (Increase Row – RS): K1, M1L, K to last st, M1R, K1. (12 sts)
- Row 4 (WS): P all stitches.
- Row 5 (Increase Row – RS): K1, M1L, K to last st, M1R, K1. (14 sts)
- Row 6 (WS): P all stitches.
- Row 7 (Increase Row – RS): K1, M1L, K to last st, M1R, K1. (16 sts)
- Row 8 (WS): P all stitches.
- Rows 9-32: Continue in stockinette stitch (K on RS rows, P on WS rows). (24 rows total, maintaining 16 sts).
- This creates the main length of the sole. For a longer sole, add more rows here.
- Row 33 (Decrease Row – RS): K1, K2tog, K to last 3 sts, SSK, K1. (14 sts)
- Row 34 (WS): P all stitches.
- Row 35 (Decrease Row – RS): K1, K2tog, K to last 3 sts, SSK, K1. (12 sts)
- Row 36 (WS): P all stitches.
- Row 37 (Decrease Row – RS): K1, K2tog, K to last 3 sts, SSK, K1. (10 sts)
- Row 38 (WS): P all stitches.
BO all stitches. You now have a flat, slightly oval-shaped sole.
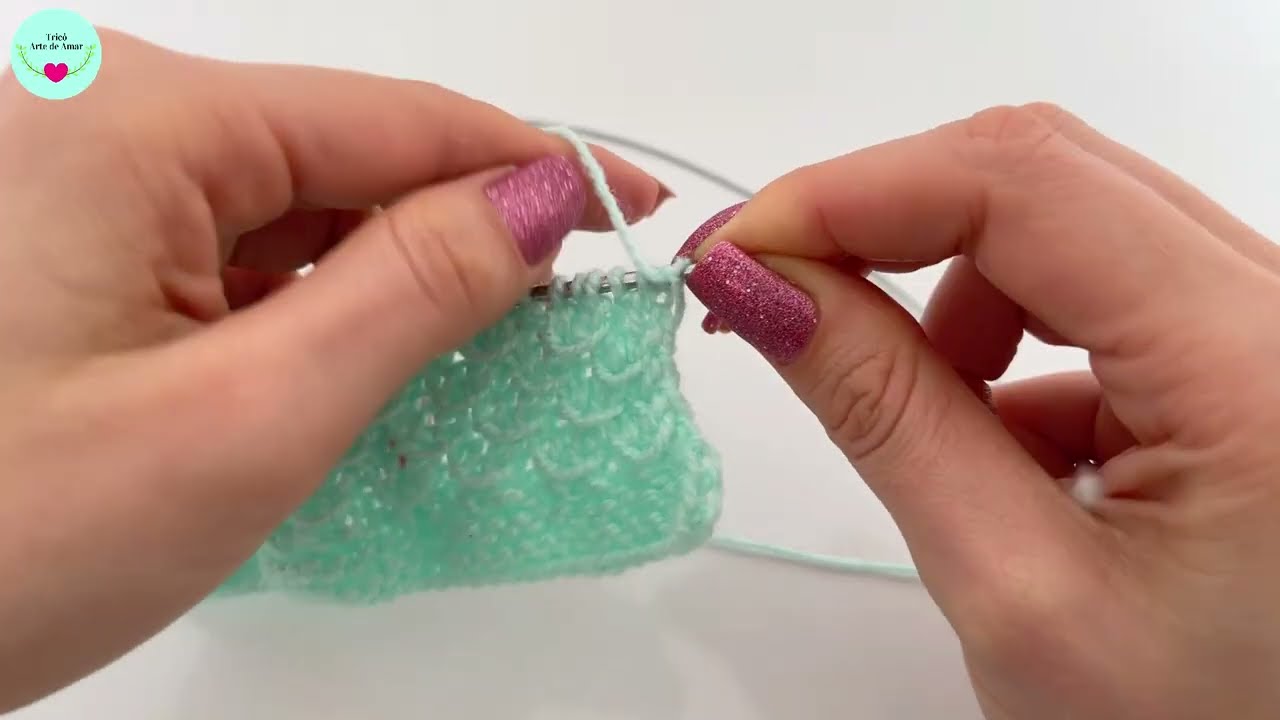
Part 2: Picking Up Stitches for the Body
We will now pick up stitches around the perimeter of the sole to begin knitting the sides of the slipper.
- With the RS of the sole facing you, and starting at the center of one of the short ends (the heel end), pick up and knit 10 stitches along that short end.
- Pick up and knit 24 stitches evenly along the first long side.
- Pick up and knit 10 stitches along the other short end (toe end).
- Pick up and knit 24 stitches evenly along the remaining long side. (Total: 68 stitches picked up)
Join to work in the round, being careful not to twist stitches. Place a stitch marker to mark the beginning of the round.
Part 3: Slipper Sides (Garter Stitch Edge)
We’ll create a few rounds of garter stitch (knit every round) for a nice, sturdy base for the sides.
- Rnd 1: Purl all stitches.
- Rnd 2: Knit all stitches.
- Rnd 3: Purl all stitches.
- Rnd 4: Knit all stitches.
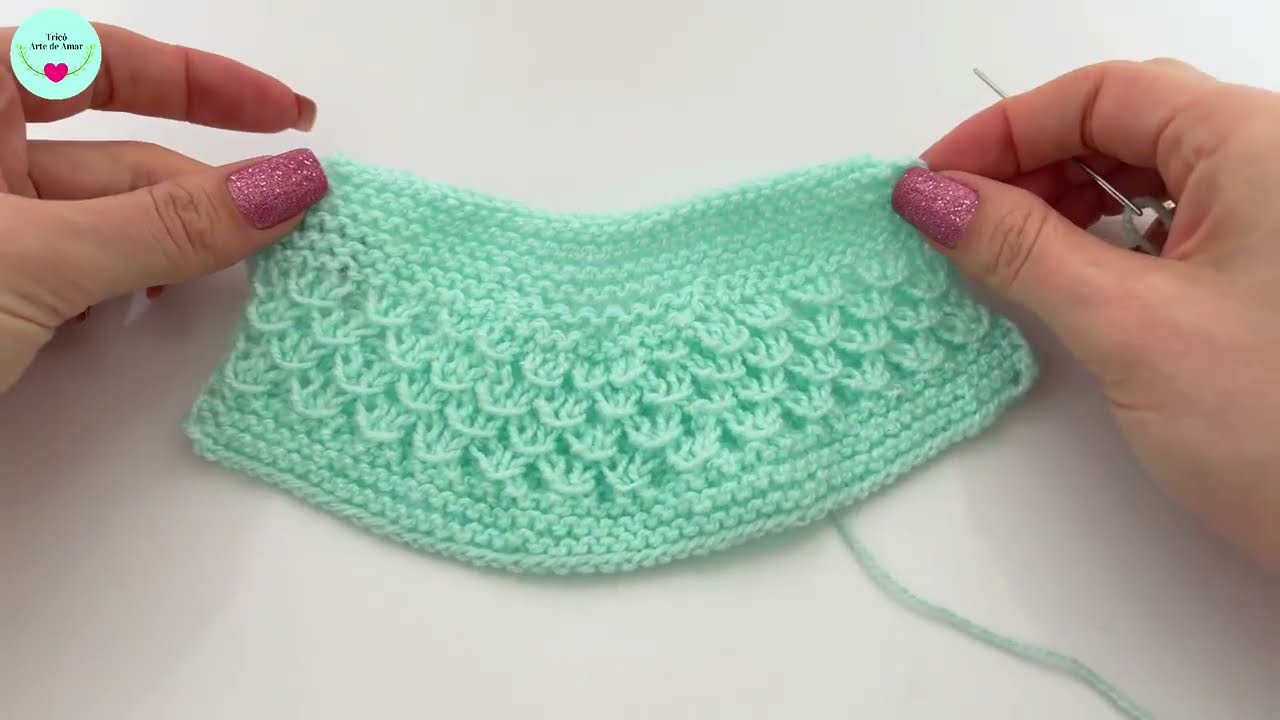
Part 4: Shaping the Toe (Worked Flat)
This section creates the top of the foot.
- Locate Center Front: Count 24 stitches from your beginning of round marker. Place a new stitch marker. This section of 24 stitches will be the front of the slipper.
- Row 1 (RS): K18. K2tog. K1. (20 sts worked). Turn.
- Important: You are only working on these 20 stitches for the toe. The remaining stitches on your needle are held for later.
- Row 2 (WS): P1. P2tog. P to end of these 20 toe stitches. Turn.
- Row 3 (RS): K to 2 sts before gap. K2tog (knitting the last stitch of the toe section with the first unworked stitch from the side). Turn.
- Row 4 (WS): P to 2 sts before gap. P2tog (purling the last stitch of the toe section with the first unworked stitch from the side). Turn.
Repeat Rows 3 and 4 until you have 10 stitches remaining on your toe section. Continue until all side stitches have been incorporated into the toe shaping, and you have only the 10 toe stitches remaining on your needle.
Part 5: Ankle Cuff
Now we will knit the ankle cuff in the round.
- Pick up and knit stitches along the side edges of the toe opening. Pick up 1 stitch for every row end of the toe shaping.
- Continue knitting in the round across the remaining stitches from the sides/back of the slipper. (You should have approximately 56-60 stitches in total, depending on how many rows you worked for the toe shaping).
- Rnd 1: Knit all stitches.
- Rnd 2: Purl all stitches.
- Rnd 3: Knit all stitches.
- Rnd 4: Purl all stitches.
BO all stitches loosely.
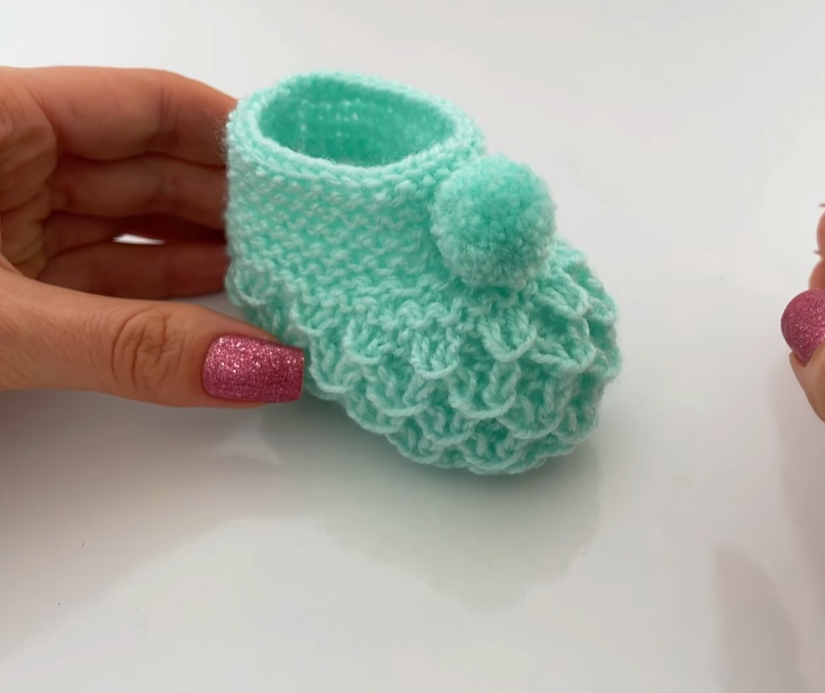
Part 6: Finishing & Embellishment
- Seam the Sole: Fold the sole in half lengthwise. Using your tapestry needle and a length of yarn, seam the cast-on and bound-off edges together to form a closed sole.
- Weave in all ends: Securely weave in all remaining yarn tails using your tapestry needle.
- Embellish (Optional): The video suggests decorating the slipper. You can add:
- A small knitted or crocheted flower.
- A tiny bow made from ribbon.
- A few small pearl beads sewn onto the instep.
- A simple embroidered design.
- Make a second slipper: Repeat all steps to create a matching slipper for the other foot!
Video tutorial
Sizing Adjustments:
- For a smaller size (e.g., Newborn):
- Reduce the initial CO stitches for the sole (e.g., CO 8 stitches).
- Reduce the number of increase rows for the sole.
- Reduce the number of stockinette rows for the main sole length.
- Reduce the number of stitches picked up around the sole.
- Reduce the number of stitches for the toe shaping (e.g., start with 20 sts for toe, decrease to 8).
- For a larger size (e.g., 6-12 months):
- Increase the initial CO stitches for the sole (e.g., CO 12 stitches).
- Add more increase rows to the sole to make it wider.
- Add more stockinette rows for the main sole length.
- Increase the number of stitches picked up around the sole.
- Increase the number of stitches for the toe shaping (e.g., start with 28 sts for toe, decrease to 12).
- Add more rows to the ankle cuff for a taller slipper.
General Sizing Tip: The sole length is the most critical measurement. After knitting the sole (Part 1), measure it to ensure it’s the desired length for the baby’s foot. It should be slightly smaller than the actual foot length as knitting will stretch.
I hope you enjoy knitting these sweet baby slippers! They make fantastic gifts and are a joy to create.