 by
by 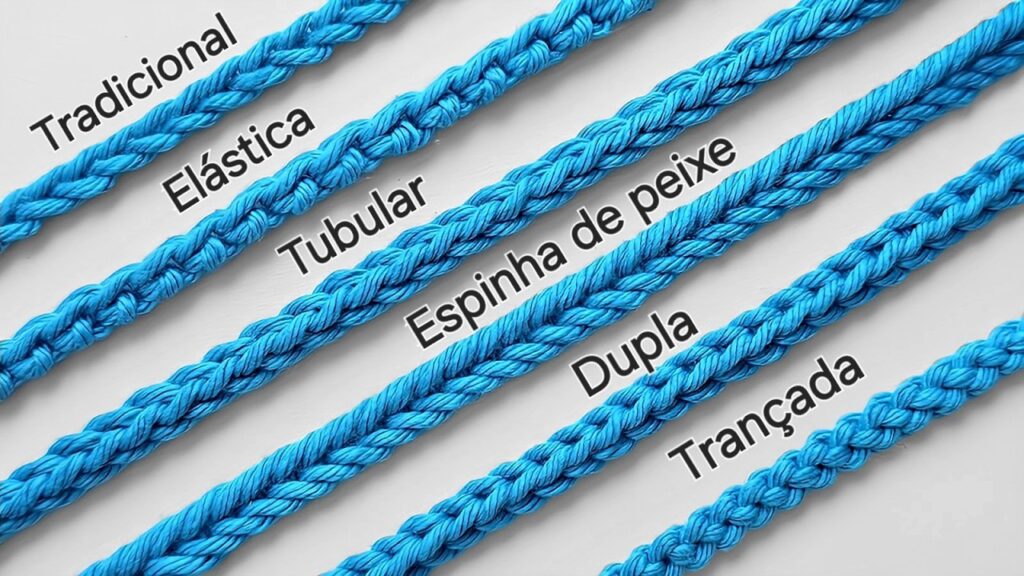
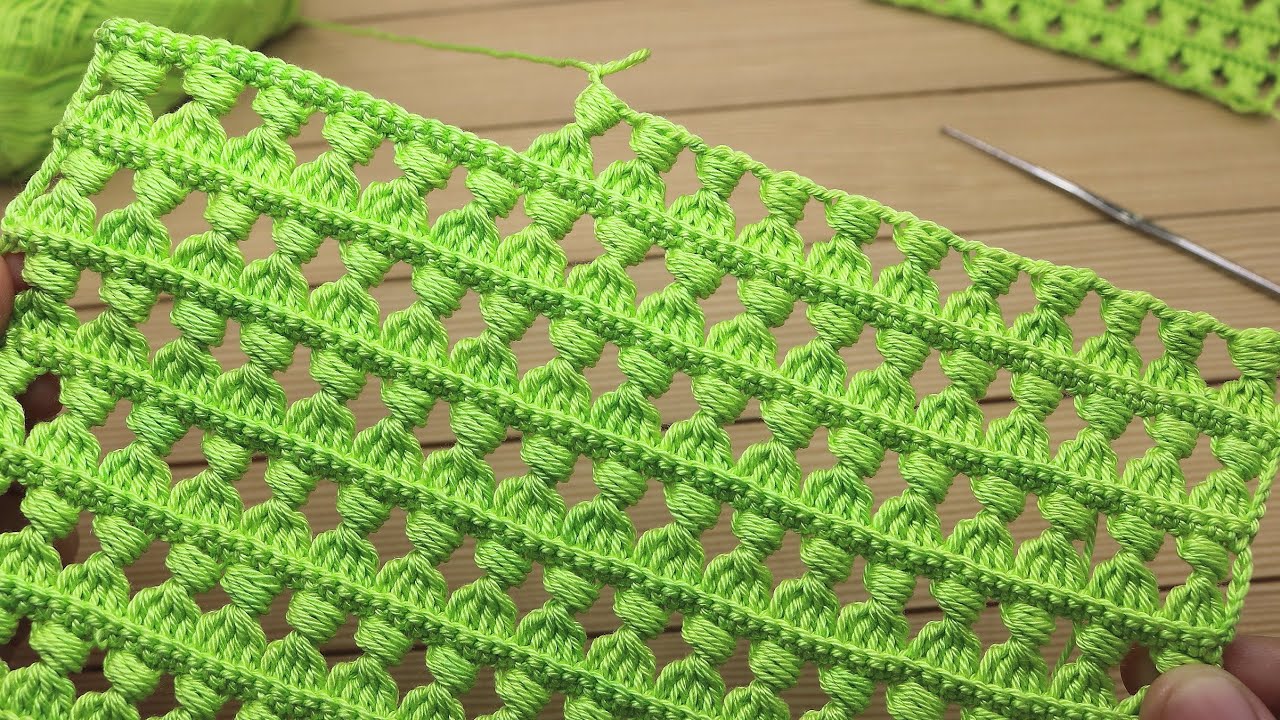
let’s get you crocheting some basic cords! These are super handy for all sorts of things, from drawstrings to embellishments. Here’s a detailed pattern to get you started:
Skill Level: Beginner
Materials:
- Any weight yarn (worsted weight is a good place to start for practice)
- Crochet hook appropriate for your yarn weight (check the yarn label for recommendations)
- Scissors
Abbreviations (US Crochet Terms):
- ch = chain
- sl st = slip stitch
Instructions:
This pattern will create a simple, sturdy cord using slip stitches.
Step 1: Make a Slip Knot and Foundation Chain
- Make a slip knot: Create a loop with your yarn, ensuring the working yarn (the yarn coming from the ball) is behind the other strand. Insert your hook into the loop, yarn over (yo), and pull the yarn through the loop. Tighten the knot on your hook.
- Chain (ch) a desired number of stitches: The number of chains you make will determine the length of your cord. For a short sample, try chaining 10-20. For a longer cord, chain as many as you need. Don’t make the chain too tight, as you’ll be working into these chains.
- To make a chain: Yo, pull the yarn through the loop on your hook. Repeat this action until you have the desired number of chains.
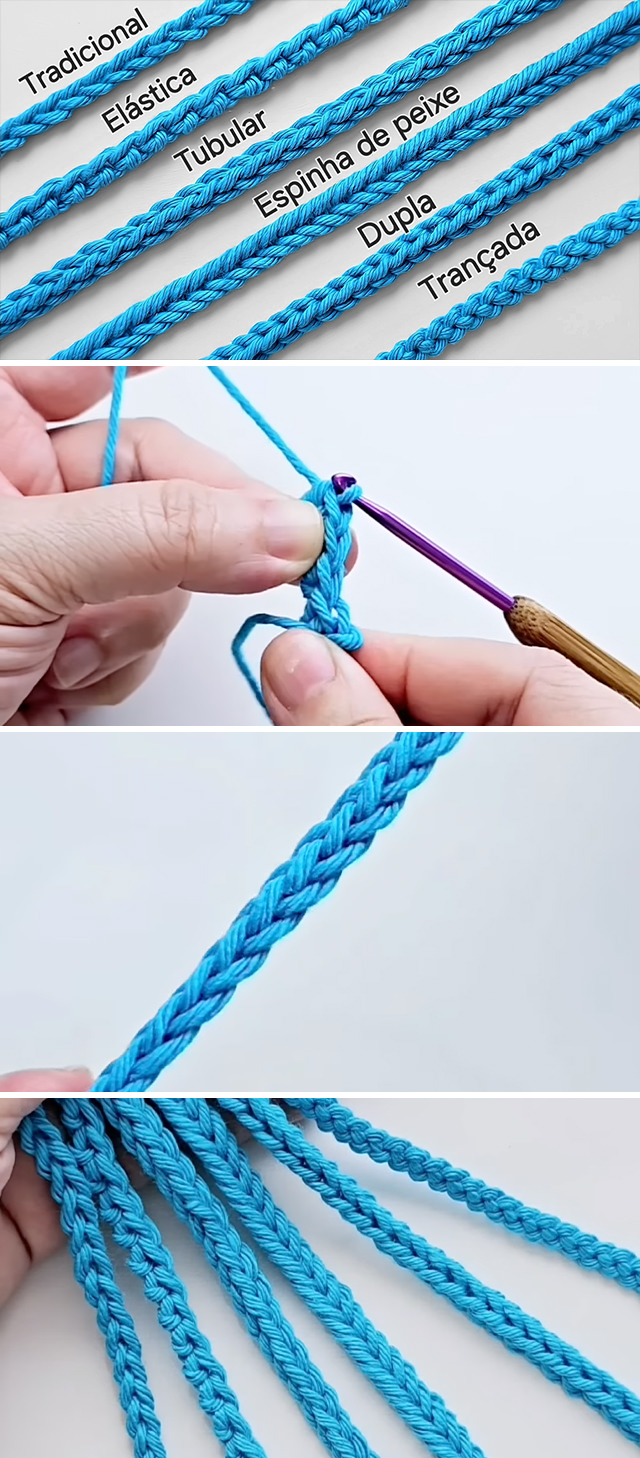
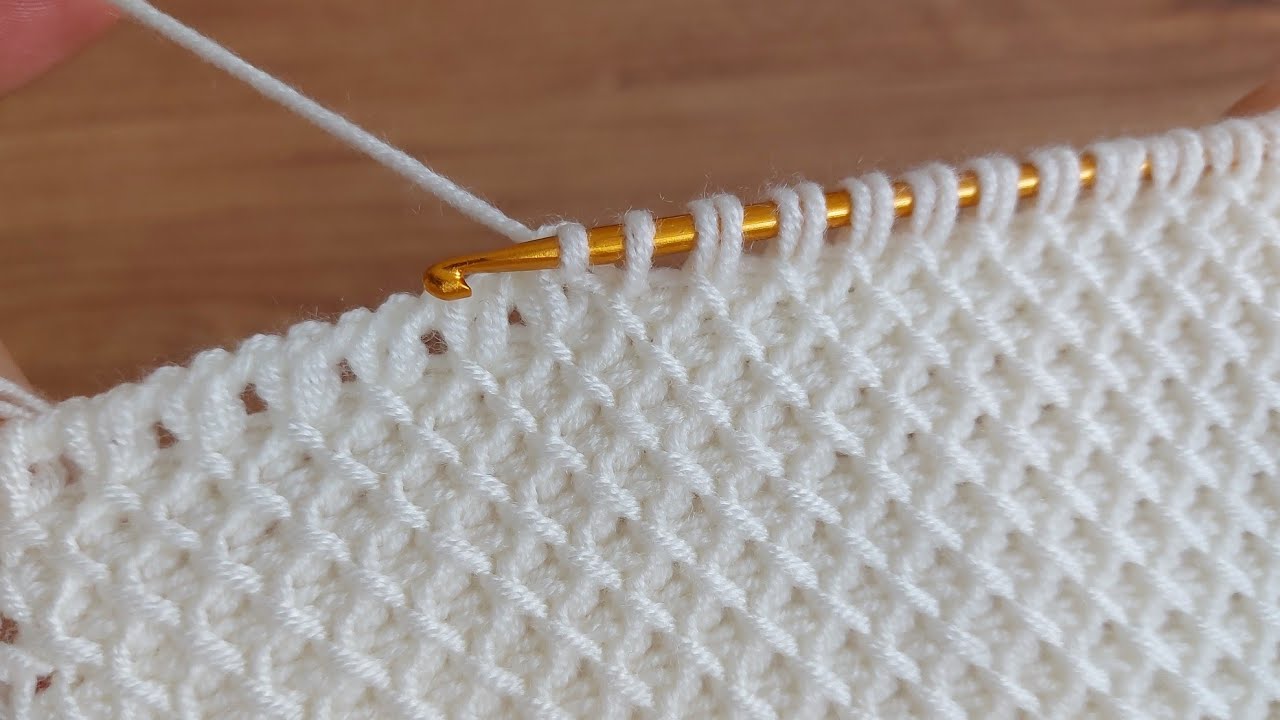
Step 2: Working Slip Stitches Back Along the Chain
This is where the cord starts to form its thickness and sturdiness.
- Insert your hook into the second chain from your hook: Skip the first chain. Insert your hook into the center of the second chain stitch.
- Slip stitch (sl st): Yo, and pull the yarn through the stitch and the loop already on your hook in one smooth motion. You’ve now completed one slip stitch.
- Continue slip stitching into each remaining chain stitch: Move to the next chain stitch. Insert your hook into the center of the chain, yo, and pull through the stitch and the loop on your hook. Repeat this process all the way down the foundation chain.
Step 3: Finishing Off
- Fasten off: Once you reach the end of the chain, cut your yarn, leaving a tail of about 6-8 inches (longer if you need it for attaching the cord later).
- Pull the yarn tail through the last loop on your hook: This secures the stitch and prevents it from unraveling.
- Tighten the knot: Gently pull the yarn tail to tighten the knot.
Tips and Variations:
- Tighter Cord: For a denser, tighter cord, make sure your slip stitches are snug but not too tight.
- Thicker Cord: You can make a thicker cord by working more rounds of slip stitches. To do this, after your first row of slip stitches, chain 1 (this doesn’t count as a stitch). Turn your work. Then, work a slip stitch into the back loop only (blo) of each slip stitch from the previous row. Repeat for the desired thickness. Working in the back loop creates a ribbed texture.
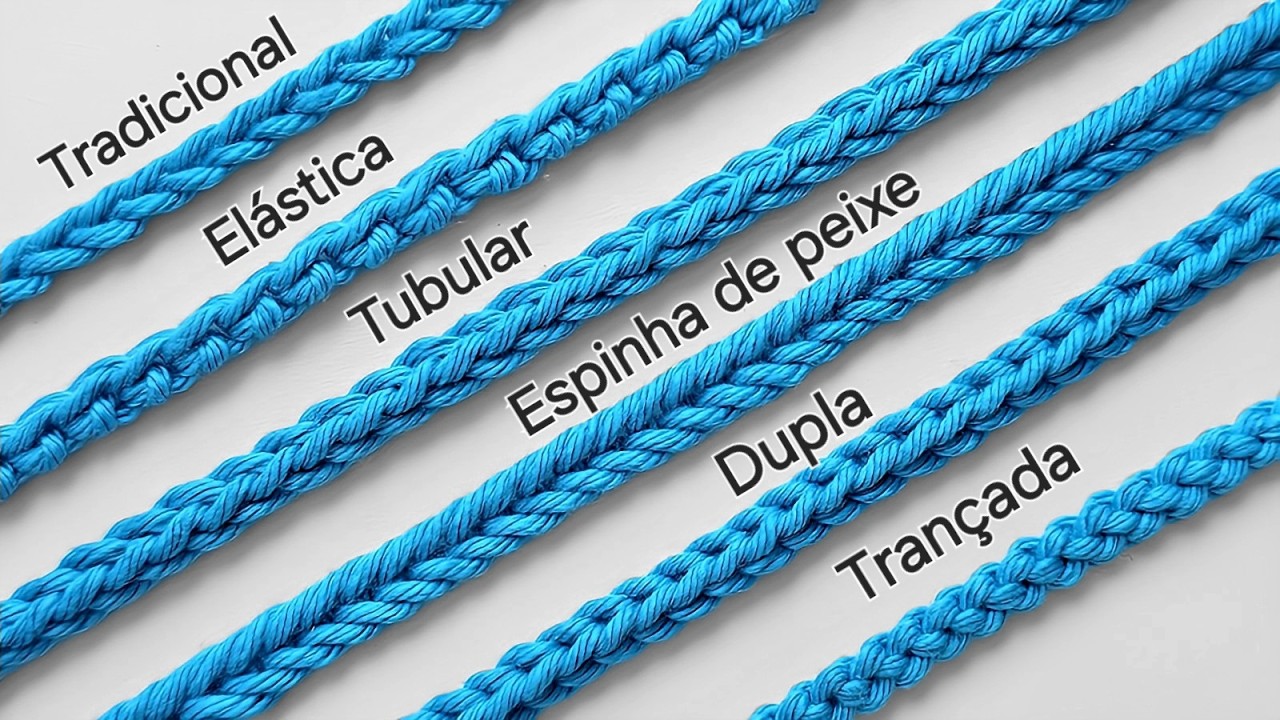
- I-Cord (Knitted Look): For a rounder, knitted-looking cord, you can try an I-cord method using crochet. This involves a slightly different technique of working in continuous rounds with a small number of stitches. Let me know if you’d like a pattern for that!
- Color Changes: Get creative with colors! You can change yarn colors at the end of a row to create striped cords.
- Yarn Choice: The type of yarn you use will affect the look and feel of your cord. Cotton yarn creates a sturdy cord, while wool can be softer.
Video tutorial
Using Your Basic Crochet Cords:
These simple cords are incredibly versatile! Here are a few ideas:
- Drawstrings: For bags, pouches, and hooded garments.
- Ties: For securing items or adding decorative elements.
- Hangers: For lightweight items.
- Embellishments: Sew or glue them onto projects for added texture and design.
- Friendship Bracelets: Make them in different colors and lengths.