 by
by 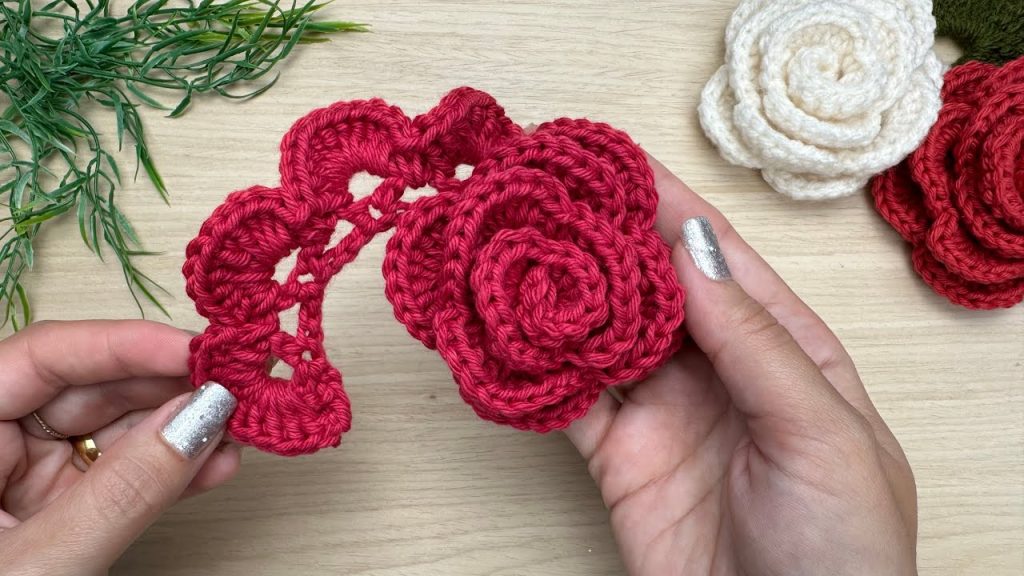
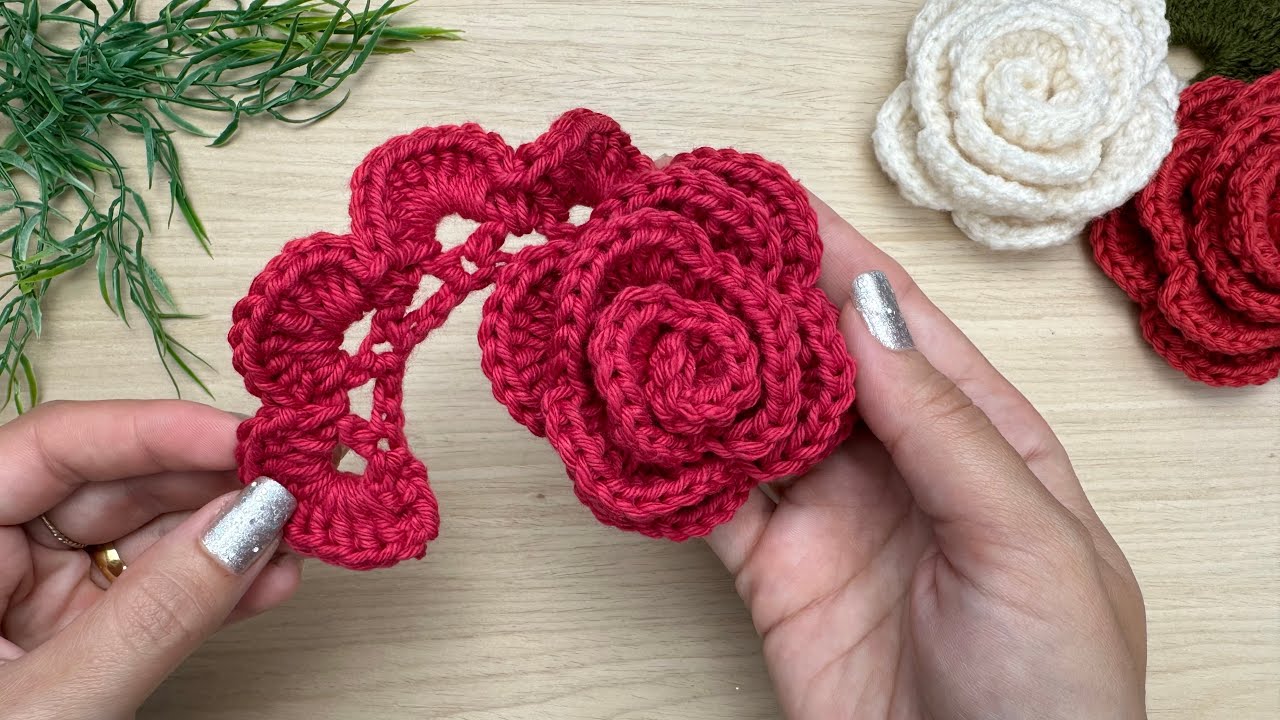
Add a touch of timeless elegance to any project with this stunning crocheted rose! Inspired by a wonderful tutorial, this pattern is surprisingly easy to make, even for beginners, and creates a delicate, dimensional flower perfect for appliqués, embellishments, or standalone decor.
Skill Level: Easy
Finished Size (Approximate):
- Diameter: Approximately 3 – 3.5 inches (7.5 – 9 cm)
- Size can vary based on yarn, hook, and tension. The video’s sample was 8 cm with 15 petals.
- You can adjust the number of petals for a smaller or fuller rose.
Materials You’ll Need:
- Yarn: DK weight (Light Worsted / 8 ply) yarn in your chosen color.
- The video uses a “size 6 yarn” with a 3.5mm hook, which often corresponds to a DK or light worsted weight. Any smooth acrylic or cotton yarn will work beautifully.
- You’ll need approximately 20-25 grams (about 40-50 yards) per rose.
- Crochet Hook: E/4 (3.5 mm) or size needed to obtain a flexible but not too loose fabric.
- Adjust your hook size to match your yarn and desired fabric density.
- Tapestry Needle: For weaving in ends and seaming the rose.
- Scissors
Gauge (Not Critical, but Aim for Consistency!):
Since this is a decorative item, exact gauge isn’t critical, but consistency in your stitches will ensure your petals are uniform. The key is to have a fabric that’s flexible enough to roll easily but firm enough to hold its shape.
Abbreviations (US Crochet Terms):
- ch: chain
- sl st: slip stitch
- sc: single crochet
- dc: double crochet
- st(s): stitch(es)
- FO: Fasten off
Special Stitch:
- V-stitch (V-st): (Dc, ch 4, dc) in specified stitch or space.
- The video refers to this as “lequinho” (small fan).
Let’s Crochet Your Beautiful Rose!
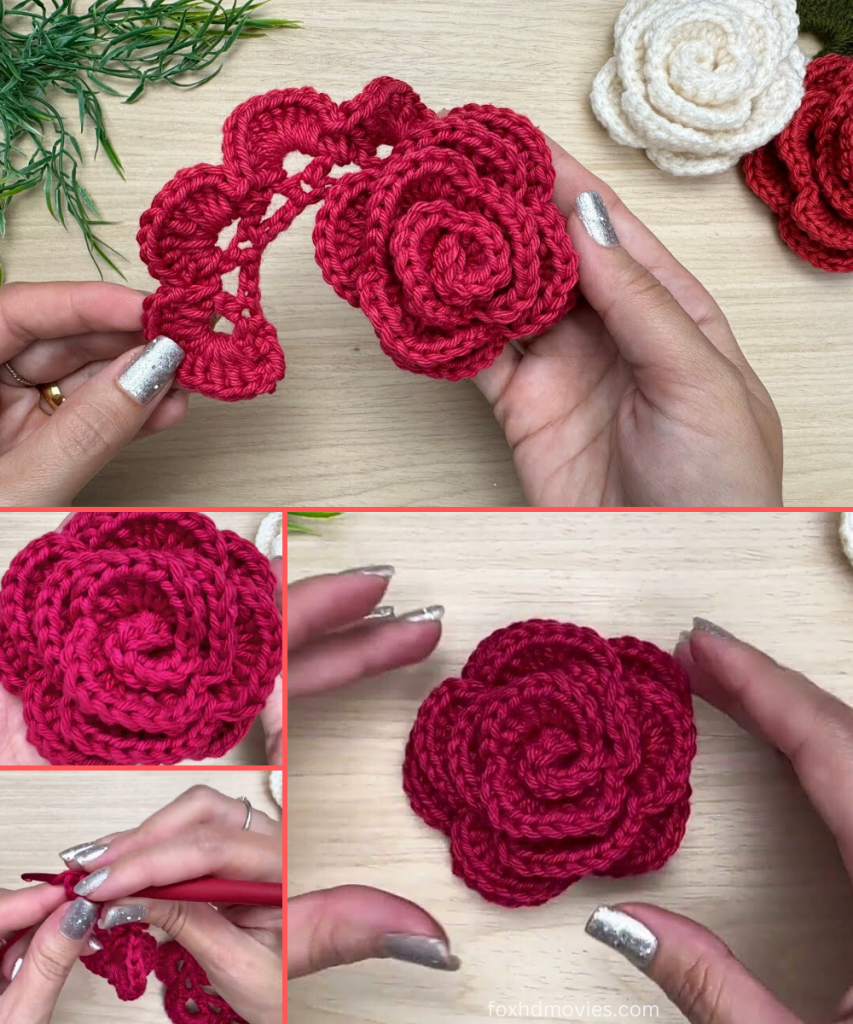
This rose is created by crocheting a long strip of V-stitches and then filling those V-stitches with double crochets to form the petals. The strip naturally curls, and then you roll it up to form the rose!
Part 1: The Foundation Chain
Row 1: Ch 64.
- The video uses 64 chains, noting that the number of chains should be a multiple of four. For a smaller rose, use a multiple of four less than 64 (e.g., 52 or 48 chains). For a larger/fuller rose, use a multiple of four more than 64 (e.g., 72 or 80 chains).
Part 2: Creating the V-Stitch Base
Row 2: Ch 3 (counts as 1st dc here and throughout). Sk 3 ch. V-stitch (dc, ch 4, dc) in next ch. Sk 3 ch. Repeat from * to * across the chain. You will end with a V-stitch in the last ch. (16 V-stitches) * This creates the foundation for your petals, with the ch-4 spaces being the “center” of each petal.
Part 3: Forming the Petals
Now we’ll work back along the V-stitch row, filling in the ch-4 spaces to create the petals.

Row 3: Ch 1 (does not count as a stitch), turn. Sc in the dc of the first V-stitch. Work 9 dc into the ch-4 space of the same V-stitch. Sc in the dc of the next V-stitch. Work 9 dc into the ch-4 space of the same V-stitch. Repeat from * to * across the entire row. * The video suggests 9 or 10 dc per ch-4 space. 9 dc will give a slightly tighter curl, 10 dc a slightly fuller petal. Choose what you prefer! * As you work this row, your strip will naturally start to curl. This is exactly what you want!
FO, leaving a long tail (approx. 20-25 inches / 50-65 cm) for seaming.
Part 4: Assembling Your Rose
This is where your crocheted strip transforms into a beautiful rose!
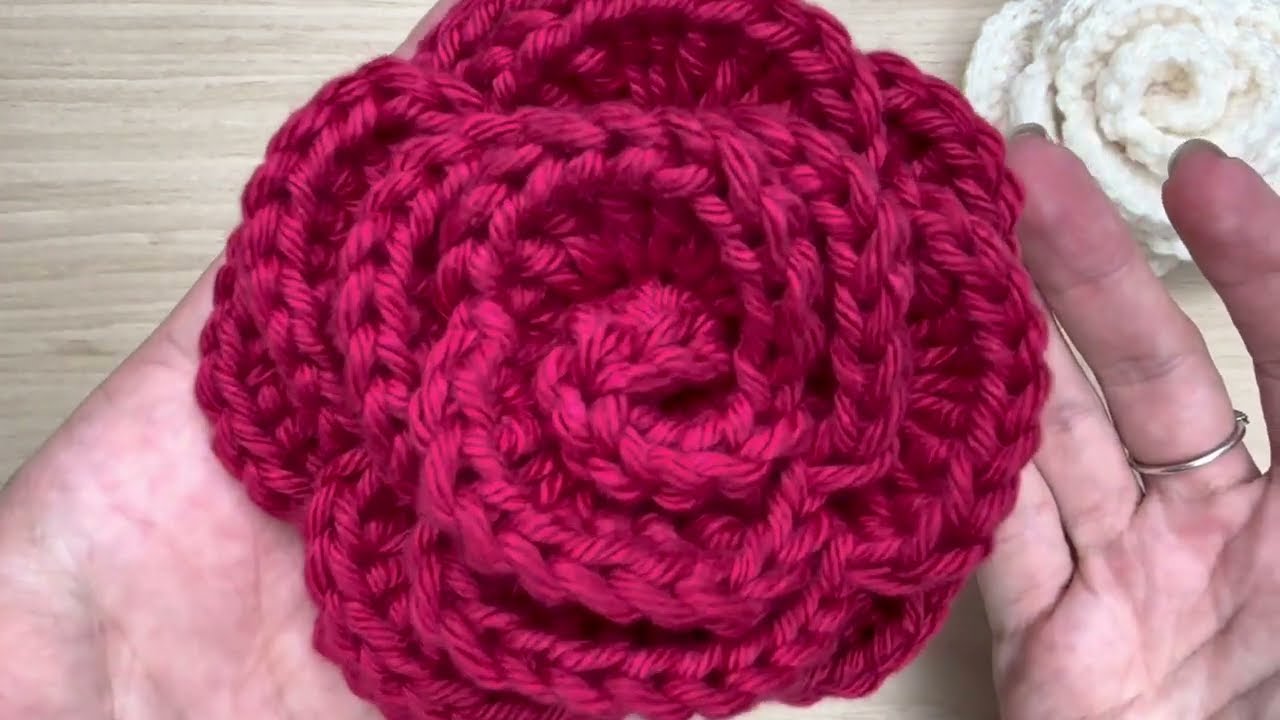
- Roll the Strip: Starting from one end of your crocheted strip, begin to tightly roll it up. The side with the V-stitches (Row 2) will be the center of your rose, and the petals (Row 3) will naturally unfurl around it.
- Keep the bottom edge of the strip (the foundation chain side) as even as possible as you roll.
- Secure the Base: Once you have rolled the entire strip into a rose shape, hold it firmly.
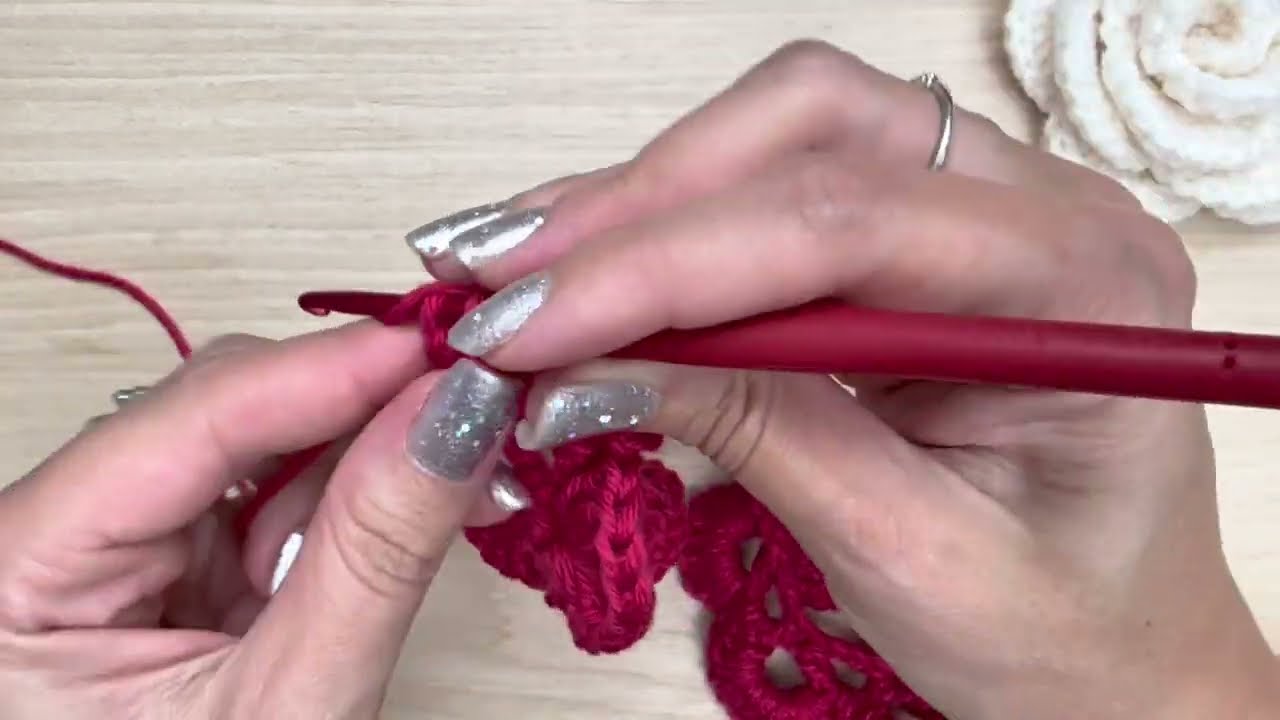
- Sew the Base: Thread the long yarn tail onto your tapestry needle. Carefully sew through all layers of the rolled base of the rose. Stitch back and forth across the bottom, catching all the layers, to securely hold the rose shape. Ensure you sew through the foundation chain edge to keep it neat.
- Take your time with this step to make sure the rose is securely fastened and won’t unravel.
Part 5: Finishing Touches & Embellishment
- Weave in all ends: Use your tapestry needle to neatly weave in any remaining loose yarn tails.
- Shape: Gently fluff and arrange the petals of your rose to achieve your desired look.
Video tutorial
Versatile Uses for Your Crochet Rose:
- Appliqué: Sew onto blankets, hats, scarves, headbands, bags, or clothing.
- Hair Accessories: Glue or sew onto hair clips or elastic hair ties.
- Brooch/Pin: Attach a pin back to the base.
- Gift Embellishment: Tie onto gifts instead of a traditional bow.
- Home Decor: Use in floral arrangements, on decorative pillows, or as part of a garland.
- Jewelry: Create earrings or a pendant with smaller roses.
Customization & Tips:
- Petal Count: As mentioned, adjust the initial chain length (multiple of 4) to change the number of petals and the fullness of your rose.
- Petal Fullness: Experiment with working 8, 9, or 10 dc into each ch-4 space in Row 3 to see how it affects the petal’s fullness and the overall curl.
- Yarn Choice: Different yarn fibers will give different effects. Cotton will be crisp, acrylic soft, and wool can be blocked for a more refined shape.
- Color Play: Use variegated yarn for a multi-toned rose, or make roses in different colors for a vibrant bouquet!
Enjoy creating these beautiful and easy crochet roses! They’re a fantastic way to add a touch of handmade elegance to anything.