by
by 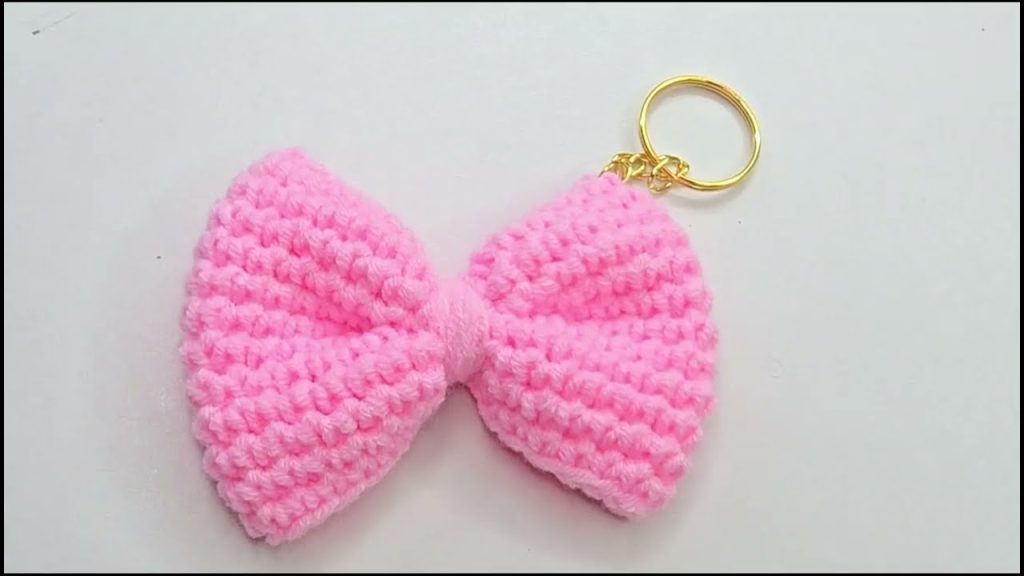
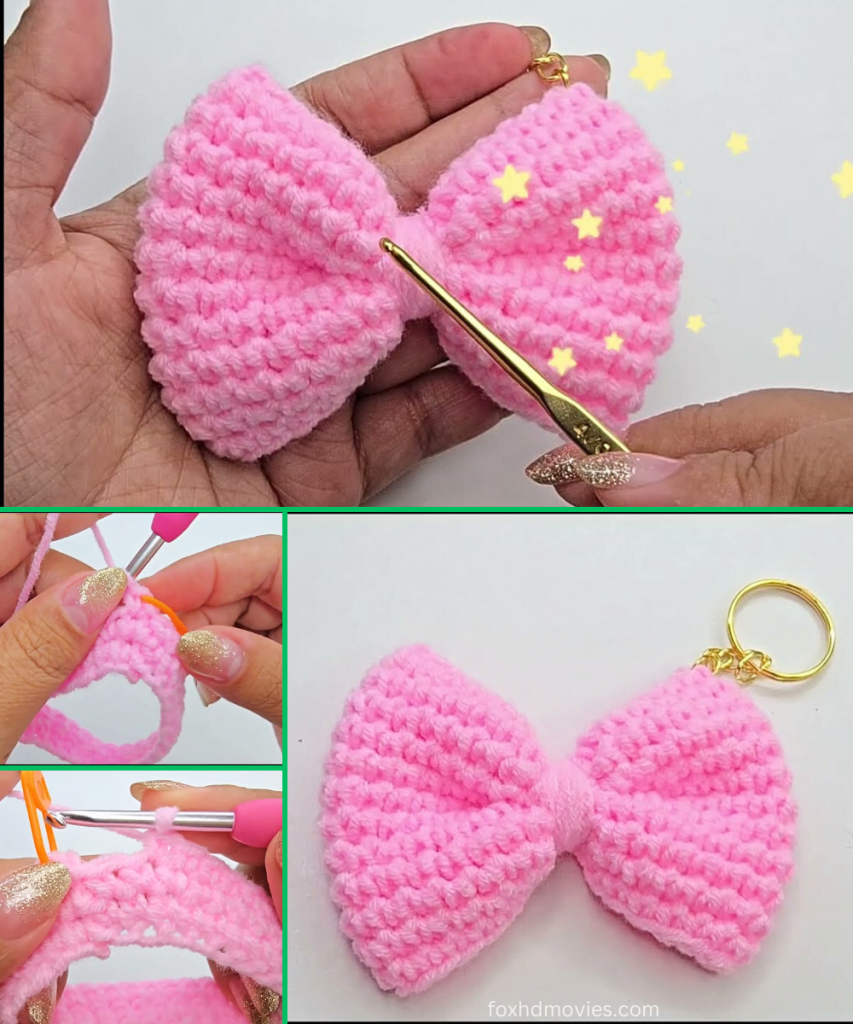
Add a charming handmade touch to headbands, keychains, hair ties, or even gift wrapping with this super easy and versatile crochet bow pattern! Inspired by a clear and concise tutorial, this pattern is perfect for beginners and works up incredibly fast.
Skill Level: Easy
Finished Size (Approximate):
- Bow Width: Approximately 3.5 – 4 inches (9 – 10 cm)
- Bow Height: Approximately 2 – 2.5 inches (5 – 6.5 cm)
- Size can vary slightly based on yarn, hook, and tension.
Materials You’ll Need:
- Yarn: DK weight (Light Worsted / 8 ply) yarn in your favorite color.
- The video suggests “algodón de leche” (milk cotton) or any acrylic yarn. A smooth, non-fuzzy yarn will give you the crispest bow definition.
- You’ll only need a small amount, less than 20 yards per bow.
- Crochet Hook: E/4 (3.5 mm) or size needed to obtain a firm fabric.
- A slightly smaller hook than recommended for your yarn weight will help the bow hold its shape better.
- Tapestry Needle: For weaving in ends.
- Scissors
Gauge (Important for Consistent Size!):
Working in single crochet (sc): 20 sc and 22 rows = 4 inches (10 cm)
- Why Gauge Matters: While not as critical for a small item like a bow, checking your gauge ensures your bow turns out the intended size. If your fabric is too loose, the bow might be floppy.
- How to Swatch: Chain 22. Sc in 2nd ch from hook and across (21 sc). Work in sc for 24 rows. Measure a 4-inch square in the middle of your swatch. Adjust your hook size if necessary.
Abbreviations (US Crochet Terms):
- ch: chain
- sl st: slip stitch
- sc: single crochet
- st(s): stitch(es)
- FO: Fasten off
Let’s Crochet Your Perfect Bow!
This bow is made by crocheting a simple rectangle, then shaping it into a bow.
Part 1: The Bow Body (Crocheted Flat)
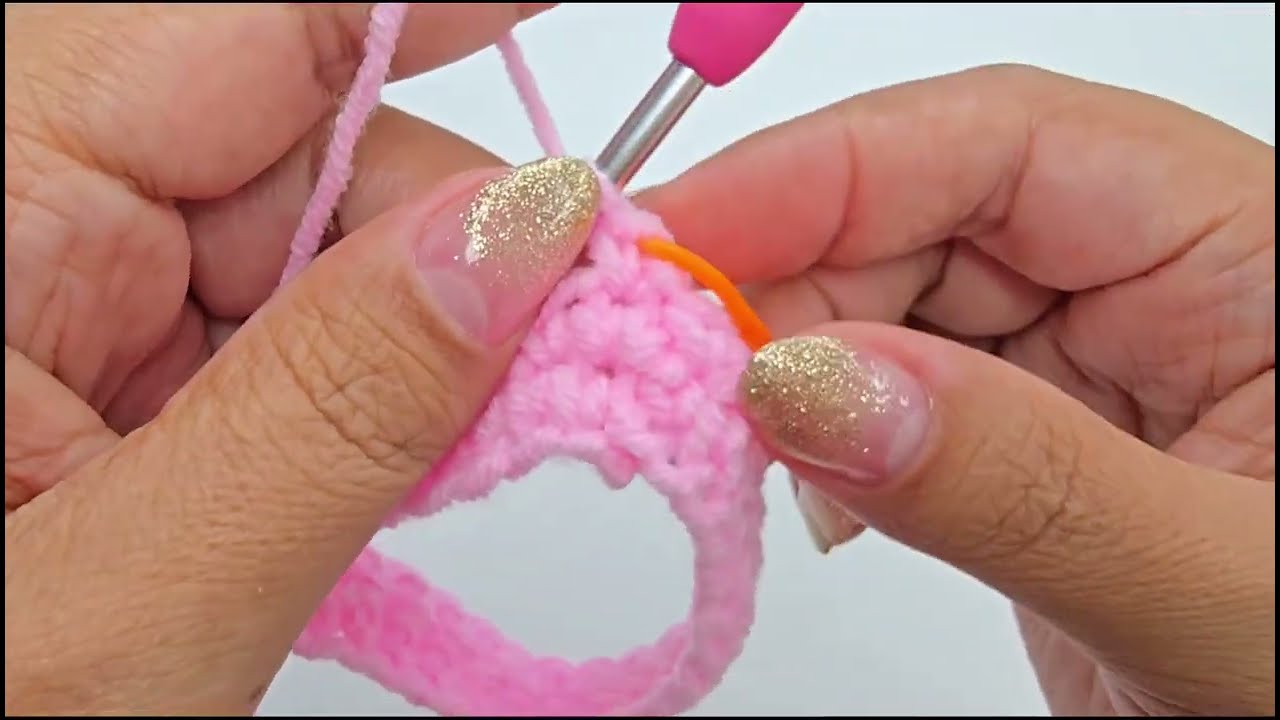
We’ll start by chaining and then working in rows of single crochet.
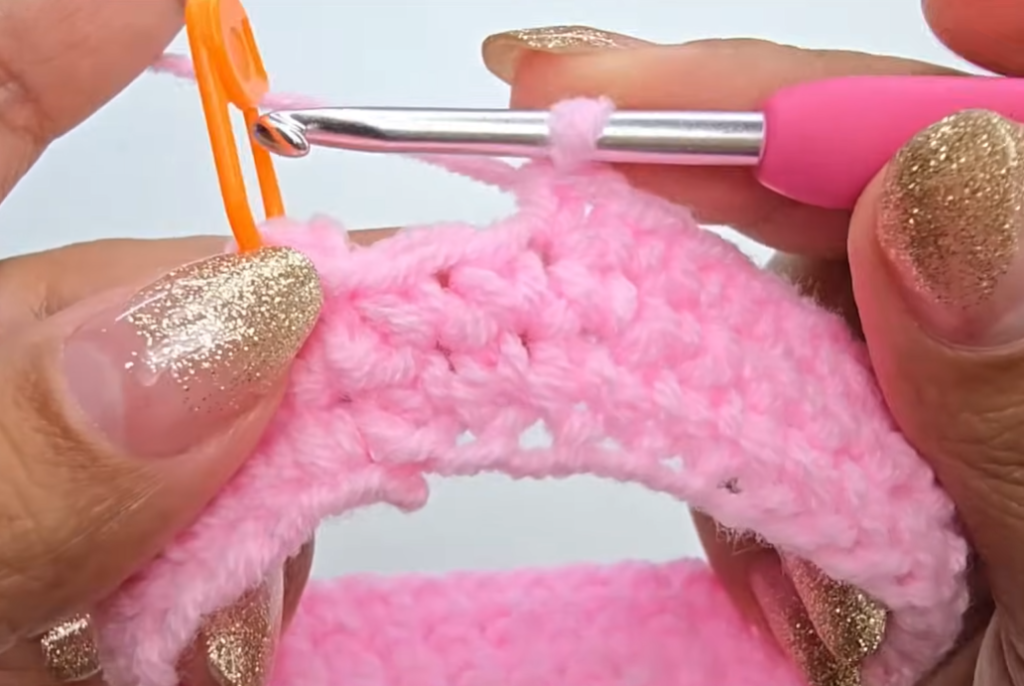
Row 1: Ch 30. Sc in 2nd ch from hook and in each ch across. (29 sc) This forms the starting chain for your bow.
Row 2: Ch 1 (does not count as a stitch), turn. Sc in each sc across. (29 sc)
Repeat Row 2 for a total of 11 to 12 rows.
- The video suggests 11-12 rows. This creates the height of your bow. For a wider/taller bow, add more rows. For a narrower/shorter bow, do fewer rows.
FO, leaving a long tail (approx. 12-15 inches / 30-38 cm) for wrapping the center of the bow.
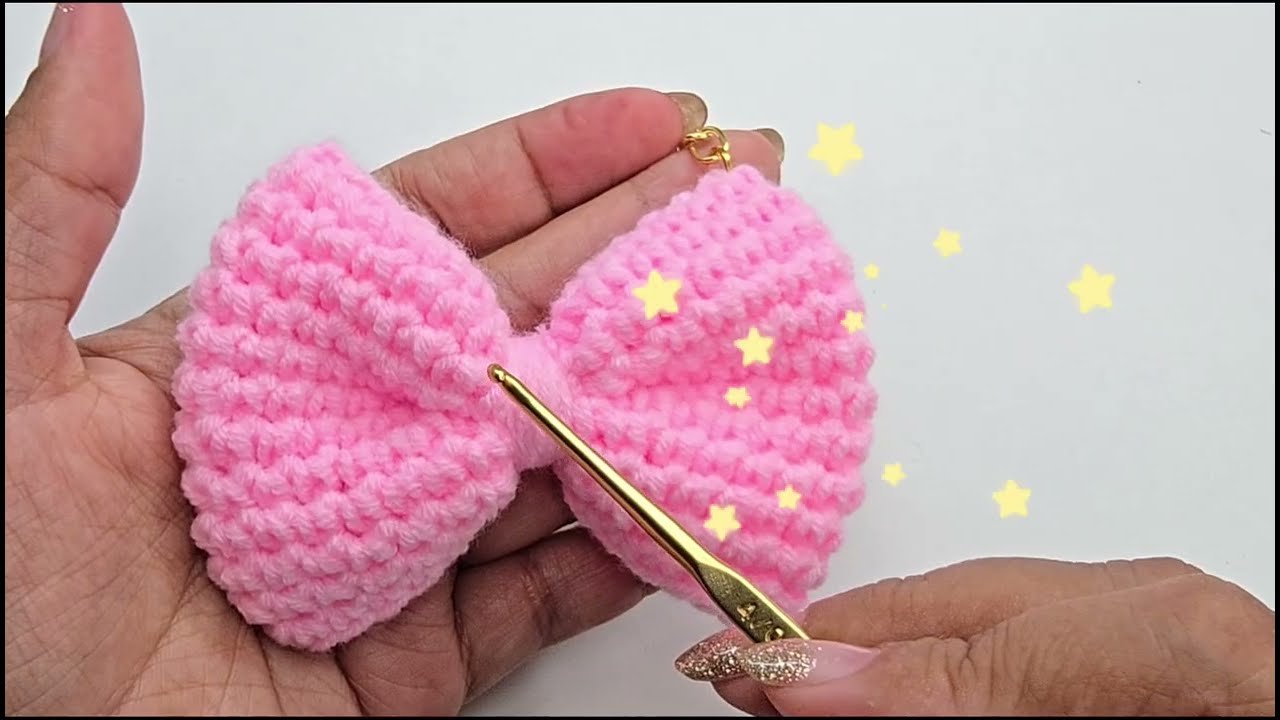
Part 2: Shaping Your Bow
This is where your simple rectangle transforms into a beautiful bow!
- Fold the Rectangle: Lay your crocheted rectangle flat. Fold both short ends towards the center, overlapping them slightly, to form a loop.
- Imagine you’re folding a piece of paper into a loop.
- Pinch the Center: Pinch the center of the folded rectangle tightly with your fingers. This will create the classic bow shape.
- Wrap the Center: Take the long yarn tail you left. Start wrapping it tightly around the pinched center of the bow. Wrap it multiple times (5-10 times, or until you like the look) to cinch the center and secure the bow shape.
- Secure the Wrap: Use your tapestry needle to carefully weave the wrapping yarn tail into the back of the wrapped center, securing it tightly. You can also make a small knot on the back if it won’t be visible.
Part 3: Finishing Touches & Embellishment
- Weave in all ends: Use your tapestry needle to neatly weave in any remaining loose yarn tails.
- Fluff and Shape: Gently adjust the loops of your bow to make them symmetrical and full.
Video tutorial
Versatile Uses for Your Crochet Bow:
- Hair Accessories: Glue or sew onto a hair clip, headband, or elastic hair tie.
- Keychains: Attach a split ring to the center for a cute keychain.
- Appliqué: Sew onto hats, scarves, blankets, or clothing for a decorative touch.
- Gift Embellishment: Use instead of a traditional ribbon on gifts.
- Decor: Attach to garlands, wreaths, or home decor items.
Customization & Tips:
- Size Adjustment:
- Width: To make a wider bow, increase your starting chain. Remember to keep the initial chain an odd number if you want the center stitch to be easily identifiable for shaping.
- Height: To make a taller/fuller bow, add more rows to Part 1.
- Yarn Weight: Experiment with different yarn weights! A bulkier yarn will create a larger, chunkier bow, while a finer yarn will make a more delicate one. Adjust your hook size accordingly.
- Color Play: Use variegated yarn for a multi-colored bow, or create stripes by changing colors every few rows.
- Embellish: Add a small button, bead, or a tiny embroidered detail to the center of the bow for extra flair.
Enjoy creating these quick and charming crochet bows! They’re a fantastic way to use up scrap yarn and add a handmade touch to countless items.