by
by 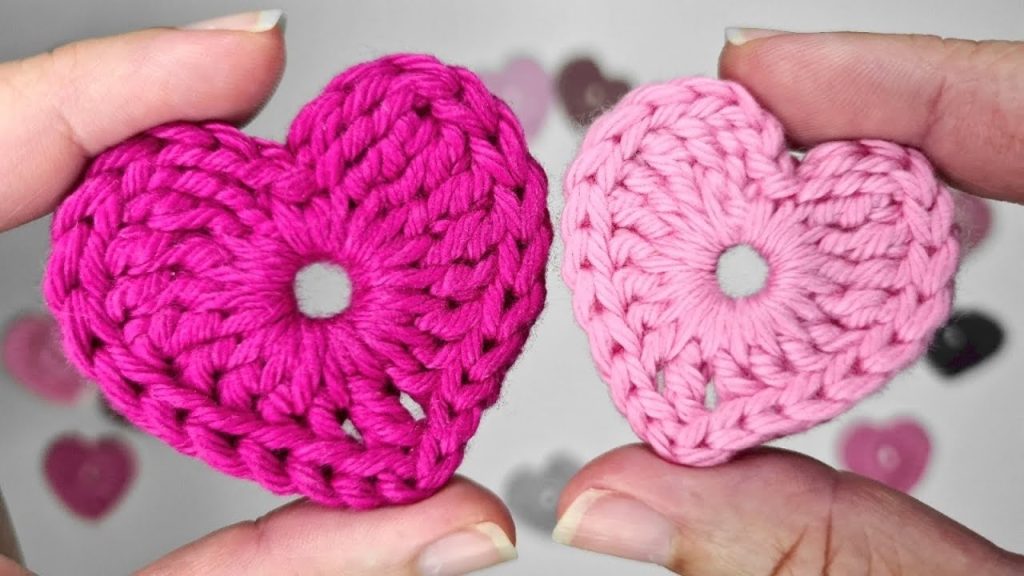
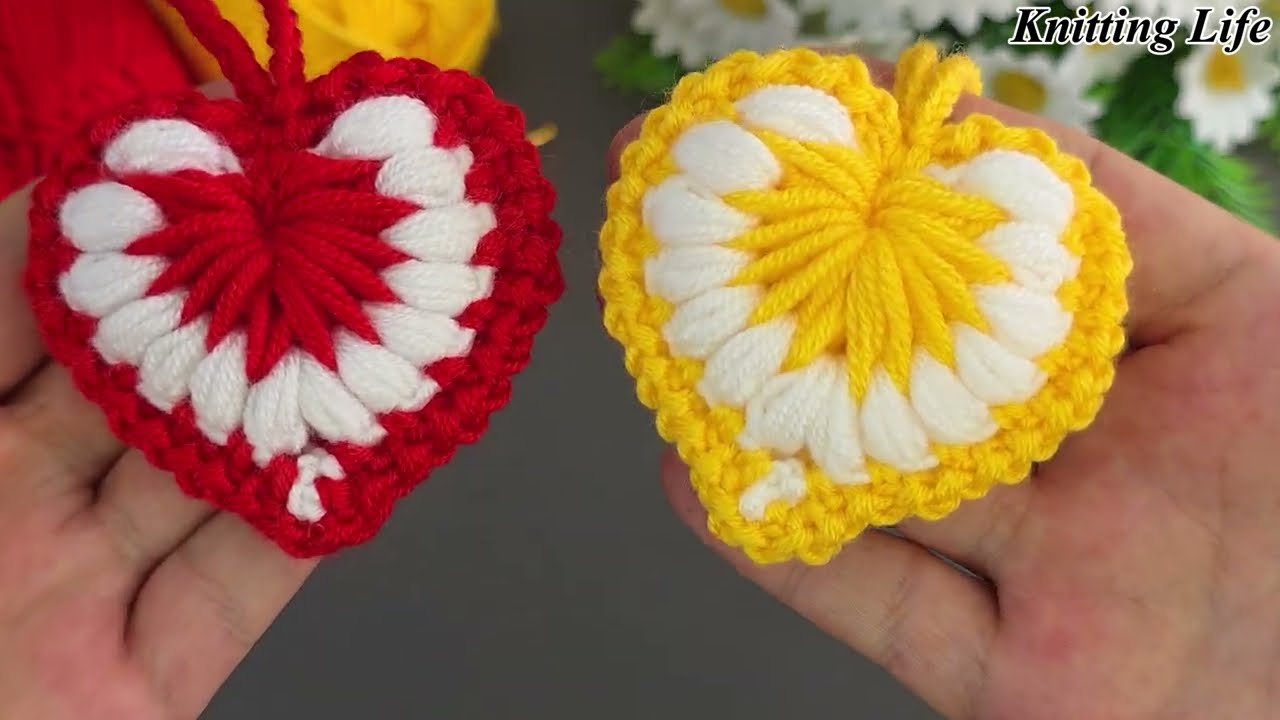
Who doesn’t love a charming little heart? This pattern will guide you through crocheting a beautiful, modeled (puffy!) heart that’s quick to make and incredibly versatile. Inspired by a fantastic tutorial, this pattern is perfect for beginners and a great way to use up those yarn scraps!
Skill Level: Easy
Finished Size (Approximate):
- Approximately 2.5 – 3 inches (6.5 – 7.5 cm) wide and tall.
- Size can vary based on yarn, hook, and tension.
Materials You’ll Need:
- Yarn: Any yarn you have on hand!
- The video uses “Contex 590 cotton thread,” which is likely a sport or DK weight cotton. You can use cotton, acrylic, or any yarn you prefer. A smooth yarn will give the best stitch definition.
- You’ll only need a small amount, less than 10-15 yards per heart.
- Crochet Hook: A hook size compatible with your chosen yarn to create tight stitches without gaps.
- The video suggests using a hook that ensures a dense fabric. For DK weight yarn, a C/2 (2.5 mm) or D/3 (3.25 mm) hook would be suitable. For sport weight, a B/1 (2.25 mm) or C/2 (2.5 mm).
- Tapestry Needle: For weaving in ends and seaming.
- Scissors
- Stuffing (Optional): A small amount of fiberfill or yarn scraps to make your heart puffy.
Gauge (Not Critical, but Aim for a Tight Fabric!):
Since this is a small decorative item, exact gauge isn’t crucial, but aim for a fabric that is firm and without large gaps, especially if you plan to stuff it. If your stitches are too loose, go down a hook size.
Abbreviations (US Crochet Terms):
- ch: chain
- sl st: slip stitch
- sc: single crochet
- hdc: half double crochet
- dc: double crochet
- tr: treble crochet (yarn over twice, insert hook, yo, pull through 2 loops, yo, pull through 2 loops, yo, pull through last 2 loops)
- st(s): stitch(es)
- MR: Magic Ring
- FO: Fasten off
Let’s Crochet Your Perfect Puffy Heart!
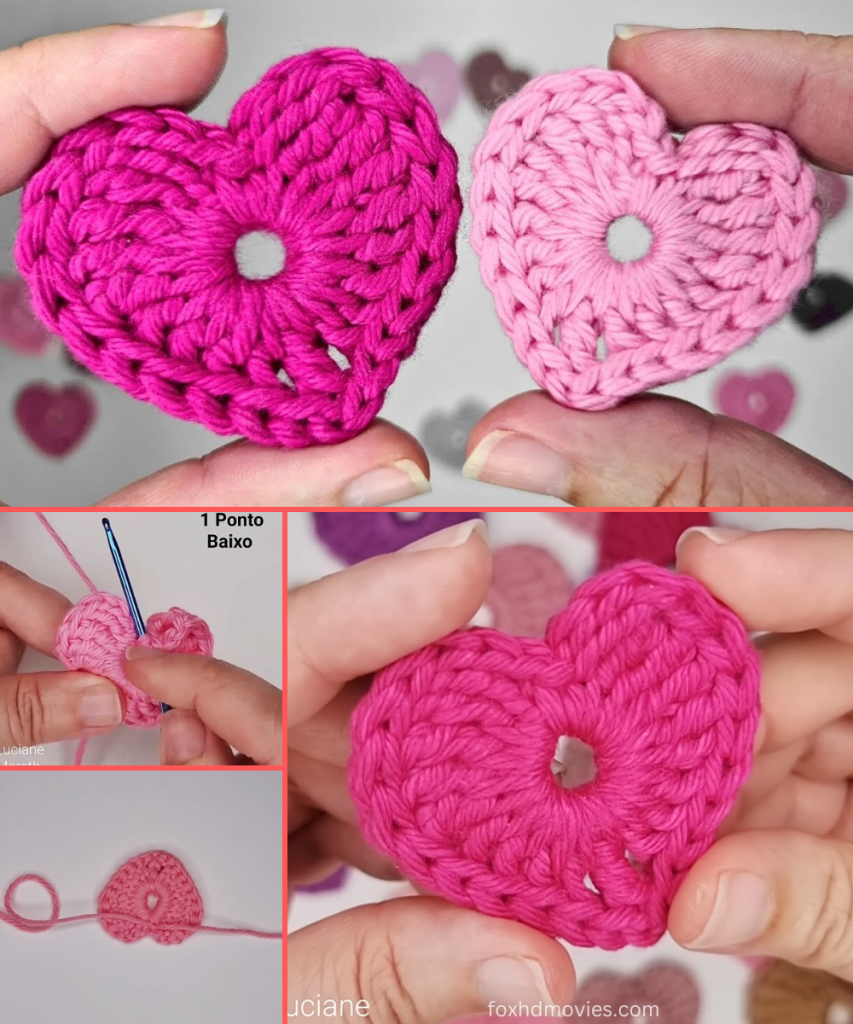
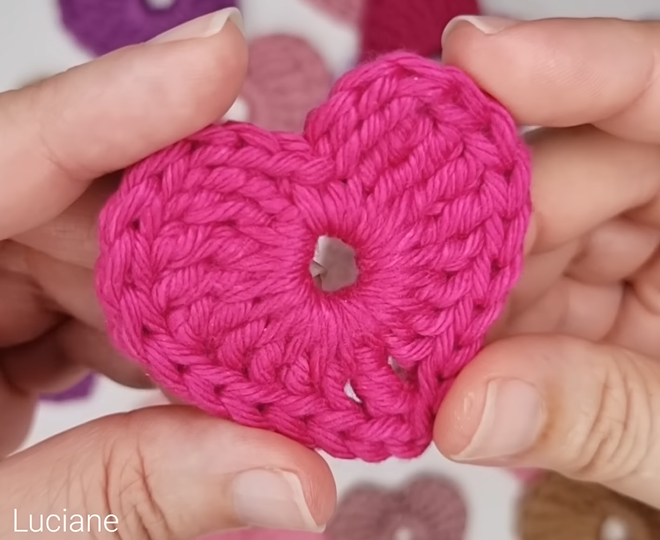
This heart is made by crocheting two identical half-heart pieces, joining them, and then seaming and stuffing.
Part 1: Half-Heart Piece (Make 2)
We’ll start with a magic ring and work in rows to create one side of the heart.
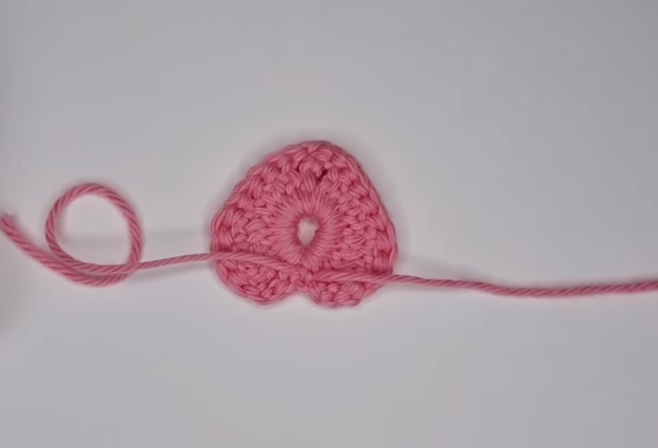
Row 1: Start with a Magic Ring (MR). Ch 3 (counts as 1st dc). Work 2 dc, 3 tr, 3 dc into the MR. Ch 3, sl st into the MR. (8 stitches total: 3 dc, 3 tr, 3 dc, plus the sl st and ch 3).
- Pull the MR tight to close. This forms the first curve of your heart.
Row 2: Ch 3 (counts as 1st dc). Work 2 dc in the first sl st from previous row (the one that closed the MR). * Work 3 dc into the next dc. * Work 2 dc into each of the next 2 dc. * Work 2 tr into the next tr. * Work (1 tr, ch 1, 1 tr) into the next tr (this forms the point of the heart). * Work 2 tr into the next tr. * Work 2 dc into each of the next 2 dc. * Work 3 dc into the next dc. * Work 2 dc into the last sl st from previous row. * Ch 3, sl st into the last stitch (the base of the last 2 dc).
- This row creates the full shape of one half of the heart.
FO, leaving a long tail (approx. 15-20 inches / 38-50 cm) on one piece for seaming. Weave in ends on the other piece.
Part 2: Joining and Stuffing Your Heart

- Align Pieces: Place the two half-heart pieces together with the wrong sides facing each other. Align all the stitches perfectly.
- Begin Seaming: Take the long yarn tail from one piece and thread it onto your tapestry needle.
- Whip Stitch: Starting from one of the outer curves (the top “bump” of the heart), begin whip stitching around the edges of the heart, going through both layers of stitches.
- Stuffing (Optional): When you have about 1.5 – 2 inches (4-5 cm) left to seam, pause. Gently insert a small amount of fiberfill or yarn scraps into the heart to make it puffy. Don’t overstuff!
- Close Seam: Continue whip stitching the remaining opening closed.
- Secure and Hide: Once the seam is closed, weave in the remaining yarn tail securely into the heart.
Part 3: Finishing Touches & Embellishment
- Shape: Gently squish and shape your heart to get the perfect puffy form.
- Add a Loop (Optional): If you want to hang your heart (e.g., for an ornament or keychain), you can crochet a small chain loop before you finish seaming, or attach one with your tapestry needle after.
- Decorate (Optional):
- Embroidery: Add small embroidered details like initials or a tiny star.
- Buttons/Beads: Sew on a small button or a few beads for extra charm.
- Bow: Attach a tiny crocheted or ribbon bow.
Video tutorial
Versatile Uses for Your Puffy Crochet Heart:
- Keychains: Attach a split ring.
- Ornaments: Perfect for holiday trees or year-round decor.
- Appliqué: Sew onto blankets, hats, scarves, or clothing.
- Garlands: String multiple hearts together for a sweet garland.
- Gift Toppers: A lovely handmade addition to a gift package.
- Baby Mobiles: Create a collection of hearts in different colors.
Customization & Tips:
- Size Adjustment:
- Larger Heart: Use a bulkier yarn (e.g., worsted weight) and a larger hook (e.g., H/5.0 mm). You might also need to add more stitches in Row 1 and Row 2, ensuring symmetrical increases.
- Smaller Heart: Use a finer yarn (e.g., lace or fingering weight) and a smaller hook (e.g., 1.5 mm or 2.0 mm).
- Yarn Choice: Cotton yarn gives a crisp, defined stitch. Acrylic is soft and durable. Wool can be blocked nicely.
- Color Play: Make hearts in different colors for a vibrant collection!
Enjoy creating these quick, cute, and versatile crochet hearts! They’re a fantastic way to spread a little handmade love.