 by
by 
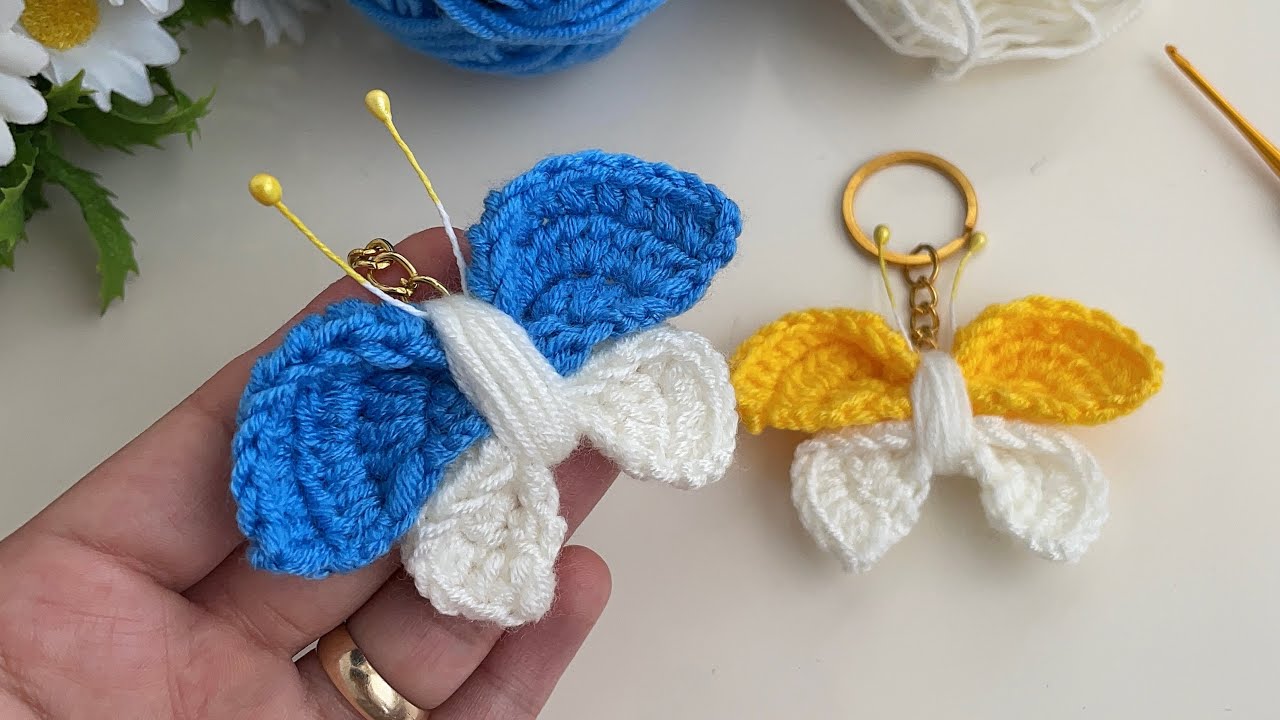
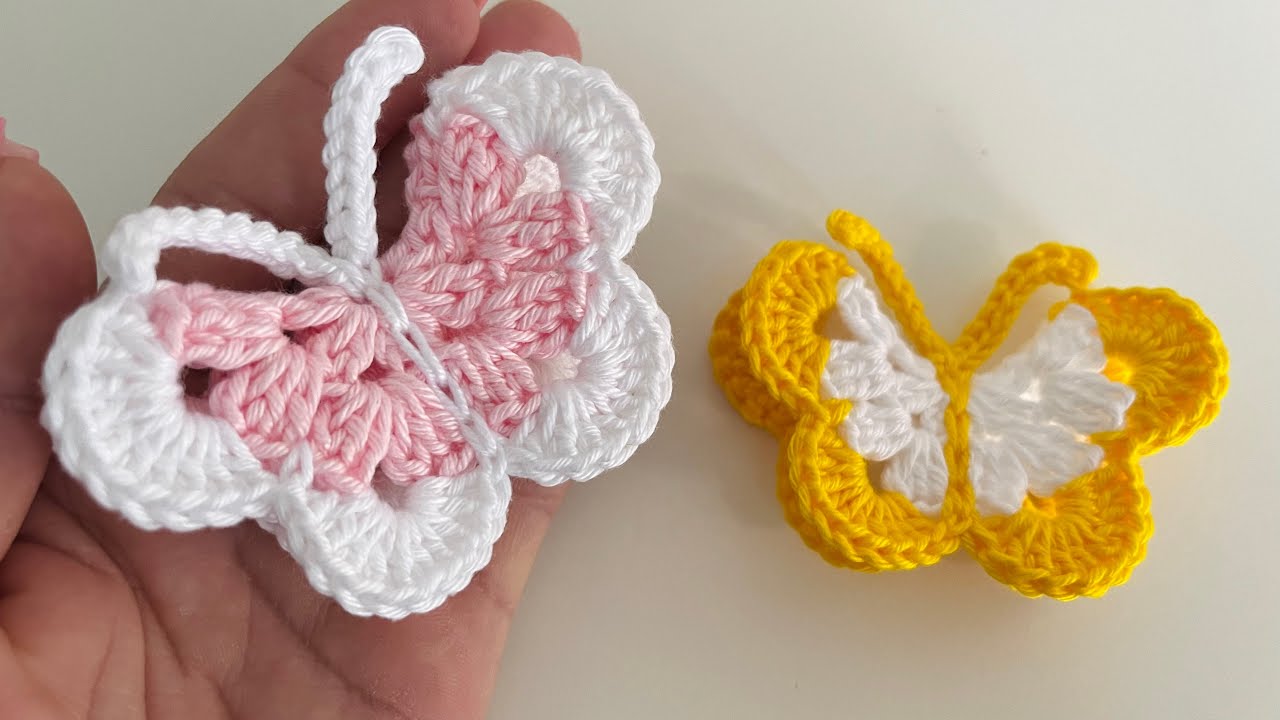
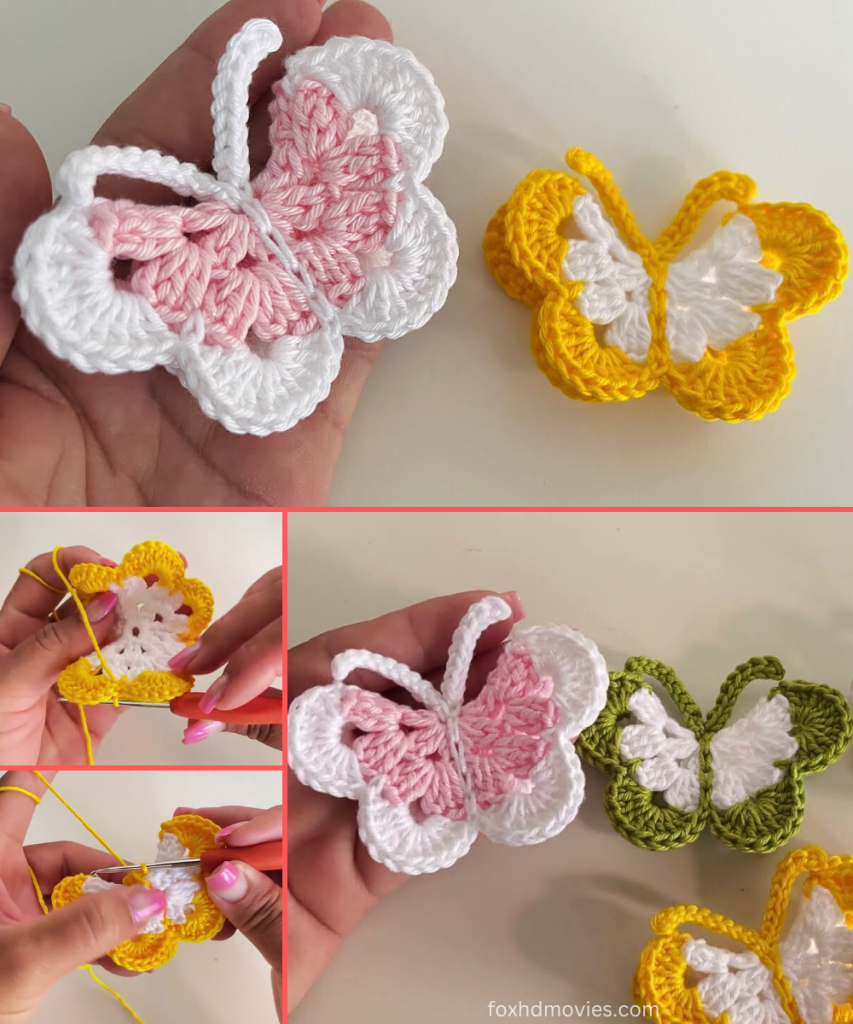
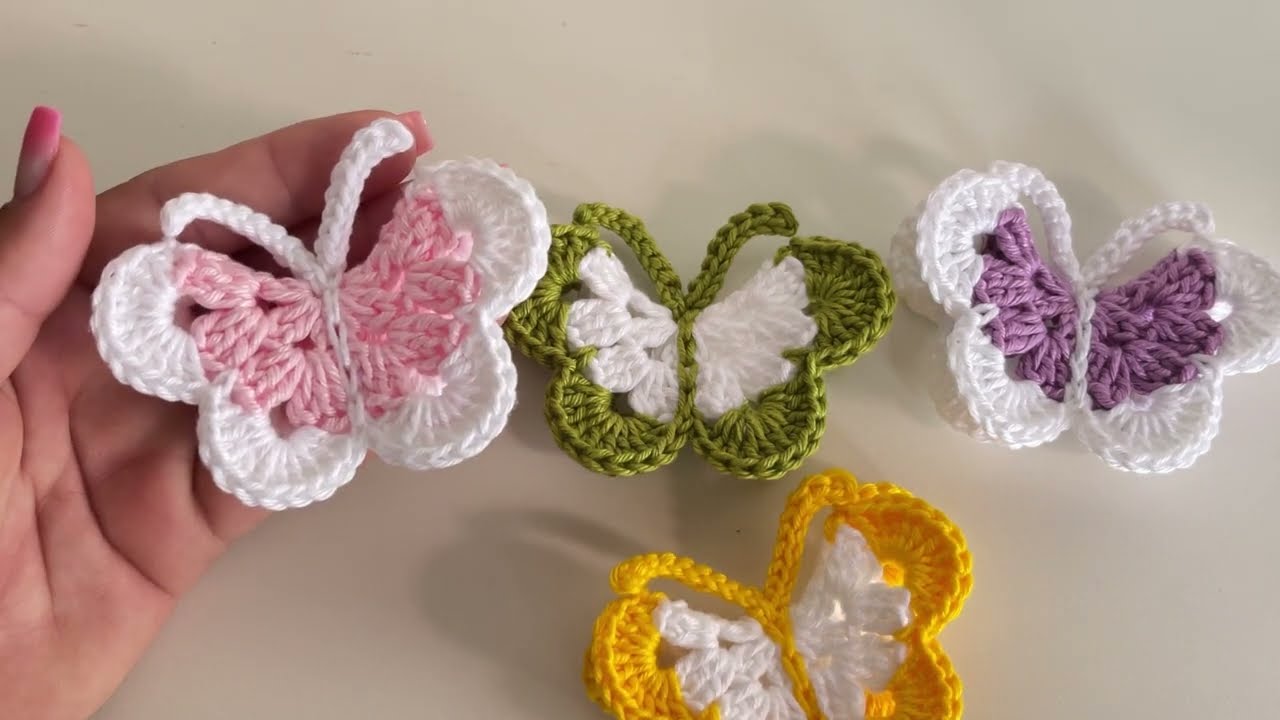
Add a touch of whimsical charm to any project with this adorable and easy-to-crochet butterfly! Inspired by a fantastic step-by-step tutorial, this pattern is perfect for beginners and works up incredibly fast. These little butterflies are super versatile – use them as keychains, refrigerator magnets, or as charming appliqués on blankets, hats, headbands, and more!
Skill Level: Easy
Finished Size (Approximate):
- Approximately 2.5 – 3 inches (6.5 – 7.5 cm) wide (wingspan)
- Approximately 2 – 2.5 inches (5 – 6.5 cm) tall
- Size can vary slightly based on yarn, hook, and tension.
Materials You’ll Need:
- Yarn: Small amounts of DK weight (Light Worsted / 8 ply) yarn in two colors.
- Color A (Inner Body/Base): (e.g., Yellow in the video)
- Color B (Outer Wings/Finish): (e.g., White in the video)
- The video uses “Amigurumi yarn,” which is typically a cotton or cotton blend. Any smooth cotton or acrylic yarn will work well.
- Crochet Hook: C/2 (2.5 mm) or size needed to obtain a firm fabric.
- A slightly smaller hook than recommended for your yarn weight will help the butterfly hold its shape better.
- Tapestry Needle: For weaving in ends.
- Scissors
Gauge (Not Critical, but Aim for a Firm Fabric!):
Since this is a small decorative item, exact gauge isn’t crucial. However, aim for a fabric that is firm and without large gaps to ensure your butterfly holds its shape nicely. If your stitches are too loose, go down a hook size.
Abbreviations (US Crochet Terms):
- ch: chain
- sl st: slip stitch
- sc: single crochet
- dc: double crochet
- tr: treble crochet (yarn over twice, insert hook, yo, pull through 2 loops, yo, pull through 2 loops, yo, pull through last 2 loops)
- st(s): stitch(es)
- MR: Magic Ring
- FO: Fasten off
Let’s Crochet Your Beautiful Butterfly!
This butterfly is created by working a central base, then building the wings, and finally adding antennae.
Part 1: The Butterfly Base (Color A)
Start with Color A.
Row 1: Create a Magic Ring (MR). Ch 3 (counts as 1st dc). Work 2 dc into MR. Ch 3. Work 3 dc into MR. Ch 3. Work 3 dc into MR. Ch 3. Work 3 dc into MR. Ch 3. Sl st into MR to close. (You should have 4 groups of 3 dc, separated by ch-3 spaces).
- Pull the MR tight to close. This forms the central body and the foundation for the wings.
FO Color A. Weave in the starting tail from the MR.
Part 2: Creating the Wings (Color B)
Now, switch to Color B to form the wings.
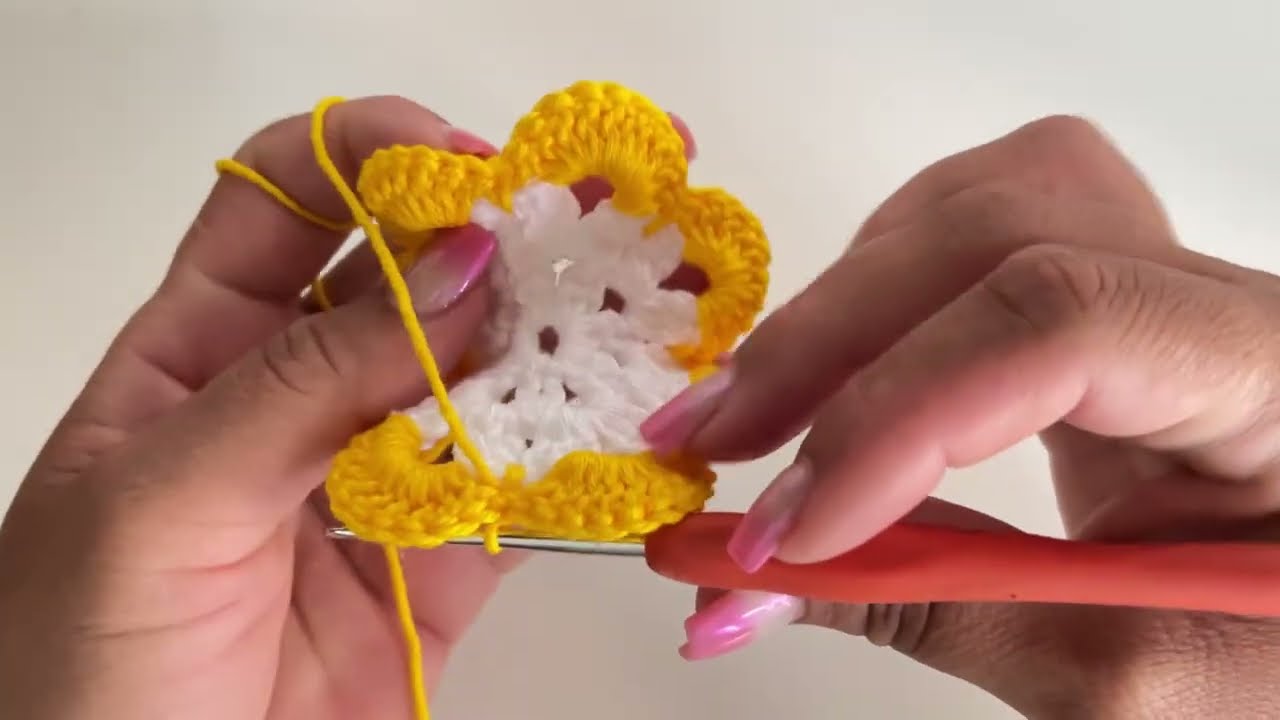
- Attach Yarn: Attach Color B with a sl st into any of the ch-3 spaces from Row 1 of the base.
- First Wing (Large): Ch 3 (counts as 1st dc). Work 9 more dc into the same ch-3 space. (10 dc total in this space).
- Second Wing (Small): Sl st into the next ch-3 space. Ch 3 (counts as 1st dc). Work 4 more dc into the same ch-3 space. (5 dc total in this space).
- Third Wing (Small): Sl st into the next ch-3 space. Ch 3 (counts as 1st dc). Work 4 more dc into the same ch-3 space. (5 dc total in this space).
- Fourth Wing (Large): Sl st into the last ch-3 space. Ch 3 (counts as 1st dc). Work 9 more dc into the same ch-3 space. (10 dc total in this space).
FO Color B, leaving a tail for weaving in.
Part 3: Shaping and Antennae
This is where your crocheted piece truly transforms into a butterfly!

- Fold the Body: Gently fold the central body of the butterfly (the part made with Color A) in half lengthwise. This will bring the two large wings and the two small wings together.
- Create Antennae:
- Reattach Color A (or a new piece of yarn in Color A) with a sl st to the very top center of the folded butterfly body (where the two large wings meet).
- Ch 5. Sl st into the 2nd ch from hook. Sl st in next 3 chs. (This forms one antenna).
- Ch 5. Sl st into the 2nd ch from hook. Sl st in next 3 chs. (This forms the second antenna).
- Sl st back into the top center of the butterfly body to secure.
FO, leaving a tail.
Part 4: Finishing Touches
- Weave in all ends: Use your tapestry needle to neatly weave in any remaining loose yarn tails. This is crucial for a tidy finish.
- Shape the Wings: Gently pull and shape the wings to give your butterfly a nice, symmetrical appearance. You can lightly press them flat or leave them slightly cupped for a more dimensional look.
Video tutorial
Versatile Uses for Your Crochet Butterfly:
- Appliqué: Sew onto baby blankets, hats, cardigans, headbands, or bags.
- Keychains: Attach a split ring to the top center of the body.
- Refrigerator Magnets: Glue a small magnet to the back.
- Hair Accessories: Glue or sew onto hair clips or elastic hair ties.
- Garlands: String multiple butterflies together for a charming garland.
- Gift Embellishment: Tie onto gifts instead of a traditional bow.
Customization & Tips:
- Color Combinations: Experiment with different color combinations! A light inner body with dark wings, or vice versa, creates striking effects.
- Size Adjustment:
- Larger Butterfly: Use a slightly thicker yarn (e.g., worsted weight) and a larger hook (e.g., H/5.0 mm). You can also add more dc stitches to each wing group (e.g., 12 dc for large wings, 7 dc for small wings).
- Smaller Butterfly: Use a finer yarn (e.g., fingering or lace weight) and a smaller hook (e.g., 1.5 mm or 2.0 mm). Reduce the number of dc stitches in each wing group (e.g., 8 dc for large wings, 4 dc for small wings).
- Antennae: You can make the antennae longer or shorter by adjusting the initial chain length.
- Sparkle: Hold a thin strand of metallic thread with your yarn for a subtle shimmer, similar to the video’s “Simli” yarn.
Enjoy crocheting these quick, cute, and versatile butterflies! They’re a fantastic way to add a touch of handmade beauty to anything.