 by
by Hey fellow yarn enthusiasts!

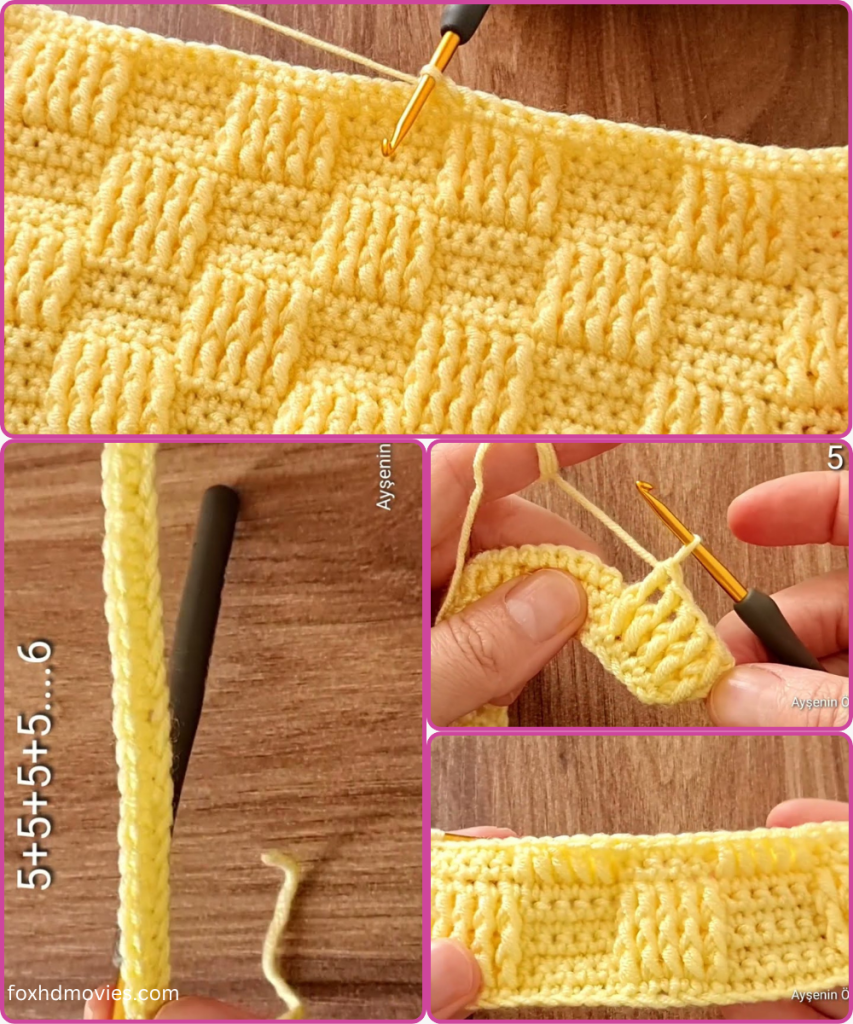
Are you ready to add some gorgeous texture to your next crochet project? Today, we’re diving into a stitch that’s a true showstopper: the Raised Basketweave Stitch. It creates a stunning, three-dimensional fabric that’s perfect for blankets, scarves, bags, and anything else that could use a touch of tactile beauty.
The best part? While it looks intricate, it’s surprisingly simple once you get the hang of it, using just a few basic stitches in a clever combination. If you can do a double crochet and identify the front and back posts, you’re golden!
Let’s grab our hooks and some lovely yarn, and get ready to weave some magic!
What you’ll need:
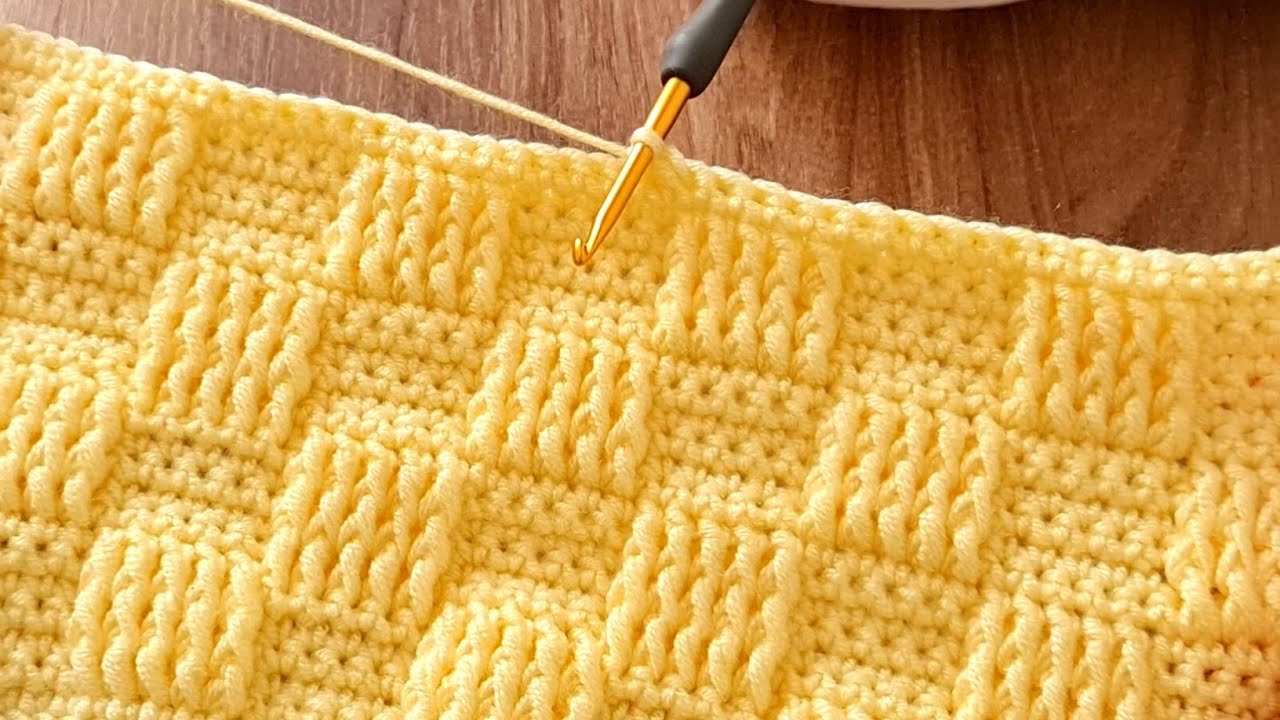
- Yarn: Any weight yarn will work for this stitch, but a solid color or a very subtle variegated yarn will best showcase the texture. For the sample in the image, a light worsted or DK weight yarn in a sunny yellow would be perfect.
- Crochet Hook: Choose a hook size appropriate for your chosen yarn (check the yarn label for recommendations). For the yarn used in the image, a 4.0mm (G/6) or 4.5mm (7) hook would likely be suitable.
- Scissors
- Tapestry Needle (for weaving in ends)
Abbreviations (US Terms):
- ch: chain
- st(s): stitch(es)
- sk: skip
- yo: yarn over
- dc: double crochet
- fpdc: front post double crochet (yo, insert hook from front to back to front around the post of the indicated stitch, yo and pull up a loop, [yo and draw through 2 loops on hook] twice)
- bpdc: back post double crochet (yo, insert hook from back to front to back around the post of the indicated stitch, yo and pull up a loop, [yo and draw through 2 loops on hook] twice)
- rep: repeat
- sp: space
The Raised Basketweave Stitch Pattern
This pattern is worked in multiples of 6 stitches + 2 for the turning chain.
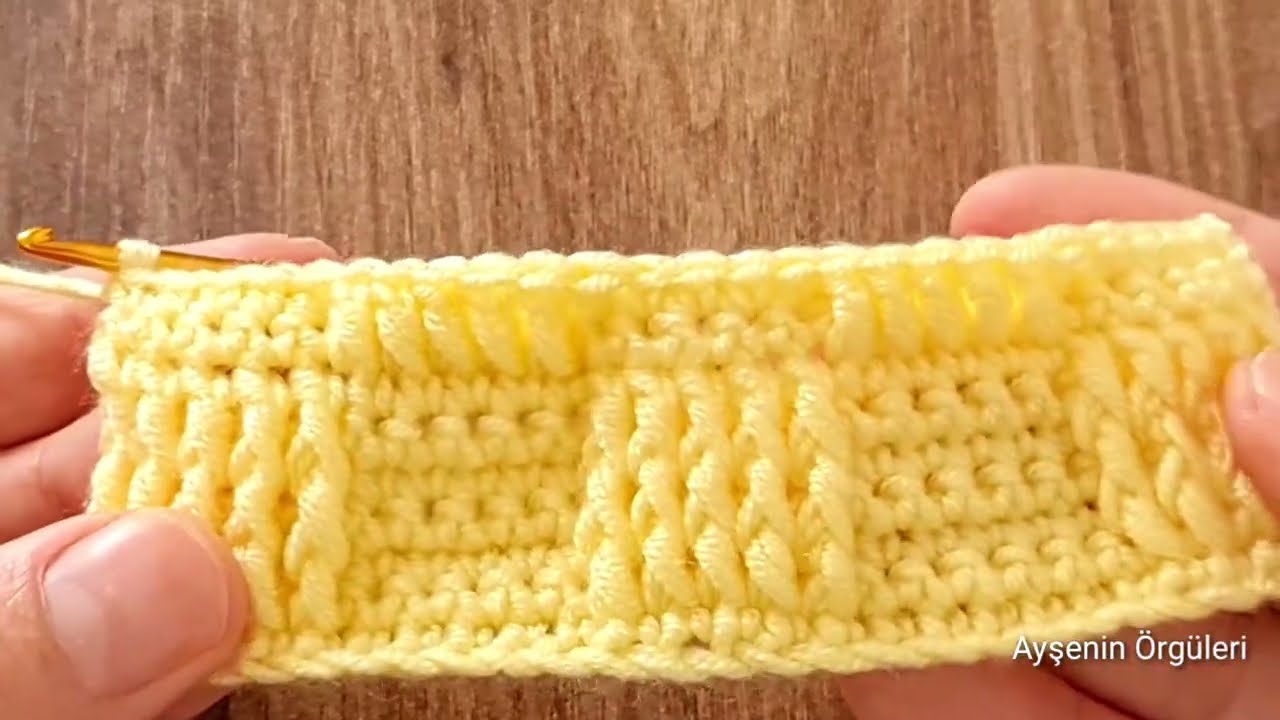
Important Note: The texture comes from alternating FPDC and BPDC stitches, which create raised “posts” on the right side of your work, mimicking a woven look.
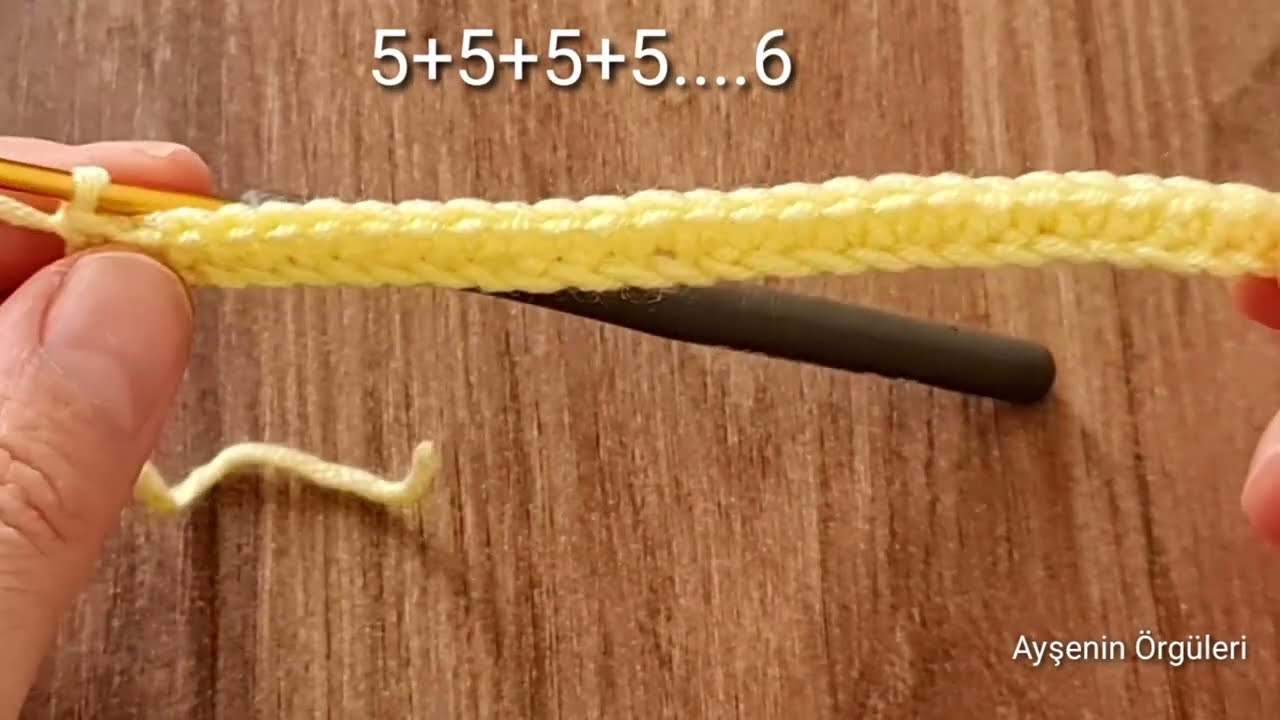
Foundation Chain: Chain a multiple of 6 + 2. (For example, if you want a width of 36 stitches in the pattern, chain 36 + 2 = 38.)
Row 1 (Set-up Row): Dc in the 4th ch from hook (counts as 1st dc) and in each ch across. Turn. (This row creates a base for your post stitches. You should have [your initial chain number – 3] double crochets).
Row 2: Ch 3 (counts as 1st dc).
- First Panel: *Fpdc around the next 3 dc, Bpdc around the next 3 dc*. Rep from * to * across until you have 1 dc remaining (the turning chain of the previous row). Dc in the top of the turning chain. Turn. (This row establishes your first set of raised posts.)

Row 3: Ch 3 (counts as 1st dc).
- Maintaining the Texture: *You will now work the opposite post stitch on top of the stitch from the previous row. So, if the previous stitch was an FPDC, you’ll make a BPDC. If it was a BPDC, you’ll make an FPDC.*
- So, rep from * to * across, working BPDC around the next 3 FPDC and FPDC around the next 3 BPDC. Continue this pattern across.
- Finish with 1 dc in the top of the turning chain. Turn. (This row continues the alternating pattern, creating the “basketweave” effect by pushing the raised stitches to the front.)
Row 4: Ch 3 (counts as 1st dc).
- Shifting the Basketweave: Now, we’re going to shift the pattern to create the staggered look.
- *Bpdc around the next 3 dc, Fpdc around the next 3 dc*. Rep from * to * across until you have 1 dc remaining. Dc in the top of the turning chain. Turn. (Notice how this row starts with BPDC where Row 2 started with FPDC. This is what creates the “bricks” of the basketweave.)
Row 5: Ch 3 (counts as 1st dc).
- Maintaining the Shifted Texture: Similar to Row 3, you’ll work the opposite post stitch on top of the stitch from the previous row.
- Rep from * to * across, working FPDC around the next 3 BPDC and BPDC around the next 3 FPDC. Continue this pattern across.
- Finish with 1 dc in the top of the turning chain. Turn.
Repeat Rows 2-5 for your desired length.
Finishing: Once your project reaches the desired size, fasten off and weave in all loose ends securely using your tapestry needle. Block your piece gently if desired, to help the stitches settle and define the texture.
Video tutorial
Tips for Success:
- Tension is Key: Try to maintain consistent tension throughout your work. This will ensure your basketweave pattern looks even and professional.
- Practice Makes Perfect: If post stitches are new to you, don’t get discouraged! Practice a small swatch first to get comfortable with the technique.
- Watch Your Stitches: It’s easy to accidentally skip a stitch or work into the wrong one. Count your stitches occasionally, especially at the end of each row, to ensure you’re on track.
- Customize It! While the image shows a consistent 3 FPDC/3 BPDC block, you can experiment with different numbers of stitches (e.g., 2 FPDC/2 BPDC) to create varying basketweave patterns.
I hope you enjoy creating with this beautiful and versatile stitch! Share your finished projects with me – I’d love to see what you make!
Happy Crocheting!