 by
by 
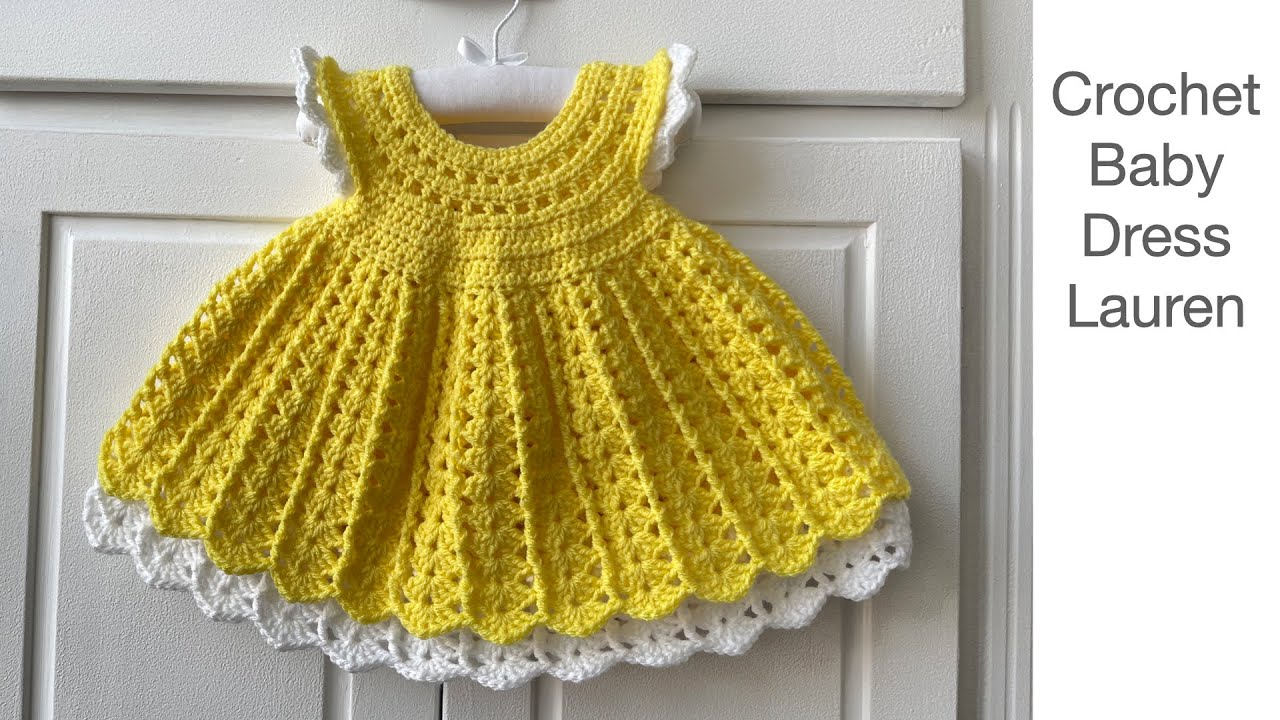
Create a beautifully shaped yoke for a dress or sweater with this detailed crochet pattern! This guide shows you how to make a classic, top-down yoke that fits perfectly by using the neck and shoulder measurements as a starting point. This project is a fantastic foundation for a wide range of garments and is a great way to learn a fundamental crochet technique.
Skill Level: Intermediate
This pattern uses simple stitches but requires careful attention to measurements, stitch counts, and increases to achieve the perfect fit. You should be familiar with basic stitches and shaping techniques.
Finished Size (Approximate):
- Size: The pattern is designed to be adaptable to any size, from baby to adult. The finished size will depend on your initial measurements.
- Important: The final size can vary based on your yarn choice, hook size, and personal tension.
Materials You’ll Need:
- Yarn: A yarn of your choice that is appropriate for the garment you are making.
- Crochet Hook: A hook size appropriate for your chosen yarn.
- Scissors
- Yarn Needle: For weaving in ends.
- Tape Measure: Essential for taking accurate measurements.
- Stitch Markers: To mark the corners for increases.
Gauge:
Achieving consistent gauge is essential for creating a yoke that will fit correctly. The finished fabric should be firm enough to hold its shape but not too tight. Always crochet a small swatch to check your tension and adjust your hook size if needed.
Abbreviations (US Crochet Terms):
- ch: chain
- sl st: slip stitch
- dc: double crochet
- st(s): stitch(es)
- FO: Fasten off
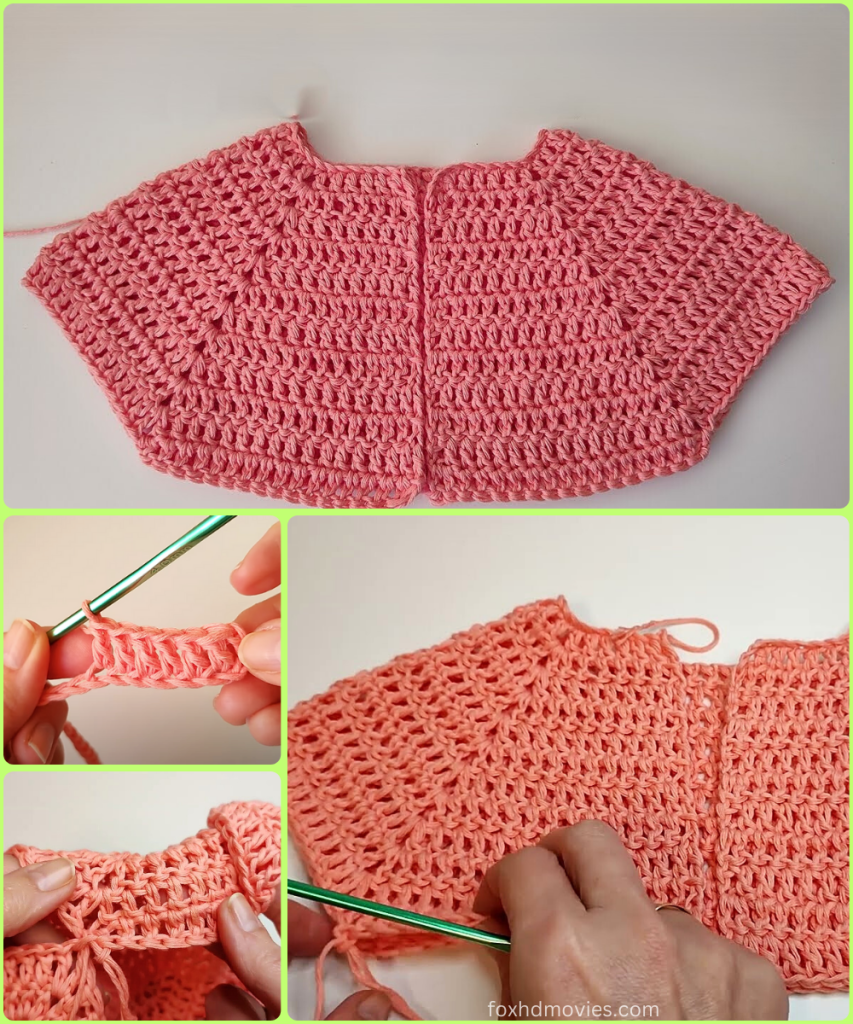
Let’s Crochet Your Yoke!
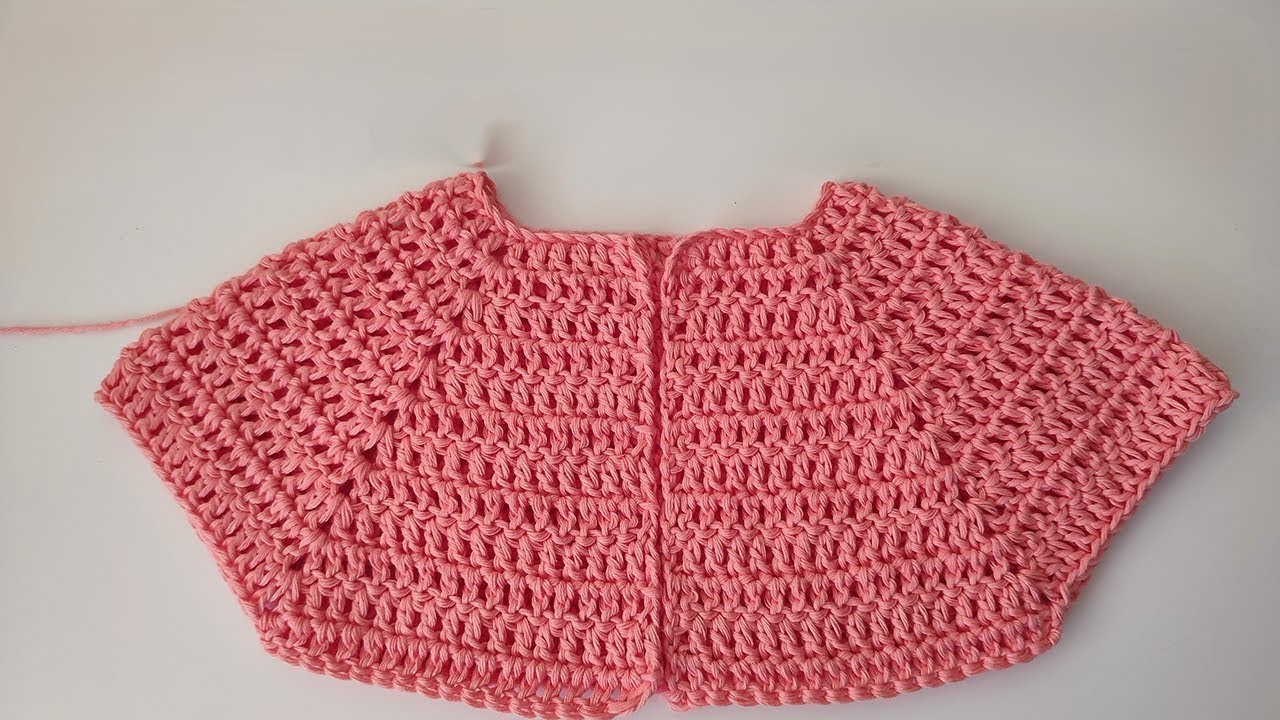
This yoke is worked in rounds from the top down, creating a single piece that forms the upper part of a garment.
Part 1: Taking Measurements & Calculating Stitches
- Measure: Measure the circumference of the base of your neck and the width of your shoulders.
- Calculate the Initial Chain: Instead of measuring around the head, you will calculate the number of stitches for your initial chain based on these two measurements.
- Divide the Stitches: Use a formula to divide the total number of stitches into four sections: two for the front/back and two for the sleeves. For example, the video suggests a formula where the total number of stitches is divided by 3, with one-third going to the back and the remaining two-thirds being split between the two front sides and two sleeves.
Part 2: The Yoke Pattern & Increases
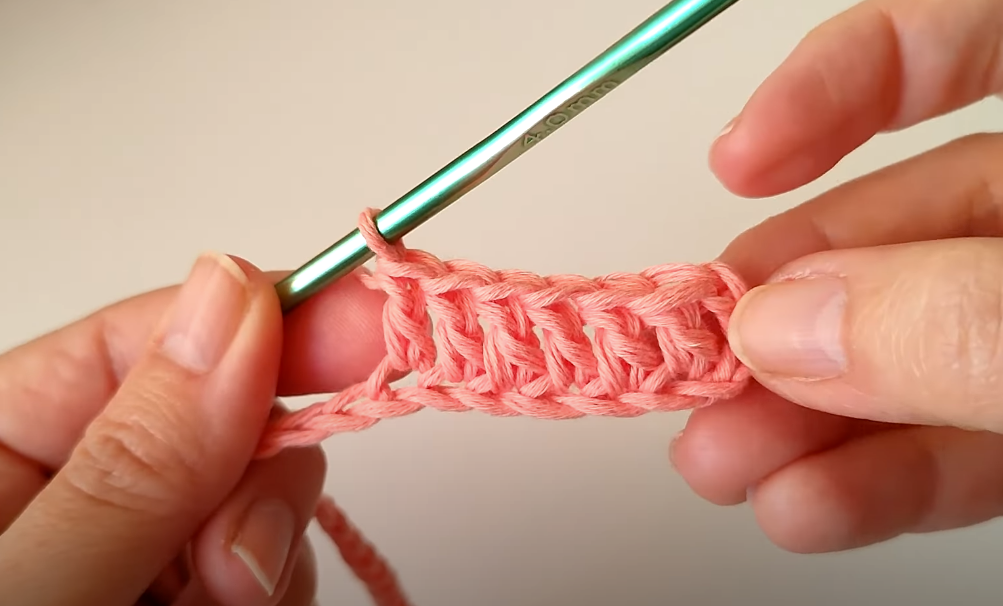
- Start: Ch the number of stitches you calculated in the previous step. Join the chain with a slip stitch to form a circle.
- Round 1: Crochet the first round of stitches, following the stitch distribution you calculated. This round is where you will establish the four corners of your yoke. Place a stitch marker at each corner.
- Make Increases: In each subsequent round, you will make an increase at each corner to shape the yoke as it grows. The video shows how to create a V-stitch or a similar increase in each corner.

Part 3: Forming the Armholes
Once the yoke is large enough, you will join the front and back sections to create the armholes.
- Fold and Join: Fold the yoke in half, bringing the front and back sections together.
- Join the Corners: Join the corners on each side to create the sleeve openings. You will now continue working in the round on the body of the garment, leaving the armholes open.

Part 4: Finishing Touches
- Continue Working: Continue crocheting the body of the garment in the round until it reaches your desired length for a dress or sweater.
- Weave in all ends: Make sure all your yarn tails are neatly woven in.
Video tutorial
Versatile Uses for Your Yoke:
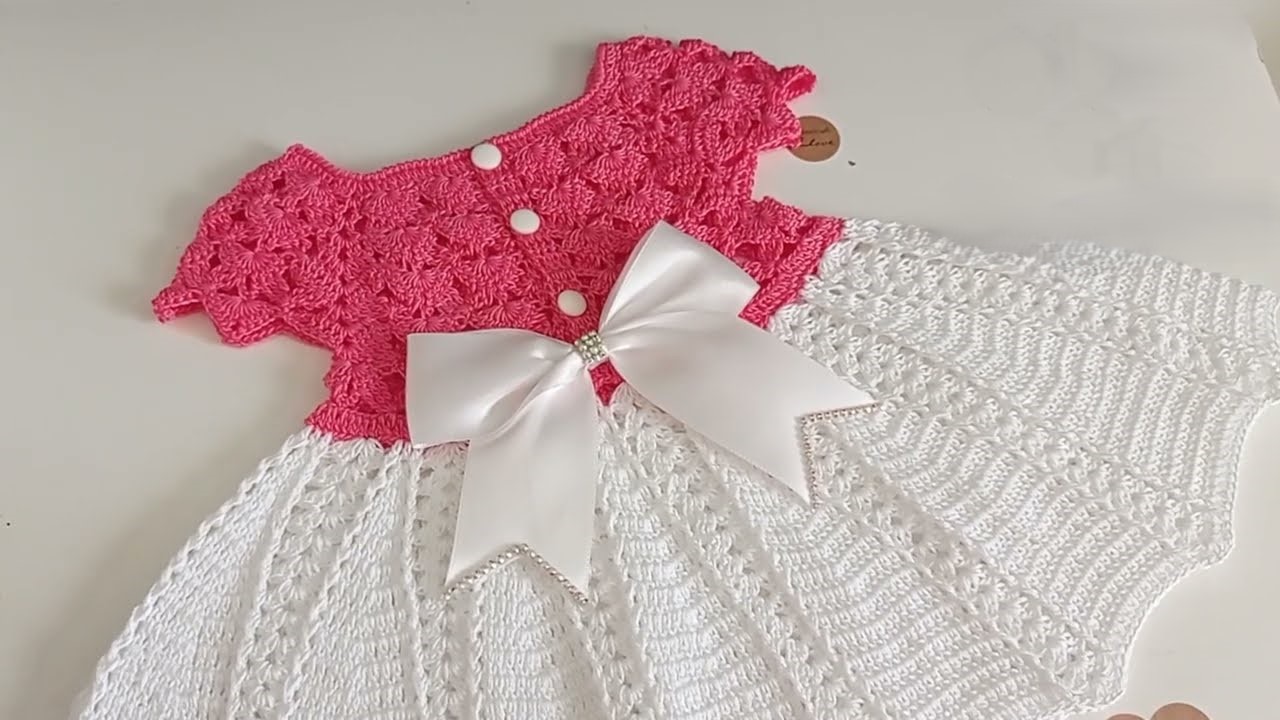
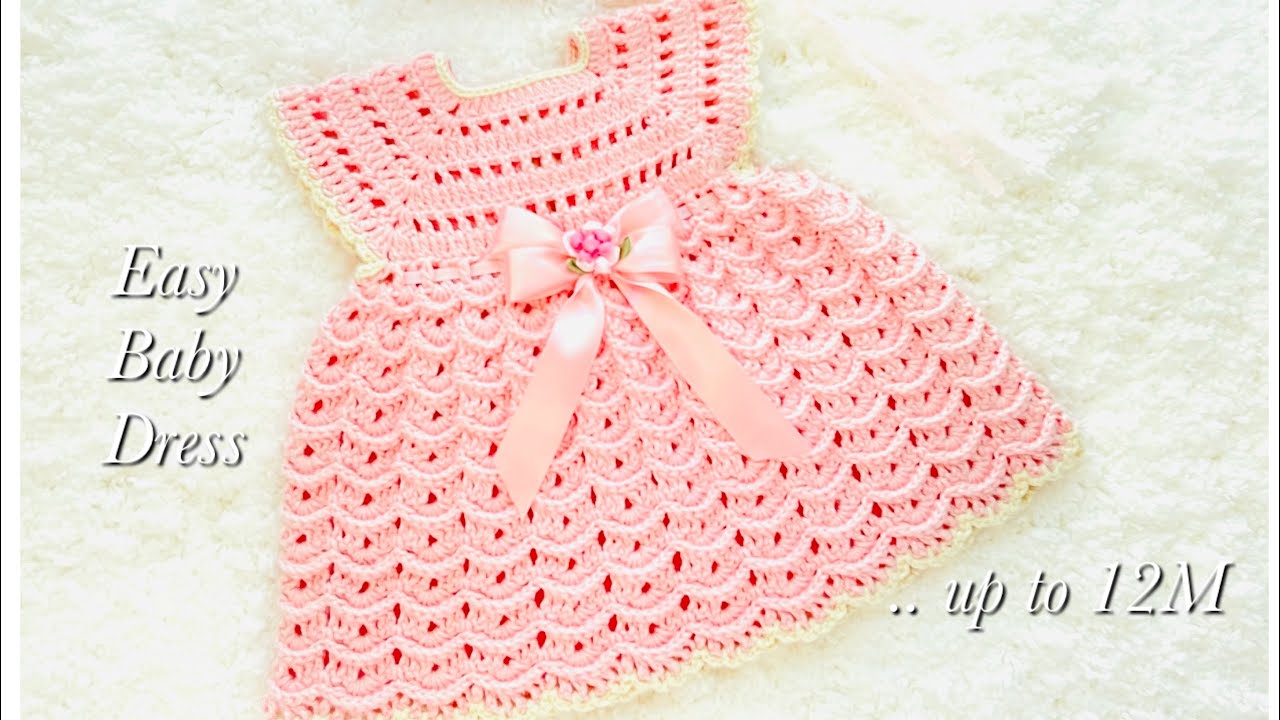
- Dress: The yoke can be used as the top part of a dress.
- Sweater: You can continue crocheting the body to create a comfortable sweater.
- Tunic: A longer body can be added to create a tunic.
Customization & Tips:
- Size Adjustment: The pattern is easily adjustable for any size. Just be sure to take accurate measurements and follow the division formula.
- Yarn Choice: Experiment with different yarn types and colors. A solid color would look classic, while a variegated yarn would create a fun, striped effect.
- Decoration: You can add a small crocheted flower, a ribbon, or a different kind of embellishment for a personalized touch.
Enjoy crocheting your own beautiful, practical, and unique yoke! It’s a fantastic way to create a personalized accessory that’s sure to become a favorite.