by
by 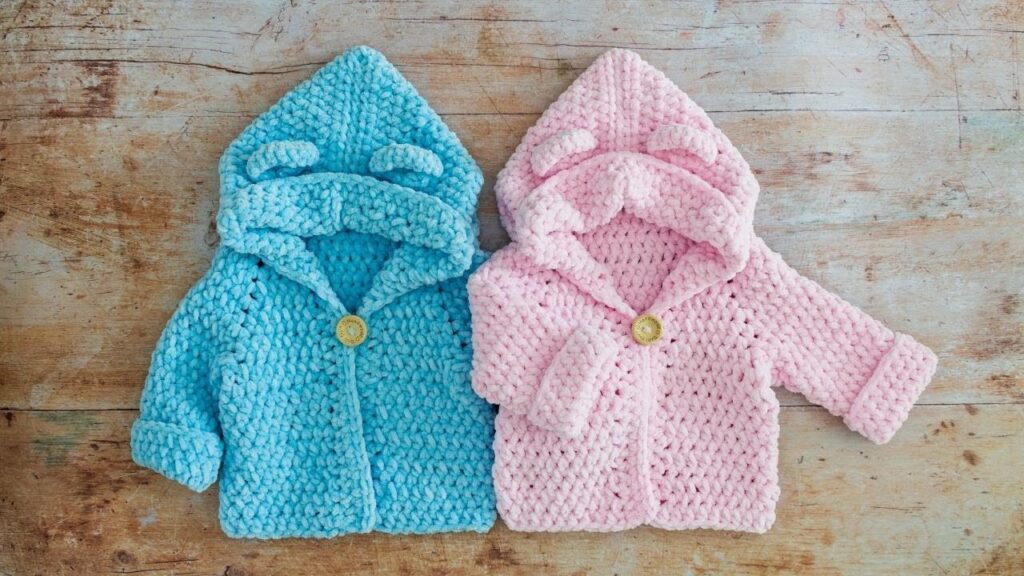
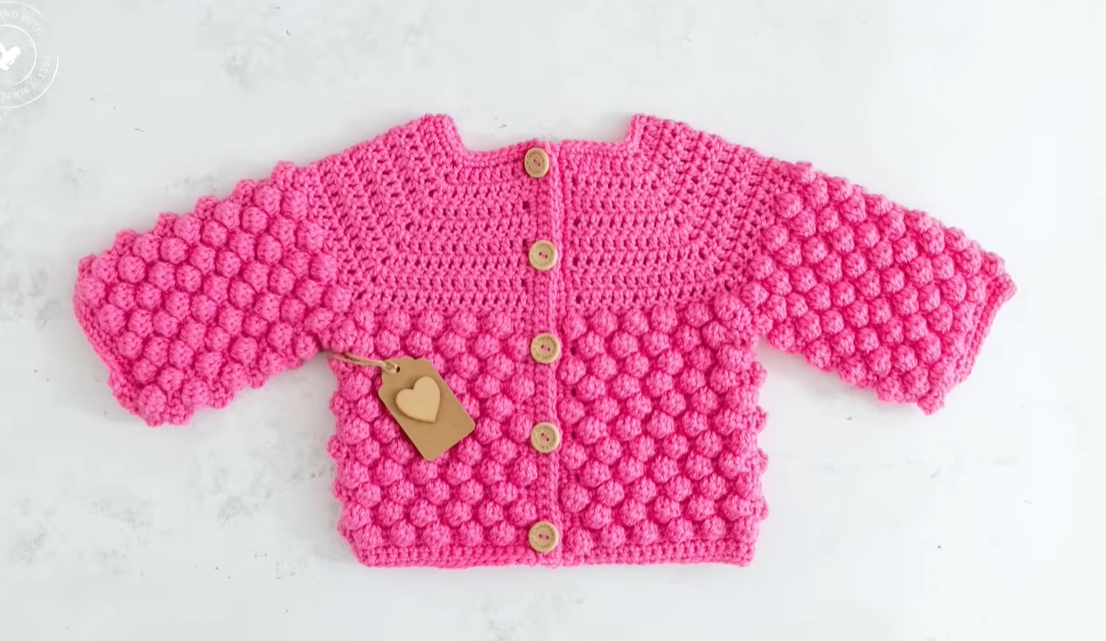
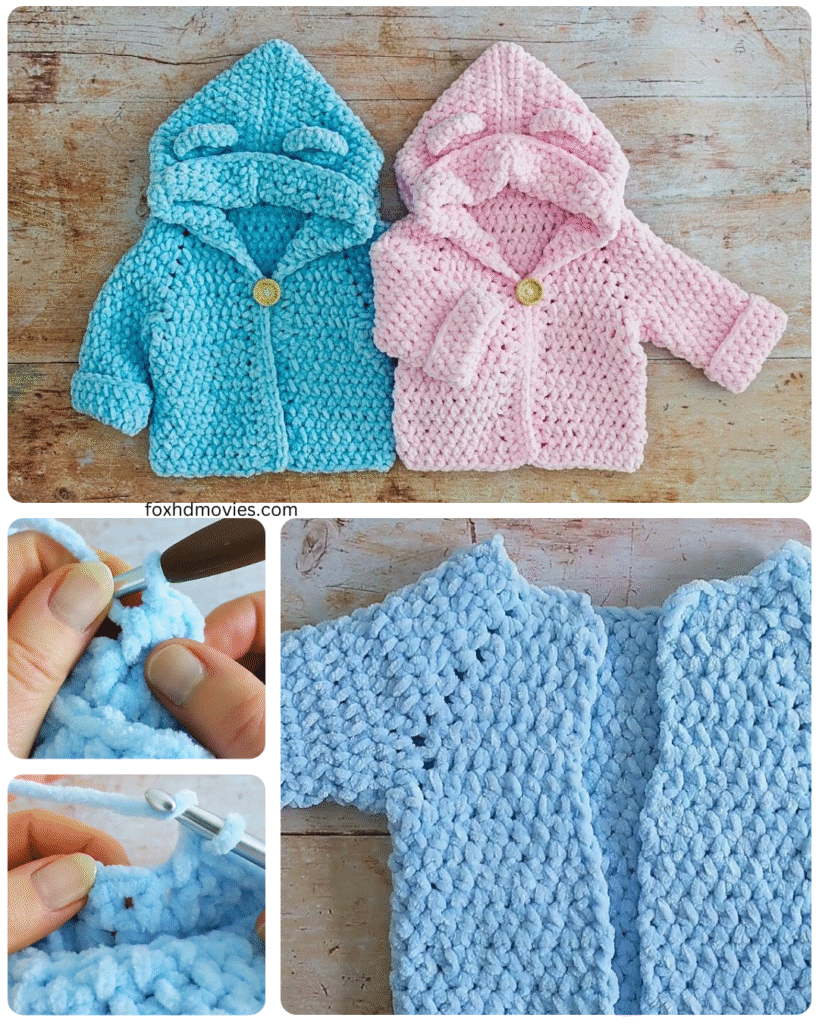
There’s something truly special about creating something with your own two hands, especially when that something is destined to keep a little one warm and snug. Today, I’m so excited to share a pattern and guide you through making the most adorable crochet baby hoodie. Whether you’re expecting, know someone who is, or simply love creating precious handmade items, this project is sure to bring joy to both the maker and the receiver.
Imagine those tiny arms slipped into soft, crocheted sleeves and that sweet little head peeking out from a cozy hood. This isn’t just a garment; it’s a hug made with yarn!
Why Crochet a Baby Hoodie?
Beyond the sheer cuteness factor, there are so many wonderful reasons to crochet a baby hoodie:
- Personalized Perfection: You get to choose the yarn color, texture, and even add little embellishments to make it truly unique.
- Thoughtful Gift: A handmade hoodie is a heartfelt gift that shows you’ve invested time and care. It’s a keepsake that parents will cherish.
- Soft and Gentle: You can select natural and baby-friendly yarns that are kind to delicate skin.
- Therapeutic Craft: The rhythmic motion of crocheting is relaxing and rewarding.
Getting Started: What You’ll Need
Before we dive into the pattern, let’s gather our supplies:
- Yarn: Choose a soft, worsted-weight yarn in your desired color(s). Consider using a yarn specifically designed for babies, as it will be gentle and washable. Approximately [Insert estimated yardage here, e.g., 300-400 yards].
- Crochet Hook: Select the hook size recommended on your yarn label. Typically, a size H/8 (5.0 mm) hook works well for worsted weight.
- Scissors: For snipping yarn ends.
- Tapestry Needle: For weaving in ends.
- Stitch Markers: These little helpers are invaluable for marking important points in your work.
- Buttons (Optional): If you want to add a button closure. The number and size will depend on your design.
Video tutorial
The Pattern (Sizes Newborn to 12 Months)
This pattern provides instructions for several common baby sizes. Please note that these are approximate, and you may need to adjust based on your yarn and tension.
Abbreviations:
- ch = chain
- sc = single crochet
- hdc = half double crochet
- dc = double crochet
- sl st = slip stitch
- st(s) = stitch(es)
- rep 1 = repeat
- RS = right side
- WS = wrong side
Gauge: [Insert your gauge here, e.g., 4 inches = 16 hdc and 10 rows]

Body:
- Chain: Chain [Insert starting chain for Newborn, 3-6 months, 6-9 months, 9-12 months, e.g., 60, 68, 76, 84]
- Row 1 (RS): Hdc in the second ch from the hook and in each ch across. Turn. ([Insert stitch count])
- Row 2 (WS): Ch 1 (does not count as a st), hdc in each st across. Turn.
- Rows 3-[Insert number of rows for back, e.g., 18, 20, 22, 24]: Repeat Row 2.

Divide for Armholes:
- Next Row (RS): Ch 1, hdc across [Insert stitches for one front, e.g., 15, 17, 19, 21] sts. Ch [Insert chain for armhole, e.g., 8, 10, 10, 12], skip the next [Insert stitches for armhole, e.g., 12, 14, 16, 18] sts, hdc across the next [Insert stitches for back, e.g., 16, 18, 20, 22] sts. Ch [Insert chain for armhole], skip the next [Insert stitches for armhole], hdc in the last [Insert stitches for other front] sts. Turn.
- Next Row (WS): Ch 1, hdc across, working over the ch-spaces. Turn.
- Next [Insert number of rows for fronts/back, e.g., 8, 10, 12, 14] Rows: Repeat Row 2. Fasten off.
Sleeves (Make 2):
- Chain: Chain [Insert starting chain for sleeve, e.g., 30, 32, 34, 36].
- Row 1 (RS): Hdc in the second ch from the hook and in each ch across. Turn. ([Insert stitch count])
- Row 2 (WS): Ch 1, hdc in each st across. Turn.
- Rows 3-[Insert number of rows for sleeve, e.g., 16, 18, 20, 22]: Repeat Row 2. Fasten off.
Hood:

- Chain: Chain [Insert starting chain for hood, e.g., 80, 88, 96, 104].
- Row 1 (RS): Hdc in the second ch from the hook and in each ch across. Turn. ([Insert stitch count])
- Row 2 (WS): Ch 1, hdc in each st across. Turn.
- Rows 3-[Insert number of rows for hood, e.g., 20, 22, 24, 26]: Repeat Row 2. Fold the hood in half and sl st the back seam together to form the hood shape.
Assembly:
- Sew Sleeves: Sew the sleeves into the armholes.
- Attach Hood: Sew the hood to the neckline, ensuring it’s centered.
- Weave in Ends: Securely weave in all loose yarn ends.
- Add Buttons (Optional): If desired, add buttons to the front for closure. You can create button loops using chains on one side.
Tips for Success
- Check Your Gauge: Before starting, make a gauge swatch to ensure your finished piece will be the correct size. Adjust your hook size if necessary.
- Use Stitch Markers: Mark the beginning of rows and any important points in the pattern to avoid mistakes.
- Don’t Be Afraid to Customize: Get creative with colors, stripes, or even add little appliques!
- Take Your Time: Enjoy the process of creating this special garment.
Share Your Creations!
I would absolutely love to see your finished baby hoodies! Please feel free to share photos of your projects on [Your Social Media Platform] using [Your Hashtag]. Happy crocheting!