by
by 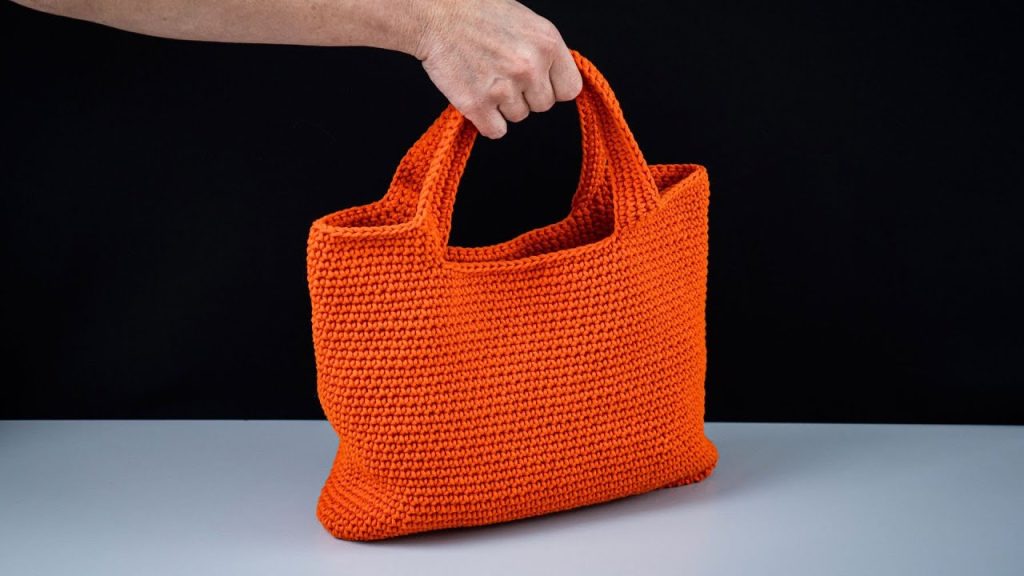
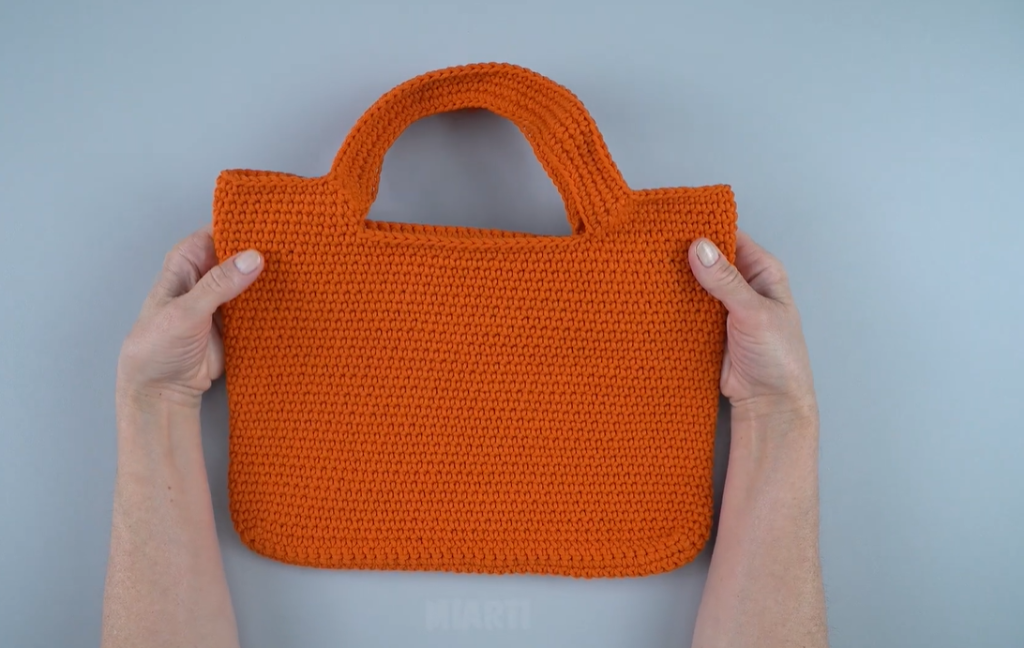
There’s nothing quite like the satisfaction of creating something beautiful and functional with your own hands. And when that something is a chic, versatile tote bag that can carry all your essentials, it’s even better! Today, I’m thrilled to share with you an original pattern for a sturdy and stylish crocheted bag, inspired by the lovely orange one you saw. This pattern is designed to be detailed, making it accessible for intermediate crocheters, but also a rewarding challenge for enthusiastic beginners.
This tote is perfect for a trip to the market, a day out with friends, or simply as your everyday go-to bag. The dense stitch creates a robust fabric, ensuring your bag will stand up to daily use, while the comfortable handles make it a joy to carry.
Materials You’ll Need:
Before we dive into the stitches, let’s gather our supplies!
- Yarn: Approximately 500-600 yards (450-550 meters) of a sturdy worsted weight (Aran/10 ply) cotton yarn. Cotton is excellent for bags as it’s durable and holds its shape well. For a similar look to the inspiration image, choose a vibrant orange, but feel free to pick your favorite color! (Example: Lion Brand 24/7 Cotton, Lily Sugar’n Cream Super Size)
- Crochet Hook: 5.0 mm (H/8) or size needed to obtain gauge. A slightly smaller hook than you might typically use for worsted weight yarn helps create a firmer fabric for the bag.
- Stitch Marker: Essential for working in the round.
- Yarn Needle: For weaving in ends.
- Scissors: For cutting yarn.
- (Optional) Fabric Liner: If you want to add extra structure or small pockets, a fabric liner can be sewn in after crocheting. This pattern does not include instructions for the liner.
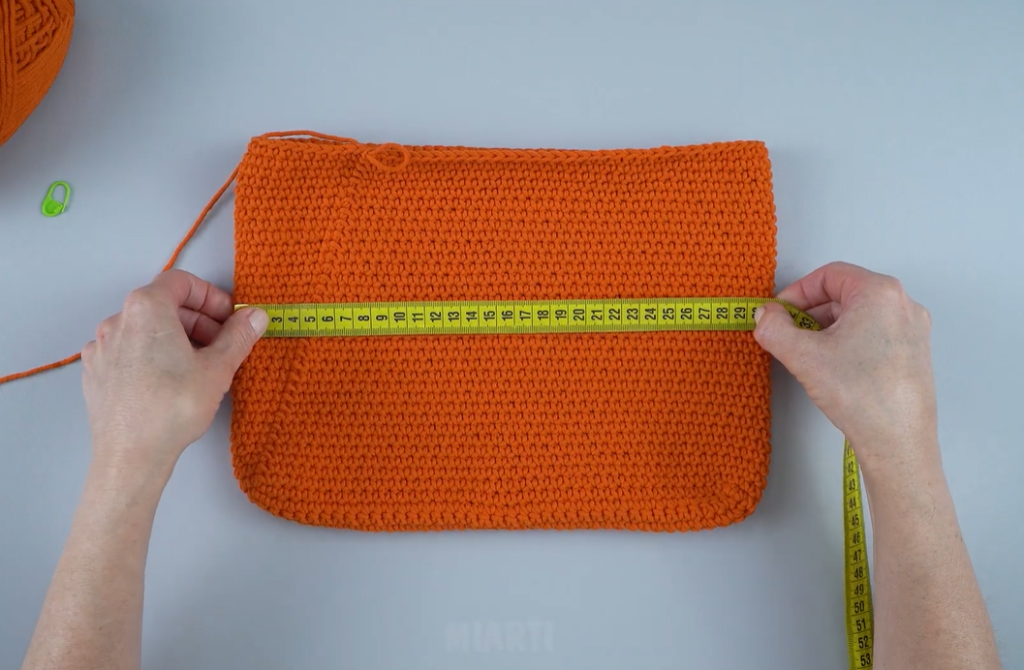
Gauge:
Getting the right gauge is important for ensuring your bag turns out the intended size and has the desired firmness.
- 14 single crochet (sc) stitches and 16 rows = 4 inches (10 cm)
Take a moment to make a swatch! If your swatch is too large, try a smaller hook. If it’s too small, try a larger hook.
Abbreviations:
- ch: chain
- st(s): stitch(es)
- sc: single crochet
- sl st: slip stitch
- inc: increase (2 single crochet in the same stitch)
- FO: fasten off
- PM: place marker
Pattern Notes:
- This bag is worked in the round from the bottom up.
- The base of the bag is an oval, and then the body is worked in continuous rounds (spirals) of single crochet.
- Do not join rounds for the main body unless specified. Use a stitch marker to keep track of the beginning of your rounds.
- Ch 1 at the beginning of rows does not count as a stitch.
- Stitch counts are provided at the end of each round.
Let’s Start Crocheting!
Part 1: The Base of the Bag (Oval)
We’ll begin by creating a sturdy oval base for our tote.
Foundation Chain: Ch 31.
Round 1: Sc in the 2nd ch from the hook. Sc in the next 28 chains. 3 sc in the last ch (this creates the curve). Now working down the opposite side of the foundation chain, sc in the next 28 chains. 2 sc in the very first chain where you made your initial sc (this completes the curve). Do not join, PM in the last sc made. (61 sc total if you count the “3 sc” as one turn and the “2 sc” as the other. For simplicity, just count the single crochet stitches made in each segment: 29 + 3 + 28 + 2 = 62 stitches). Stitch Count: 62 sts
Round 2: 1 sc in the first st. 1 inc in the next st. Sc in the next 27 sts. Inc in the next 3 sts. Sc in the next 27 sts. Inc in the next 2 sts. Do not join, PM. Stitch Count: 68 sts
Round 3: Sc in the next 2 sts. Inc in the next st. Sc in the next 27 sts. (Sc in the next st, inc in the next st) 3 times. Sc in the next 27 sts. (Sc in the next st, inc in the next st) 2 times. Do not join, PM. Stitch Count: 74 sts
Round 4: Sc in the next 3 sts. Inc in the next st. Sc in the next 27 sts. (Sc in the next 2 sts, inc in the next st) 3 times. Sc in the next 27 sts. (Sc in the next 2 sts, inc in the next st) 2 times. Do not join, PM. Stitch Count: 80 sts
Round 5: Sc in the next 4 sts. Inc in the next st. Sc in the next 27 sts. (Sc in the next 3 sts, inc in the next st) 3 times. Sc in the next 27 sts. (Sc in the next 3 sts, inc in the next st) 2 times. Do not join, PM. Stitch Count: 86 sts
Round 6: Sc in the next 5 sts. Inc in the next st. Sc in the next 27 sts. (Sc in the next 4 sts, inc in the next st) 3 times. Sc in the next 27 sts. (Sc in the next 4 sts, inc in the next st) 2 times. Do not join, PM. Stitch Count: 92 sts
Round 7: Sc in the next 6 sts. Inc in the next st. Sc in the next 27 sts. (Sc in the next 5 sts, inc in the next st) 3 times. Sc in the next 27 sts. (Sc in the next 5 sts, inc in the next st) 2 times. Do not join, PM. Stitch Count: 98 sts
Round 8: Sc in the next 7 sts. Inc in the next st. Sc in the next 27 sts. (Sc in the next 6 sts, inc in the next st) 3 times. Sc in the next 27 sts. (Sc in the next 6 sts, inc in the next st) 2 times. Do not join, PM. Stitch Count: 104 sts
Round 9: Sc in the next 8 sts. Inc in the next st. Sc in the next 27 sts. (Sc in the next 7 sts, inc in the next st) 3 times. Sc in the next 27 sts. (Sc in the next 7 sts, inc in the next st) 2 times. Do not join, PM. Stitch Count: 110 sts
Round 10: Sc in the next 9 sts. Inc in the next st. Sc in the next 27 sts. (Sc in the next 8 sts, inc in the next st) 3 times. Sc in the next 27 sts. (Sc in the next 8 sts, inc in the next st) 2 times. Do not join, PM. Stitch Count: 116 sts
Round 11: Sc in the next 10 sts. Inc in the next st. Sc in the next 27 sts. (Sc in the next 9 sts, inc in the next st) 3 times. Sc in the next 27 sts. (Sc in the next 9 sts, inc in the next st) 2 times. Do not join, PM. Stitch Count: 122 sts
Round 12: Sc in the next 11 sts. Inc in the next st. Sc in the next 27 sts. (Sc in the next 10 sts, inc in the next st) 3 times. Sc in the next 27 sts. (Sc in the next 10 sts, inc in the next st) 2 times. Do not join, PM. Stitch Count: 128 sts
You should now have a nice, flat oval base.
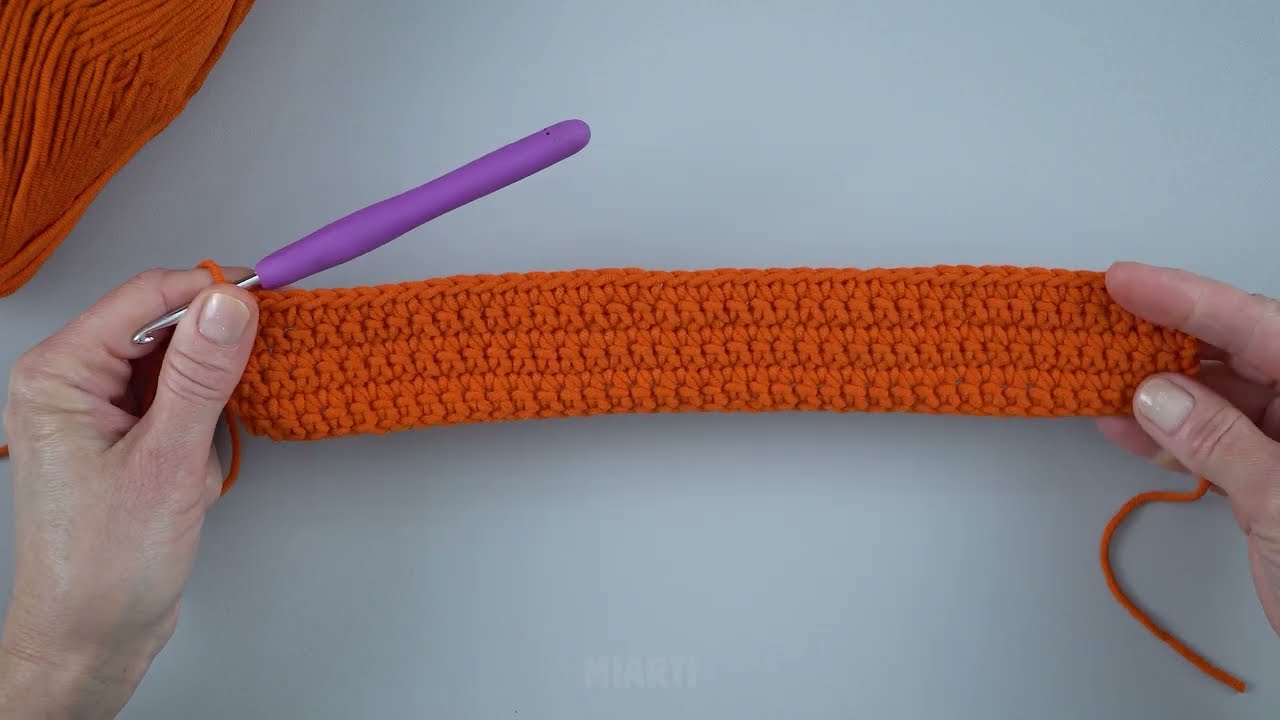
Part 2: Shaping the Body of the Bag
Now we’ll work upwards to create the walls of the bag. We will be working in continuous rounds of single crochet.
Round 13: Sc in the back loop only around. This creates a neat edge and helps the bag stand up straight. Remove PM, PM in last st. Stitch Count: 128 sts
Rounds 14-48 (or desired height): Sc in each st around. Continue working in a spiral, moving your stitch marker up with each round. Stitch Count: 128 sts per round
Note: For a bag similar to the image, approximately 35 rounds of single crochet will give you a good height. Feel free to adjust this number to make your bag taller or shorter.
At the end of your last full body round, work a few extra sc stitches until your work naturally reaches the middle of one of the shorter sides of the oval. This will be the back center of your bag, where we’ll start placing the handles. Sl st into the next stitch to join the round. Ch 1.
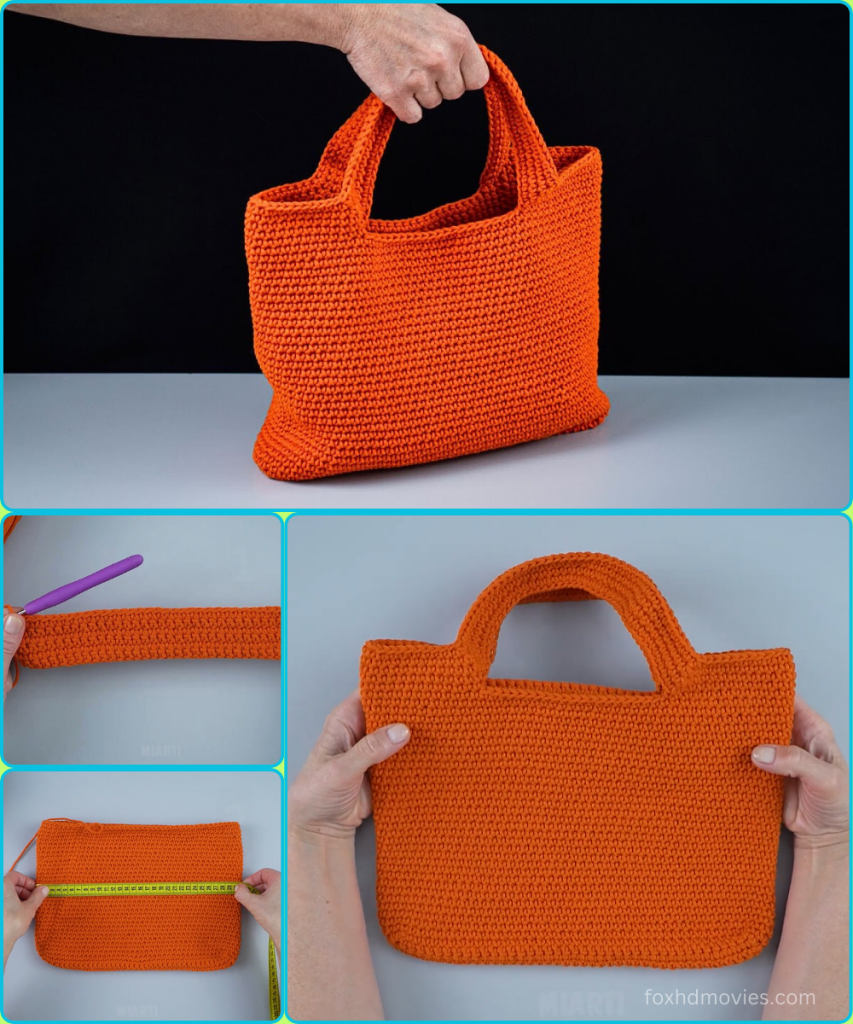
Part 3: Creating the Handles
The handles are integrated into the top edge of the bag. We’ll create two strong handles with a gap in between on the front and back.
Handle Placement Setup (Approximate): This is where we’ll divide the 128 stitches for the handles.
- Back Gap: 30 sts
- Handle 1: 34 sts
- Front Gap: 30 sts
- Handle 2: 34 sts
You might need to adjust these numbers slightly to ensure symmetry on your particular bag. Mark the stitches where you want your handles to begin and end. For example, from your slip stitch:
- Count 15 stitches, PM (beginning of back gap)
- Count 30 stitches from the first marker, PM (end of back gap/beginning of handle 1)
- Count 34 stitches from the second marker, PM (end of handle 1/beginning of front gap)
- Count 30 stitches from the third marker, PM (end of front gap/beginning of handle 2)
- Count 34 stitches from the fourth marker, PM (end of handle 2). This last marker should be very close to your starting sl st.
Round 1 (Handle Formation):
- Sc in the first 15 sts (this is your back gap).
- Ch 34 (this will be one of your handles). Skip the next 34 sts.
- Sc in the next 30 sts (this is your front gap).
- Ch 34 (this will be your second handle). Skip the next 34 sts.
- Sc in the next 15 sts (completing the back gap). Sl st to the first sc of the round to join. Ch 1. Stitch Count: 60 sc + 68 ch = 128 sts total
Round 2 (Reinforcing Handles):
- Sc in each of the 15 sc stitches from the previous round.
- Sc in each of the 34 chain stitches.
- Sc in each of the 30 sc stitches from the previous round.
- Sc in each of the 34 chain stitches.
- Sc in each of the 15 sc stitches from the previous round. Sl st to the first sc of the round to join. Ch 1. Stitch Count: 128 sts
Round 3: Sc in each st around. Sl st to the first sc of the round to join. Ch 1. Stitch Count: 128 sts
Round 4: Sc in each st around. Sl st to the first sc of the round to join. Ch 1. Stitch Count: 128 sts
Round 5: Sc in each st around. Sl st to the first sc of the round to join. Stitch Count: 128 sts
Video tutorial
Part 4: Finishing Touches
FO, leaving a long tail for weaving. Carefully weave in all your ends using your yarn needle. Take your time to ensure they are secure and hidden within the stitches.
Give your bag a gentle block if desired, though with cotton yarn and dense single crochet, it should hold its shape beautifully without much intervention.