by
by 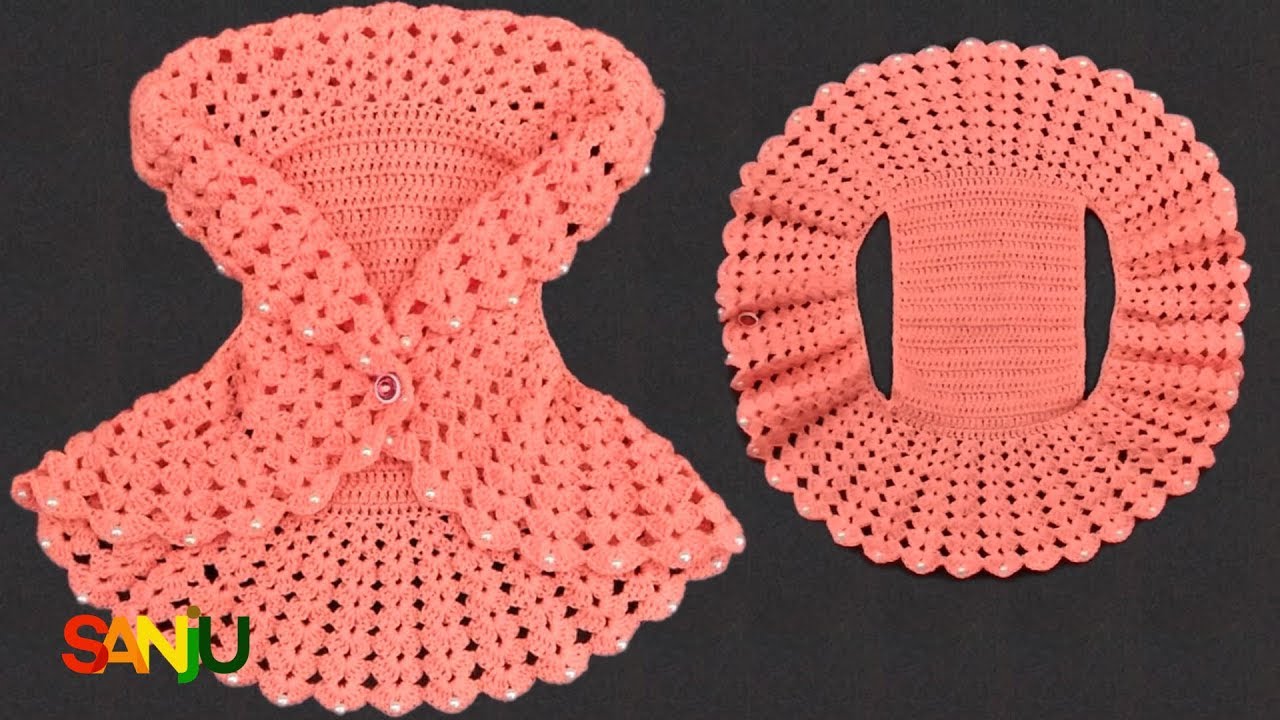
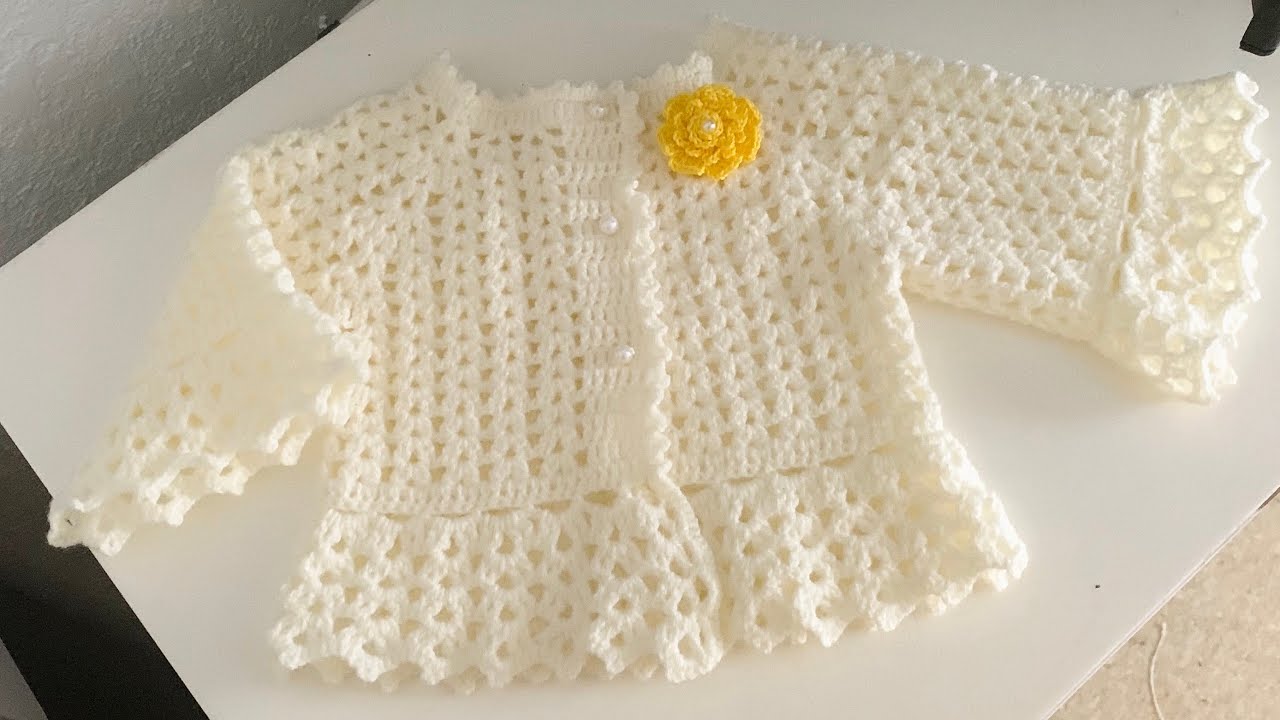
Welcome, new crochet adventurers! Are you ready to create something truly special with your own two hands? Today, we’re embarking on a heartwarming project: a simple and adorable crochet baby sweater. This pattern is designed with beginners in mind, using basic stitches and straightforward shaping to create a cozy garment perfect for welcoming a little one into the world.
Imagine the joy of gifting a handmade sweater, a tangible expression of your love and care. This pattern will guide you step-by-step, making the process enjoyable and the result something you’ll be proud of. So, grab your softest yarn and a comfy hook, and let’s crochet some snuggly warmth!
What You’ll Need:
- Soft Worsted Weight Yarn: Choose a yarn specifically designed for babies – it should be soft, hypoallergenic, and easy to care for. Approximately 300-400 yards should be sufficient for a small size.
- Crochet Hook Size H/8 (5.0 mm): This is a good starting point for worsted weight yarn. Check your yarn label for recommended hook size.
- Scissors: For snipping your yarn.
- Yarn Needle: For weaving in ends and seaming.
- Stitch Markers (optional but helpful): To mark the beginning of rounds or important shaping points.
- Measuring Tape: To check your gauge and the size of the sweater.
Video tutorial
Understanding the Basics: Our Friendly Stitches
This beginner-friendly sweater pattern relies on just a few fundamental crochet stitches:
- Chain (ch): The foundation of our project.
- Single Crochet (sc): Creates a dense fabric, often used for edgings or smaller details.
- Half Double Crochet (hdc): Our main stitch for the body of the sweater – it’s quick to work up and creates a lovely texture.
- Slip Stitch (sl st): Used for joining rounds and creating neat edges.
The Pattern: Creating a Cozy Classic
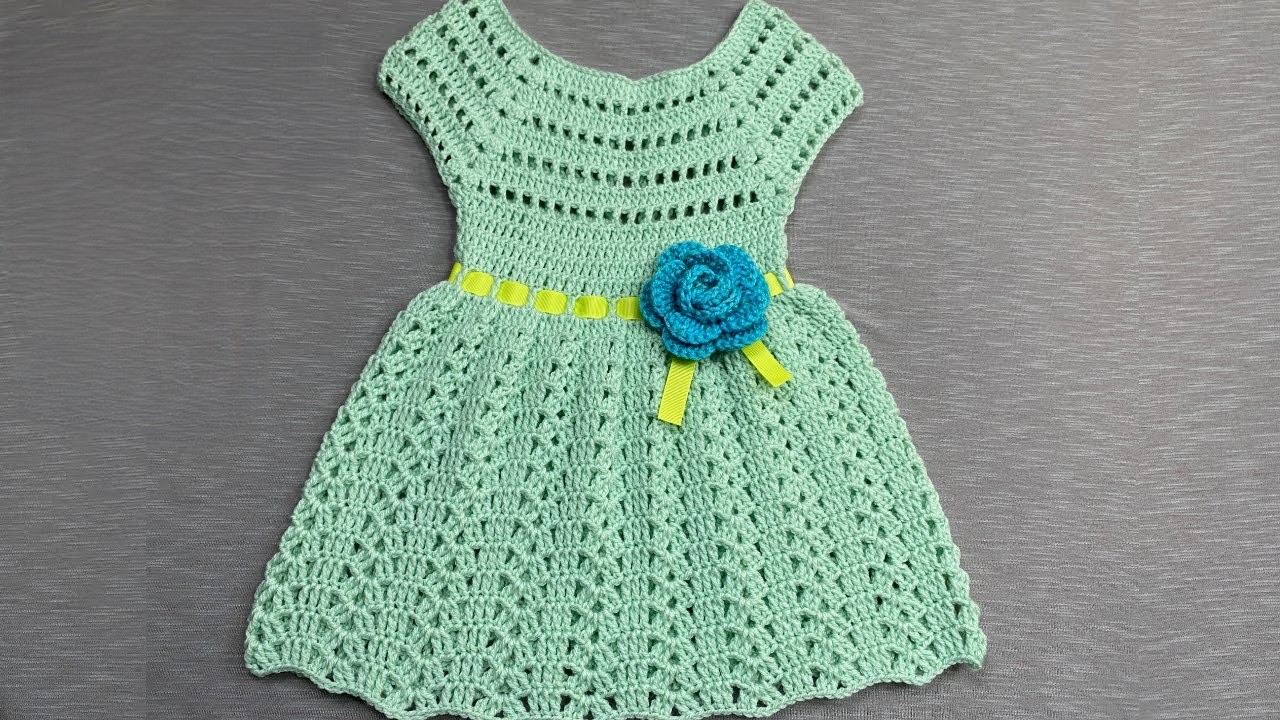
This pattern is for a basic, round-yoke baby sweater, worked from the top down. This construction method eliminates the need for complex seaming of the body.
Yoke (Top Round Section):
- Neckline: Chain 60 (adjust this number slightly if you want a smaller or larger neck opening. Make sure it’s a multiple of 4). Join with a slip stitch to the first chain to form a ring. Be careful not to twist the chain.
- Round 1: Chain 2 (does not count as a stitch), half double crochet (hdc) in each chain around. Join with a slip stitch to the first hdc. (60 hdc)
- Round 2: Chain 2, hdc in the same stitch. Chain 1, skip the next stitch, hdc in the next stitch. Repeat from * to around. Chain 1, join with a slip stitch to the first hdc. (30 hdc, 30 ch-1 spaces)
- Round 3: Chain 2, hdc in the same stitch. Hdc in the next ch-1 space, hdc in the next hdc. Repeat from * to around. Join with a slip stitch to the first hdc. (60 hdc)
- Round 4 (Increase Round): Chain 2, 2 hdc in the same stitch. Hdc in the next 2 hdc, 2 hdc in the next hdc. Repeat from * to around. Join with a slip stitch to the first hdc. (80 hdc)
- Round 5: Chain 2, hdc in each stitch around. Join with a slip stitch to the first hdc. (80 hdc)
- Round 6 (Increase Round): Chain 2, hdc in the first stitch, 2 hdc in the next stitch. Hdc in the next 3 hdc, 2 hdc in the next hdc. Repeat from * to around. Join with a slip stitch to the first hdc. (100 hdc)
- Round 7: Chain 2, hdc in each stitch around. Join with a slip stitch to the first hdc. (100 hdc)
- Round 8 (Increase Round): Chain 2, hdc in the first 2 stitches, 2 hdc in the next stitch. Hdc in the next 4 hdc, 2 hdc in the next hdc. Repeat from * to around. Join with a slip stitch to the first hdc. (120 hdc)
- Round 9: Chain 2, hdc in each stitch around. Join with a slip stitch to the first hdc. (120 hdc)
- Round 10 (Armhole Separation): Chain 2, hdc in the next 18 hdc (right front). Chain 6 (for armhole). Skip the next 24 hdc (right sleeve). Hdc in the next 36 hdc (back). Chain 6 (for armhole). Skip the next 24 hdc (left sleeve). Hdc in the last 18 hdc (left front). Join with a slip stitch to the first hdc. (18 hdc, 6 ch, 36 hdc, 6 ch, 18 hdc)
Body:
- Round 11: Chain 2, hdc in each of the 18 hdc, hdc in each of the 6 chain stitches, hdc in each of the 36 hdc, hdc in each of the 6 chain stitches, hdc in each of the last 18 hdc. Join with a slip stitch to the first hdc. (84 hdc)
- Rounds 12-30 (or desired length): Chain 2, hdc in each stitch around. Join with a slip stitch to the first hdc. (Continue working in rounds until the body of the sweater reaches your desired length. You can try it on a baby mannequin or refer to sizing charts.)
- Bottom Edging (Optional): You can finish the bottom edge with a round of single crochet or a simple picot edge (ch 3, sl st in the first ch).
Sleeves (Work in Rounds):
- Round 1: Join yarn with a slip stitch in any stitch of one of the armhole chain spaces. Chain 2, hdc in each of the 6 chain stitches and in each of the skipped sleeve stitches from the yoke. Join with a slip stitch to the first hdc. (Approximately 30 hdc – adjust based on your tension and yoke size).
- Rounds 2-15 (or desired length): Chain 2, hdc in each stitch around. Join with a slip stitch to the first hdc. (You can decrease stitches towards the cuff if you want a tapered sleeve. For example, every few rounds, you could work a hdc2tog (half double crochet two together) evenly spaced).
- Cuff Edging (Optional): Finish the cuff with a round of single crochet or a simple picot edge.
- Repeat steps for the other sleeve.
Finishing Touches:
- Weave in all loose ends securely using your yarn needle.
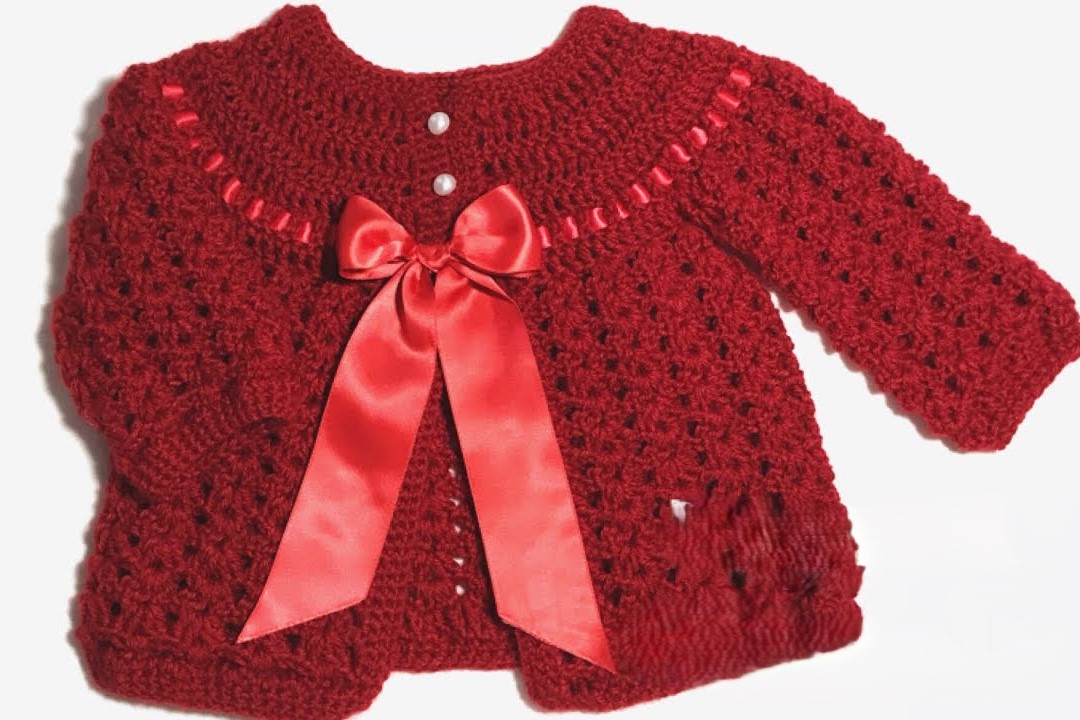
- Optional: Add buttons or ties to the front of the sweater for closure. You can create simple crochet ties by making a chain of your desired length and attaching it to each side of the front opening. For buttons, make small buttonholes by skipping a stitch or two in one of the front panels.
- Blocking (Optional but Recommended): Gently hand wash your finished sweater and lay it flat to dry, shaping it as you go. This helps the stitches relax and the sweater to hold its shape.
Tips for Success:
- Check Your Gauge: While not critical for a baby sweater, checking your gauge (the number of stitches and rows per inch) can help you ensure the finished size is close to what you intended.
- Use Stitch Markers: Place stitch markers at the beginning of each round to help you keep track of your progress, especially in the yoke.
- Count Your Stitches: Regularly count your stitches to avoid accidental increases or decreases, which can distort the shape of the sweater.
- Don’t Be Afraid to Adjust: If you find the neck opening too large or small, you can adjust the initial chain count. Similarly, you can add or subtract rounds in the body and sleeves to achieve the desired length.
- Embrace Mistakes: Everyone makes mistakes when learning! Don’t be discouraged; simply frog (undo) the incorrect stitches and try again.
- Enjoy the Process: Crocheting should be a relaxing and enjoyable experience. Put on some music or a podcast and savor the creation process.
Share Your Snuggly Creations!