 by
by 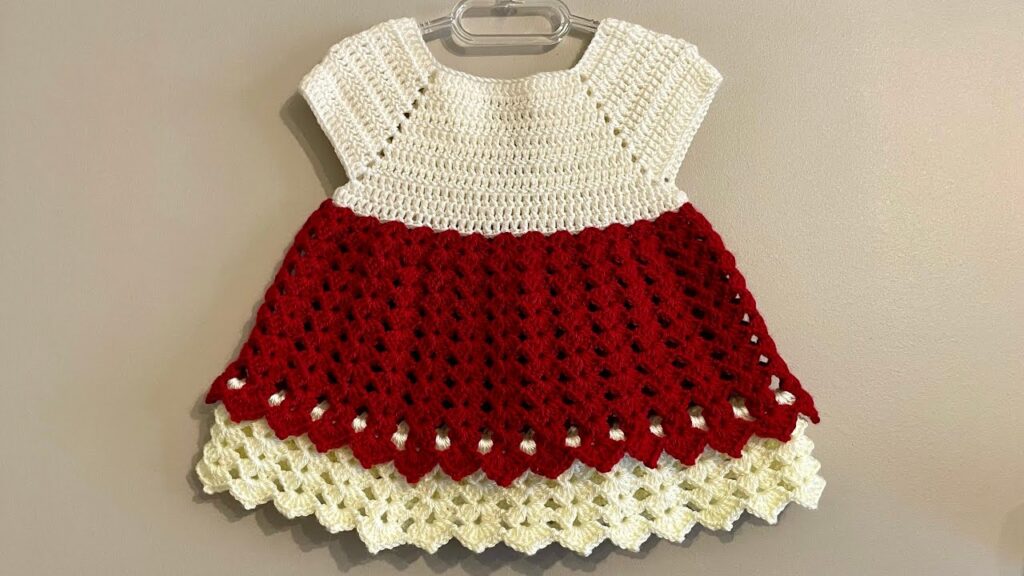
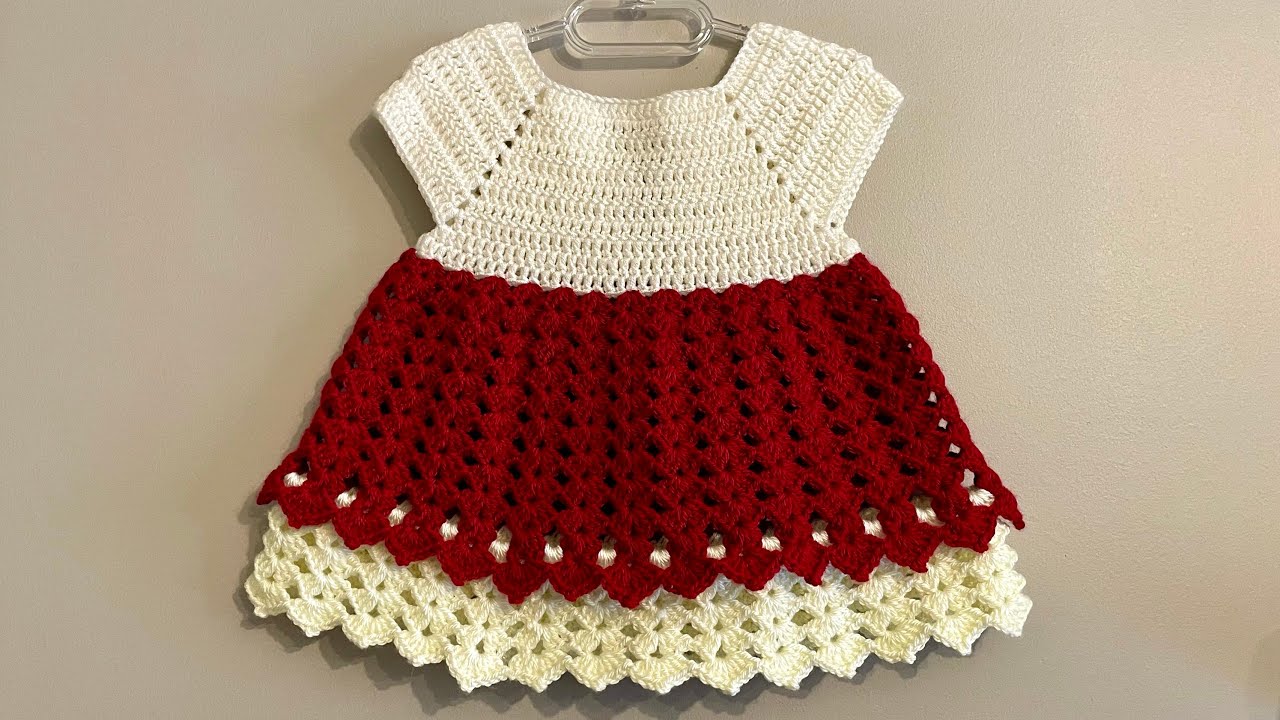
Get ready to crochet an absolutely adorable dress perfect for special occasions, holidays, or just adding a touch of sweetness to a little one’s wardrobe! This two-tone design features a classic cream yoke and a vibrant red skirt with a beautiful lacy shell stitch. The contrasting cream ruffle peeking out from underneath adds a delightful touch.
This pattern is written for a 0-3 month size, but can be easily adapted for larger sizes by adding more increase rounds to the yoke and more rounds to the skirt.
Skill Level:
Easy to Intermediate
Materials:
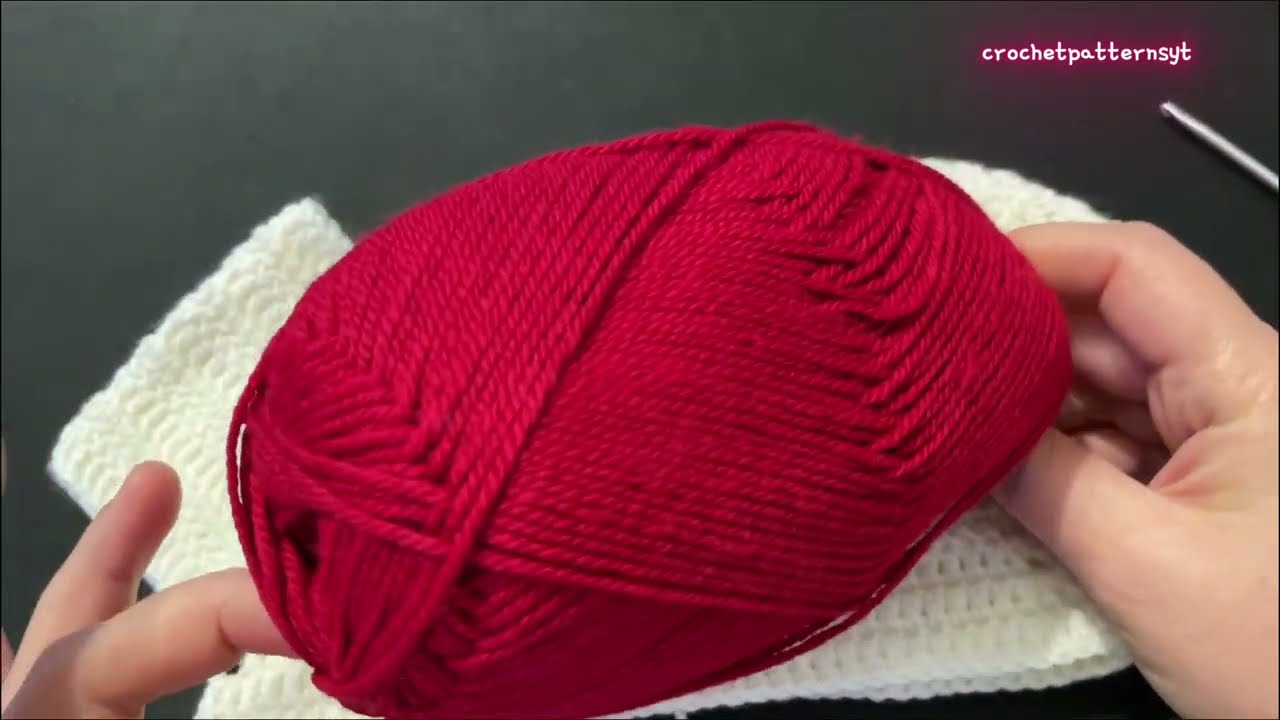
- Yarn: DK weight yarn (Light Worsted / #3)
- Color A: Cream/Off-white (approx. 100-150g)
- Color B: Red (approx. 150-200g)
- Hook: 4.0 mm (G/6) crochet hook
- Scissors
- Yarn needle
- Stitch markers (optional, but helpful for yoke increases and armholes)
Abbreviations (US Terms):
- ch: chain
- sl st: slip stitch
- st(s): stitch(es)
- sc: single crochet
- dc: double crochet
- sk: skip
- sp: space
- rep: repeat
- FO: fasten off
- RS: Right Side
- WS: Wrong Side
Gauge:
4 rows of 16 dc = 4 inches (10 cm)
(Please check your gauge! It’s important for sizing and ensuring the dress fits as intended.)
Pattern Notes:
- The dress is worked from the top down.
- The ch 2 at the beginning of each dc row counts as a dc.
- Each round is joined with a sl st to the top of the beginning ch 2.
- We will be increasing the stitches in the yoke to create a flat, circular shape before separating for the armholes.
Pattern Instructions
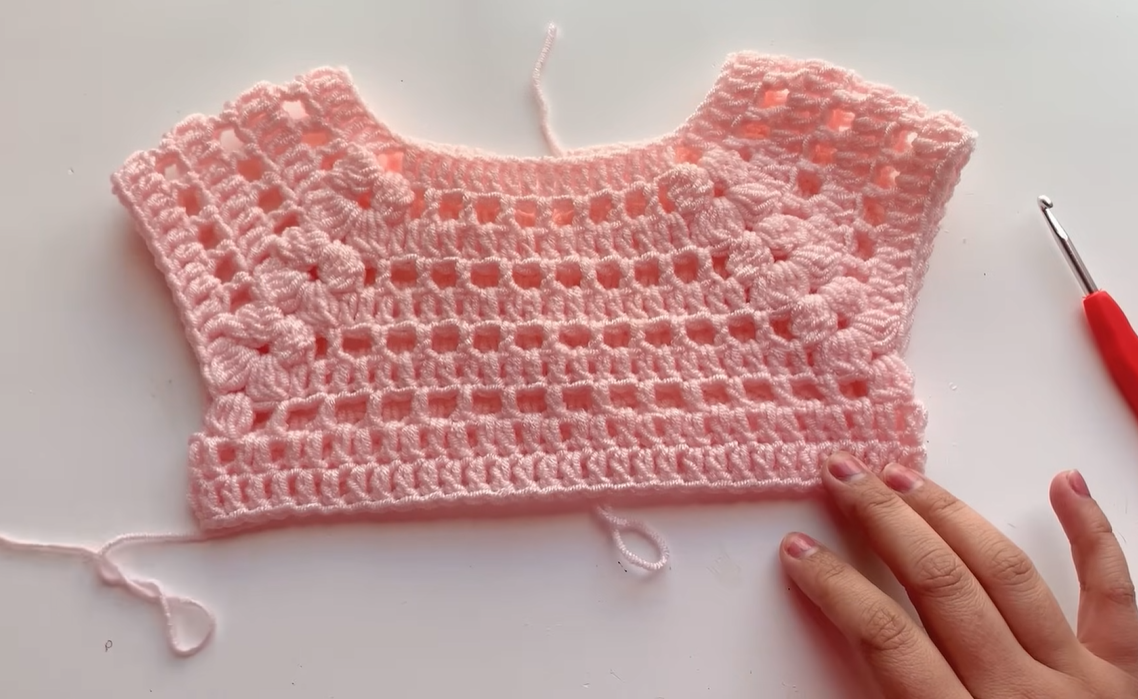
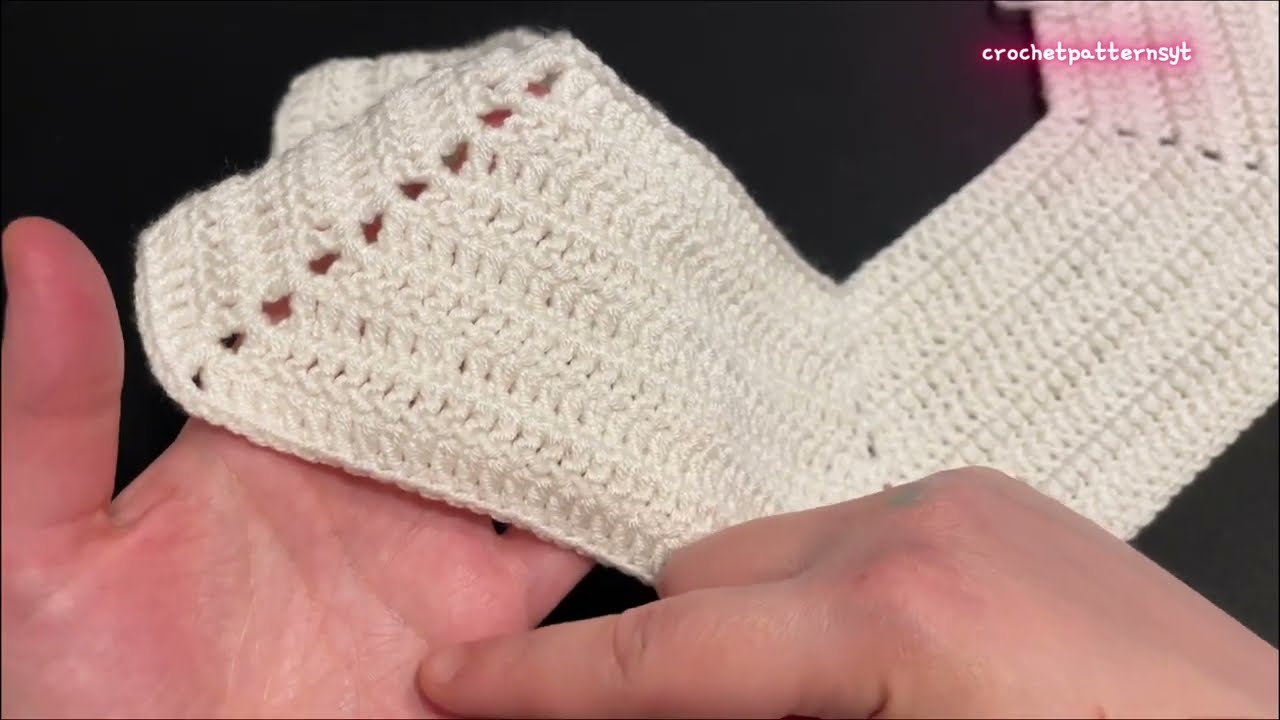
Part 1: The Yoke (Color A: Cream/Off-white)
Row 1: Ch 62. Join with a sl st to the first ch to form a circle. Ch 2 (counts as a dc), dc in the next 61 ch. Join with a sl st to the top of the beginning ch 2. (62 sts)
Round 2: Ch 2, dc in the same st. *Dc in the next 3 sts, 2 dc in the next st.* Rep from * to * around. Join with a sl st. (77 sts)
Round 3: Ch 2, dc in the same st. *Dc in the next 4 sts, 2 dc in the next st.* Rep from * to * around. Join with a sl st. (92 sts)
Round 4: Ch 2, dc in the same st. *Dc in the next 5 sts, 2 dc in the next st.* Rep from * to * around. Join with a sl st. (107 sts)
Round 5: Ch 2, dc in the same st. *Dc in the next 6 sts, 2 dc in the next st.* Rep from * to * around. Join with a sl st. (122 sts)
Round 6: Ch 2, dc in the same st. *Dc in the next 7 sts, 2 dc in the next st.* Rep from * to * around. Join with a sl st. (137 sts)
Round 7: Ch 2, dc in the same st. *Dc in the next 8 sts, 2 dc in the next st.* Rep from * to * around. Join with a sl st. (152 sts)
Note: For a larger yoke (and dress size), continue adding increase rounds, increasing the number of dc stitches between the 2 dc increase stitches by one in each subsequent round (e.g., for Round 8, it would be “dc in next 9 sts, 2 dc in next st”).
Part 2: Separating for the Sleeves (Color A: Cream/Off-white)
Now we will create the armholes by joining the front and back sections.
Round 8 (Divide for Armholes): Ch 2, dc in the next 20 sts (front panel). Ch 5, sk 35 sts (first armhole). Dc in the next 42 sts (back panel). Ch 5, sk 35 sts (second armhole). Join with a sl st to the top of the beginning ch 2.
Note: This creates 21 sts for the front (including the first ch 2), and 42 sts for the back. The ch 5 creates the underarm opening.
Part 3: The Skirt (Color B: Red)
Now we begin the main skirt with the beautiful shell stitch pattern.
Round 9: Join Color B (Red) with a sl st to the first st of Round 8. Ch 2, dc in each st around, including working 5 dc into each of the two ch-5 spaces. Join with a sl st to the top of the beginning ch 2. (Total stitches should be: 21 (front) + 5 (ch-sp) + 42 (back) + 5 (ch-sp) = 73 sts. Double-check your count here.)
Round 10 (Shell Stitch): Ch 2, sk 1 st, *(dc, ch 1, dc) in the next st, sk 2 sts*. Rep from * to * around, ending with sk 1 st. Sl st to join in the first dc of the round.
Round 11: Sl st into the first ch-1 sp. Ch 2, *(dc, ch 1, dc) in the next ch-1 sp*. Rep from * to * around. Join with a sl st to the first dc of the round.
Rounds 12 – 25: Rep Round 11 until the red skirt reaches your desired length.
Note: You can adjust the length of the red skirt by adding or subtracting rounds here. For the dress pictured, it’s a good length to allow the cream ruffle to show clearly.

Part 4: The Bottom Ruffle (Color A: Cream/Off-white)
Now we will add the lovely cream ruffle that peeks out from the bottom.
Turn the red dress upside down so you are working into the starting chains of the red skirt (where you joined Color B in Round 9).
Round 26 (Ruffle Base): Join Color A (Cream/Off-white) with a sl st into any dc stitch from Round 8 (the last round of the yoke where you joined the skirt). Ch 2, dc in each dc stitch around Round 8. Join with a sl st to the top of the beginning ch 2. (73 sts – the same stitch count as Round 9 of the skirt)
Round 27 (Ruffle Shells): Ch 2, sk 1 st, *(dc, ch 1, dc) in the next st, sk 2 sts*. Rep from * to * around, ending with sk 1 st. Sl st to join in the first dc of the round.
Round 28: Sl st into the first ch-1 sp. Ch 2, *(dc, ch 1, dc) in the next ch-1 sp*. Rep from * to * around. Join with a sl st to the first dc of the round.
Rounds 29 – 30: Rep Round 28 for two more rounds, or until your ruffle reaches the desired length to peek out from under the red skirt.
Part 5: Edging (Color A: Cream/Off-white)
To finish both the red skirt and the cream ruffle, we will add a pretty scalloped border.
For the Red Skirt Edge:
Round 31 (Red Edging): With Color B (Red), Ch 1, sc in the first st. *Sk 2 sts, (5 dc) in the next st, sk 2 sts, sc in the next st.* Rep from * to * around. Sl st to join and FO.
For the Cream Ruffle Edge:
Round 32 (Cream Edging): With Color A (Cream/Off-white), Ch 1, sc in the first st of the last ruffle round. *Sk 2 sts, (5 dc) in the next st, sk 2 sts, sc in the next st.* Rep from * to * around. Sl st to join and FO.
Video tutorial
Finishing:
- Weave in all loose ends with your yarn needle.
- Gently block the dress to shape the stitches and help the skirt and ruffle lay nicely.
And there you have it! A beautiful, festive crochet baby dress, perfect for any little one. This dress is sure to be a treasured handmade gift.
Don’t forget to share your finished project! Tag me on social media so I can see your lovely creation. Happy crocheting!