 by
by 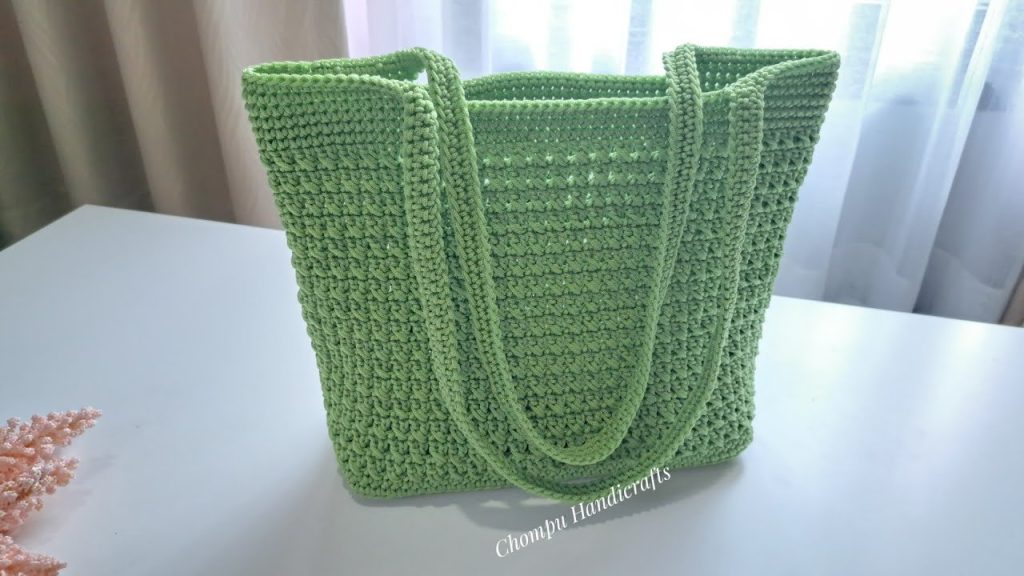
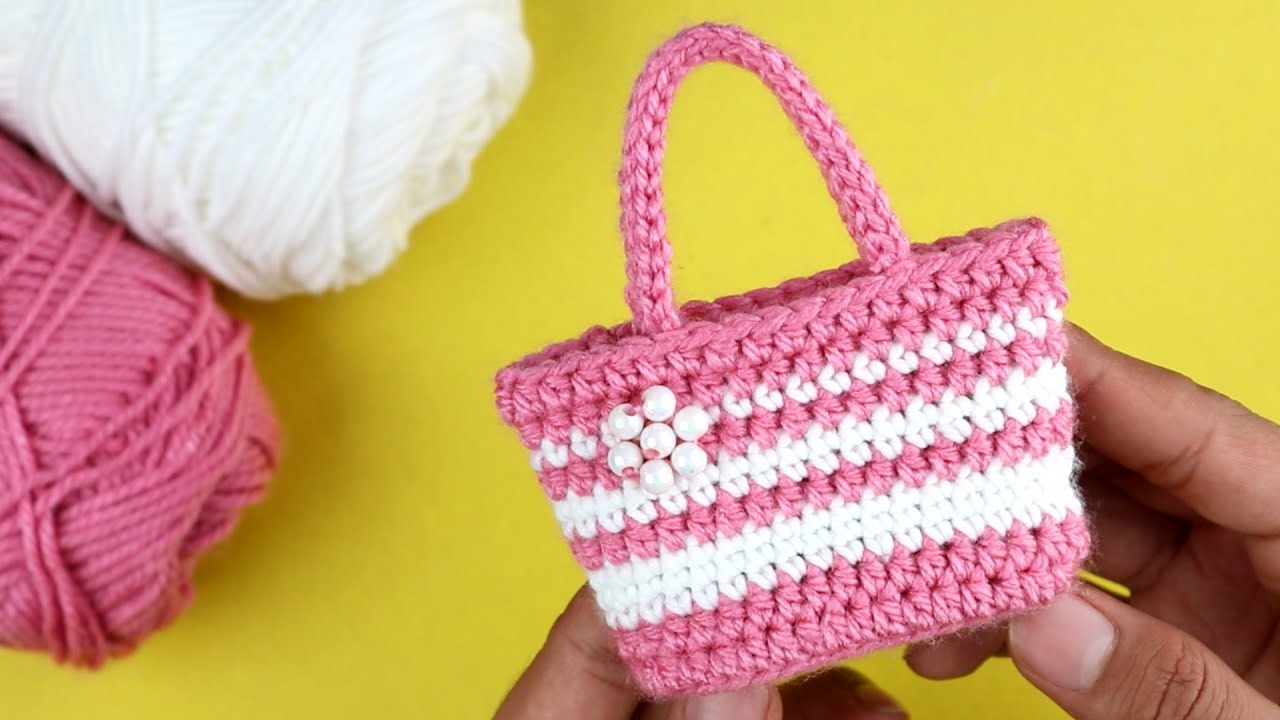
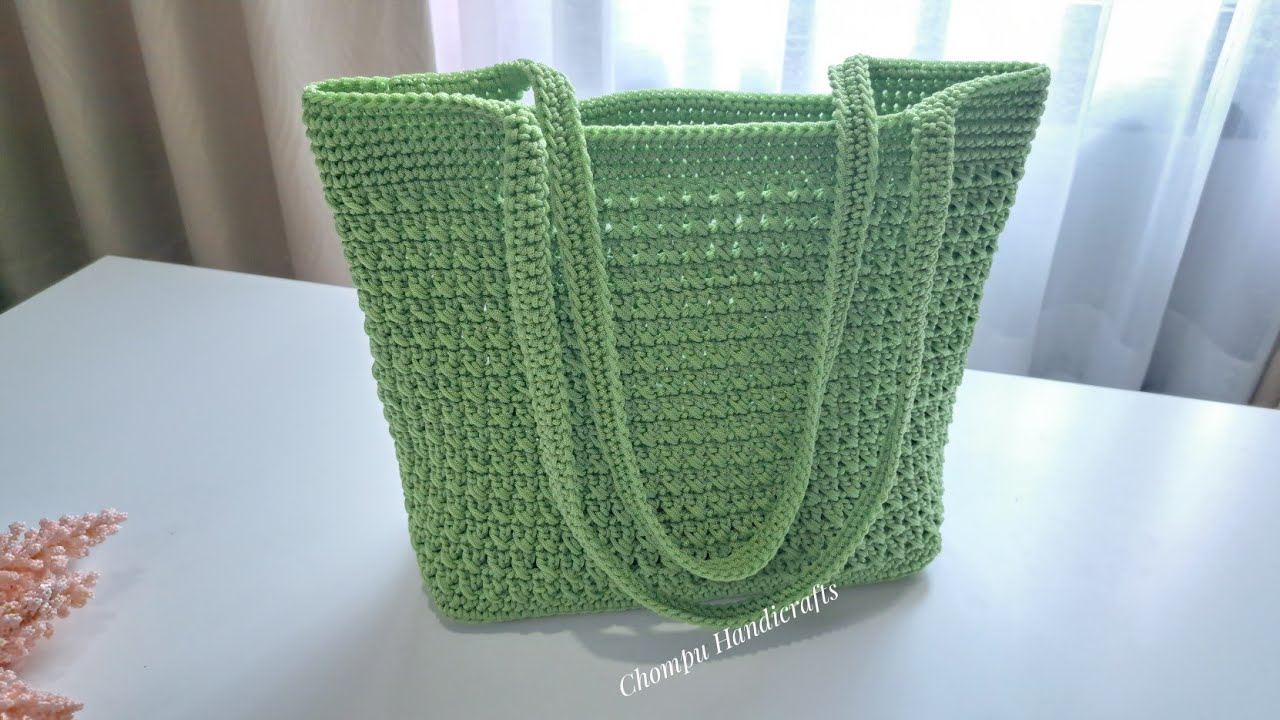
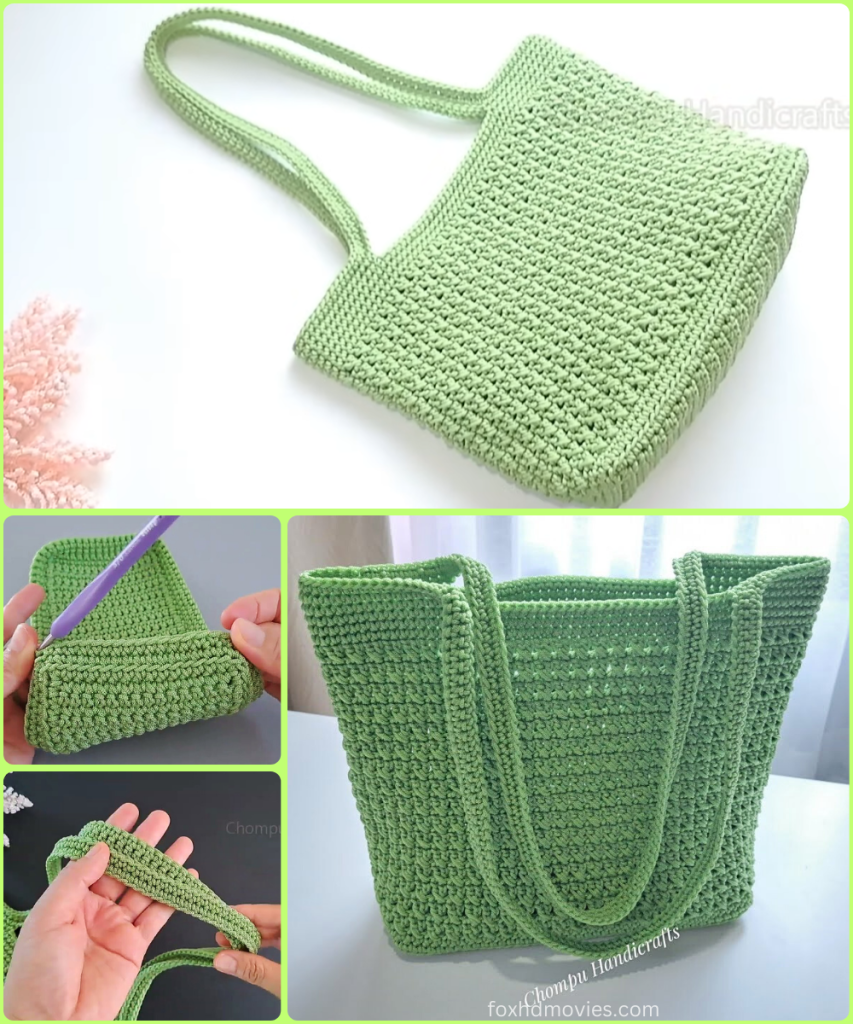
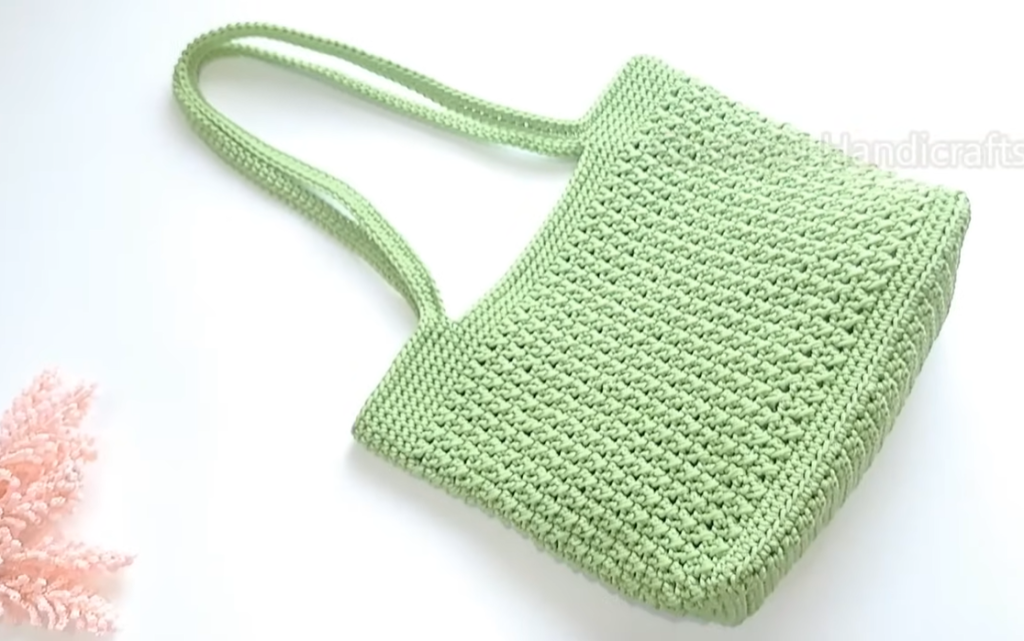
Crochet isn’t just for blankets and cozy sweaters; it’s perfect for creating beautiful and functional accessories, too! This charming tote bag is a fantastic project that results in a sturdy, stylish accessory ideal for carrying your daily essentials, yarn projects, or a trip to the market. The dense, textured stitch pattern provides excellent structure, and the seamless, integrated handles make it both comfortable and durable.
Let’s get our hooks ready and create a tote bag you’ll be proud to carry!
Skill Level: Intermediate
Materials You’ll Need:
- Approximately 500-600 yards of bulky (size 5) or chunky (size 6) yarn in your desired color (cotton or a cotton blend is excellent for a sturdy bag). The bag in the image appears to be made with a bulky yarn or possibly two strands of worsted-weight yarn held together.
- A crochet hook appropriate for your yarn. For bulky yarn, a size K/10.5 (6.5mm) or L/11 (8.0mm) hook would be a good starting point.
- Scissors
- Yarn needle for weaving in ends
- Stitch markers (optional, but helpful for keeping track of rounds)
Key Stitches and Abbreviations:
- ch: chain
- st(s): stitch(es)
- sl st: slip stitch
- sc: single crochet
- dc: double crochet
- hdc: half double crochet
- inc: increase (2 stitches in the same stitch)
- rnd: round
Pattern Instructions:
Part 1: The Base
The base is worked in the oval shape to create a flat bottom for the bag. We will use a combination of single and half double crochet for a sturdy, dense base.
- Row 1: ch 30. Starting in the 2nd ch from hook, hdc in each of the next 28 ch. In the last ch, work 3 hdc. Now, continue working along the other side of the starting chain. Hdc in each of the next 28 ch. In the last ch (the one you started in), work 2 hdc. Join with a sl st to the first hdc. (62 sts)
- Rnd 2: ch 1. Hdc in each of the next 28 sts. inc (2 hdc in one st) in each of the next 3 sts. Hdc in each of the next 28 sts. inc in each of the next 2 sts. Join with a sl st to the first hdc. (67 sts)
- Rnd 3: ch 1. Hdc in each of the next 29 sts. inc in each of the next 3 sts. Hdc in each of the next 31 sts. inc in each of the next 3 sts. Join with a sl st to the first hdc. (73 sts)
- Continue increasing evenly at the ends of the oval until your base reaches the desired size, approximately 10-12 inches long and 4-5 inches wide. The goal is a flat, sturdy oval.
Part 2: The Body (Texture Stitch)
The body is worked in continuous rounds without joining to create the basket-weave texture seen in the image. The pattern is a simple two-round repeat.

- Rnd 1: ch 1. Working in the back loop only, sc in each st around. This will create a defined ridge between the base and the body of the bag. Do not join, continue in a spiral.
- Rnd 2: sc, dc in the same st. Skip the next st. Repeat from * around. You will be working an sc and a dc into the same stitch, then skipping the next stitch.
- Rnd 3: The pattern for this round is slightly different to create the texture. You will now be working your sc, dc pair into the skipped stitch from the previous round. Sc in the first st from the previous round. sc, dc into the dc from the previous round. Skip the next stitch. sc, dc into the dc from the previous round.
- Rnd 4 & onwards: Repeat Rnd 3 until the body of your bag reaches the desired height (e.g., 10-12 inches). The bag in the image has a height similar to its width, giving it a spacious, square-like shape.
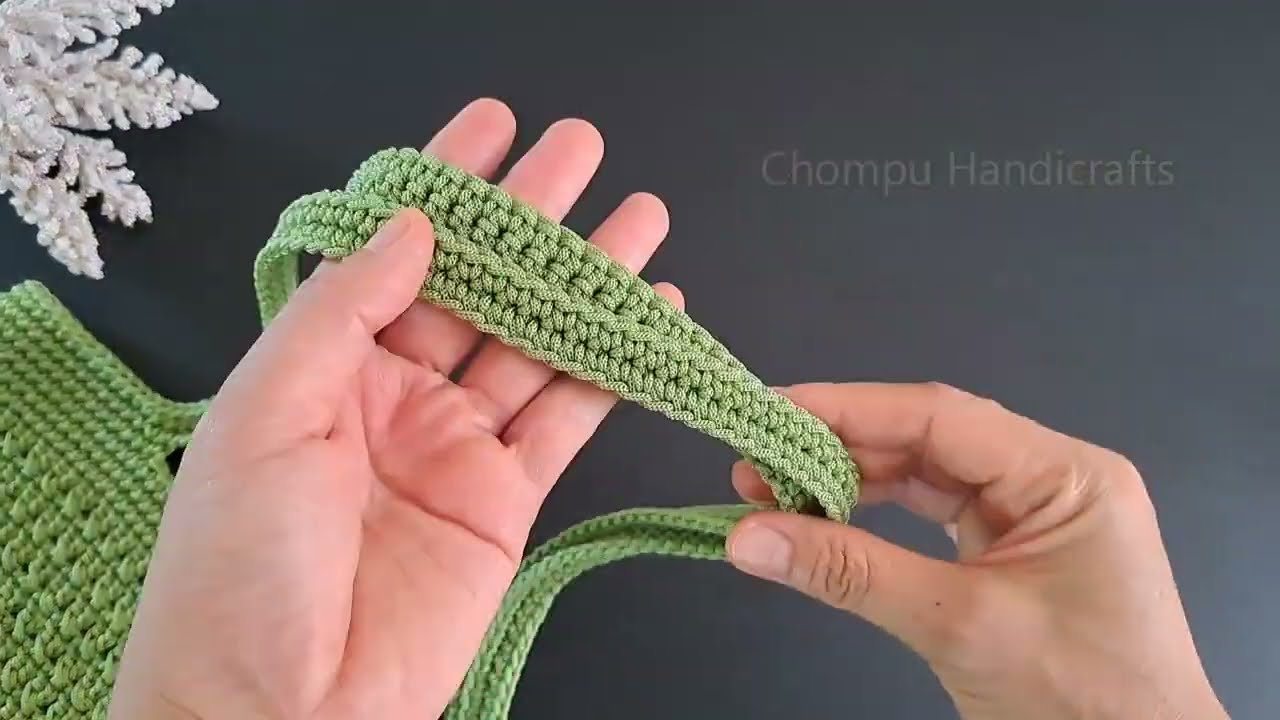
Part 3: The Handles
The handles are integrated into the final rounds of the bag, making them exceptionally strong.
- Setup Rnd: Work a round of single crochet stitches to create a neat top edge. Mark the stitches where you want your handles to be. For example, if you have 80 stitches around, place a marker at stitch 15 and 35 for the front handle, and at stitch 55 and 75 for the back handle. The handles in the image are wide and close to the side seams, so adjust your stitch count accordingly.
- Handle Rnd 1: sc to your first marker. ch 20 (or more, for a longer handle). Skip the stitches to your next marker. sc to your third marker. ch 20. Skip the stitches to your fourth marker. sc to the end of the round.
- Handle Rnd 2: Continue with sc, working around the bag. When you reach the ch-20 space, sc in each of the 20 chains. Continue with sc around the body, and sc in each of the 20 chains of the second handle.
- Handle Rnd 3: Work a round of sl sts around the entire top edge of the bag, including over the handles. This creates a beautifully finished and reinforced edge. Fasten off.
Finishing Touches:
- Weave in all your loose ends securely using your yarn needle.
- Give your bag a gentle steam or press to help it take its final shape and make the stitches look tidy.
You’re Done!
Video tutorial
Congratulations! You’ve just crocheted a beautiful, sturdy, and practical tote bag. Fill it with your essentials and enjoy your unique, handmade accessory.
Share your finished bags with me on social media using #CrochetTotePattern—I’d love to see your color choices! Happy crocheting!