by
by 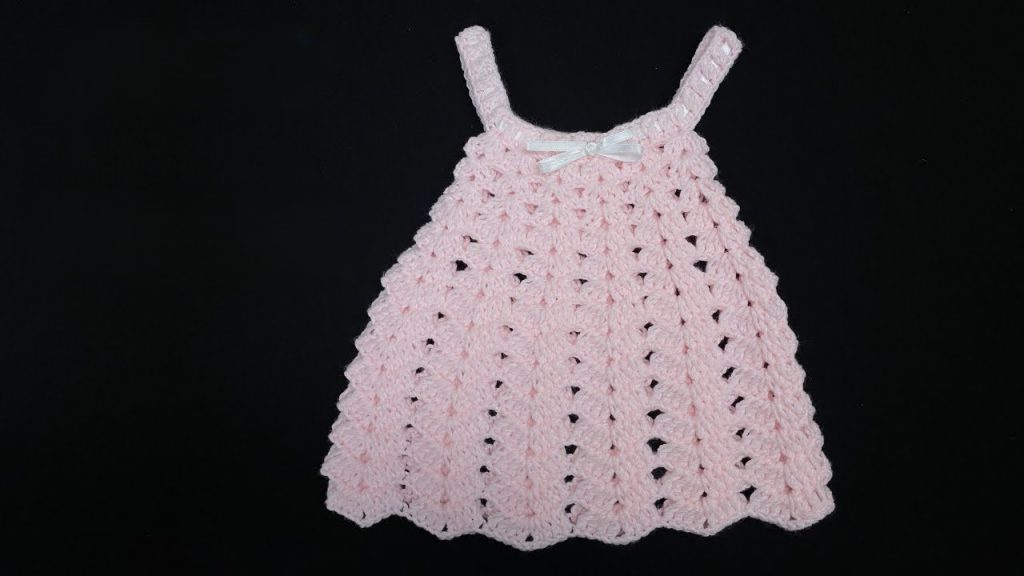
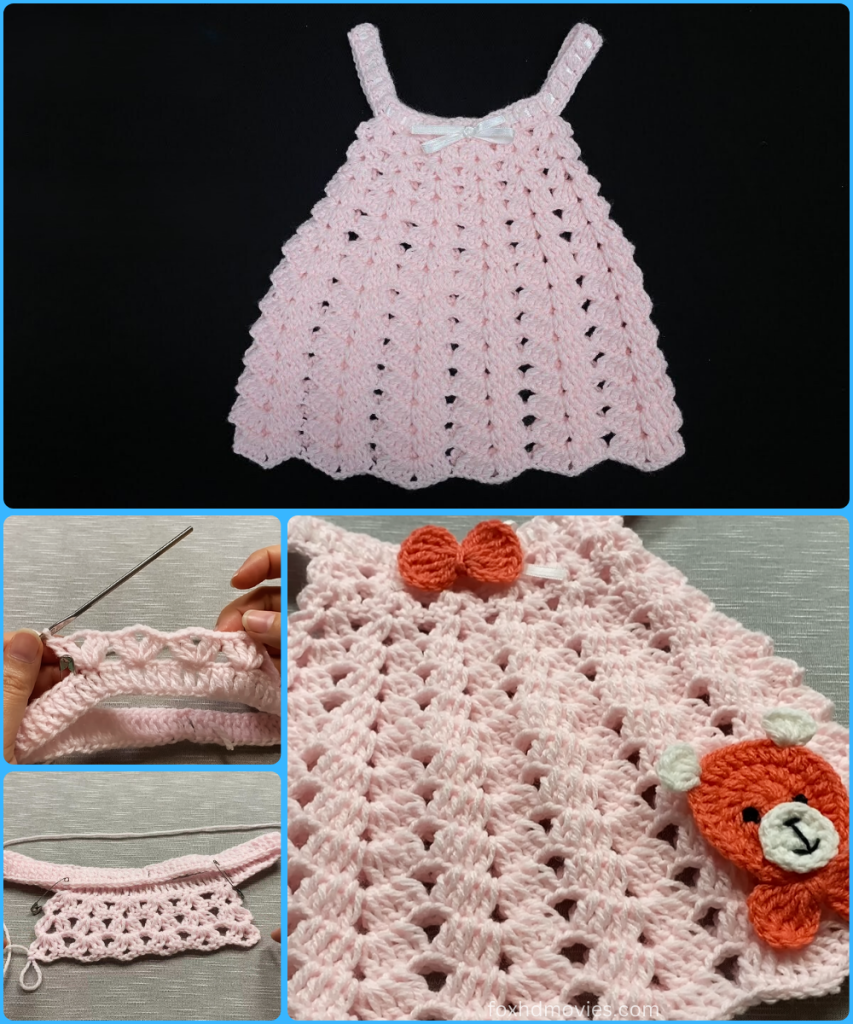
Crocheting a dress for a baby girl is a timeless project, creating a beautiful and cherished garment that can be passed down for generations. This detailed tutorial will walk you through the process of crocheting a sweet and simple dress designed to fit a baby girl from approximately 3 to 6 months old. The finished result is a stunning dress with a beautiful fan stitch pattern and a delicate look, perfect for a baby shower gift, a special occasion, or a beautiful photoshoot.
Materials You’ll Need
- Yarn: A lightweight, baby-friendly yarn. The video uses a 3mm thick yarn, which is equivalent to a DK or light worsted weight yarn.
- Crochet Hook: A 2.75mm crochet hook. Using the correct hook size is crucial for achieving the right gauge and a delicate fabric.
- Scissors
- Stitch Markers
- Ribbon: A small piece of ribbon for a decorative touch at the top of the dress.
- Embroidery Needle: For weaving in ends and attaching decorations.
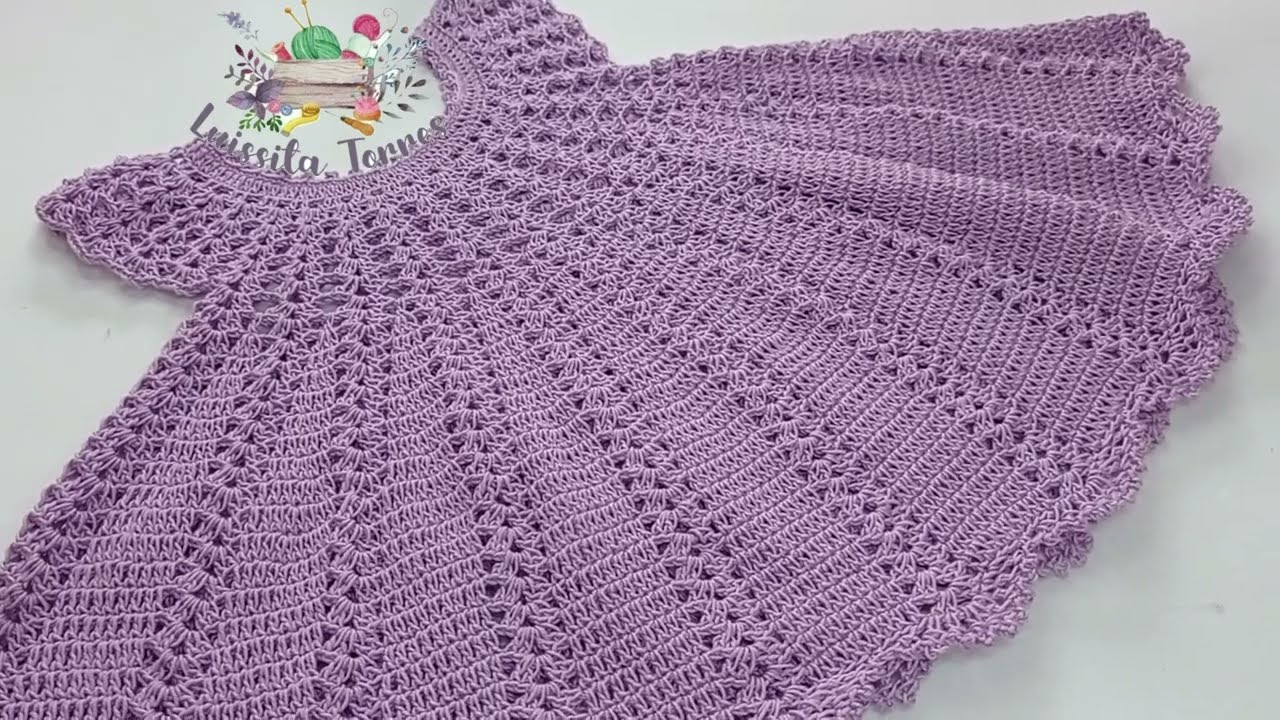
Part 1: The Yoke – A Foundation of Fan Stitches
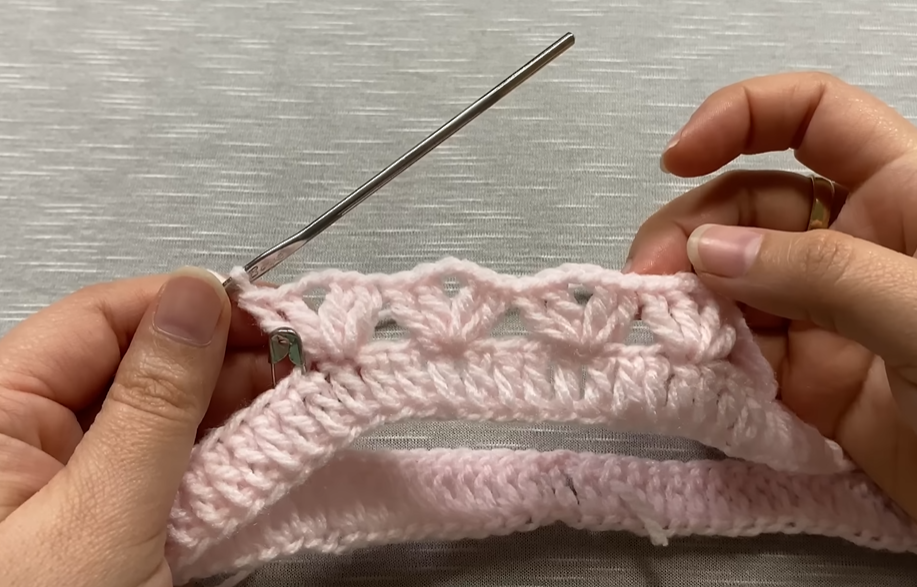
The yoke of the dress is made with a simple and elegant fan stitch that gives it a beautiful texture and a gentle flare.
- Foundation Chain: Begin by creating a slip knot and chaining 86 stitches. These chains will form the top part of the dress.
- Form the Circle: Be careful not to twist the chain. Join the chain with a slip stitch to the first chain to form a circle.
- First Row of Fan Stitches: Chain 3 (this counts as your first double crochet). In the next chain, work 2 more double crochets to create a cluster. Skip 2 stitches, and in the next stitch, work a cluster of 3 double crochets. Continue this pattern of skipping 2 stitches and creating a cluster of 3 double crochets all the way around. Join with a slip stitch to the top of the beginning chain 3.
- Creating the Sleeves: In the next row, you will mark the spaces for the sleeves. The video guides you to place stitch markers at specific points to separate the front, back, and armholes. You will continue the fan stitch pattern, but you will work around the designated areas for the front and back of the dress, leaving the armholes open.
- Continue the Yoke: Work several more rows of the fan stitch, continuing to build the yoke of the dress. You will repeat the pattern of working clusters of 3 double crochets and skipping stitches.
Part 2: The Skirt – Increasing the Stitches
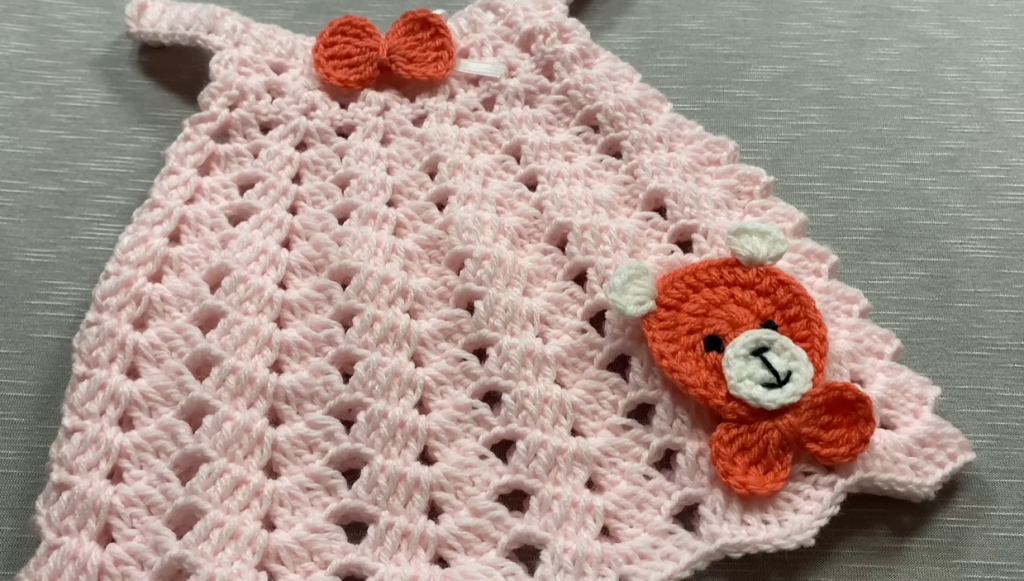
The skirt of the dress uses a beautiful, repeating fan stitch pattern that creates a full and flowing look. You will increase the number of stitches in each fan to cause the skirt to flare out.

- First Row of the Skirt: Once the yoke is the desired length, you will begin the skirt pattern. You will start with a chain 3 (counts as a double crochet), and then you will work a cluster of double crochets in the center of the first fan from the previous row.
- Increase Stitches for the Flare: The video demonstrates how to increase the stitch count to expand the skirt. In the subsequent rows, you will add stitches at the center of the fan pattern. This is usually done by working a cluster of more than 3 double crochets in the center of the fan to cause the flare.
- Continue the Pattern: Repeat the pattern around the entire skirt. As you work more rows, the skirt will naturally flare out, creating a beautiful, flowing shape. Continue working in rounds, following the increasing fan pattern, until the skirt reaches the desired total length.
Part 3: Finishing Touches
The final steps involve adding a touch of decoration and a neat finish.
- Add the Ribbon: Take a piece of ribbon and weave it through the stitches on the top part of the dress, just below the yoke. This creates a gathered effect and adds a beautiful decorative touch. Tie the ribbon in a bow at the front.
- Weave in Ends: Use your embroidery needle to carefully weave in all the loose ends of your yarn. This is a crucial step for a clean and professional finish.
- Decorate: The video mentions that other decorations, like a bow or a doll, can be added to the dress. This is your chance to get creative and make the dress truly unique.
Your new baby girl’s crochet dress is now complete! Enjoy the satisfaction of having created a custom and stylish garment all by yourself.