 by
by 
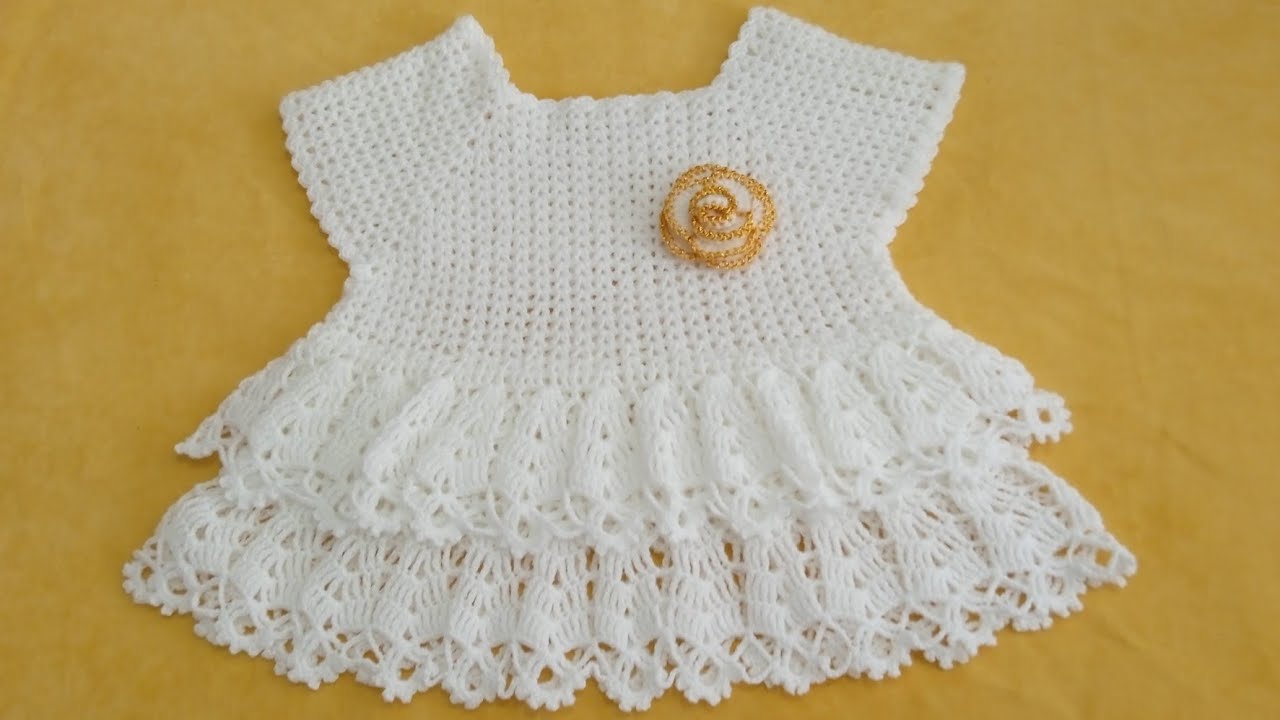
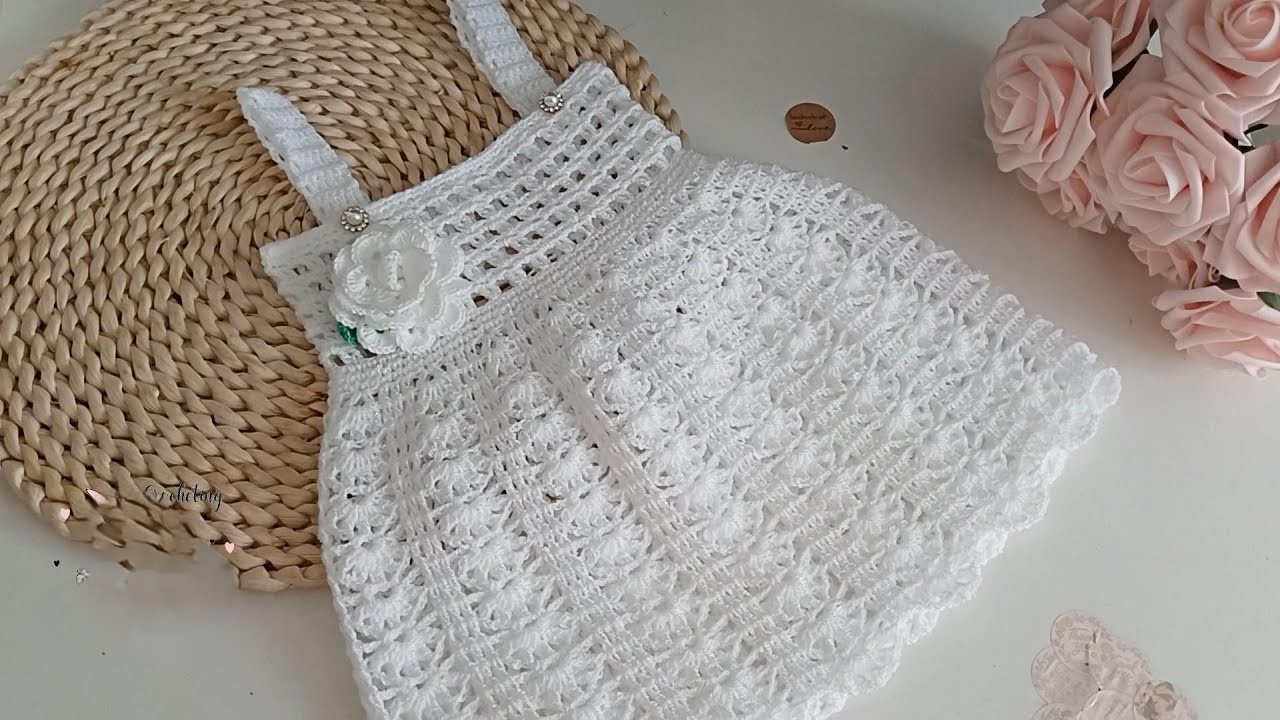
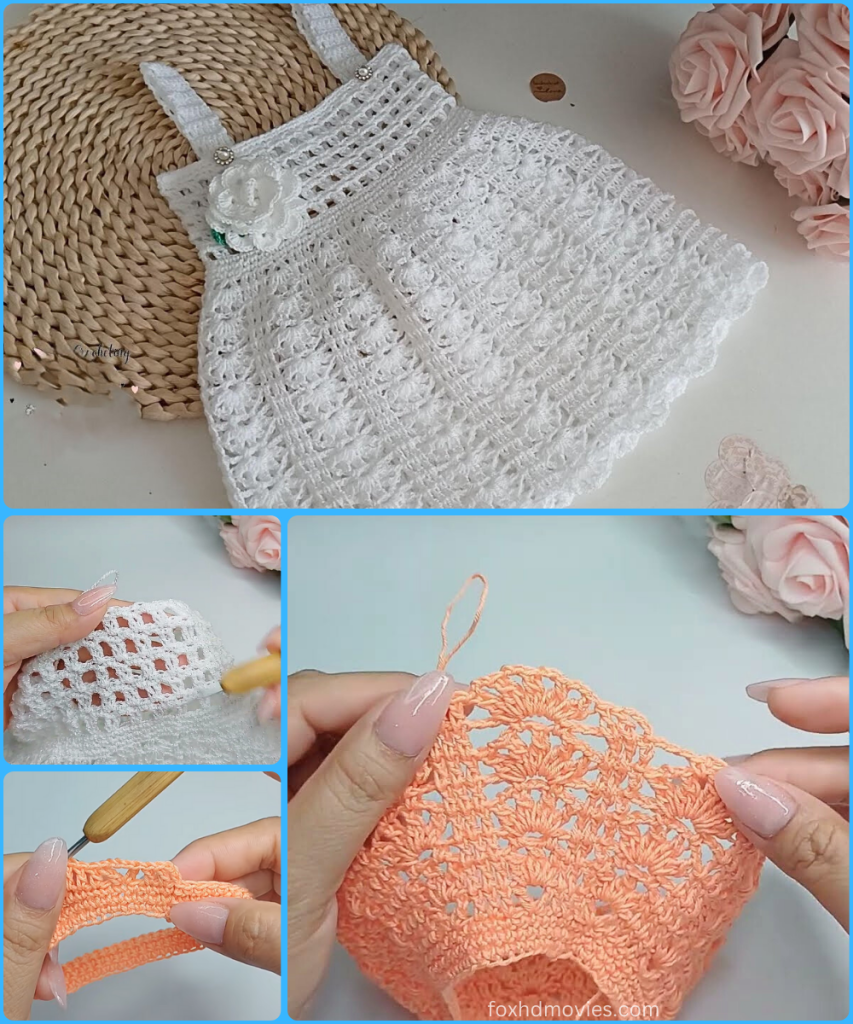
Crocheting a dress for a baby girl is a timeless project, creating a beautiful and cherished garment that can be passed down for generations. This detailed tutorial will walk you through the process of crocheting a sweet and simple dress designed to fit a baby girl from approximately 3 to 6 months old. While the pattern is straightforward, the finished result is a stunning dress perfect for a baby shower gift, a special occasion, or a beautiful photoshoot.
Materials You’ll Need
- Yarn: A lightweight, baby-friendly yarn. The video uses Omega Cristal yarn, but any similar #3 weight or sport weight yarn would work well. A light-colored yarn is great for showcasing the stitch pattern.
- Crochet Hook: A 2mm crochet hook. Using the correct hook size is crucial for achieving the right gauge and a delicate fabric.
- Buttons: Two or three small buttons for the back closure.
- Embroidery Needle: For weaving in ends and attaching decorations.
- Decorations: Ribbon, appliques, or other embellishments to add a personal touch.
- Tools:
- Scissors
- Stitch markers
- Measuring tape
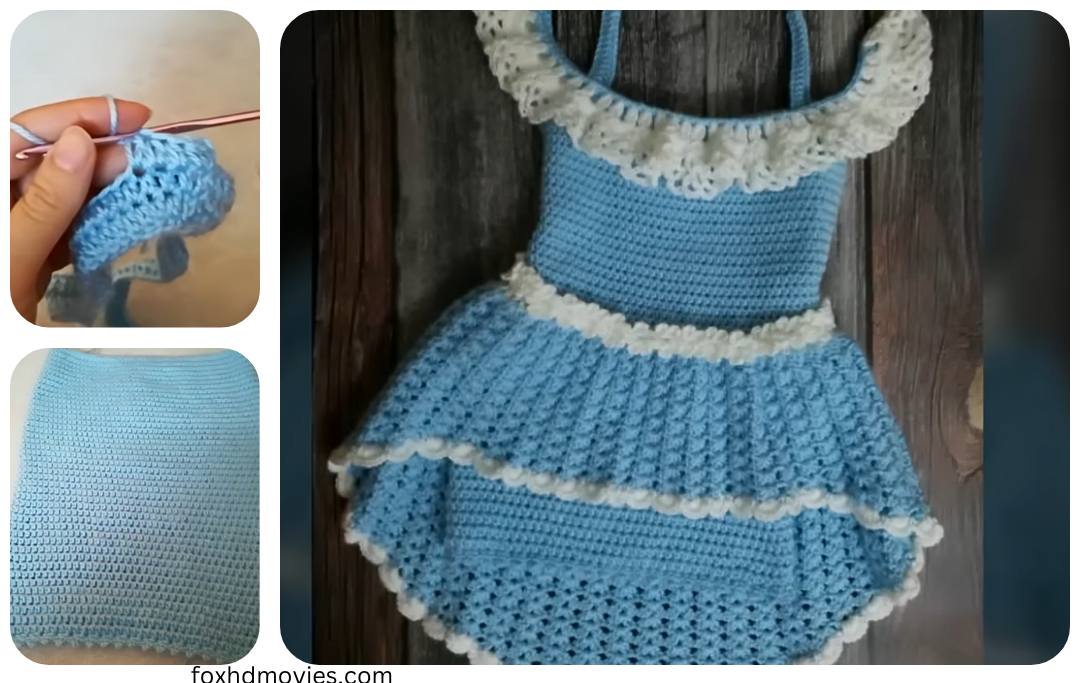
Part 1: The Bodice – A Foundation of Half Double Crochet
The bodice of the dress is made with a simple and elegant stitch that gives it a beautiful texture and stretch. The initial foundation chain will determine the fit around the baby’s waist.
- Foundation Chain: Begin by creating a foundation chain of 90 chains, or a number of chains that corresponds to the baby’s waist measurement. To find the correct number of chains, wrap the chain around the baby’s waist to ensure it fits without being too tight. Make sure the chain is not twisted. Join the chain with a slip stitch to the first chain to form a ring.
- First Round of Half Double Crochet: Chain 2 (this counts as your first half double crochet). Work one half double crochet in each chain around. Join with a slip stitch to the top of the beginning chain 2.
- Repeat for the Bodice: Continue to work rounds of half double crochet until the bodice reaches the desired length, from under the armpit to the waist. The video recommends a specific measurement, but it’s always best to take a measurement on the baby to ensure a perfect fit.
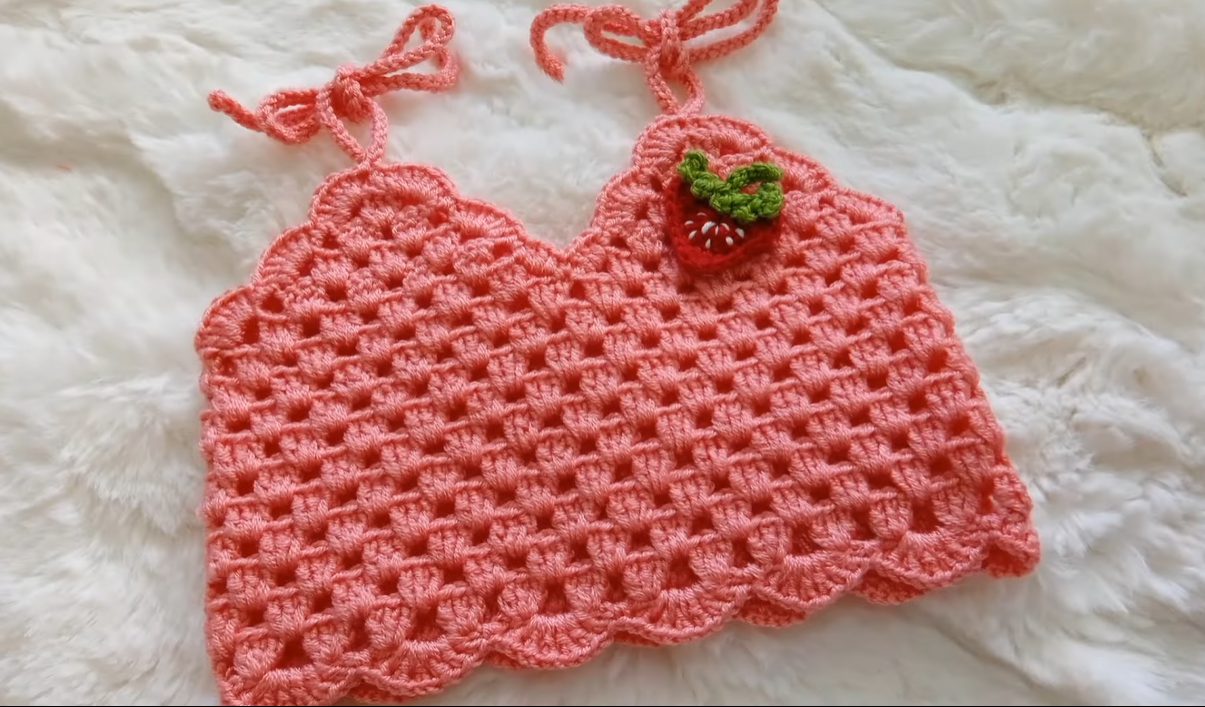
Part 2: The Skirt – The Main Pattern
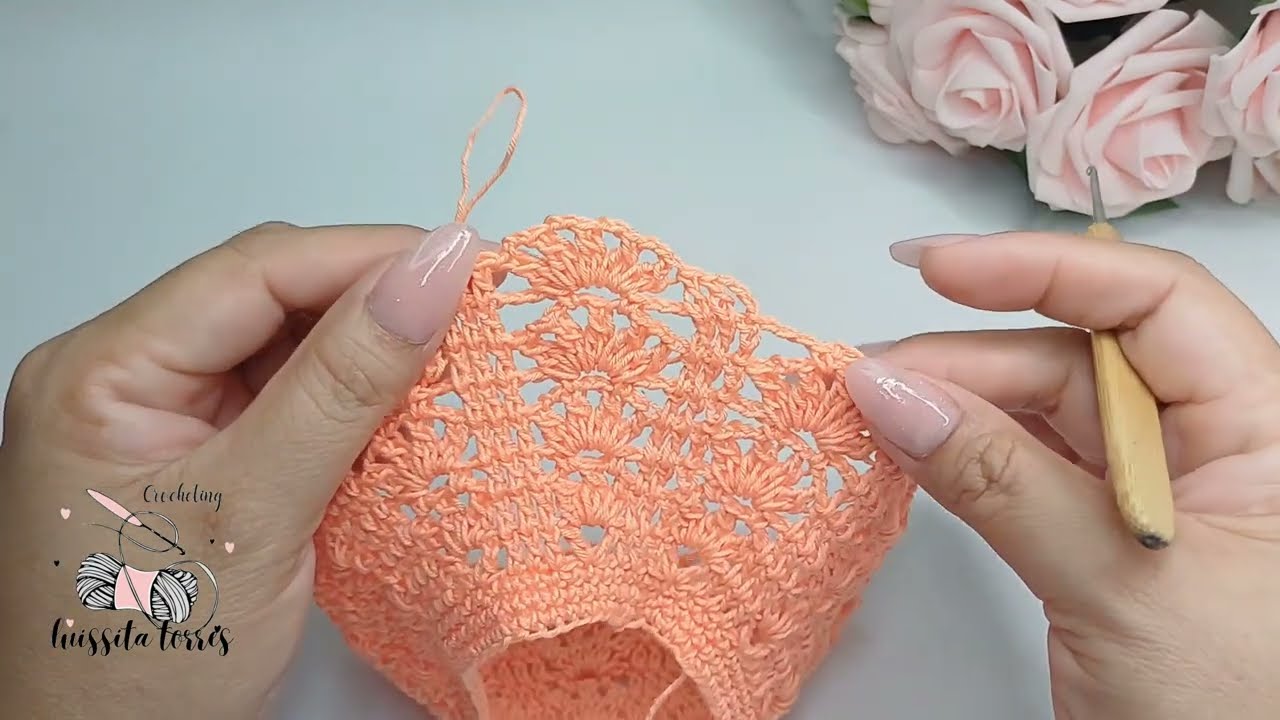
The skirt of the dress uses a beautiful, repeating pattern that creates a full and delicate look. This section will guide you through the initial rows that establish the pattern and cause the skirt to flare out.

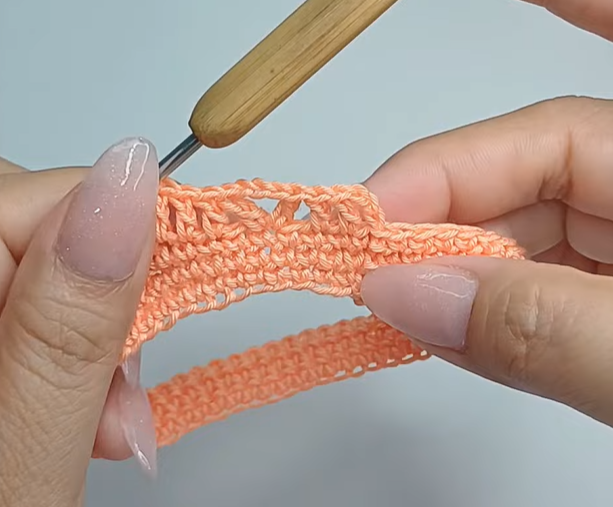
- First Row of the Skirt: Once the bodice is complete, you will begin the skirt pattern. The video demonstrates a pattern of alternating stitches to create a gentle flare. You will likely start with a chain 3 (counts as a double crochet), followed by a cluster of double crochets in a specific stitch, and then a chain space. This will set the foundation for the rest of the pattern.
- Continue the Pattern: Repeat the pattern around the entire skirt. As you work more rows, the skirt will naturally flare out, creating a beautiful, flowing shape. Continue working in rounds, following the repeating pattern, until the skirt reaches the desired total length.
Part 3: The Straps and Finishing Touches
The final steps involve creating the straps and adding any finishing embellishments to make the dress truly your own.
- Create the Straps: The straps are worked in a combination of stitches, likely with a few chains and single crochets to create a sturdy and comfortable strap. The video demonstrates how to attach the straps to the front of the bodice and then to the back, where you will sew the buttons.
- Add the Buttons: Sew two or three buttons to the back of the bodice to create a secure closure. You can use the gaps in the crochet stitches as buttonholes.
- Weave in Ends: Use your embroidery needle to carefully weave in all the loose ends of your yarn. This is a crucial step for a clean and professional finish.
- Decorate: This is your chance to get creative! Add a ribbon to the waistline, sew on some flower appliques, or add any other embellishments you desire to make the dress truly unique.
Your new baby girl’s crochet dress is now complete! Enjoy the satisfaction of having created a custom and stylish garment all by yourself.