by
by Hello, joyful crafters!
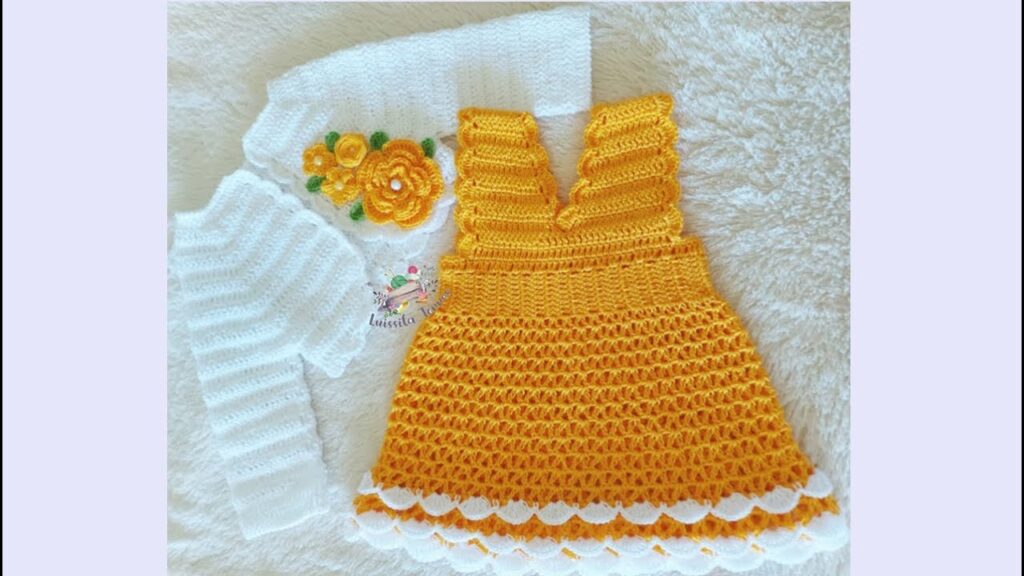
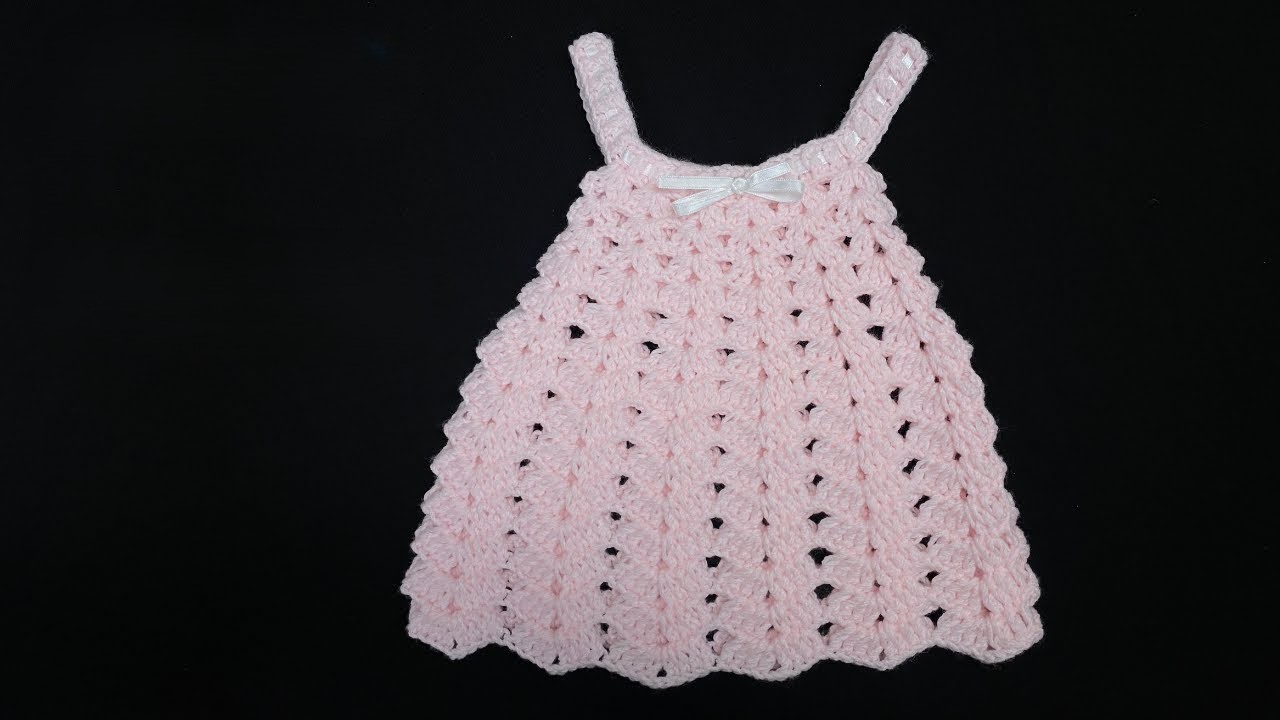
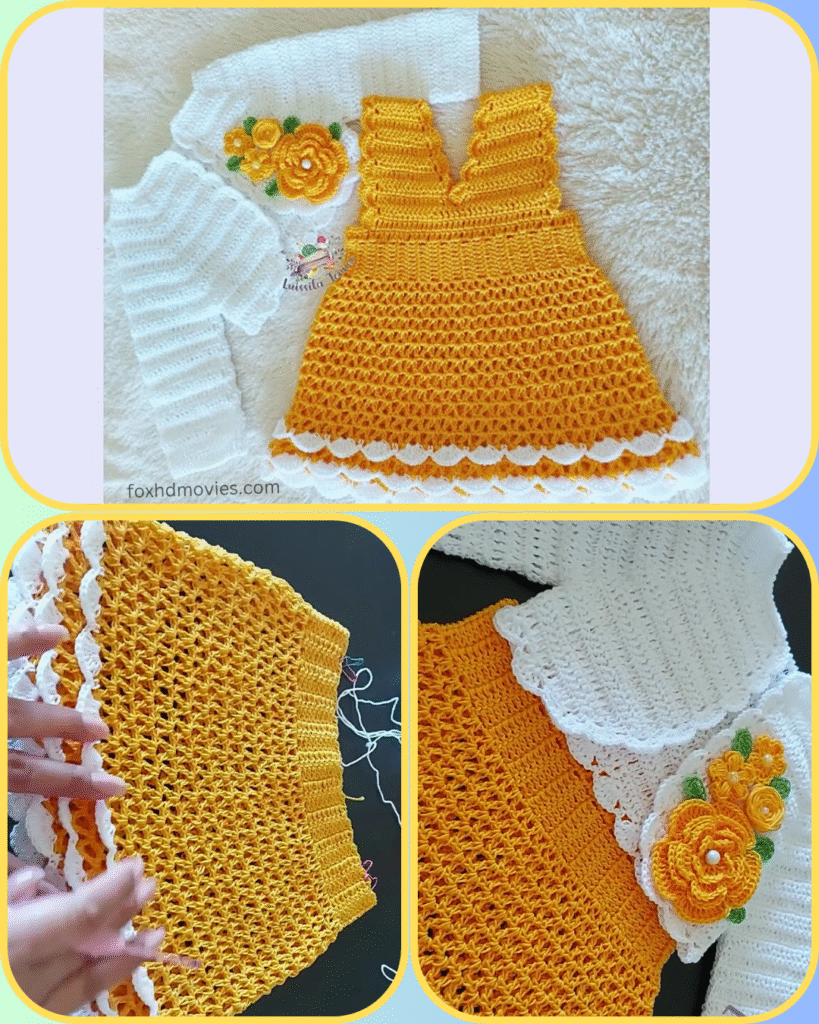
Prepare to bring a burst of sunshine into a little one’s wardrobe with this utterly adorable crochet baby dress set! Featuring a cheerful yellow V-neck dress with a delightful white scalloped hem, a matching white shrug, and a sweet floral headband, this ensemble is perfect for special occasions, photo shoots, or simply brightening any day.
The vibrant yellow and crisp white combination in the picture is simply charming, but feel free to choose any colors that spark your creativity!
Before we begin this delightful project, here are some important notes:
- Skill Level: Intermediate. This set involves multiple components, V-neck shaping, working in the round, and creating small embellishments.
- Yarn Choice: For baby items, softness and comfort are key! Opt for a soft, lightweight baby yarn such as baby-weight acrylic (DK or Sport weight), cotton, or a cotton blend.
- Hook Size: This will depend on your chosen yarn. Aim for a hook size that creates a fabric with nice drape for the dress and a snug, neat finish for the shrug and accessories. (e.g., 3.0mm – 4.0mm).
- Gauge is Crucial! Especially for garments, achieving the correct gauge ensures the dress and shrug fit the intended size. Make a swatch for the dress body and the shrug to ensure consistency!
Let’s Gather Our Supplies!
Materials You’ll Need:
- Approx. 150-250 grams of baby yarn in your main color (e.g., yellow)
- Approx. 100-150 grams of baby yarn in your contrasting color (e.g., white)
- Crochet hook (e.g., 3.5mm, adjust for gauge)
- Stitch markers (helpful for marking increase points and V-neck!)
- Yarn needle
- Scissors
- Optional: Small green yarn for leaves on the headband.
Crochet Language Decoder (Abbreviations):
- ch: chain
- st(s): stitch(es)
- sl st: slip stitch
- sc: single crochet
- hdc: half double crochet
- dc: double crochet
- sk: skip
- sp: space
- BLO: back loop only
- sc2tog: single crochet 2 stitches together (decrease)
- hdc2tog: half double crochet 2 stitches together (decrease)
- [ ]: repeat instructions within brackets
- ( ): number of stitches at the end of the round/row
Gauge:
- Hdc Swatch: 16 hdc and 12 rows = 4 inches (10 cm). Adjust hook size to match gauge.
Pattern Instructions (Top-Down Construction for Dress)
Size: 0-6 Months (Adjustments for 6-12 Months, Toddler in notes) (Adjust starting chain and increase rates for larger sizes)
Part 1: The Yellow Dress
A. The Yoke (V-Neck – Yellow Yarn)
We’ll work the yoke flat, creating the V-neck opening.
- Ch 50 (56 / 62) (for Newborn / 3-6 Months / 6-12 Months, approximately).
- Row 1 (RS): Hdc in 2nd ch from hook, hdc in next 23 (26 / 29) chs. [Ch 2, sk 2 ch (for V-neck)] hdc in next 24 (27 / 30) chs. Ch 2, turn. (48 / 54 / 60 hdc + ch-2 sp)
- Place a stitch marker in the center of the ch-2 space – this is your V-neck point.
- Row 2: Hdc in each hdc until you reach the ch-2 sp. [(Hdc, ch 2, hdc) in ch-2 sp]. Hdc in each hdc across. Ch 2, turn.
- Row 3 (Increases): Hdc in each hdc until you reach the ch-2 sp. [(Hdc, ch 2, hdc) in ch-2 sp]. Hdc in each hdc across. Ch 2, turn.
- Continue repeating Row 3, increasing around the V-neck point, until the yoke measures approx. 4 (4.5 / 5) inches from the top of the shoulder to the bottom edge of the yoke, or until it comfortably fits around the baby’s chest and shoulders when folded.
- The V-neck shaping will naturally occur with the increases at the center front. Ensure your increases are balanced and the yoke lies flat.

B. Joining Yoke & Body
Now we’ll close the yoke and start the body.
- Next Row (Joining): Ch 2 (counts as hdc). Hdc in each hdc across the first front section. [Hdc in ch-2 sp]. Hdc in each hdc across the back section. [Hdc in ch-2 sp]. Hdc in each hdc across the second front section. Join with a sl st to the top of beg ch 2. (This forms a circle.)
- You can add a few extra hdc stitches evenly around this joining row if you need more circumference for the chest, ensuring an even stitch count for the body.
- Rnd 1 (Body Set-up): Ch 2 (counts as hdc). Hdc in each st around. Join with sl st.
- Rnd 2: Ch 2. Hdc in each st around. Join with sl st.
- Rnd 3 (Increase Round): Ch 2. [2 hdc in next st, hdc in next 4 (5 / 6) sts]. Repeat [ ] around. Join with sl st.
- This will create the initial flare of the skirt.
- Rnd 4-X (Body Continuation): Ch 2. Hdc in each st around. Join with sl st.
- Repeat this hdc round, adding an increase round every 5-7 rounds (e.g., [2 hdc in next st, hdc in next 5 (6 / 7) sts]) until the dress reaches your desired length (from shoulder to just above where you want the scalloped hem to start).
- Fasten off yellow yarn.
C. Scalloped Hem (White Yarn)
- Attach white yarn with a sl st to any stitch on the last row of the dress body.
- Rnd 1 (Scallop Base): Ch 1. Sc in each st around. Join with sl st.
- Rnd 2 (Scallops): Ch 1. [Sk 1 st, 5 dc in next st, sk 1 st, sl st in next st]. Repeat [ ] around. Adjust skips at the end if needed to finish the last scallop. Join with sl st to first sl st.
- Fasten off white yarn. Weave in ends.
Part 2: The White Shrug/Cardigan
This shrug is worked as a simple rectangle, then folded and seamed.

- Ch 50 (55 / 60) (This determines the length of the shrug from cuff to cuff across the back. Adjust for size).
- Row 1: Hdc in 2nd ch from hook, hdc in each ch across. Ch 2, turn. (49 / 54 / 59 hdc)
- Row 2-X (Body): Hdc in each hdc across. Ch 2, turn.
- Continue working hdc rows until the rectangle measures approx. 8 (9 / 10) inches wide (this will be the height of the shrug from top shoulder to bottom edge when worn).
- Fasten off, leaving a long tail for sewing.
Assembly for Shrug:
- Fold: Lay the rectangle flat. Fold each short end inwards by about 4 (4.5 / 5) inches to create the “sleeves.”
- Seam: Using your yarn needle and the long tail, sew up the side seams (the folded edges) for about 3 (3.5 / 4) inches from the bottom to create the armholes. This forms a T-shape.
- Cuffs (White Yarn):
- Attach white yarn with a sl st to the end of one sleeve opening.
- Rnd 1: Ch 2. Hdc evenly around the cuff opening. Join with sl st. (Approx. 20-24 hdc)
- Rnd 2: Ch 2. Hdc in BLO of each hdc around. Join with sl st.
- Rnd 3-5 (or desired cuff thickness): Repeat Rnd 2.
- Fasten off. Weave in ends.
- Repeat for the second cuff.
- Weave in all other ends.
Part 3: The Headband
A. Headband Base (White Yarn)
- Ch 60 (65 / 70) (or enough to fit comfortably around baby’s head, with stretch).
- Row 1: Hdc in 2nd ch from hook, hdc in each ch across. (59 / 64 / 69 hdc)
- Fasten off, leaving a long tail. Sl st the ends together to form a circle. Weave in ends.
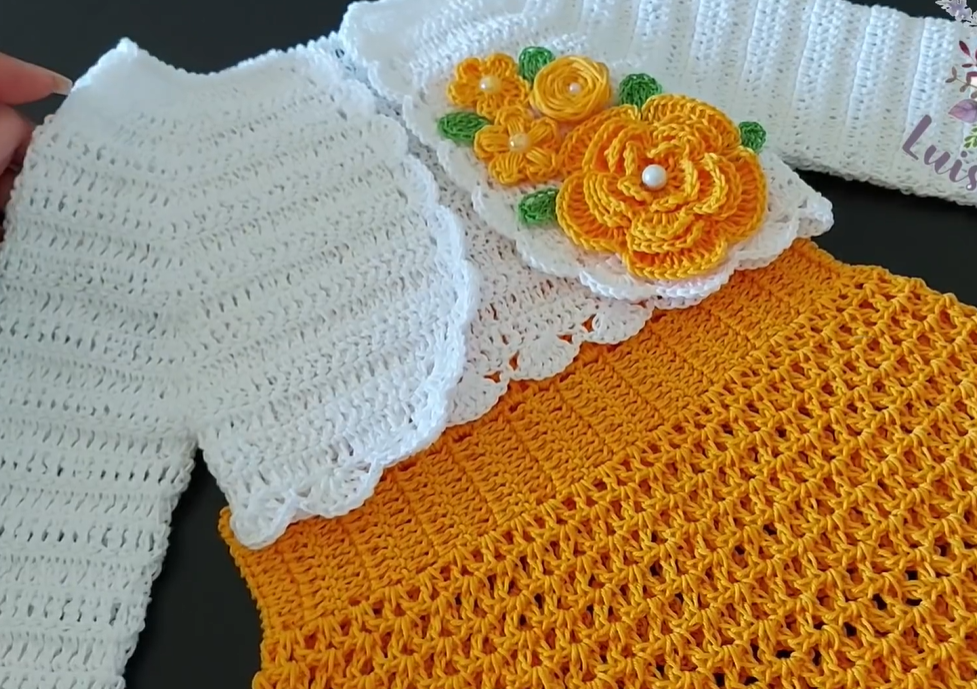
B. Yellow Crochet Flowers (Make 3-4)
- Magic Ring (MR).
- Rnd 1: Ch 1, 6 sc in MR. Sl st to first sc.
- Rnd 2 (Petals): [Ch 2, 3 dc in next sc, ch 2, sl st in same sc (this forms a petal)]. Sl st in next sc. Repeat [ ] 5 more times. You should have 6 petals.
- Fasten off, leaving a tail for sewing. Cinch up MR.
C. Green Leaves (Make 2-3)
- Ch 5.
- Row 1: Sl st in 2nd ch from hook, sc in next ch, hdc in next ch, sl st in last ch.
- Fasten off, leaving a tail for sewing.
D. Headband Assembly:
- Arrange the yellow flowers and green leaves onto the white headband. Overlap the flowers slightly for a fuller look.
- Using your yarn needle and the tails from the flowers/leaves, securely sew them onto the headband. Weave in all ends.
Video tutorial
Your Complete Baby Dress Set is Ready!
Congratulations! You’ve just created an absolutely charming and coordinated crochet set that will bring smiles and warmth to any little one. This outfit is perfect for special occasions or just adding a touch of handmade love to everyday wear.
Feel free to personalize your set by using different color combinations, adding tiny beads to the flower centers (securely sewn for safety!), or even embroidering small details.
Don’t forget to share your finished set! I’d love to see your unique creations. Tag me on social media or send me a picture!
Happy crocheting!