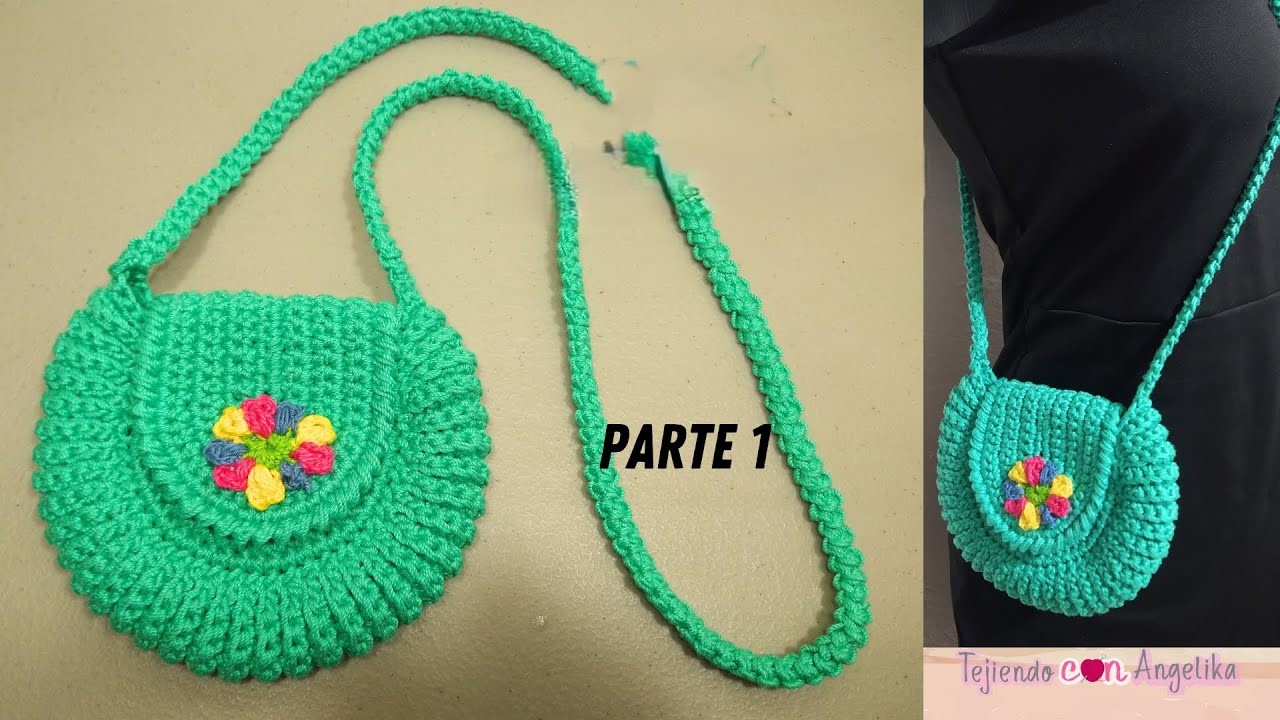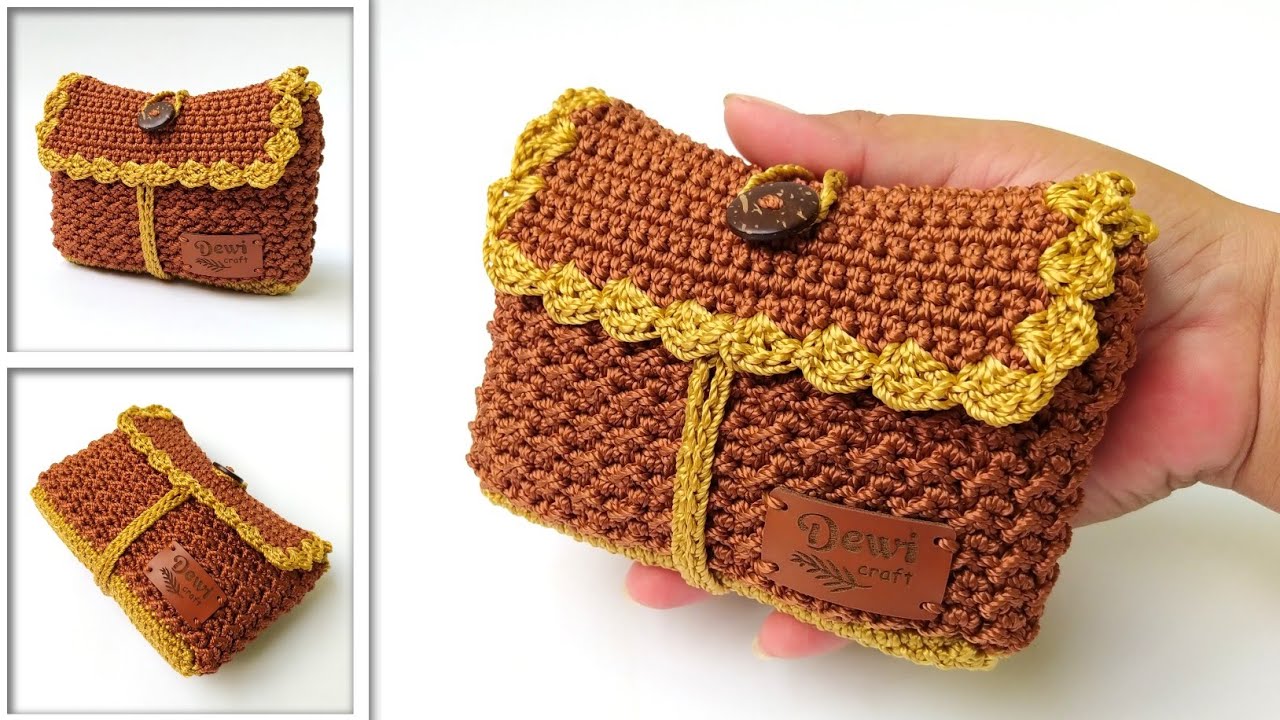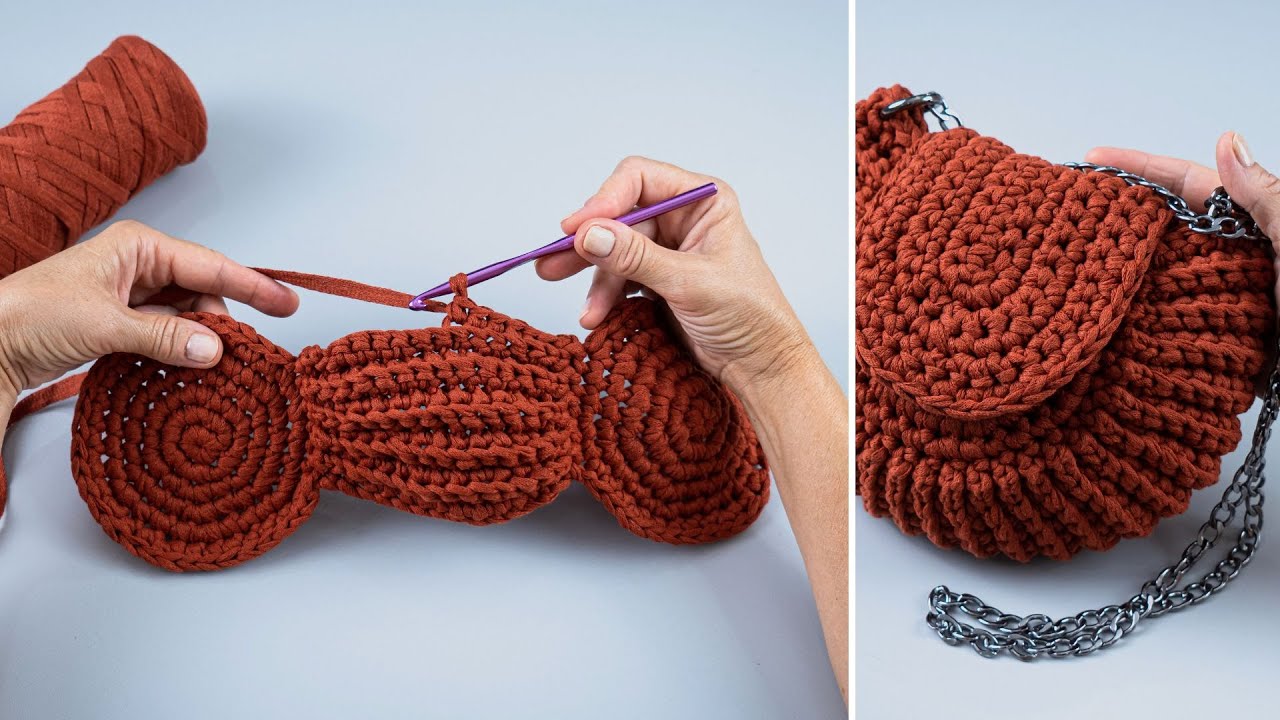
Create an adorable and practical mini bag with this delightful circular design! Inspired by a detailed step-by-step tutorial, this pattern guides you through crocheting two identical circular panels and then joining them with a side panel to form a sweet little purse. It’s an ideal project for beginners looking to make their first functional crochet item, perfect for coins, earbuds, or tiny treasures.
Skill Level: Easy
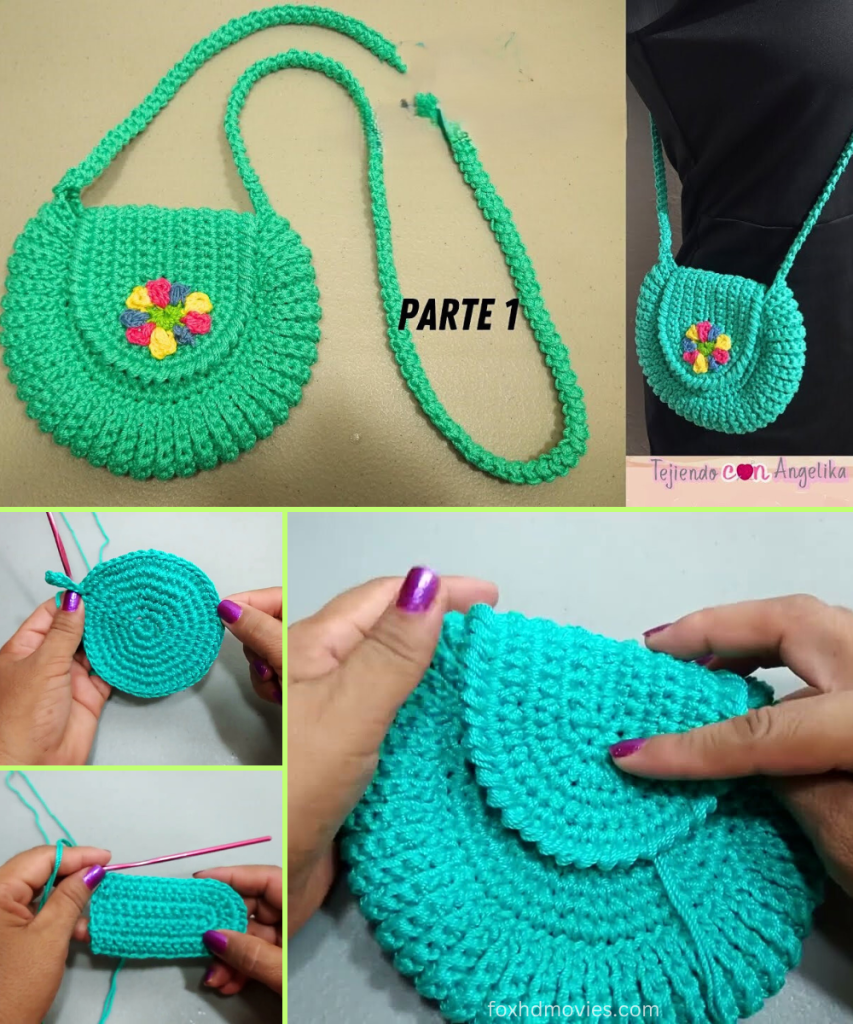
Finished Size (Approximate):
- Diameter: Approximately 4 – 4.5 inches (10 – 11.5 cm)
- Depth: Approximately 1 – 1.5 inches (2.5 – 4 cm)
- Size can vary based on yarn, hook, and tension.
Materials You’ll Need:
- Yarn: Small amounts of DK weight (Light Worsted / 8 ply) cotton yarn in your chosen color(s).
- The video uses cotton yarn. Cotton is recommended for its durability and stitch definition for bags.
- You’ll need approximately 50-70 yards total.
- Crochet Hook: E/4 (3.5 mm) or size needed to obtain a firm fabric.
- A slightly smaller hook than recommended for your yarn weight will help the bag hold its shape.
- Tapestry Needle: For weaving in ends and seaming.
- Scissors
- Stitch Marker (Optional but Recommended): To mark the beginning of rounds when working in continuous spirals.
- Tape Measure (Optional): For checking your progress.
Gauge (Not Critical, but Aim for a Firm Fabric!):
Since this is a functional item, a firm fabric is important to help the bag hold its shape. Aim for a dense single crochet fabric without large gaps. If your stitches are too loose, go down a hook size.
Abbreviations (US Crochet Terms):
- ch: chain
- sl st: slip stitch
- sc: single crochet
- inc: increase (2 sc in the same stitch)
- st(s): stitch(es)
- MR: Magic Ring
- FO: Fasten off
- BLO: Back Loop Only
Let’s Crochet Your Charming Circular Mini Bag!
This bag is constructed in three parts: two identical circular panels for the front and back, and a rectangular side panel to join them.
Part 1: Circular Panels (Make 2 – Main Bag Color)
We will work these in continuous rounds. Use a stitch marker to mark the first stitch of each round.

Rnd 1: Create a Magic Ring (MR). Work 6 sc into the MR. (6 sc)
- Pull the MR tight to close. This forms the very center of your circle.
Rnd 2: Inc in each sc around. (12 sc)
Rnd 3: Sc in first sc, inc in next sc. Repeat from * to * around. (18 sc)
Rnd 4: Sc in first 2 sc, inc in next sc. Repeat from * to * around. (24 sc)
Rnd 5: Sc in first 3 sc, inc in next sc. Repeat from * to * around. (30 sc)
Rnd 6: Sc in first 4 sc, inc in next sc. Repeat from * to * around. (36 sc)
Rnd 7: Sc in first 5 sc, inc in next sc. Repeat from * to * around. (42 sc)
Rnd 8: Sc in first 6 sc, inc in next sc. Repeat from * to * around. (48 sc)
Rnd 9: Sc in first 7 sc, inc in next sc. Repeat from * to * around. (54 sc)
Rnd 10: Sc in first 8 sc, inc in next sc. Repeat from * to * around. (60 sc)
FO, leaving a long tail (approx. 15-20 inches / 38-50 cm) on one of the panels for seaming. Weave in the starting tail from the MR on both panels.
Part 2: Side Panel (Main Bag Color or Contrasting Color)
This panel will connect your two circles. The length should match the circumference of your circles.

- Ch 6. (This will be the width/depth of your bag. Adjust chain count for a wider/narrower bag).
- Row 1: Sc in 2nd ch from hook and in each ch across. Ch 1, turn. (5 sc)
- Row 2 – 60 (or until desired length): Sc in each sc across. Ch 1, turn. (5 sc)
- To determine the exact length, wrap the strip around one of your circular panels. It should fit snugly around the circumference.
- The video suggests making two identical circles and then a side panel. The number of rows for the side panel should roughly match the number of stitches in the final round of your circular panels (60 stitches = 60 rows).
FO, leaving a long tail (approx. 15-20 inches / 38-50 cm) for seaming.
Part 3: Assembly

- Attach First Circle: Take one circular panel and the side panel. Using the long tail from the side panel and your tapestry needle, begin sewing the side panel to the edge of the circular panel.
- Align the stitches carefully. You can use a whip stitch or a mattress stitch for a neat seam.
- Sew all the way around the circumference of the first circular panel.
- Attach Second Circle: Take the second circular panel. Using the long tail from this panel and your tapestry needle, sew it to the other side of the side panel, aligning it perfectly with the first circle.
- Leave a small opening (approx. 1-2 inches / 2.5-5 cm) on one side of the bag. This will be your opening for the bag.
- Reinforce Opening (Optional): Once the bag is mostly seamed, you can work a round of sc or sl st around the opening for a neater edge.
Part 4: Finishing Touches & Closure (Optional)

- Weave in all ends: Use your tapestry needle to neatly weave in any remaining loose yarn tails.
- Add a Closure:
- Button Loop: Crochet a small chain loop (ch 5-10) and attach it to one side of the opening. Sew a small button to the opposite side.
- Zipper: For a more secure closure, you can hand-sew a small zipper into the opening.
- Drawstring: Work a round of (dc, ch 1, skip 1) around the opening, then thread a crocheted chain or ribbon through the ch-1 spaces for a drawstring.
- Add a Strap (Optional):
- Simple Chain Strap: Ch a long chain (e.g., 100-120 ch for a shoulder bag) and sl st back down the chain. Attach to the sides of the bag.
- Sc Strap: Ch a few stitches (e.g., 5 ch), then sc in each ch across. Ch 1, turn. Continue in rows until desired length. Attach to the sides of the bag.
Video tutorial
Versatile Uses for Your Circular Mini Bag:
- Coin Purse: Perfect for loose change.
- Earbud Pouch: Keep your headphones tangle-free.
- Small Gift Bag: A charming way to present tiny gifts.
- Kids’ Purse: Ideal for little ones to carry their treasures.
- Stash Buster: Great for using up small amounts of leftover yarn.
Customization & Tips:
- Size Adjustment:
- Larger Bag: Increase the number of rounds in your circular panels (continue the increase pattern). Increase the initial chain count for the side panel to make it wider.
- Smaller Bag: Reduce the number of rounds in your circular panels. Reduce the initial chain count for the side panel.
- Color Play: Use different colors for the front, back, and side panels for a fun, multi-colored bag!
- Texture: Experiment with different stitches for the side panel (e.g., hdc, dc, or even a textured stitch) for a unique look.
- Lining (Optional): For extra durability and to prevent small items from slipping through stitches, you can sew a fabric lining inside the bag.
Enjoy creating your cute and practical crocheted circular mini bag! It’s a fantastic way to add a handmade touch to your accessories or make a thoughtful gift.
