 by
by 
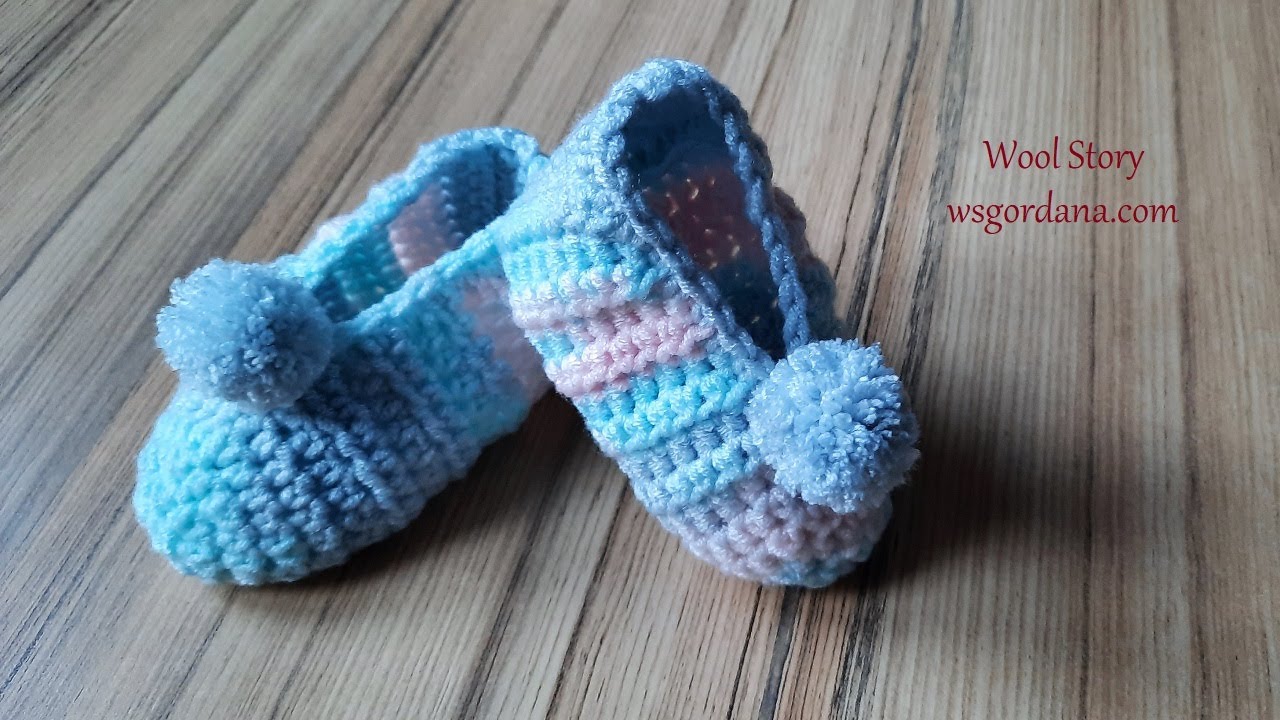
Is there anything more delightful than tiny baby booties? I think not! These adorable, pastel-striped slippers with their fluffy pom-poms are absolutely irresistible. They look like a cloud of softness for a precious little one’s feet, making them the perfect project for a baby shower gift, a newborn photo prop, or just a loving handmade item for your own bundle of joy.
What makes these particularly charming is the subtle color changes creating beautiful, gentle stripes, combined with that incredibly cute pom-pom detail. They’re designed for comfort and cuteness in equal measure! If you’re an adventurous beginner or an intermediate crocheter, you’ll find this pattern a joy to work through.
Let’s gather our softest yarn and start creating some warmth and cuteness!
Materials You’ll Need:
- DK Weight (Light Worsted) Yarn:
- Color A: Approximately 30-40 yards (e.g., Pale Blue)
- Color B: Approximately 30-40 yards (e.g., Pale Pink)
- Color C: Approximately 30-40 yards (e.g., Pale Lilac or Aqua)
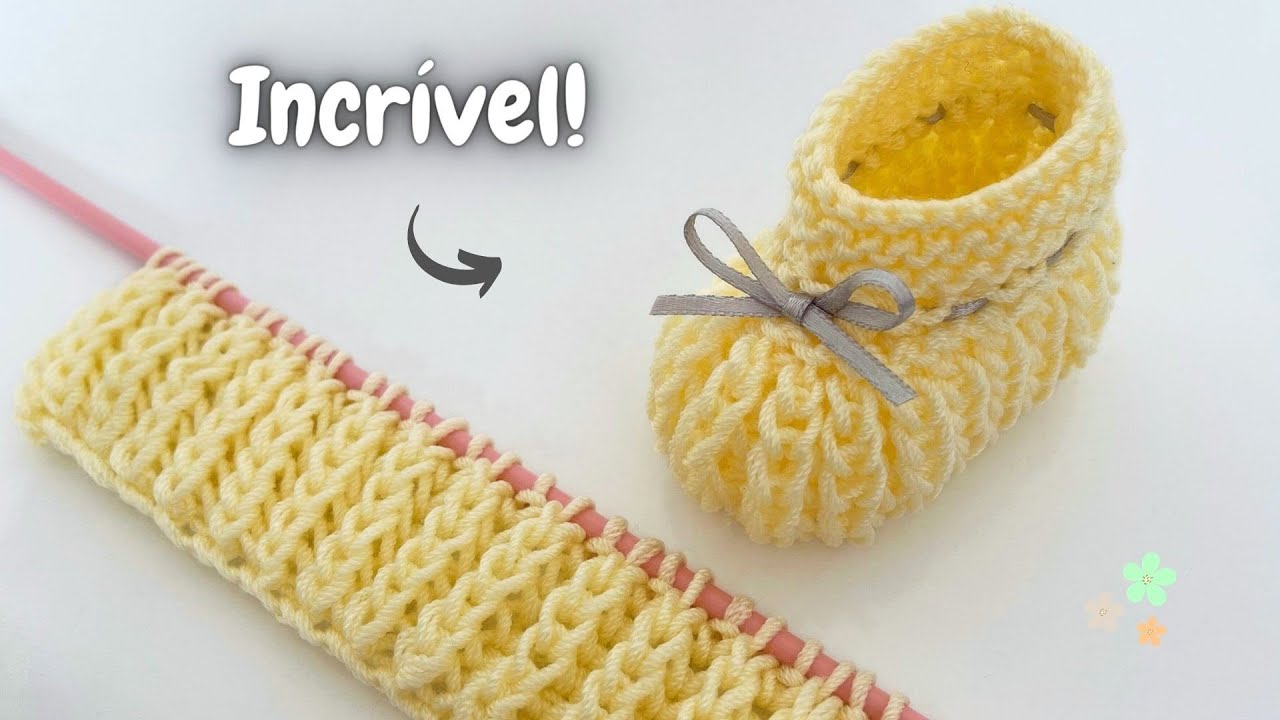
- Tip: Choose a super soft, baby-friendly yarn like acrylic, cotton blends, or even a chenille-style yarn for extra squishiness! The example image looks like a slightly fuzzy chenille yarn.
- Crochet Hook: Size E/3.5mm (or size needed to obtain gauge)
- A slightly smaller hook than usual for DK weight helps maintain shape.
- Yarn Needle: For weaving in ends and seaming.
- Scissors
- Stitch Markers (Recommended!): Especially helpful for sole and round beginnings.
- Pom-Pom Maker (Optional but Recommended): For creating fluffy, uniform pom-poms. Alternatively, you can use the fork method or cardboard cutouts.
Gauge (Important for Baby Shoe Sizing!)
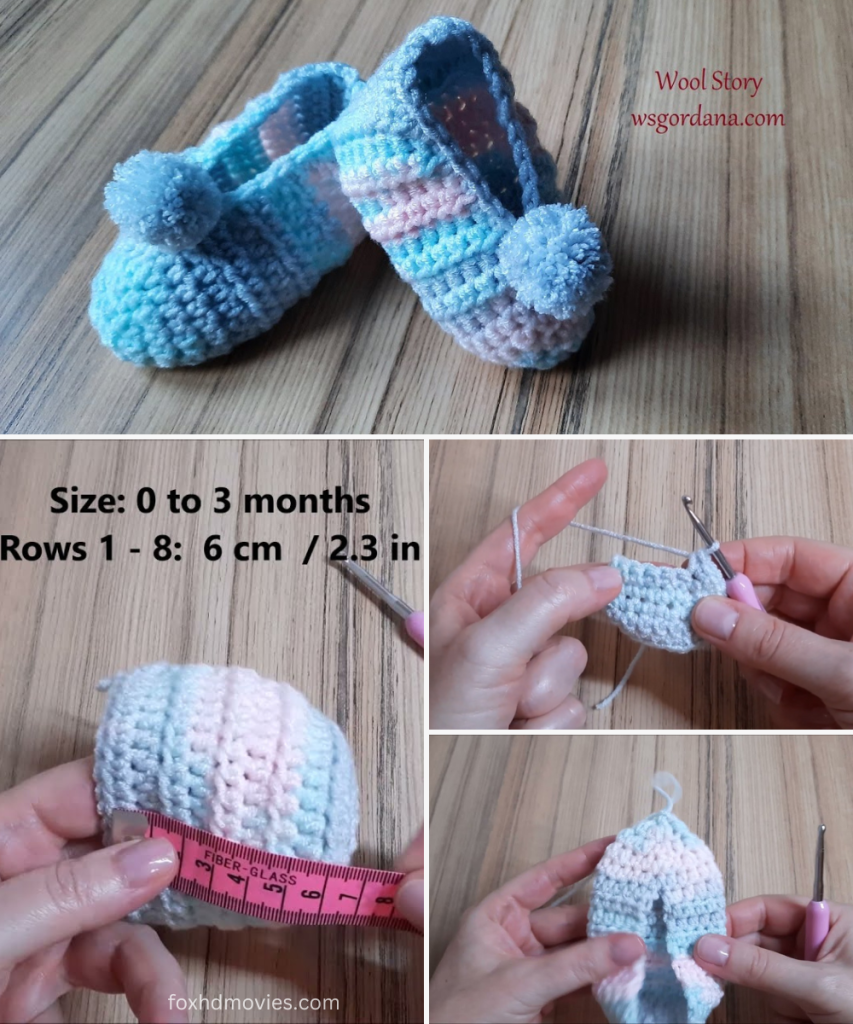
Achieving the correct gauge is vital to ensure these booties fit the intended baby. 20 sc stitches x 22 rows = 4 inches (10 cm).
Please make a quick swatch before starting! Adjust your hook size if necessary. If your swatch is larger, go down a hook size. If it’s smaller, go up.
Sizing Notes:
This pattern is designed for baby shoe size approximately 0-3 months.
- Finished Sole Length: Approximately 3.5 – 3.75 inches (9 – 9.5 cm).
To adjust for larger sizes:
- 3-6 Months (approx. 4 inches / 10 cm sole): Add 2-3 chains to the starting chain for the sole. Add 1 more increase round to the sole.
- 6-12 Months (approx. 4.5 inches / 11.5 cm sole): Add 4-5 chains to the starting chain for the sole. Add 2 more increase rounds to the sole.
- Always check the sole measurement against a baby’s actual foot or a reliable size chart.
Abbreviations (US Terms):
- ch: chain
- sl st: slip stitch
- sc: single crochet
- hdc: half double crochet
- dc: double crochet
- inc: increase (2 sc in the same stitch)
- sc2tog: single crochet 2 stitches together (decrease)
- fo: fasten off
- Color A, B, C: Refers to your chosen yarn colors.
Let’s Get Crocheting!
We’ll start with the sole, build up the sides with our pretty stripes, shape the toe, and finish with those delightful pom-poms.
Part 1: The Sole (Make 2)
We’ll create an oval base for the foot.

Using Color A:
Ch 13. (Adjust this length for different sizes.)
Round 1: 2 sc in 2nd ch from hook, sc in next 10 ch, 4 sc in last ch. Working down the opposite side of the chain: sc in next 10 ch, 2 sc in last ch. Join with sl st to first sc. (28 stitches)
- It’s helpful to place a stitch marker in the first sc of the round.
Round 2: Ch 1. Inc in next 2 sc, sc in next 10 sc, inc in next 4 sc, sc in next 10 sc, inc in next 2 sc. Join with sl st to first sc. (36 stitches)
Round 3: Ch 1. (Sc in next sc, inc in next sc) 2 times, sc in next 10 sc, (sc in next sc, inc in next sc) 4 times, sc in next 10 sc, (sc in next sc, inc in next sc) 2 times. Join with sl st to first sc. (44 stitches)
- Your sole should now be approximately 3.5 – 3.75 inches (9-9.5 cm) long. If you’re sizing up, add another increase round here, distributing increases evenly around the ends.
Fasten off Color A. Weave in ends securely. Repeat for the second sole.
Part 2: Building the Slipper Sides (Stripes!)
Now for the pretty striped body! We’ll change colors every two rounds.

Attach Color B with a sl st in any stitch of the sole.
Round 1 (Color B): Ch 1. Sc in each stitch around, working in the back loop only (BLO). Join with sl st to first sc. (This creates a neat ridge separating the sole from the body). (44 sc)
Round 2 (Color B): Ch 1. Sc in each stitch around. Join with sl st to first sc. (44 sc)
Fasten off Color B.
Attach Color C with a sl st in any stitch.
Round 3 (Color C): Ch 1. Sc in each stitch around. Join with sl st to first sc. (44 sc)
Round 4 (Color C): Ch 1. Sc in each stitch around. Join with sl st to first sc. (44 sc)
Fasten off Color C.
Attach Color A with a sl st in any stitch.
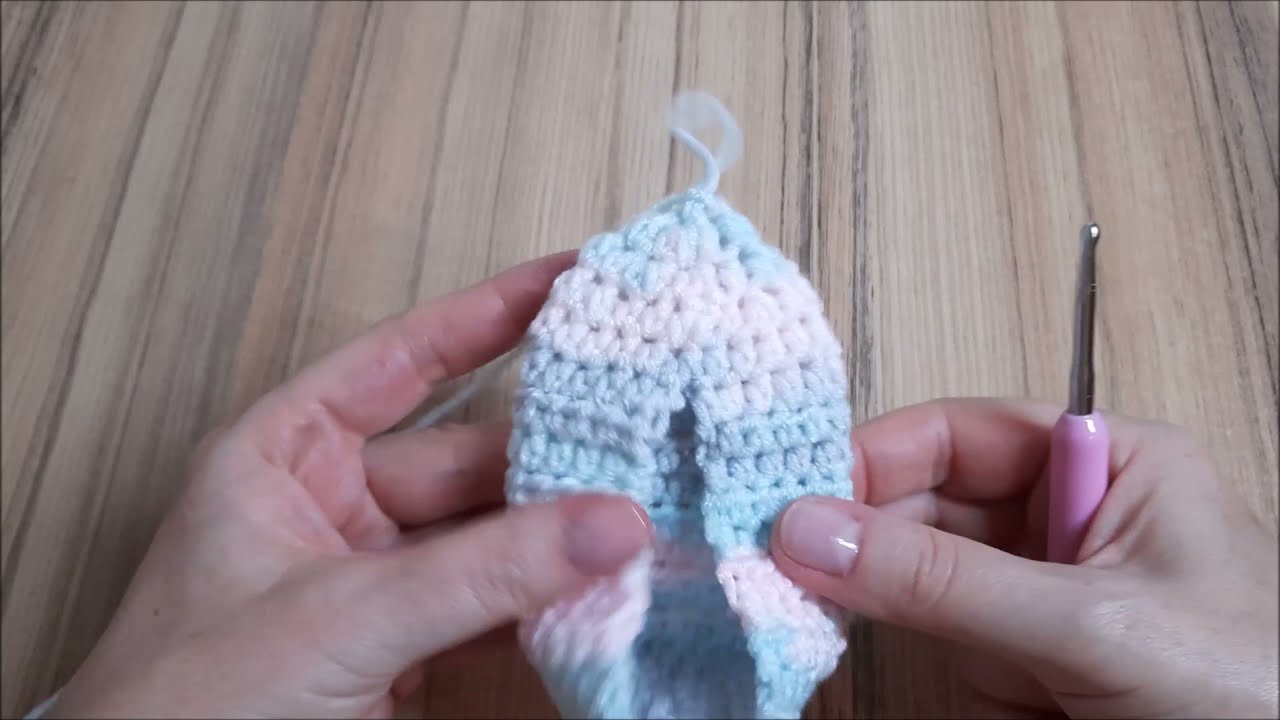
Round 5 (Color A – Toe Shaping begins): Ch 1. Sc in next 12 sc. (Sc2tog, sc in next sc) 6 times. Sc in last 12 sc. Join with sl st to first sc. (38 sc)
- This starts the shaping of the toe. The sc2tog stitches reduce the circumference.
Round 6 (Color A – Continued Toe Shaping): Ch 1. Sc in next 10 sc. (Sc2tog) 9 times. Sc in last 10 sc. Join with sl st to first sc. (29 sc)
Fasten off Color A.
Attach Color B with a sl st in any stitch.
Round 7 (Color B – Ankle Cuff): Ch 1. Sc in each stitch around. Join with sl st to first sc. (29 sc)
Round 8 (Color B – Ankle Cuff): Ch 1. Sc in each stitch around. Join with sl st to first sc. (29 sc)
Fasten off Color B, leaving a tail for weaving in. Weave in all remaining ends inside the slipper.
Part 3: Making & Attaching the Pom-Poms (Make 2)
The absolute cutest part!
Using a mix of your Color A, B, and C yarns (or just one of them for a solid pom-pom):
- Wrap Yarn: Use your pom-pom maker (or cardboard/fork method) to create two small, fluffy pom-poms. The size of the pom-pom should be proportionate to the slipper – typically about 1.5 – 2 inches (3.5 – 5 cm) in diameter when finished. Wrap the yarn generously to ensure a very full and dense pom-pom.
- Tie & Trim: Secure the center of your pom-pom tightly with a long piece of yarn (use one of the colors). Trim all the loops to create the pom-pom shape, and then give it a good trim and fluff to make it perfectly round and neat. Leave the long tie ends for attaching.
- Attach to Slipper: Using your yarn needle and the long tie ends, securely attach one pom-pom to the center front of each slipper, right above the toe shaping. Thread the ends through a few stitches, knot securely on the inside, and weave in the remaining tails.
Video tutorial
Your Sweet Baby Pom-Pom Slippers are Complete!
Look at those adorable little creations! These handmade booties are truly special and will keep tiny toes warm and cozy. They also make a fantastic photo prop for those precious newborn pictures.
I hope you enjoyed this pattern! If you crochet these slippers, I would be absolutely thrilled to see them. Please share your pictures on social media and tag me (if you have an associated platform). I love seeing your beautiful work!
Happy hooking!