 by
by 
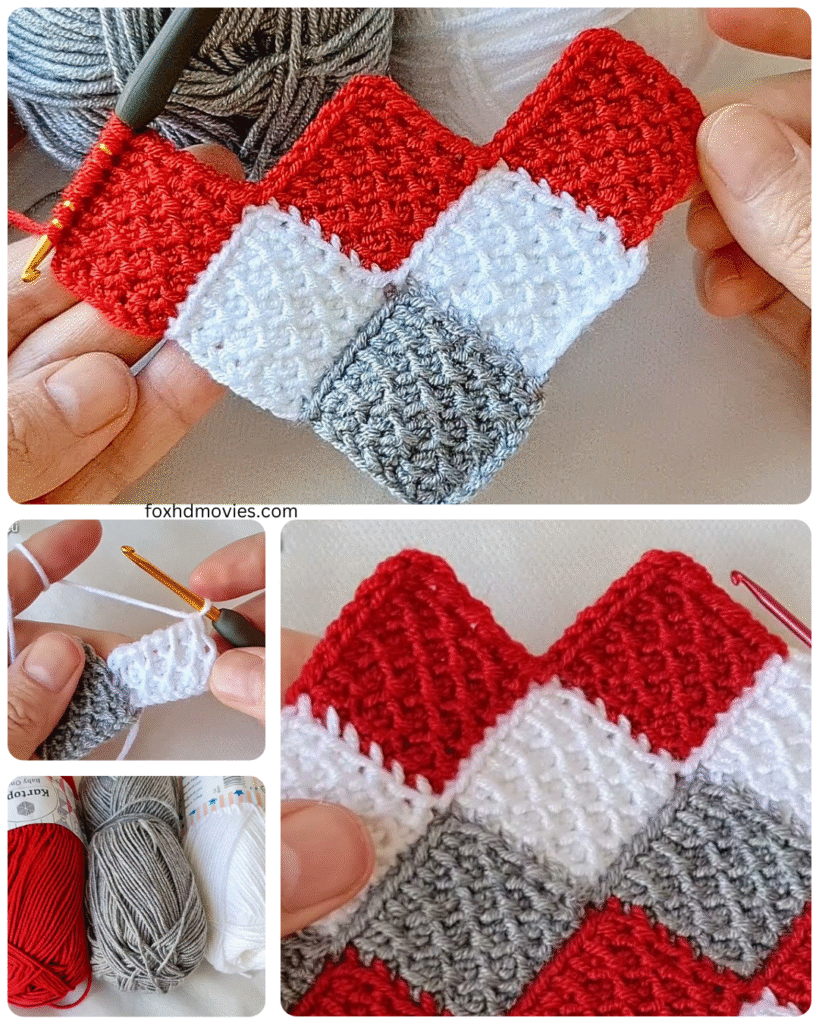
Welcome, new crocheters and soon-to-be gift-givers! There’s something truly special about wrapping a little one in a handmade baby blanket, a tangible symbol of love and care. If you’re just starting your crochet journey, the idea of making a whole blanket might seem daunting, but fear not! This post is your guide to several incredibly easy crochet baby blanket patterns that are perfect for beginners.
We’ll explore simple stitch repeats, manageable sizes, and clear instructions to help you create a beautiful and cozy blanket that any baby will adore. So, grab your softest yarn and your trusty hook, and let’s embark on this heartwarming project!
Why Crochet a Baby Blanket?
Beyond the personal satisfaction of creating something beautiful, crocheted baby blankets offer several advantages:
- Thoughtful and Unique: A handmade blanket is a truly unique and cherished gift.
- Customizable: You can choose colors and textures to perfectly match the baby’s nursery or the parents’ preferences.
- Therapeutic: The repetitive motion of crochet can be relaxing and stress-relieving.
- Practical: A soft and warm blanket is always a welcome addition to a baby’s essentials.
Getting Started: Your Beginner-Friendly Toolkit
Before we dive into the patterns, let’s gather the essentials:
- Soft Baby Yarn: Choose a yarn specifically labeled “baby yarn.” These are typically soft, hypoallergenic, and easy to care for (machine washable and dryable are a plus!). Worsted weight or DK weight are good starting points.
- Crochet Hook: The yarn label will usually recommend a hook size. For worsted weight, a size H/8 (5.0 mm) is common. For DK weight, a size G/6 (4.0 mm) might be suitable.
- Scissors: For snipping your yarn.
- Yarn Needle: For weaving in those pesky loose ends.
- Stitch Markers (optional but helpful): To mark the beginning or end of rows, especially when you’re still getting used to counting stitches.
- Measuring Tape: To check your blanket’s size as you go.
Video tutorial
Pattern 1: The Simple Single Crochet Stripes Blanket
This is about as basic as it gets, making it an ideal first blanket project. The stripes add visual interest without requiring any complicated techniques.
- Foundation Chain: Chain 80 (adjust this number to your desired width. An even number is usually good for single crochet rows).
- Row 1: Single crochet (sc) in the second chain from the hook and in each chain across. Turn. (79 sc)
- Row 2: Chain 1 (does not count as a stitch). Single crochet (sc) in each stitch across. Turn. (79 sc)
- Rows 3 onwards: Repeat Row 2, changing colors as desired to create stripes. For example, work 4 rows of one color, then switch to another color for 4 rows, and so on. Continue until your blanket reaches your desired length (approximately 30-36 inches is a good starting point for a baby blanket).
- Finishing: Once you’ve reached your desired size, fasten off your yarn and weave in all loose ends using your yarn needle.

Pattern 2: The Cozy Half Double Crochet Rows
The half double crochet stitch creates a slightly taller and denser fabric than single crochet, resulting in a wonderfully cozy blanket.
- Foundation Chain: Chain 80 (adjust for width; an even number works well for half double crochet rows).
- Row 1: Half double crochet (hdc) in the third chain from the hook (the first two chains count as a turning chain), and in each chain across. Turn. (79 hdc)
- Row 2: Chain 2 (does not count as a stitch). Half double crochet (hdc) in each stitch across. Turn. (79 hdc)
- Rows 3 onwards: Repeat Row 2 until your blanket reaches your desired length.
- Finishing: Fasten off and weave in all ends.

Pattern 3: The Textured Slip Stitch Blanket
This pattern uses only slip stitches, but worked in the back loop only (BLO), it creates a lovely ribbed texture that’s both simple and visually appealing.
- Foundation Chain: Chain 81 (adjust for width; an odd number is good for this stitch to maintain the same starting/ending loop).
- Row 1: Slip stitch (sl st) in the second chain from the hook and in each chain across. Turn. (80 sl st)
- Row 2: Chain 1 (does not count as a stitch). Slip stitch (sl st) in the back loop only (BLO) of each stitch across. Turn. (80 sl st)
- Rows 3 onwards: Repeat Row 2 until your blanket reaches your desired length.
- Finishing: Fasten off and weave in all ends.

Adding a Simple Border (Optional):
A border can give your blanket a polished look. A simple single crochet border is perfect for beginners:
- Once your blanket is the desired size, join your yarn in any corner.
- Work single crochet stitches evenly around all four sides of the blanket. Work 3 single crochet stitches in each corner to help it lie flat.
- Slip stitch to the first single crochet to join the round.
- You can repeat this for a few rounds if you want a wider border.
- Fasten off and weave in the end.
Tips for Beginner Success:
- Practice Your Stitches: Before starting the blanket, practice a few rows of the chosen stitch to get comfortable with the motion and tension.
- Count Your Stitches: Especially in the beginning, count your stitches at the end of each row to ensure you’re maintaining the correct number. This helps prevent your blanket from becoming wider or narrower as you work.
- Don’t Be Afraid to Frog (Unravel): If you make a mistake, don’t be discouraged! Gently unravel the stitches back to the error and try again. Every crocheter does it!
- Take Breaks: Working on a large project like a blanket can be tiring. Take breaks to stretch your hands and arms.
- Enjoy the Process: Crochet should be a relaxing and enjoyable experience. Put on some music or a podcast and savor the creation process.
Share Your Snuggly Creations!
I hope these easy baby blanket patterns have inspired you to pick up your hook and create something special. Remember, the most important ingredient in any handmade gift is the love and care you put into it.