by
by 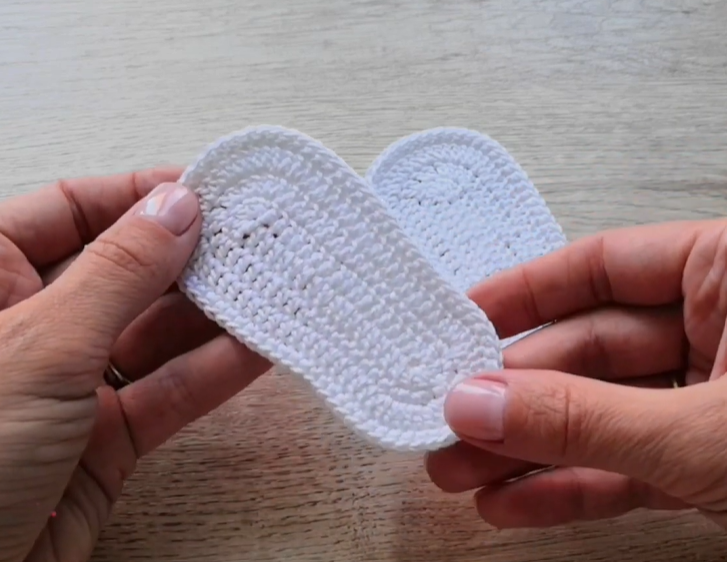
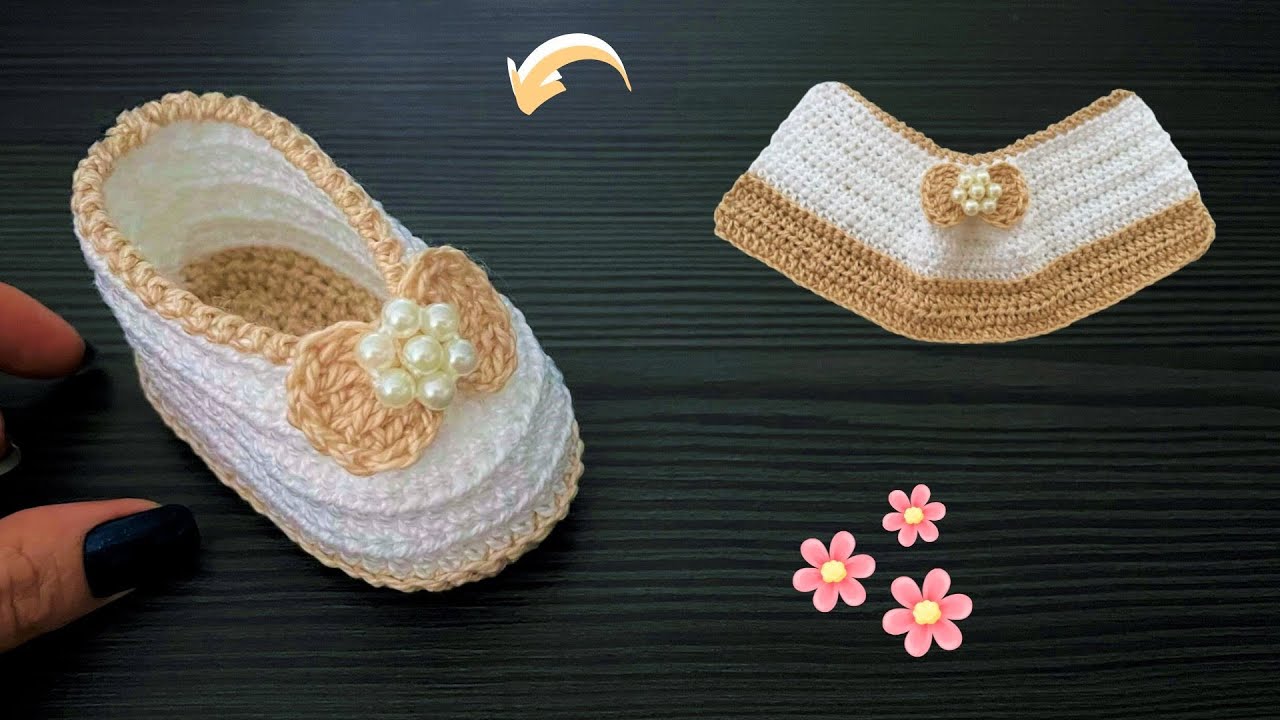
Today, let’s talk about the foundation of those adorable creations: the soft, comforting sole. Crocheting a soft sole for baby booties is easier than you might think, and it opens up a world of design possibilities. So, grab your yarn and hook, and let’s get started!

Why a Crochet Soft Sole?
Before we dive into the how-to, let’s quickly touch upon the why. A crocheted sole offers several advantages for baby booties:
- Comfort: Soft yarn creates a gentle cushion for delicate little feet.
- Flexibility: Crochet fabric is naturally flexible, allowing for natural foot movement.
- Customization: You can easily adjust the size and shape to fit any baby.
- Washability: Most yarns are machine washable, making them practical for busy parents.
The Basic Oval Sole: Our Starting Point
The most common shape for a baby bootie sole is an oval. Here’s a step-by-step guide to crocheting a simple oval sole:
Materials:
- Soft yarn (cotton or acrylic blends work well for babies)
- Crochet hook (size will depend on your yarn weight – check the yarn label)
- Stitch marker
- Scissors
- Tapestry needle
Abbreviations (US Crochet Terms):
- ch = chain
- sc = single crochet
- hdc = half double crochet
- dc = double crochet
- inc = increase (2 sc in the same stitch)
- sl st = slip stitch
Video tutorial
Instructions:
- Foundation Chain: Start by chaining a number of stitches. The length of this chain will determine the length of your sole. For a newborn, a chain of 9-11 stitches is usually a good starting point. Let’s say we chain 10 for this example. Code snippet
\text{ch 10} - Round 1: Work around the chain.
- In the second chain from the hook, work 1 sc.
- Sc in each of the next 7 chains.
- In the last chain, work 3 sc. This creates the rounded end.
- Now, working on the other side of the foundation chain, sc in each of the next 7 chains.
- In the last chain (where you started the first sc), work 2 sc.
- Join with a sl st to the first sc of the round.
\text{Round 1: sc in 2nd ch from hook, sc in next 7 ch, 3 sc in last ch, turn, sc in next 7 ch, 2 sc in last ch, sl st to first sc (20 sts)} - Round 2: This round helps to further shape the oval.
- Ch 1 (does not count as a stitch).
- Sc in the first 8 stitches.
- Inc in the next 3 stitches (working 2 sc in each of these 3 stitches).
- Sc in the next 7 stitches.
- Inc in the next 2 stitches.
- Sl st to the first sc of the round.
\text{Round 2: ch 1, sc in next 8 sts, inc in next 3 sts, sc in next 7 sts, inc in next 2 sts, sl st to first sc (25 sts)} - Round 3 (and beyond): You can continue to increase around the rounded ends to make the oval larger. The number of increases and the placement will depend on the desired size and shape. A common approach is to work sc in the straight sections and increase in the stitches around the curves.
- Round 3 Example: Ch 1, sc in the first 9 sts, (inc, sc) repeat 3 times, sc in the next 7 sts, (inc, sc) repeat 2 times, sl st to the first sc.
\text{Round 3: ch 1, sc in next 9 sts, (inc, sc) x 3, sc in next 7 sts, (inc, sc) x 2, sl st to first sc (30 sts)} - Finishing: Once your sole reaches the desired size, fasten off your yarn and weave in the ends using your tapestry needle.


Tips and Variations:
- Adjusting Size: To make a smaller or larger sole, adjust the length of your initial chain and the number of increase rounds. You can also use a different yarn weight and hook size.
- Changing Stitch Height: Experiment with hdc or dc for a slightly different texture and thickness. Remember to adjust your starting chain accordingly.
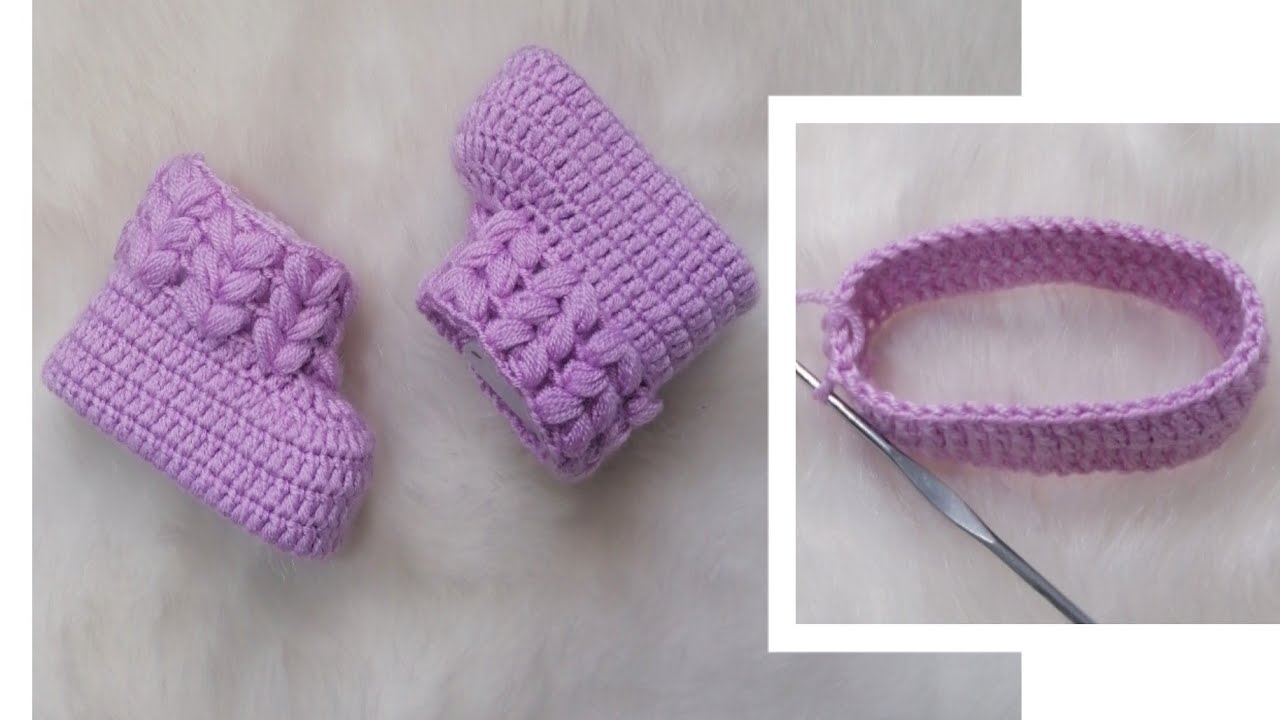
- Adding Texture: You can incorporate different stitch patterns within the sole for added visual interest and texture. Consider using puff stitches or bobble stitches strategically.
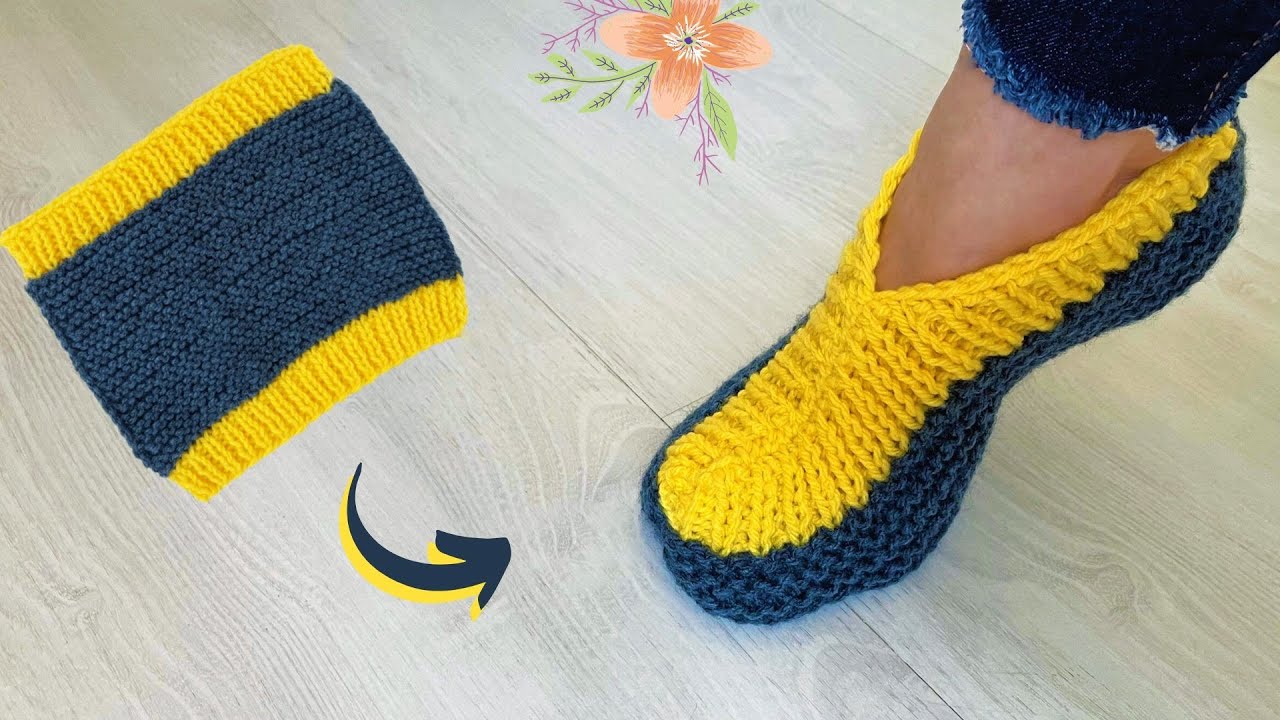
- Color Play: Use different colors for the sole to add a fun pop to your booties. You could even create stripes!
- Adding Grip (Optional): For toddlers who are starting to walk, you can add non-slip dots to the sole using fabric paint or silicone.
Next Steps: Building the Bootie
Once you have your soft crochet sole, you’re ready to build the rest of the bootie! The next steps typically involve working in rounds around the edge of the sole to create the sides and then shaping the upper part of the bootie. There are countless patterns available online and in crochet books to guide you through this stage.