 by
by 
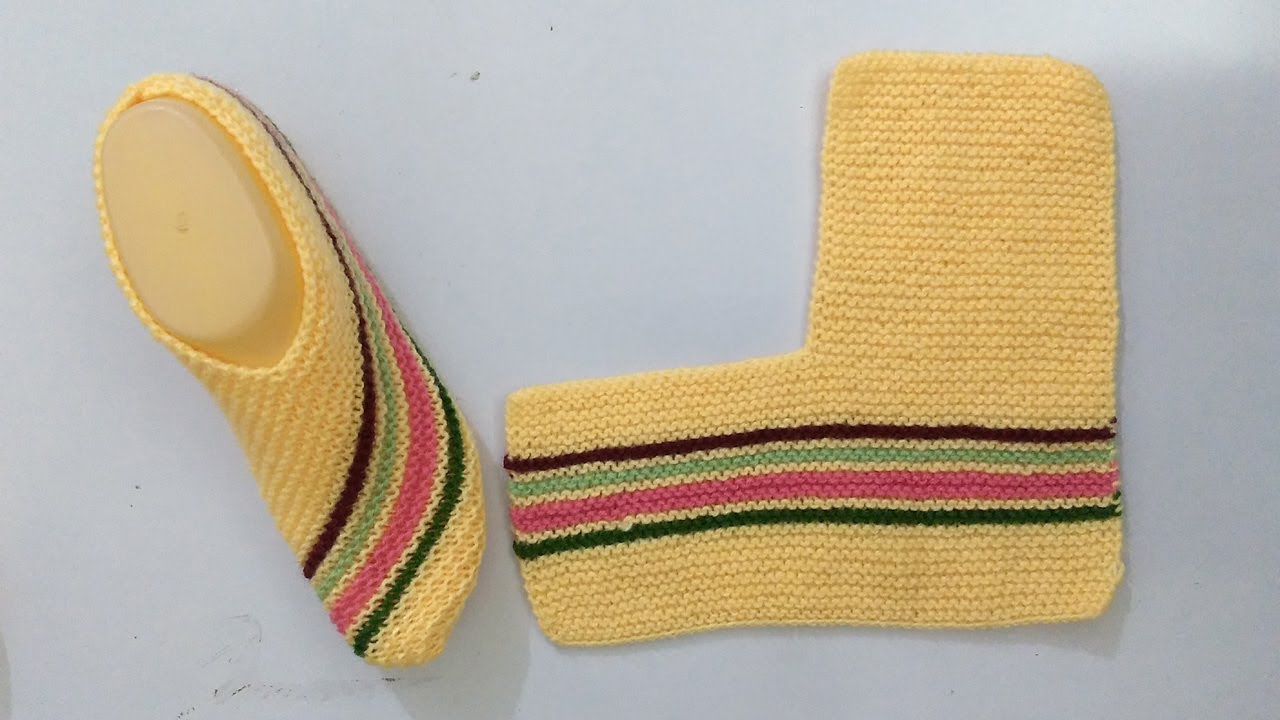
Hello fellow knitting enthusiasts! As the days get shorter and the evenings cooler, there’s nothing quite like slipping your feet into a pair of warm, handmade slippers. Today, we’re embarking on a wonderfully cozy project: knitting a pair of comfortable and stylish women’s slippers.
This pattern is designed to be relatively straightforward, perfect for confident beginners and seasoned knitters alike. We’ll be using basic knit and purl stitches to create a textured fabric that’s both snug and durable. So, grab your favorite worsted weight yarn, your needles, and let’s knit up some toasty foot warmers!

What You’ll Need:
- Worsted Weight Yarn: Approximately 200-250 yards. Choose a yarn that feels soft against the skin and is durable enough for light wear. Wool, a wool blend, or a sturdy acrylic are excellent choices. You might want two contrasting colors for the sole and upper, or stick with a solid for a classic look.
- Knitting Needles: US size 7 (4.5 mm) or size needed to obtain gauge. You’ll need either straight needles or circular needles (worked flat).
- Cable Needle (optional but recommended): For holding stitches while cabling, if you choose the textured option.
- Tapestry Needle: For weaving in ends and seaming.
- Stitch Markers (optional but helpful): For marking sections and shaping.
- Measuring Tape: To ensure correct sizing.
- Scissors: For snipping yarn.
Understanding the Basics: Our Stitches and Techniques
We’ll be using a few fundamental knitting stitches and a simple shaping technique:
- Knit (k): The basic knit stitch.
- Purl (p): The basic purl stitch.
- K2tog: Knit two stitches together (a decrease).
- SSK: Slip, slip, knit (another decrease).
- Sl st: Slip stitch (used for a neat edge).
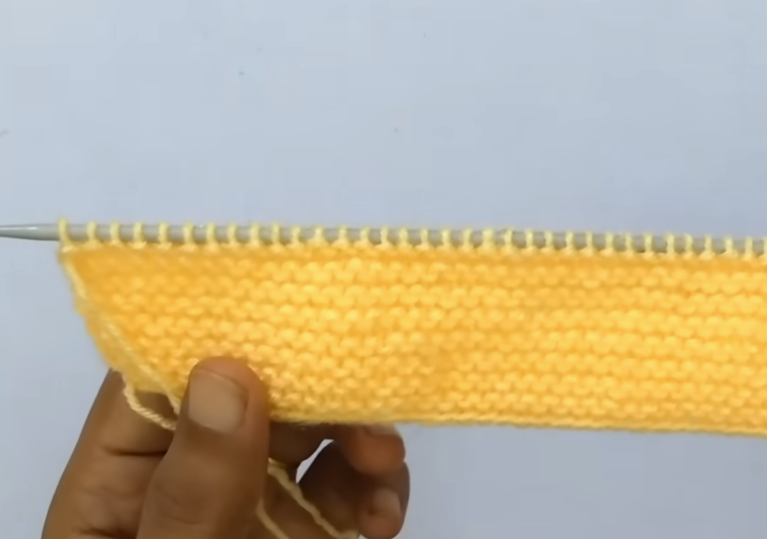
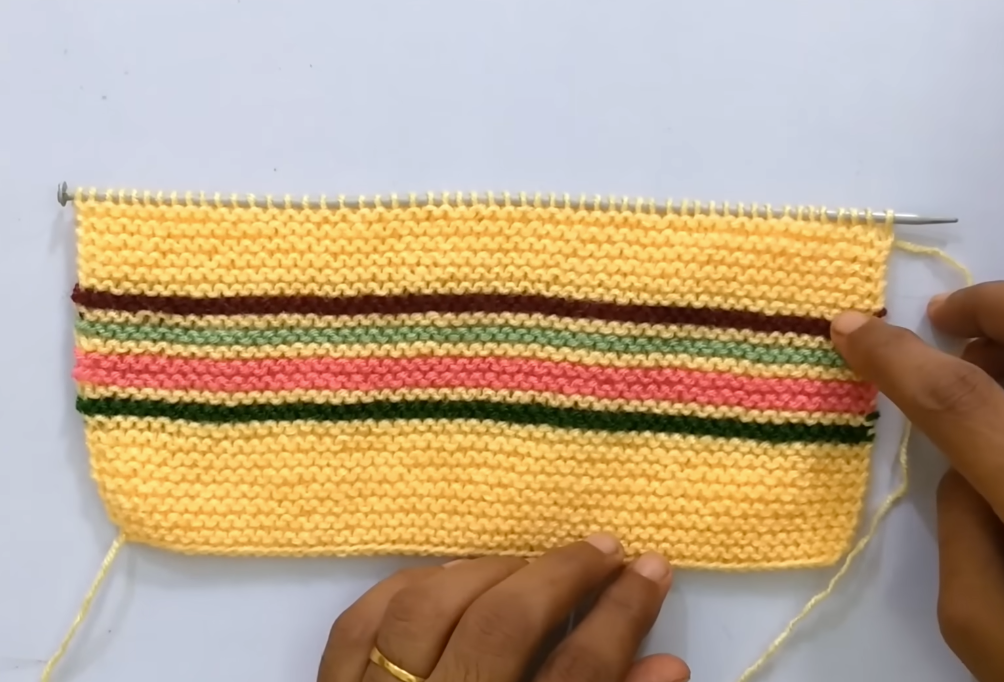
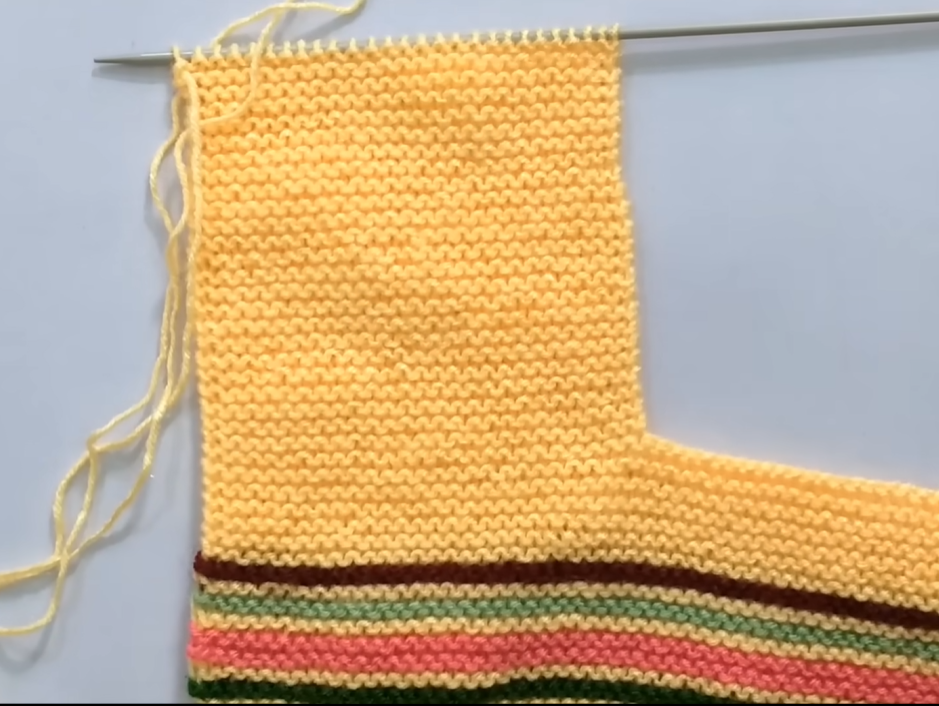
- Garter Stitch: Knit every row (creates a stretchy, textured fabric).
- Stockinette Stitch: Knit on the right side (RS) rows, purl on the wrong side (WS) rows (creates a smooth fabric that tends to curl).
- Simple Cable (Optional): We’ll outline a basic 2×2 cable for added texture if you’re feeling adventurous.
Gauge:
Approximately 18 stitches and 24 rows in 4 inches (10 cm) in stockinette stitch. Gauge isn’t critical for slippers, but it will affect the final size. If your gauge is significantly different, you may need to adjust your needle size.
Sizing:
This pattern is written for an average women’s size 7-8 (foot length approximately 9.5 inches / 24 cm). Adjustments for other sizes are included in the notes.
Video tutorial
The Pattern: Knitting Your Cozy Slippers
We’ll be knitting the slipper in two main pieces: the sole and the upper.
Part 1: The Sole (Make 2)
The sole is worked in garter stitch for a sturdy and slightly grippy texture.
- Cast On: Cast on 45 stitches.
- Rows 1-40 (or until the sole measures approximately the desired length of your foot from heel to just before the toes): Knit every row (garter stitch).
- Adjustment for Size: To make the sole longer or shorter, add or subtract rows in increments of 2.
- Shaping the Toe:
- Row 41 (RS): K1, k2tog, knit to the last 3 stitches, ssk, k1. (2 stitches decreased)
- Row 42 (WS): Knit all stitches.
- Repeat Rows 41 and 42 a total of 8 times. (29 stitches remaining)
- Final Rows: Knit 5 more rows in garter stitch.
- Bind Off: Bind off all stitches.
Part 2: The Upper (Make 2)
The upper is worked in stockinette stitch with an optional textured panel.
- Cast On: Cast on 35 stitches.
- Rows 1-4 (Garter Stitch Edge): Knit every row.
- Main Section (Stockinette with Optional Cable):
- Option 1: Simple Stockinette:
- Row 5 (RS): Knit all stitches.
- Row 6 (WS): Purl all stitches.
- Repeat Rows 5 and 6 for a total of 30 rows (adjust for desired height of the upper).
- Option 2: Textured Panel (Simple 2×2 Cable):
- Row 5 (RS): K3, C4B (cable 4 back: slip next 2 stitches onto cable needle and hold behind work, k2, k2 from cable needle), k to last 7 stitches, C4F (cable 4 front: slip next 2 stitches onto cable needle and hold in front of work, k2, k2 from cable needle), k3.
- Row 6 (WS): Purl all stitches.
- Row 7 (RS): Knit all stitches.
- Row 8 (WS): Purl all stitches.
- Repeat Rows 5-8 for a total of 30 rows (adjust for desired height of the upper).
- Option 1: Simple Stockinette:
- Shaping the Instep:
- Row 35 (RS): K1, k2tog, knit to the last 3 stitches, ssk, k1. (2 stitches decreased)
- Row 36 (WS): Purl all stitches.
- Repeat Rows 35 and 36 a total of 5 times. (25 stitches remaining)
- Final Rows: Knit 4 rows in garter stitch.
- Bind Off: Bind off all stitches.
Assembly: Bringing Your Slippers Together
- Seaming the Upper: With the wrong side facing out, fold the upper piece in half lengthwise. Using your tapestry needle and yarn, sew the cast-on edge (the garter stitch edge) together for approximately 2 inches (5 cm) to create the toe shaping. Leave the remaining edge open for the instep.
- Attaching the Upper to the Sole:
- Align the center of the seamed toe of the upper with the center of the toe shaping of the sole.
- Using your tapestry needle and yarn, carefully sew the edges of the upper to the edges of the sole, working your way around the entire sole. Ensure the seam is secure but not too tight.
- Weaving in Ends: Weave in all loose ends neatly on the wrong side of the slippers.
Finishing Touches and Variations:
- Cuffs: For a warmer, more secure fit, you can add a knitted cuff to the opening of the upper. Simply pick up stitches around the opening after seaming and work in a rib stitch (k1, p1) or garter stitch for a few rounds before binding off.
- Ankle Straps: Add knitted straps with button closures for a different style.
- Embellishments: Get creative with buttons, pom-poms, braided cords, or embroidered details to personalize your slippers.
- Non-Slip Soles: For added safety, consider adding non-slip fabric or silicone dots to the soles.
- Different Stitches: Experiment with other stitch patterns for the upper, such as seed stitch or a simple rib.
Care Instructions:
Follow the care instructions for the yarn you used. Most handmade knit items benefit from gentle hand washing and laying flat to dry.
Share Your Cozy Creations!