by
by 
Hello, sunny day crafters! Are you looking for the perfect project to add a touch of handmade charm to a little one’s wardrobe? Look no further! Today, we’re going to crochet these adorable and breathable shorts, featuring a lovely openwork stitch pattern, a comfortable ribbed waistband, and a sweet drawstring. Perfect for playtime on a warm day!
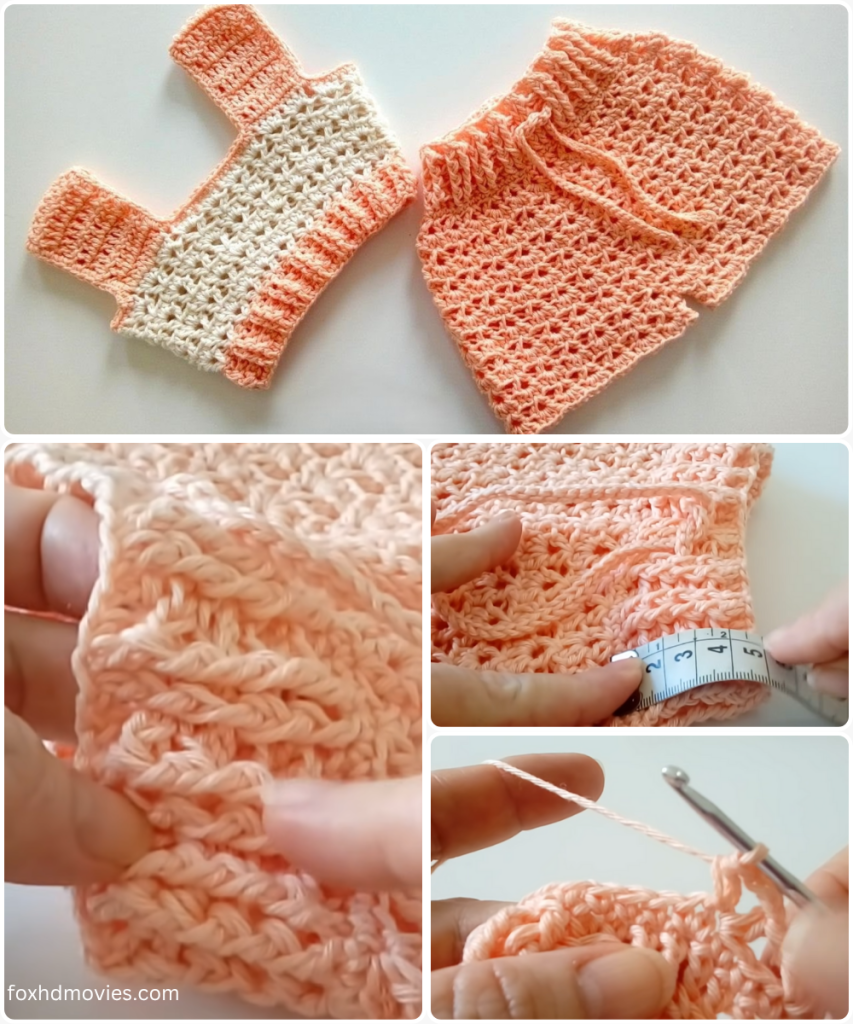
The shorts in the image are made in a beautiful peachy-orange hue, but imagine them in any color to match your style or a baby’s outfit. The openwork stitch creates a lovely texture and drape, making them light and airy. This pattern is suitable for intermediate crocheters or confident beginners ready to learn a new stitch.
Materials You’ll Need:
- Yarn: DK weight (Light Worsted / 8 ply) cotton or cotton blend yarn. Cotton is recommended for breathability and comfort in warmer weather. (Approx. 70-100g, depending on size). The sample uses a lovely peach/light orange.
- Crochet Hook: 3.5mm (E/4) or 4.0mm (G/6) – choose the hook size that gives you a nice, soft fabric with good drape for the mesh stitch, but still firm enough for the waistband.
- Yarn Needle: For weaving in ends and seaming.
- Scissors
- Stitch Markers (optional, but helpful for working in the round)
Abbreviations Used:
- ch: chain
- sl st: slip stitch
- sc: single crochet
- hdc: half double crochet
- dc: double crochet
- fpdc: front post double crochet (for ribbing)
- bpdc: back post double crochet (for ribbing)
- sk: skip
- st(s): stitch(es)
- rep: repeat
- FO: fasten off
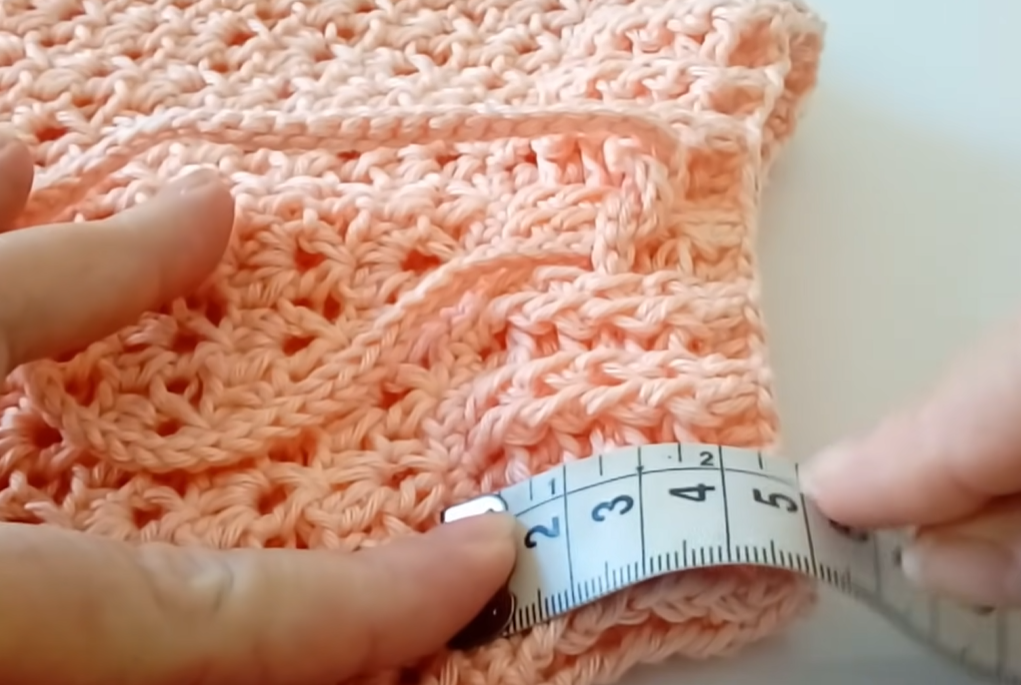
Gauge (Approximate):
Crucial for garment sizing! Make sure to check your gauge. For the mesh stitch: 18 dc and 8 rows = 4 inches (10 cm) For the ribbing: 18 fpdc/bpdc sts = 4 inches (10 cm)
Size Chart & Notes (Approximate):
This pattern is written for 0-6 months with notes for larger sizes.
- 0-6 Months: Waist (relaxed) approx. 14-16 inches / 35-40 cm
- 6-12 Months: Waist (relaxed) approx. 16-18 inches / 40-45 cm
- 12-18 Months: Waist (relaxed) approx. 18-20 inches / 45-50 cm
Sizing Adjustment:
- To adjust the waist circumference, ensure your starting chain for the waistband (Round 1 of Waistband) is an even number that fits the desired waist measurement, keeping in mind the stretch of crochet. The number of stitches should be a multiple of 2 for the mesh stitch (ch 1, sk 1, dc).
- To adjust length, add or subtract mesh rounds.
Pattern: Breezy Baby & Toddler Shorts
These shorts are worked from the top down, starting with the waistband, then the body, and finally dividing for the legs.
Part 1: The Waistband
The waistband is worked in rows and then joined to form a loop, or it can be worked directly in the round. Let’s do it in the round for a seamless finish.
Using a 3.5mm hook (or smaller for tighter ribbing):
Round 1: Ch 60 (for 0-6 months, adjust for larger sizes – make sure it’s an even number). Join with a sl st to the first ch, being careful not to twist. Round 2: Ch 2 (does not count as dc). Dc in each ch around. Join with a sl st to the top of the first dc. (60 dc) Round 3: Ch 2 (does not count as dc). Fpdc around the next dc, bpdc around the next dc. Rep from * to * around. Join with a sl st to the top of the first fpdc. (60 sts) Round 4-5: Ch 2. Rep Round 3. (60 sts)
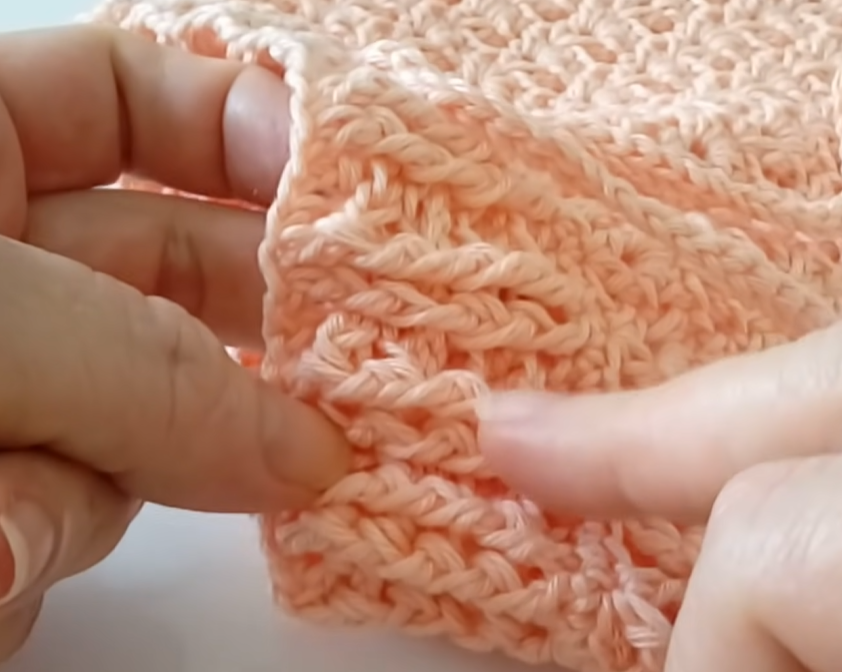
- You should now have a ribbed waistband. The image shows about 3-4 rows of ribbing.
Part 2: The Body of the Shorts (Mesh Stitch)
Now we’ll work the main body of the shorts downwards, using the openwork mesh stitch.
Switch to a 4.0mm hook (or larger if your gauge swatch for mesh was looser).
Round 6 (Preparation Round): Ch 1. Sc in each st around. Join with a sl st to the top of the first sc. (60 sc)
- This round provides a nice base for the mesh stitch and helps transition from the ribbing.
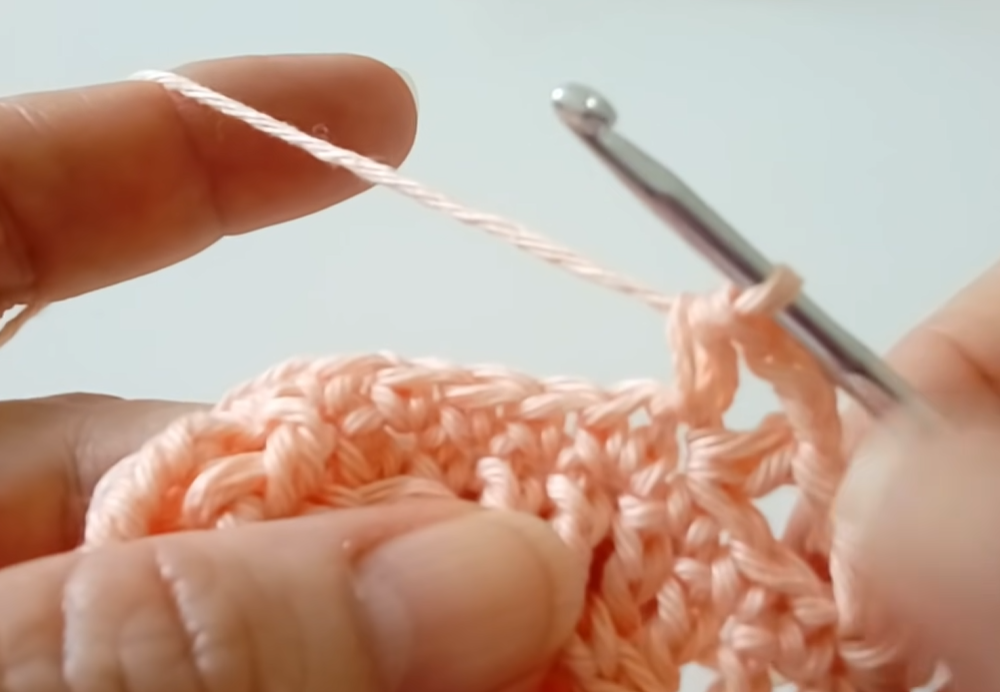
Round 7 (Mesh Stitch): Ch 3 (counts as dc + ch 1). Sk next st, dc in next st. Ch 1, sk next st, dc in next st. Rep from * to * around. Join with a sl st to the 2nd ch of beginning ch 3. (30 dc, 30 ch-1 spaces)
Round 8: Ch 3 (counts as dc + ch 1). Sk next ch-1 space, dc in next dc. Ch 1, sk next ch-1 space, dc in next dc. Rep from * to * around. Join with a sl st to the 2nd ch of beginning ch 3. (30 dc, 30 ch-1 spaces)
Round 9-14: Rep Round 8.
- You should have 8 rounds of mesh stitch in total (including Round 7). Adjust for desired length. The image shows about 8-9 rows before the leg split.
Part 3: Dividing for Legs & Crotch
Now we’ll create the leg openings.
Round 15: Continue the mesh pattern as in Round 8. Work across half of the stitches (15 dc, 15 ch-1 spaces). Ch 3 (this creates the crotch chain). Sk remaining 15 dc and 15 ch-1 spaces (the other half of the shorts body). Join with a sl st to the 2nd ch of the beginning ch 3. (This forms the first leg opening and creates the crotch).
- You now have 15 dc and 15 ch-1 spaces on your hook, plus the ch-3. The next rounds will work into this loop.
Part 4: First Leg
We’ll now work in the round for one leg.
Round 16: Ch 3 (counts as dc + ch 1). Sk next ch-1 space, dc in next dc. Ch 1, sk next ch-1 space, dc in next dc. Rep from * to * until you reach the ch-3 crotch chain. Work (ch 1, dc) into each of the 3 ch of the crotch chain. Join with a sl st to the 2nd ch of beginning ch 3. (Total 18 dc and 18 ch-1 spaces including the crotch stitches).
Round 17-20: Rep Round 8 (Mesh Stitch pattern). Work in the round for 4 more rounds, or until desired leg length.
- The image shows about 5-6 rounds of mesh stitch for each leg.
Finishing the Leg: Round 21 (Leg Edging): Ch 1. Sc in each dc and each ch-1 space around. Join with a sl st to the top of the first sc. (36 sc) FO and weave in ends.
Part 5: Second Leg
Join yarn at the crotch chain on the opposite side of the shorts.
Round 16 (for 2nd Leg): Ch 3 (counts as dc + ch 1). Sk next ch-1 space, dc in next dc. Ch 1, sk next ch-1 space, dc in next dc. Rep from * to * along the remaining unworked half of the shorts body (15 dc, 15 ch-1 spaces). Work (ch 1, dc) into each of the 3 ch of the crotch chain. Join with a sl st to the 2nd ch of beginning ch 3. (Total 18 dc and 18 ch-1 spaces including the crotch stitches).
Round 17-20: Rep Round 8 (Mesh Stitch pattern). Work in the round for 4 more rounds, or until desired leg length.
Finishing the Leg: Round 21 (Leg Edging): Ch 1. Sc in each dc and each ch-1 space around. Join with a sl st to the top of the first sc. (36 sc) FO and weave in ends.
Part 6: Drawstring
Ch 70-80 (or desired length, long enough to tie a bow). Sl st in 2nd ch from hook and in each ch across. FO. Weave this chain through the topmost row of the mesh stitch (Round 6/7 depending on where you want it) just below the ribbed waistband. This allows the drawstring to cinch the waist for a snug fit.
Video tutorial
Finishing Touches:
- Weave in all remaining loose ends neatly.
- Give your finished shorts a gentle block if desired to even out stitches and enhance the drape of the mesh.
- Present your beautiful handmade shorts to a lucky little one!
I hope you have a wonderful time creating these Breezy Baby & Toddler Shorts! They are a fantastic project for showcasing a lovely stitch and creating a practical, stylish garment. Don’t forget to share your finished projects – I’d love to see them. Happy crocheting!