 by
by 
Hello, creative crafters!
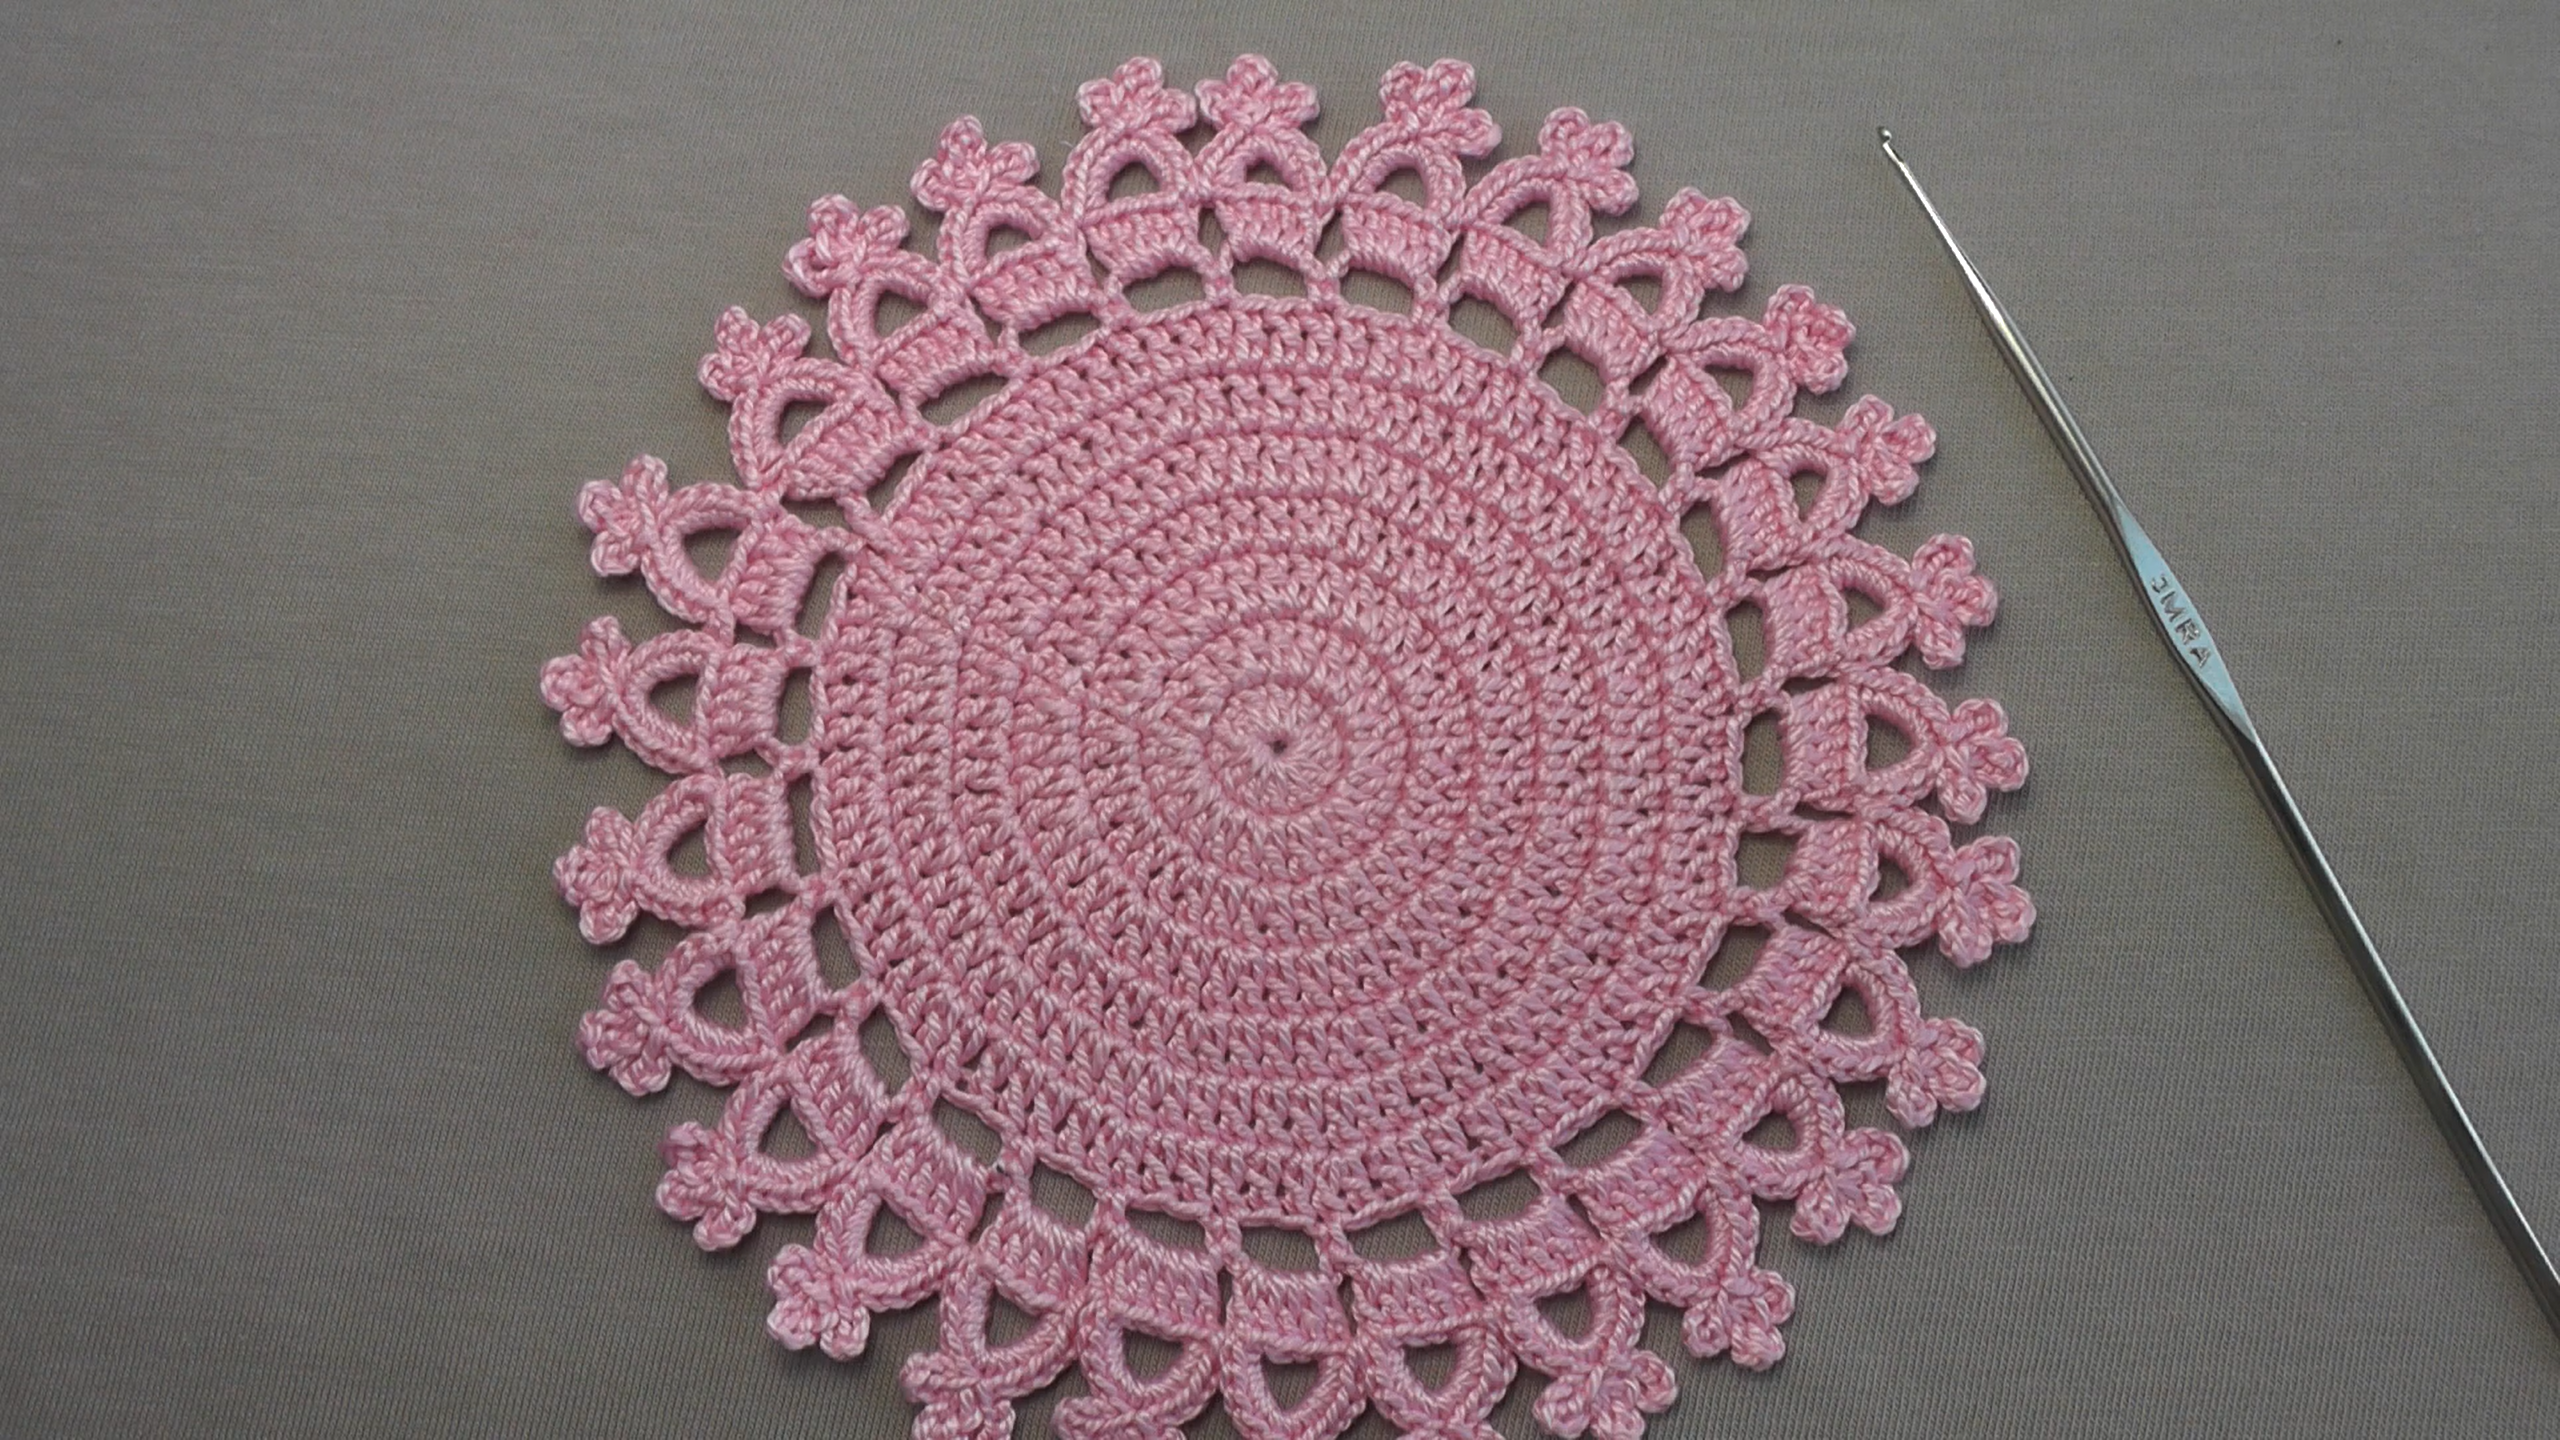
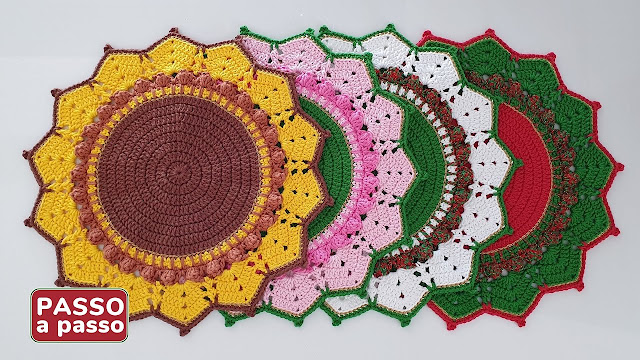
Are you ready to add a burst of color and handmade charm to your home? This delightful doily features bold stripes and a lovely textured stitch pattern that makes it truly stand out. It’s a fantastic project for using up scraps of your favorite yarn or for trying out some fun color combinations.
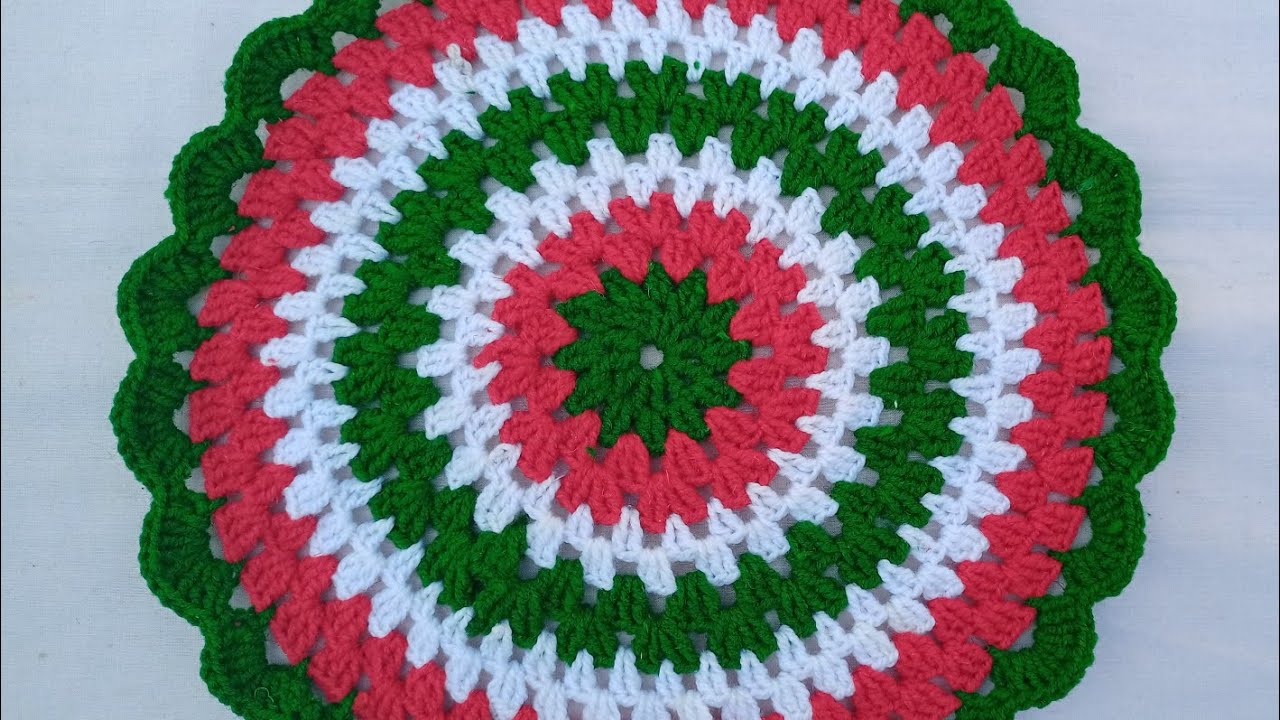
The doily pictured uses classic red, white, and green, giving it a playful, holiday-inspired vibe, but imagine it in pastels for spring, or blues and yellows for a sunny summer feel!
This pattern is written in US crochet terms.
Skill Level: Intermediate (familiarity with basic crochet stitches, working in the round, and changing colors is helpful)
Materials You’ll Need:
- Yarn: Dk (light worsted) or sport weight yarn in three contrasting colors. Cotton yarn is recommended for doilies as it blocks well and holds its shape.
- Color A (e.g., Green)
- Color B (e.g., Red)
- Color C (e.g., White)
- Crochet Hook: A hook size appropriate for your chosen yarn. For DK yarn, a 3.5mm (E) or 4.0mm (G) hook is a good starting point. Adjust as needed for your tension.
- Yarn Needle: For weaving in ends.
- Scissors
- (Optional) Stitch Marker: Helpful for marking the beginning of rounds.
Abbreviations (US Terms):
- ch: chain
- sl st: slip stitch
- sc: single crochet
- dc: double crochet
- st(s): stitch(es)
- sp: space
- ch-sp: chain space
- rep: repeat
- FO: fasten off
Let’s Get Started!
This doily is worked in the round. Remember to change colors by completing the last yarn over of the last stitch of the old color with the new color.

Using Color A (Green) for Round 1
Round 1: Ch 4, sl st to first ch to form a ring. Or, make a magic ring. Ch 3 (counts as first dc), 11 dc into the ring. Join with sl st to top of beg ch-3. (12 dc) Change to Color B in the last sl st. FO Color A.
Using Color B (Red) for Round 2
Round 2: Ch 3 (counts as first dc), dc in same st. Ch 1, skip next st, (dc, ch 1, dc) in next st. Rep from * to * around, ending with Ch 1, skip last st. Join with sl st to top of beg ch-3. (12 (dc, ch 1, dc) sets, 12 ch-1 sps) Change to Color C in the last sl st. FO Color B.
Using Color C (White) for Round 3
Round 3: Sl st into first ch-1 sp. Ch 3 (counts as first dc), dc in same ch-1 sp. Ch 1, (2 dc) in next (dc, ch 1, dc) set (work into the ch-1 sp of the set). Rep from * to * around, ending with Ch 1. Join with sl st to top of beg ch-3. (12 (2dc) groups, 12 ch-1 sps) Change to Color A in the last sl st. FO Color C.

Using Color A (Green) for Round 4
Round 4: Sl st into first ch-1 sp. Ch 3 (counts as first dc), 2 dc in same ch-1 sp. Ch 1, 3 dc in next ch-1 sp. Rep from * to * around, ending with Ch 1. Join with sl st to top of beg ch-3. (12 (3dc) groups, 12 ch-1 sps) Change to Color B in the last sl st. FO Color A.
Using Color B (Red) for Round 5
Round 5: Sl st into first ch-1 sp. Ch 3 (counts as first dc), 3 dc in same ch-1 sp. Ch 1, 4 dc in next ch-1 sp. Rep from * to * around, ending with Ch 1. Join with sl st to top of beg ch-3. (12 (4dc) groups, 12 ch-1 sps) Change to Color C in the last sl st. FO Color B.

Using Color C (White) for Round 6
Round 6: Sl st into first ch-1 sp. Ch 3 (counts as first dc), 4 dc in same ch-1 sp. Ch 1, 5 dc in next ch-1 sp. Rep from * to * around, ending with Ch 1. Join with sl st to top of beg ch-3. (12 (5dc) groups, 12 ch-1 sps) Change to Color A in the last sl st. FO Color C.
Using Color A (Green) for Round 7 (Scalloped Edge)
Round 7: Sl st into first ch-1 sp. Ch 1, (sc, ch 2, sc) in same ch-1 sp. Skip next 5 dc group, (sc, ch 2, sc) in next ch-1 sp. Rep from * to * around. Join with sl st to first sc. (24 sc, 12 ch-2 sps)
Round 8 (Final Scallop): Sl st into first ch-2 sp. Ch 1, 5 dc in same ch-2 sp. In next ch-2 sp, (sc, ch 2, sc), then 5 dc in next ch-2 sp. Rep from * to * around. Join with sl st to first dc of the round. This creates the vibrant, defined scalloped edge!
Video tutorial
Finishing:
- Fasten off and weave in all loose ends securely. With all those color changes, take your time to weave in neatly!
- Blocking is essential! To open up the stitch pattern and give your doily a crisp, professional finish, wet your doily thoroughly (you can gently wash it or spray it with water). Gently squeeze out excess water, then pin it to a foam blocking mat or a clean towel in the desired circular shape, stretching the points and edges evenly. Let it dry completely.
I hope you have a fantastic time crocheting this beautiful multi-color doily! It’s a wonderful way to add a handmade touch to your home or create a thoughtful gift.
Don’t forget to share your finished doilies with me in the comments or by tagging me on social media! Happy hooking!